Watch the Video Tutorial
💡 Pro Tip: After watching the video, continue reading below for detailed step-by-step instructions, code examples, and additional tips that will help you implement this successfully.
Hey there, fellow automation enthusiast! Boyce here, your friendly neighborhood self-taught automation consultant. Today, we’re going on an exciting journey to get n8n, that super cool low-code automation platform, up and running on your very own PC. And guess what? We’re doing it for free, using the magic of Docker! Think of Docker as your personal spaceship for launching apps – it keeps everything neat, tidy, and away from messy dependency issues.
Now, I know what you might be thinking: “Why not just use a cloud subscription?” And you’re right, for big, production-level stuff, cloud services are super handy. But for us, the explorers, the experimenters, the folks who just want to tinker and learn without breaking the bank, a local Docker setup is like finding a hidden treasure chest. It’s perfect for playing around, building cool stuff, and learning the ropes without any recurring costs. How awesome is that?
This guide? Oh, it’s born from my own battle scars. I’ve been there, trust me. Hours spent wrestling with installations, dependency hell, and setups that just wouldn’t cooperate. But through all that trial and error, I’ve cooked up this streamlined, “fool-proof” method. It’s designed to be efficient, reliable, and most importantly, easy for you to follow. So, buckle up, buttercup, we’re about to make some automation magic happen!
Table of Contents
Open Table of Contents
Why Install n8n with Docker?
n8n, in case you haven’t heard, is like a superhero for building AI agents and automating pretty much anything you can imagine. It’s a low-code platform, which means you don’t need to be a coding wizard to make amazing things happen. Traditionally, you might find n8n offered as a cloud service (where someone else manages all the techy bits for you) or through a Node.js package manager (which can sometimes feel like trying to herd cats when it comes to dependencies).
But here’s the secret sauce: installing n8n via Docker. Why Docker, you ask? Well, imagine you’re building a LEGO spaceship. Docker gives you a perfectly contained, pre-assembled launchpad for your n8n spaceship. This means you completely bypass those annoying “dependency issues” – you know, when one piece of software needs a very specific version of another, and they just refuse to play nice together. Docker wraps everything n8n needs into one neat package, making it super stable and easy to maintain. It’s like having a perfectly organized toolbox for every project!

See that image above? It’s a visual reminder that while installing Node.js directly is an option, Docker is truly the path of least resistance for a robust and trouble-free n8n setup. Trust me on this one; I’ve been down both roads, and Docker is the scenic route with fewer potholes.
Required Resources and Cost-Benefit Analysis
Alright, before we dive in, let’s make sure you’ve got everything you need. Don’t worry, it’s not much, and most of it you probably already have!
| Resource/Tool | Description | Cost (Approximate) |
|---|---|---|
| Docker Desktop | This is the main application that lets your PC run those cool Docker containers. Think of it as the engine for our n8n spaceship. | Free |
| Internet Access | You’ll need this to download Docker Desktop and, of course, the n8n Docker image itself. | Existing |
| Modern PC | Your computer needs a bit of muscle. I’d recommend at least 8GB of RAM and a decent CPU for n8n to run smoothly. If your PC struggles with multiple browser tabs, it might be a bit slow, but it’ll still work! | Existing |
Cost-Benefit Analysis: DIY Local Setup vs. Commercial Cloud
Let’s put on our business hats for a second and compare our DIY local n8n setup with a fancy commercial cloud subscription. It’s like comparing cooking at home versus eating out at a restaurant – both have their perks!
| Feature | DIY Local n8n (Docker) | Commercial n8n Cloud Subscription | Notes |
|---|---|---|---|
| Upfront Cost | Free | $20 - $50+ per month | This is where our local setup shines! Perfect for experimentation without breaking the bank. |
| Maintenance | Manual (updates, troubleshooting) | Managed by n8n | You’ll be the captain of your own ship here, which means you handle updates and fix any bumps in the road. The cloud version is like having a dedicated crew. |
| Scalability | Limited to local hardware | Highly scalable | Our local setup is great for personal projects, but if you need to handle millions of tasks, the cloud is designed for that kind of heavy lifting. |
| Data Control | Full local control | Data stored on n8n servers | This is a big one for privacy! With local n8n, your data never leaves your computer. In the cloud, it’s on their servers. |
| Ease of Setup | Moderate | Very easy (web-based) | Docker makes local setup much easier than it used to be, but the cloud is literally just signing up and logging in. |
| Dependency Issues | Minimized with Docker | None | This is why we love Docker! It virtually eliminates those pesky software conflicts. Cloud services handle all this for you behind the scenes. |
Step-by-Step Installation Guide
Alright, the moment you’ve been waiting for! Let’s get our hands dirty and install n8n. Follow these steps, and you’ll be automating in no time.
1. Download and Install Docker Desktop
First things first, we need to get Docker Desktop onto your computer. This is the foundational piece, the launchpad for our n8n rocket!
Head over to the official Docker website: https://www.docker.com/products/docker-desktop/
Once you’re there, look for the download button for your operating system. Whether you’re on Windows, macOS, or Linux, they’ve got you covered. Click that download button and let the magic happen.
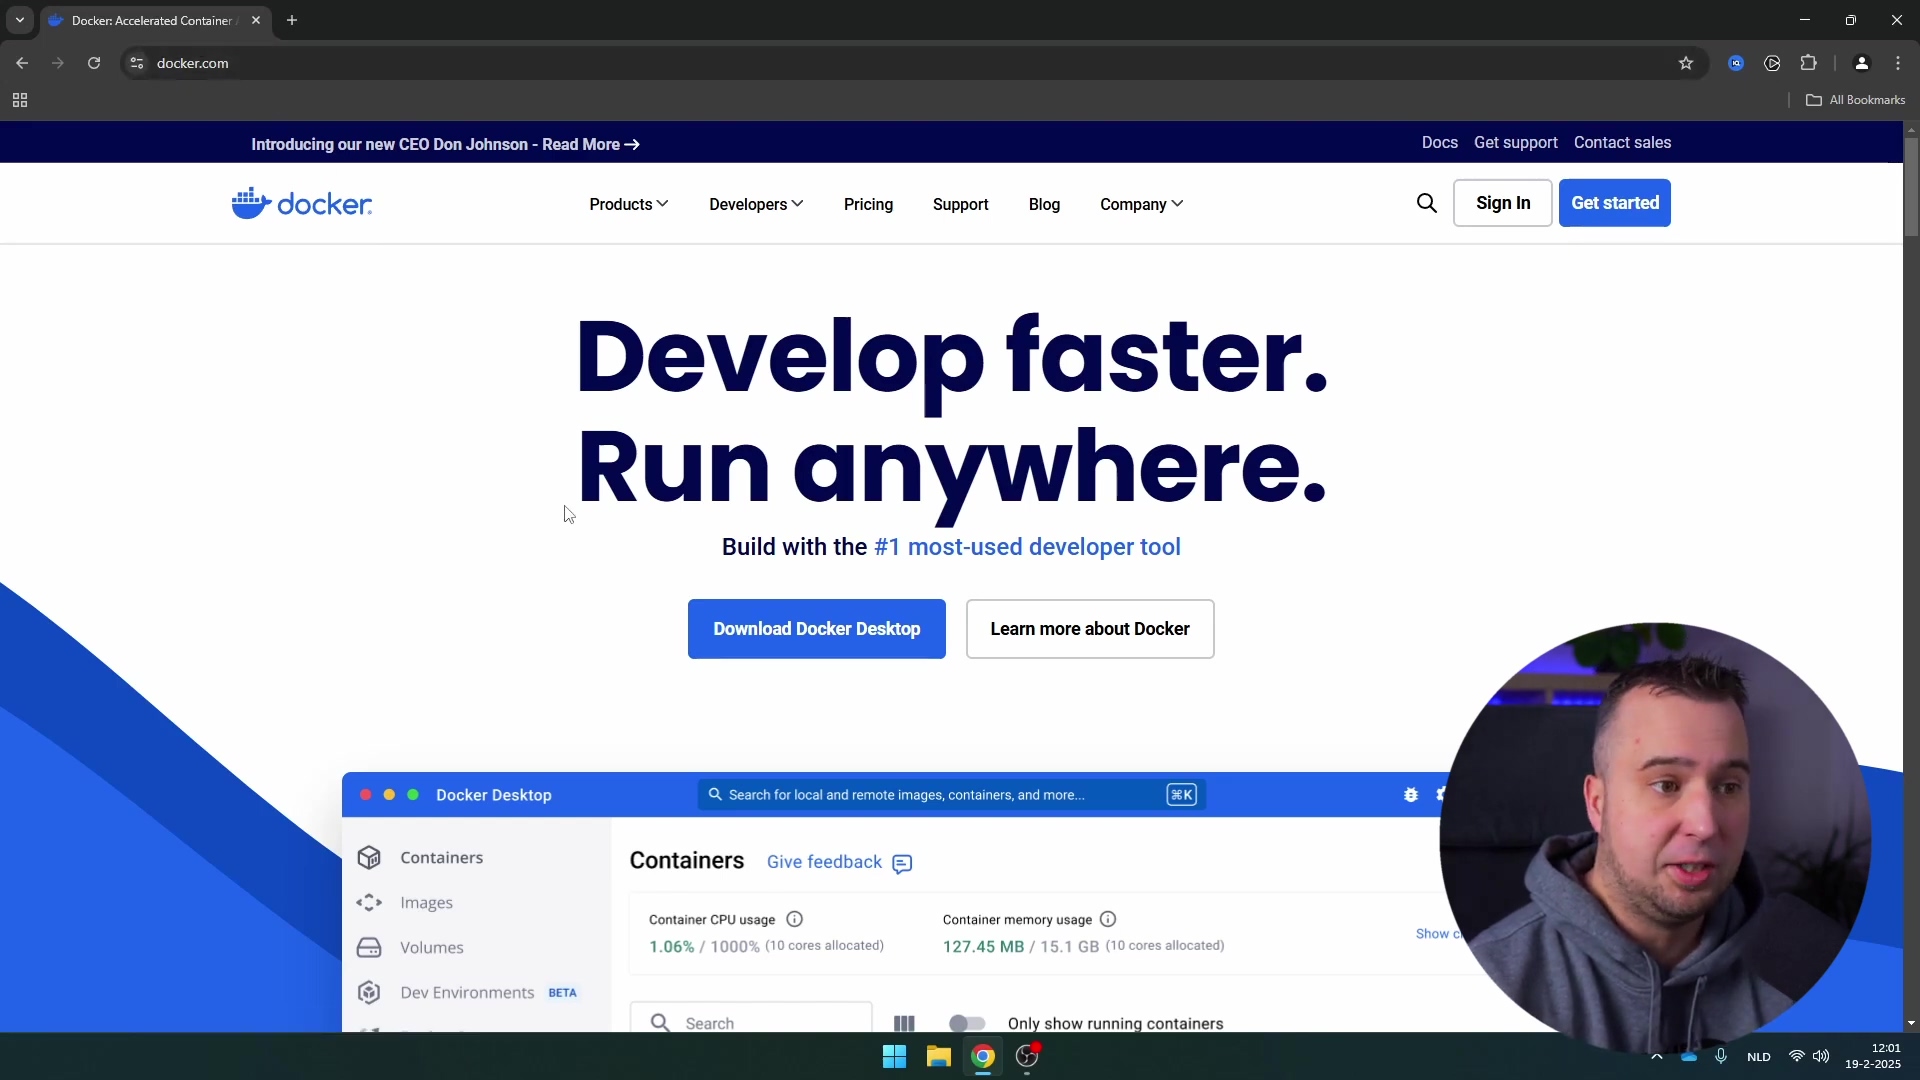
After the download finishes, find the installer file (it’ll probably be in your ‘Downloads’ folder) and double-click it. Now, just follow the on-screen instructions. It’s usually a pretty straightforward “Next, next, finish” kind of deal. Once it’s done, search for “Docker Desktop” in your computer’s applications (like the Start Menu on Windows or Spotlight on Mac) and launch it.
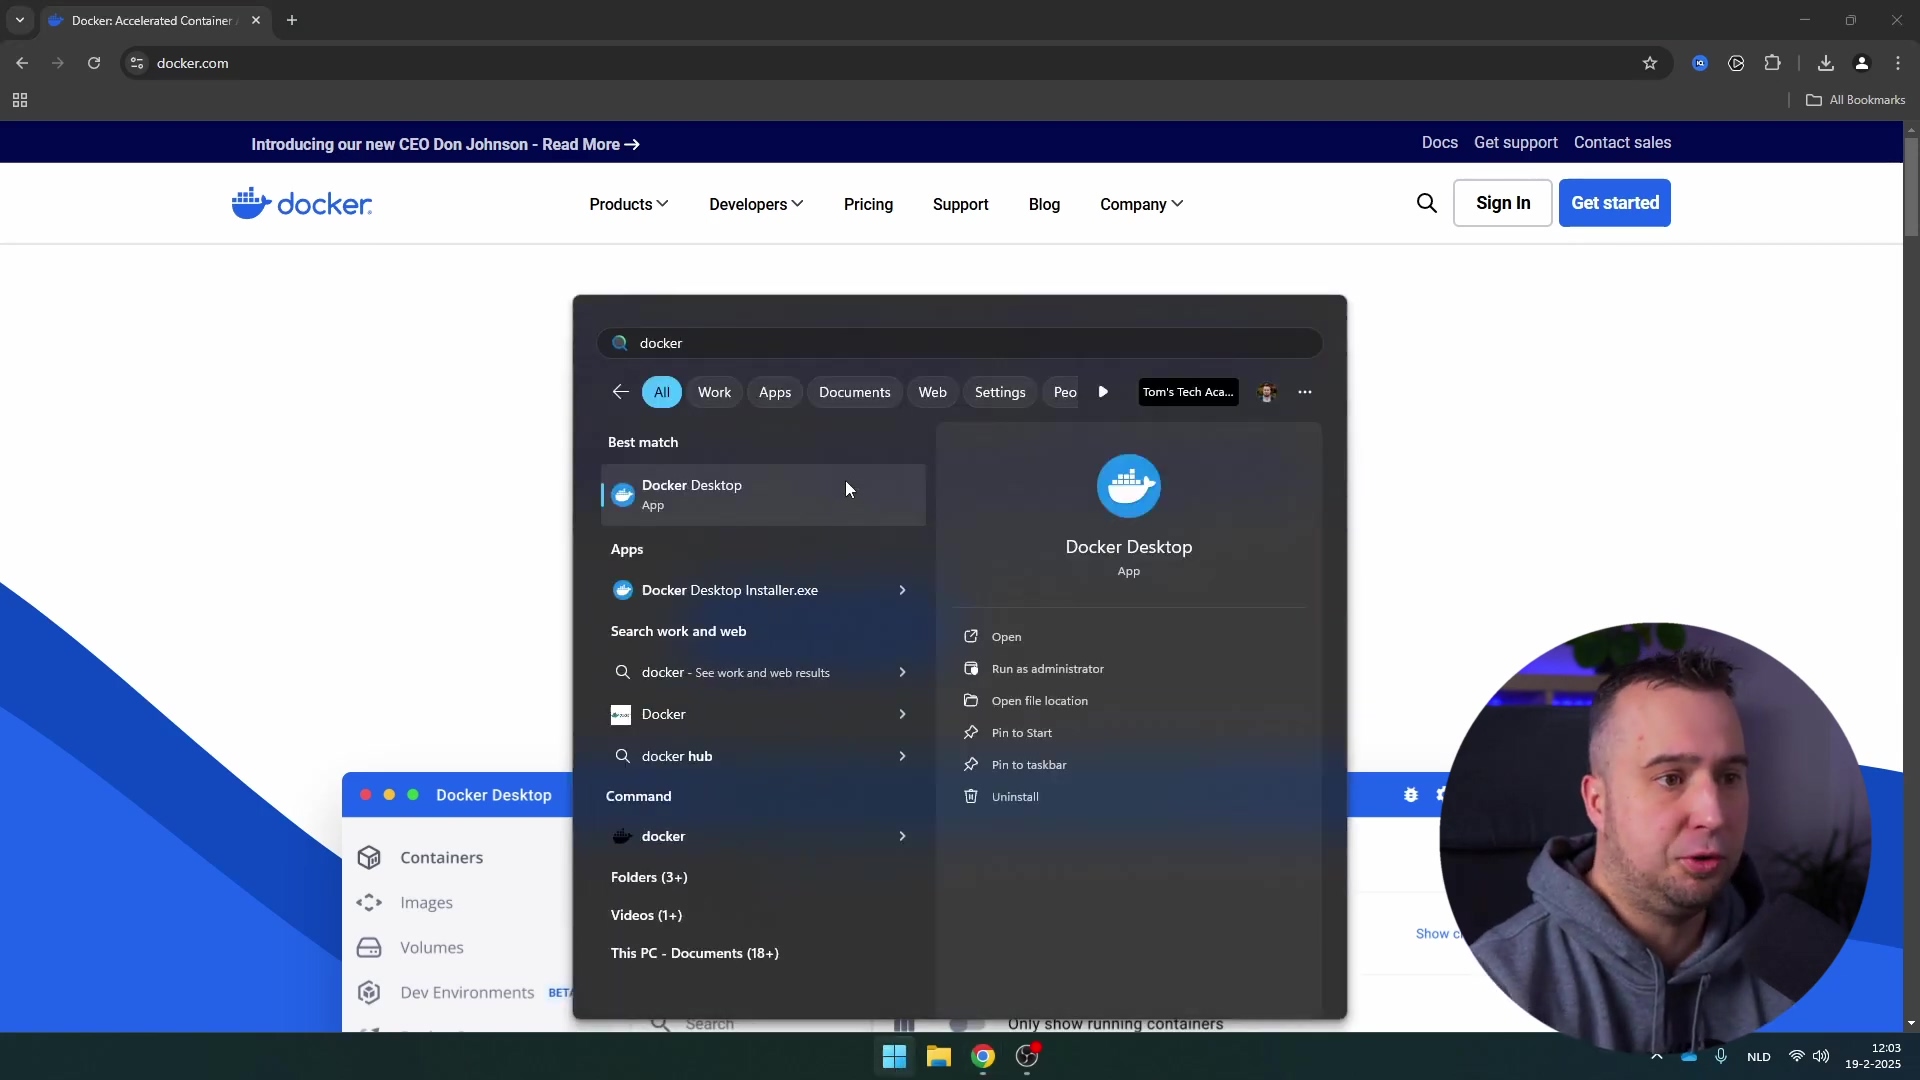
When Docker Desktop first starts up, it might ask you to create an account. While having an account can unlock some extra features down the line, don’t sweat it for now. You don’t strictly need one just to get n8n running locally. So, if you’re eager to jump straight in, you can usually skip this step or choose to create an account later.
Expected Feedback: You should see the Docker whale icon appear in your system tray (bottom right on Windows, top right on Mac), and the Docker Desktop application window should open, showing a dashboard or a “Welcome” screen. This means Docker is alive and ready!
2. Pull the n8n Docker Image
Now that Docker Desktop is up and running, it’s time to grab the n8n software itself. Think of this step as downloading the n8n blueprint into your Docker library.
Inside the Docker Desktop application, look for the ‘Images’ section in the left sidebar. Click on it. This is where all your Docker blueprints (images) live.
Now, in the search bar (usually at the top of the ‘Images’ section), type in n8nio/n8n. This is the official name for the n8n Docker image. It’s like searching for a specific book in a giant library.

Once you see n8nio/n8n pop up in the search results, you’ll notice a ‘Pull’ button next to it. Go ahead and click that ‘Pull’ button. This tells Docker to download the n8n image from the internet onto your local machine. It might take a few minutes, depending on your internet speed, so grab a coffee or stretch your legs!
Expected Feedback: You’ll see a progress bar or status indicating the image is being downloaded. Once complete, n8nio/n8n will appear in your list of local images, usually with a “Downloaded” or “Ready” status. This means the n8n blueprint is now safely stored on your computer, ready to be used.
3. Run the n8n Container
We’ve got the Docker engine (Docker Desktop) and the n8n blueprint (the image). Now, let’s actually build and launch our n8n application! This is where we create a “container” from our blueprint.
Back in the ‘Images’ section of Docker Desktop, find n8nio/n8n in your list of downloaded images. You’ll see a ‘Run’ button next to it (it often looks like a play icon, like on a video player). Click that ‘Run’ button.
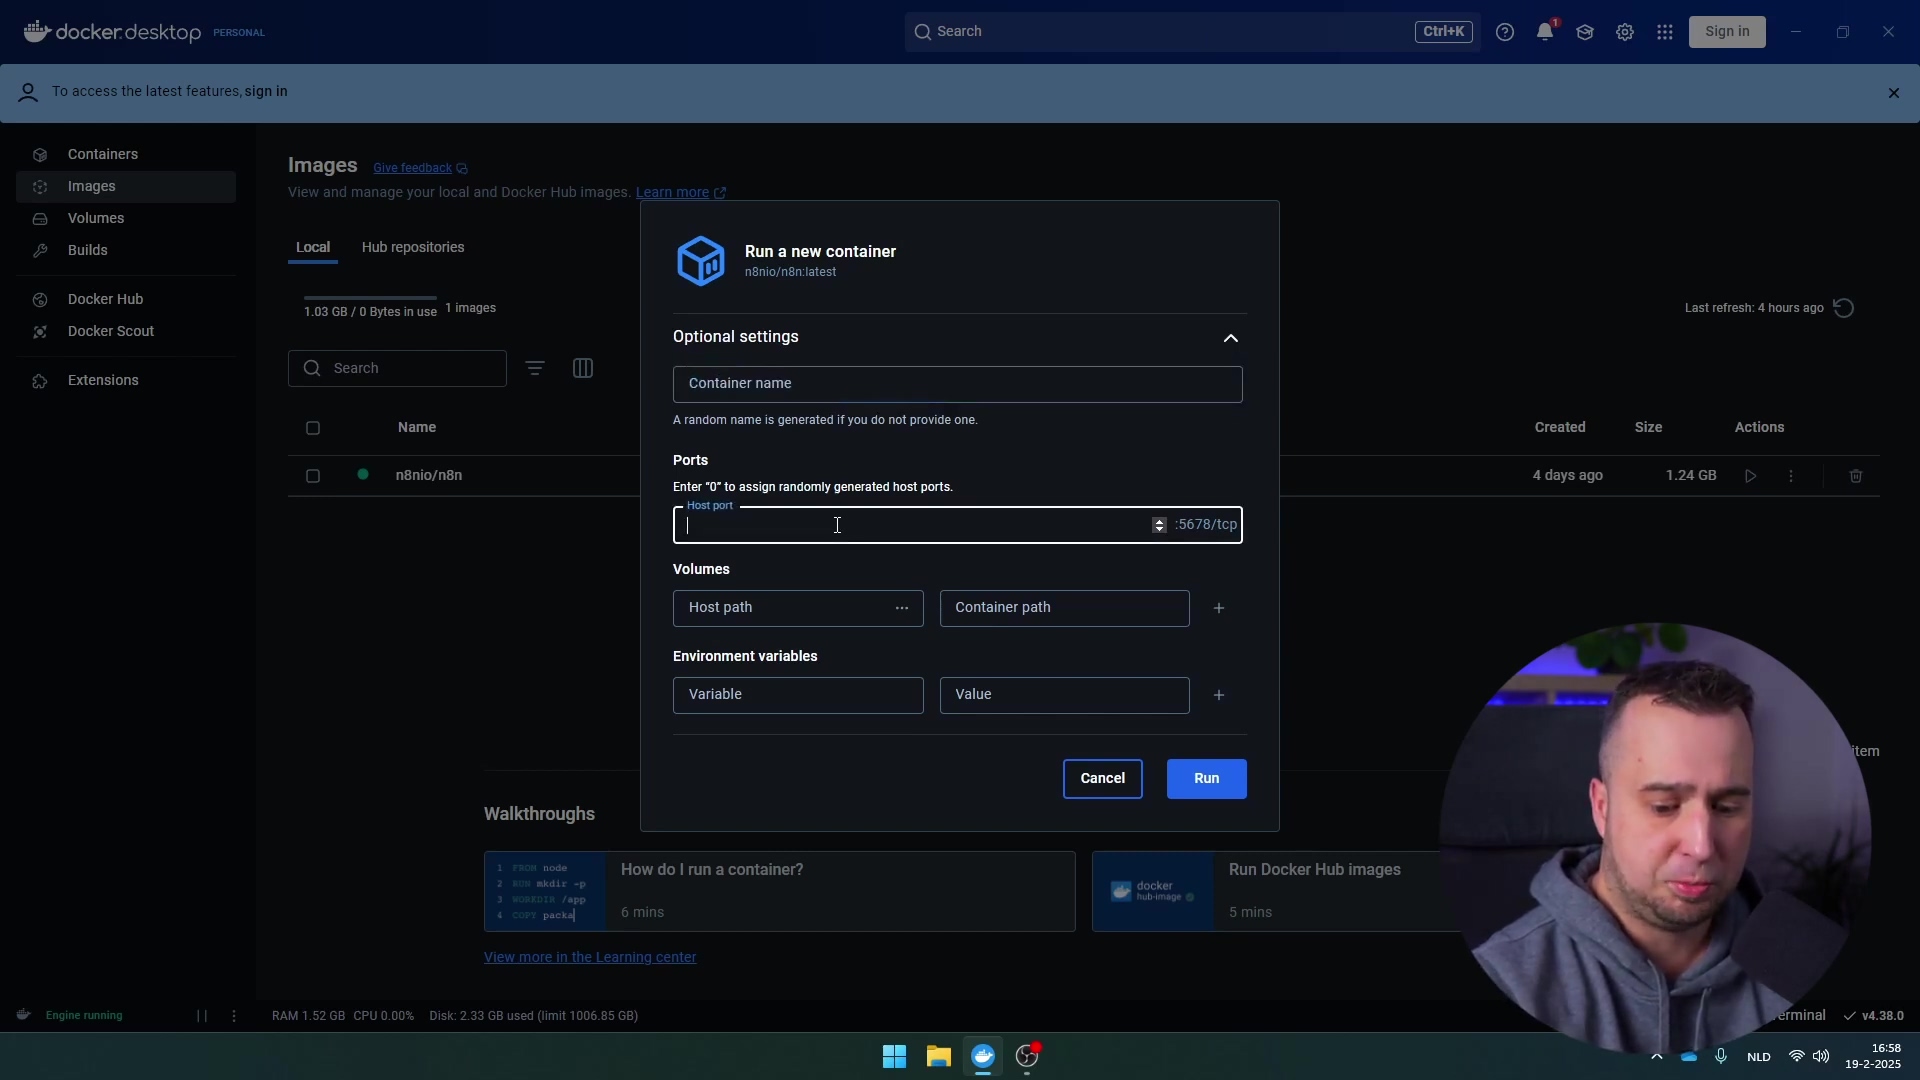
A “Run a new container” dialog box will pop up. This is where we configure how our n8n container will behave. Don’t worry, it’s not as complicated as it sounds!
-
Container name: This is optional, but I highly recommend giving your n8n container a memorable name, like
my-n8n-instanceorn8n-local. It makes it much easier to find and manage later. If you leave it blank, Docker will give it a random, often funny, name. -
Ports: This is super important! n8n, by default, likes to communicate on port
5678. Think of a port as a specific door number on your computer. The ‘Host port’ is the door number on your computer that you’ll use to access n8n. The ‘Container path’ (which should be5678/tcp) is the door number inside the n8n container. If port5678is already being used by another application on your computer (maybe another web server or something), Docker Desktop will usually warn you. If it does, simply change the ‘Host port’ to another available number, like5680or5679. Just pick something that isn’t in use! -
Volumes: This is where we talk about persistent data. Imagine you’re building a LEGO castle. If you just build it on the floor, and then someone sweeps the floor, your castle is gone! A Docker volume is like building your castle on a sturdy, dedicated table. It ensures that your n8n workflows, credentials, and settings are saved outside the container. This means even if you accidentally delete the n8n container (the castle), your data (the table) is safe and sound. For initial experimentation, you can skip this, but for any serious work, I highly recommend setting one up. You’d typically map a local folder on your PC (e.g.,
C:\n8n-dataon Windows) to a path inside the container (e.g.,/home/node/.n8n). We’ll cover this more in the best practices.
Once you’ve configured these settings (at least the name and ports), click the ‘Run’ button at the bottom of the dialog. Docker will now create and start your n8n container!
Expected Feedback: The dialog box will close, and you’ll be taken to the ‘Containers’ section of Docker Desktop. You should see your new n8n container listed, and its status should quickly change to “Running” (often indicated by a green dot or text). This means n8n is alive and kicking inside its Docker home!
4. Access n8n Locally
Our n8n container is running! Now, how do we actually use it? It’s like having a new app installed – you need to open it up!
Still in the ‘Containers’ section of Docker Desktop, find your newly created n8n container in the list. Look for the ‘Ports’ column. This column is super helpful because it will show you the exact link you need to click to open n8n in your web browser. It will typically look something like http://localhost:5678 (or http://localhost:5680 if you changed the port in the previous step).
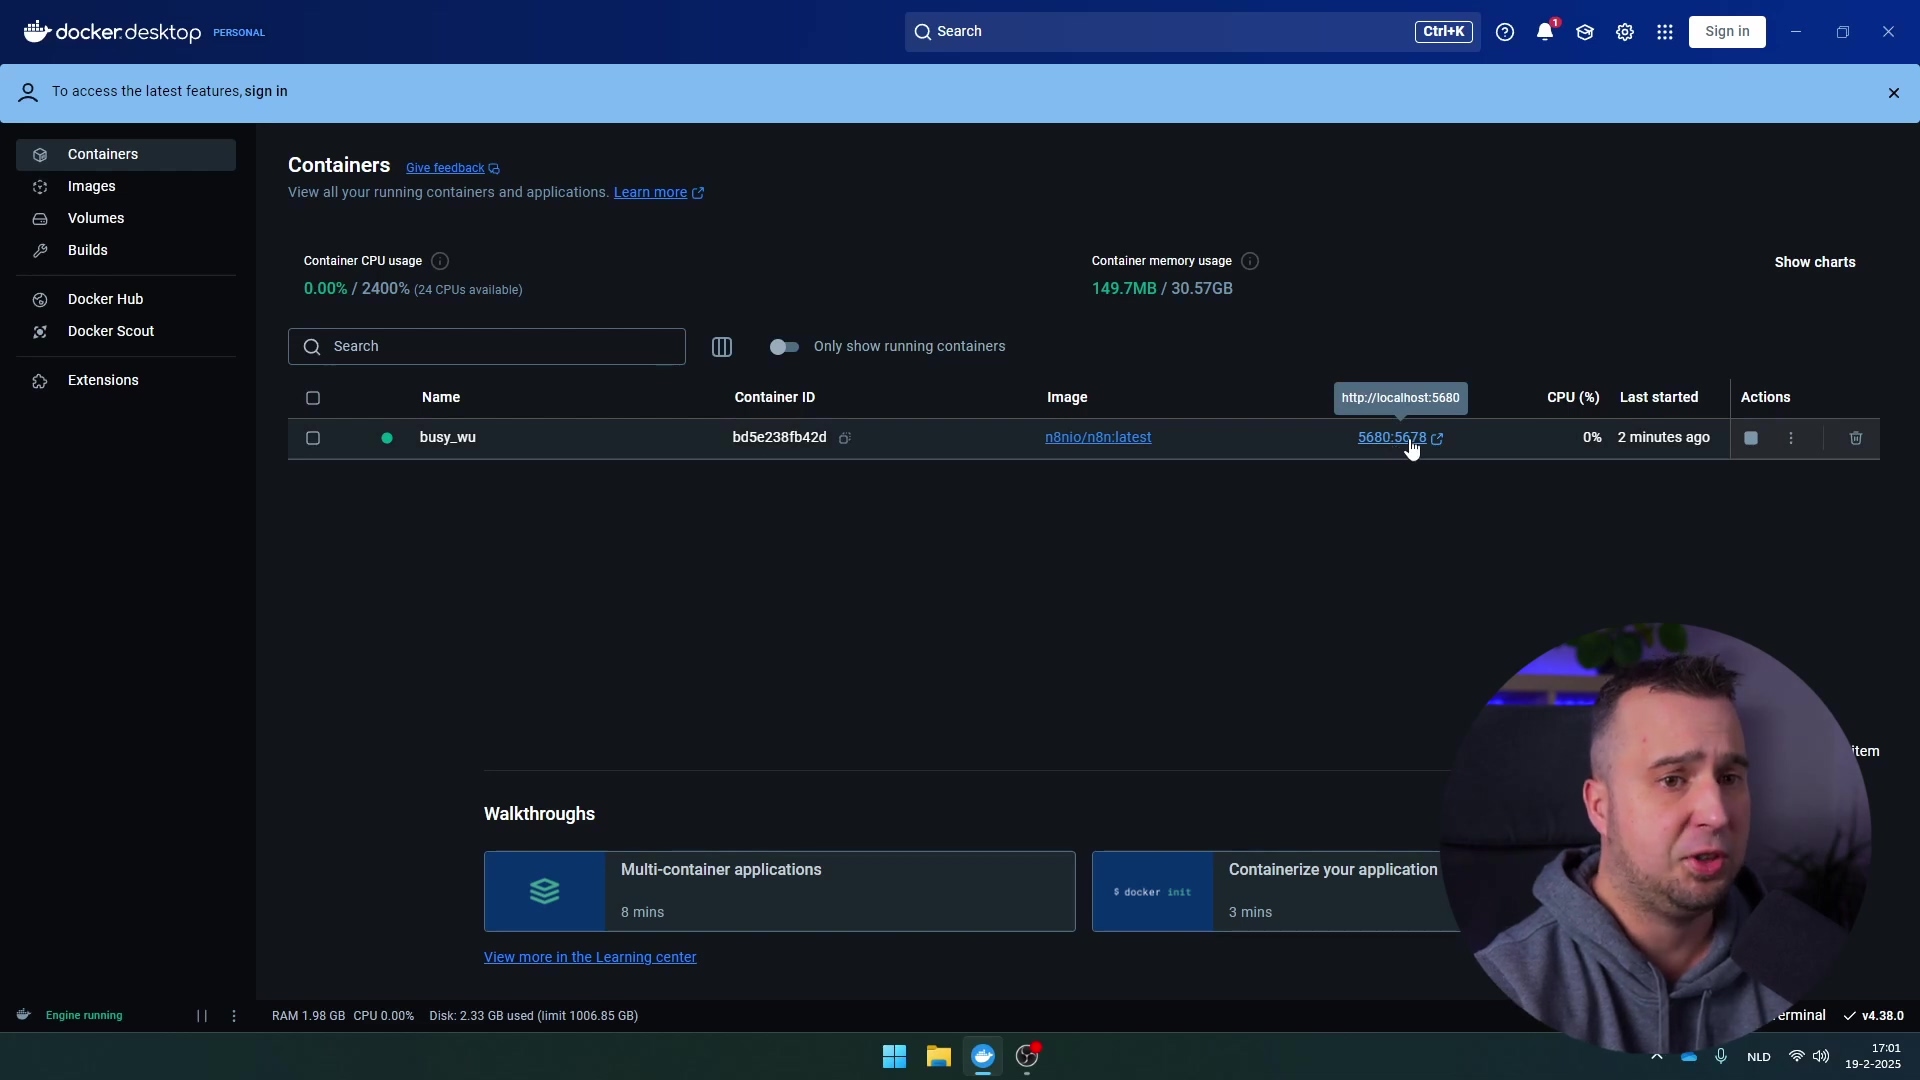
Go ahead and click that link! Your default web browser will open up, and you’ll be greeted by the n8n interface.
Expected Feedback: Your web browser will open, and you’ll see the n8n welcome screen or the initial setup page. If you see a “This site can’t be reached” error, double-check that your n8n container is indeed “Running” in Docker Desktop and that you’re using the correct port number in the URL.
5. Initial n8n Setup
Welcome to your very own n8n instance! The first time you access it, n8n needs a little bit of information to get things set up. Think of this as creating the master key for your new automation kingdom.
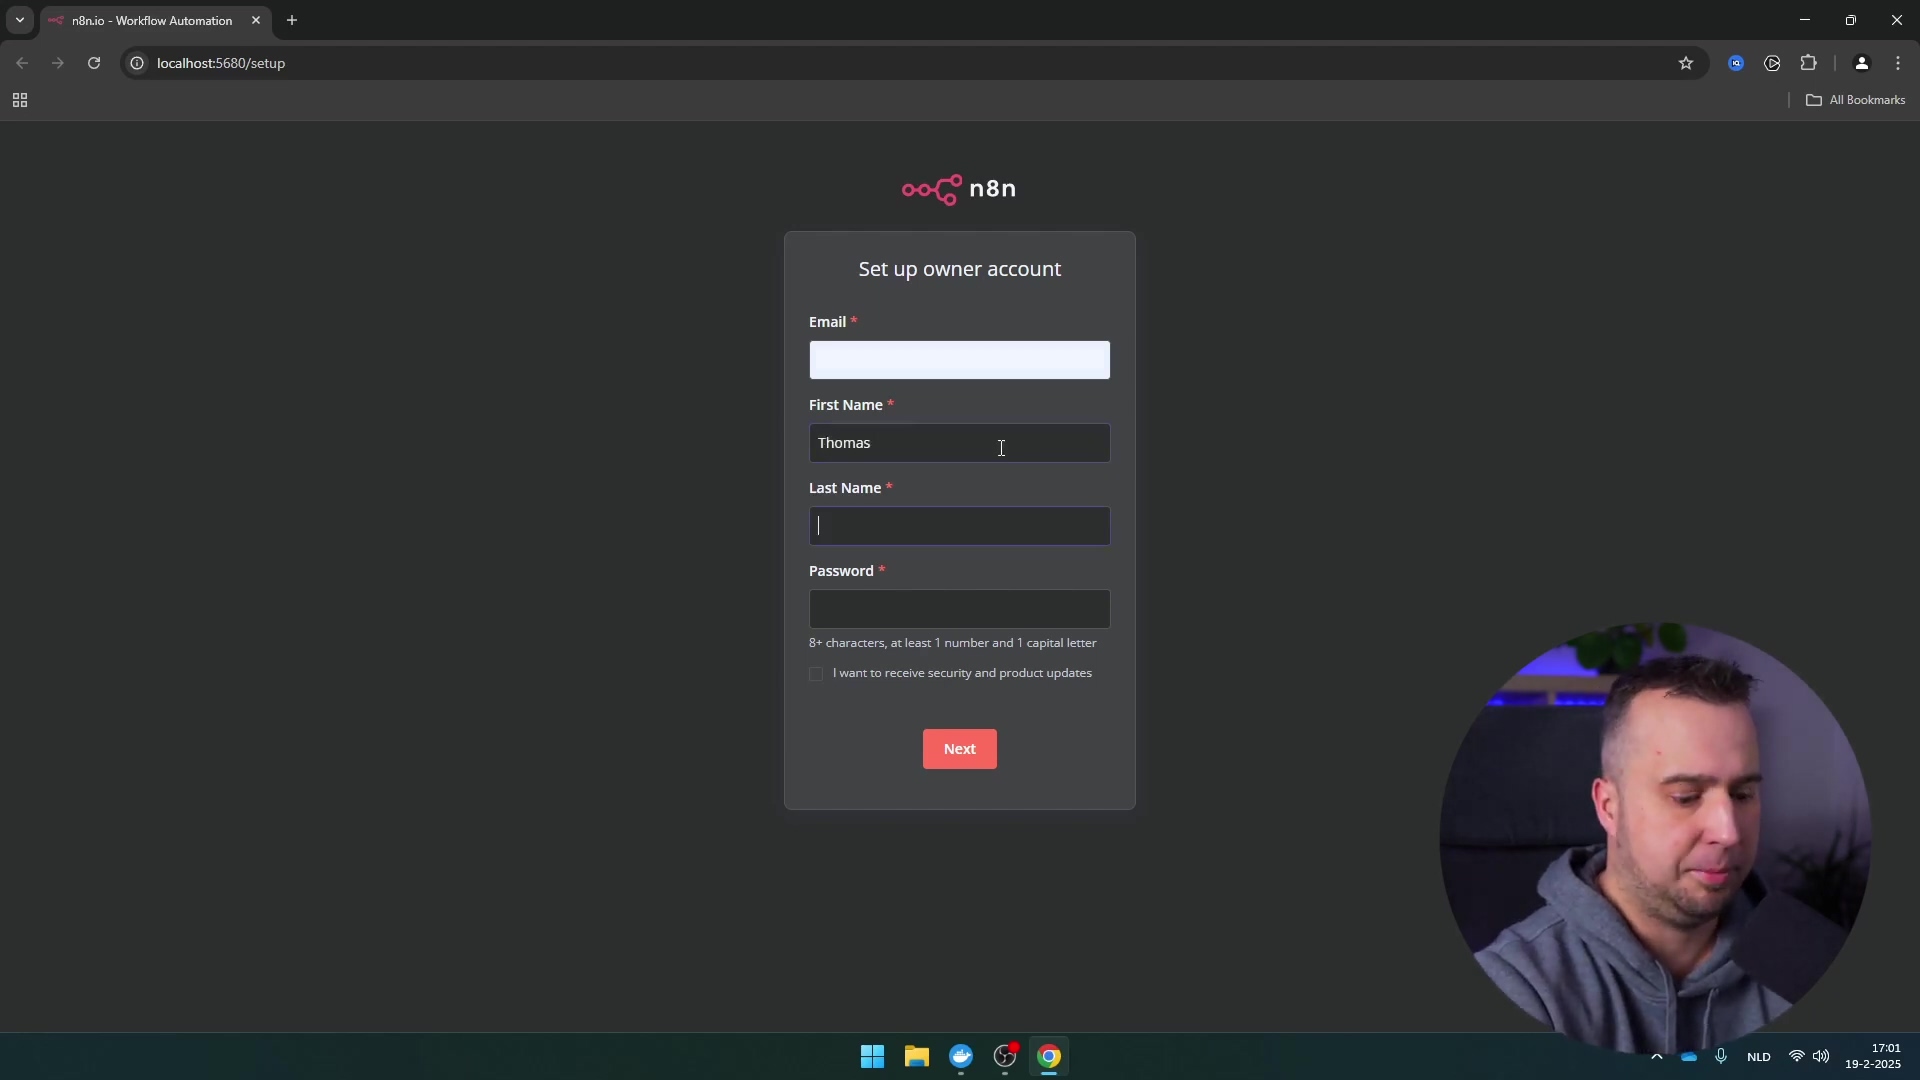
You’ll see a prompt asking you to set up an owner account. This is your administrator account for this specific n8n instance. Fill in your email address, your first name, last name, and, most importantly, a strong password. This account will be used to log in and manage all your workflows.
After you’ve filled everything out, click the button to create your account. And just like that, you’re in!
Expected Feedback: After creating your account, you’ll be automatically redirected to the n8n dashboard. This is your command center, where you’ll start building your first AI agent or automation workflow. You’ve officially nailed it!
Critical Best Practice Tips
Alright, you’ve got n8n running, which is fantastic! But like any good pilot, knowing a few best practices can save you a lot of headaches down the line. These are the lessons I learned the hard way, so you don’t have to!
💡 Port Management: Remember that 5678 port we talked about? It’s a common one. If you ever try to start n8n and it throws an error about the port being in use, don’t panic! Docker Desktop is usually pretty good at telling you. It just means another application on your computer is already using that “door number.” The easiest fix? Just pick an alternative, like 5680 or 5679, when you’re setting up the container. It’s a super common troubleshooting step.
💡 Persistent Data: This is probably the most important tip for anyone doing real work with n8n. If you just run the container without setting up a Docker volume, all your precious workflows, credentials, and settings will disappear if the container is ever removed or recreated. It’s like writing a novel on a whiteboard and then erasing it! To avoid this heartbreak, always configure a Docker volume to persist your n8n data. This means mapping a folder on your actual computer to a specific location inside the n8n container (/home/node/.n8n). This way, your data lives safely on your hard drive, independent of the container. Future you will thank past you for this!
💡 System Resources: While Docker is incredibly efficient, running n8n (especially with complex workflows) and other applications can sometimes be a bit demanding on your computer’s RAM and CPU. If your computer starts feeling sluggish, pop open Docker Desktop and check its resource usage. You might see n8n hogging a bit of memory. If you’re running a lot of other heavy applications, consider closing some down or giving Docker Desktop more resources in its settings if your computer has plenty to spare. It’s all about finding that sweet spot for optimal performance!
Key Takeaways
So, what have we learned today? A whole lot, I hope!
- Free and Flexible: You’ve just set up a completely free and incredibly flexible environment for building and experimenting with AI agents and automation. No subscriptions, no hidden fees – just pure automation power!
- Stability: By using Docker, you’ve sidestepped all those annoying dependency issues that can plague traditional Node.js installations. Your n8n instance is stable, reliable, and ready to work.
- Ease of Use: Docker Desktop truly simplifies the whole process of managing n8n. It makes local deployment accessible even for folks who aren’t command-line gurus.
- Experimentation Hub: Your local n8n setup is your personal playground. It’s perfect for learning, testing out wild ideas, and developing complex automation workflows without any risk to production systems or incurring costs. It’s your very own automation sandbox!
Conclusion
Pat yourself on the back! By following these steps, you’ve successfully installed n8n locally on your PC using Docker. You’ve unlocked a powerful, free, and stable environment for developing AI agents and automating workflows. This method not only bypasses the complexities of traditional installations but also offers complete control over your data and setup. How cool is that?
Compared to cloud-based n8n subscriptions, this DIY approach is a fantastic choice for individual developers, eager learners, and anyone who prioritizes data privacy or wants to keep costs down. While cloud services offer managed scalability for production-grade projects, your local Docker instance is perfectly suited for development, testing, and all your personal automation adventures. What’s next? Dive into n8n’s extensive documentation (https://docs.n8n.io/) and start bringing your automation ideas to life! The world of automation is your oyster!
If you found this guide helpful, please consider sharing it with others who might benefit from a free, stable n8n setup for their automation and AI agent development. Let’s spread the automation love!
Frequently Asked Questions (FAQ)
Q: What if I already have something running on port 5678?
A: No worries at all! This is a common scenario. When you’re setting up the n8n container in Docker Desktop (Step 3), you’ll see an option for “Host port”. If 5678 is taken, simply change it to another available port, like 5680 or 5679. Just remember to use that new port number when you access n8n in your browser (e.g., http://localhost:5680).
Q: Why is my n8n instance slow or crashing?
A: This often comes down to system resources. While Docker is efficient, n8n can be a bit hungry for RAM and CPU, especially with complex workflows or if you have many other applications running. Check Docker Desktop’s resource usage (you can usually find this in the settings or dashboard). If your computer has more RAM, consider allocating more to Docker Desktop. Also, try closing other demanding applications to free up resources.
Q: Can I update n8n easily with this Docker setup?
A: Absolutely! That’s one of the beauties of Docker. To update n8n, you’d typically stop and remove your existing n8n container, then pull the latest n8nio/n8n image (Step 2), and finally run a new container from that updated image (Step 3). If you set up a Docker volume for persistent data (which you should!), all your workflows and settings will be safe and automatically picked up by the new container. It’s a super clean way to upgrade!
Q: What’s the difference between a Docker “image” and a “container”?
A: Great question! Think of a Docker image as a blueprint or a recipe. It’s a static, read-only template that contains all the code, libraries, and dependencies needed to run an application (like n8n). A Docker container, on the other hand, is a running instance of that image. It’s like the actual house built from the blueprint, or the cake baked from the recipe. You can have multiple containers running from the same image, each isolated from the others. Our guide first pulls the n8n image and then runs an n8n container from it.
Q: Is this local n8n setup suitable for production use?
A: While technically possible, this local Docker setup is primarily recommended for development, testing, and personal projects. For production environments, especially those requiring high availability, scalability, or team collaboration, a managed cloud service (like n8n Cloud) or a more robust self-hosted setup (e.g., on a dedicated server with proper monitoring and backups) would generally be more suitable. Our local setup is fantastic for learning and building, but for mission-critical tasks, you’d want something more resilient.