Watch the Video Tutorial
💡 Pro Tip: After watching the video, continue reading below for detailed step-by-step instructions, code examples, and additional tips that will help you implement this successfully.
Table of Contents
Open Table of Contents
- Why Hostinger for n8n Self-Hosting? My Two Cents!
- Initial n8n Setup on Hostinger: Easy Peasy!
- Updating n8n on Your Hostinger VPS: The Main Event!
- Accessing Your Updated n8n Instance: Time to Automate!
- Required Resources List and Cost-Benefit Analysis: Show Me the Money (and the Value!)
- 💡 Critical Best Practice Tips: Don’t Skip These!
- Key Takeaways: The TL;DR Version!
- Conclusion: You Got This!
- Frequently Asked Questions (FAQ)
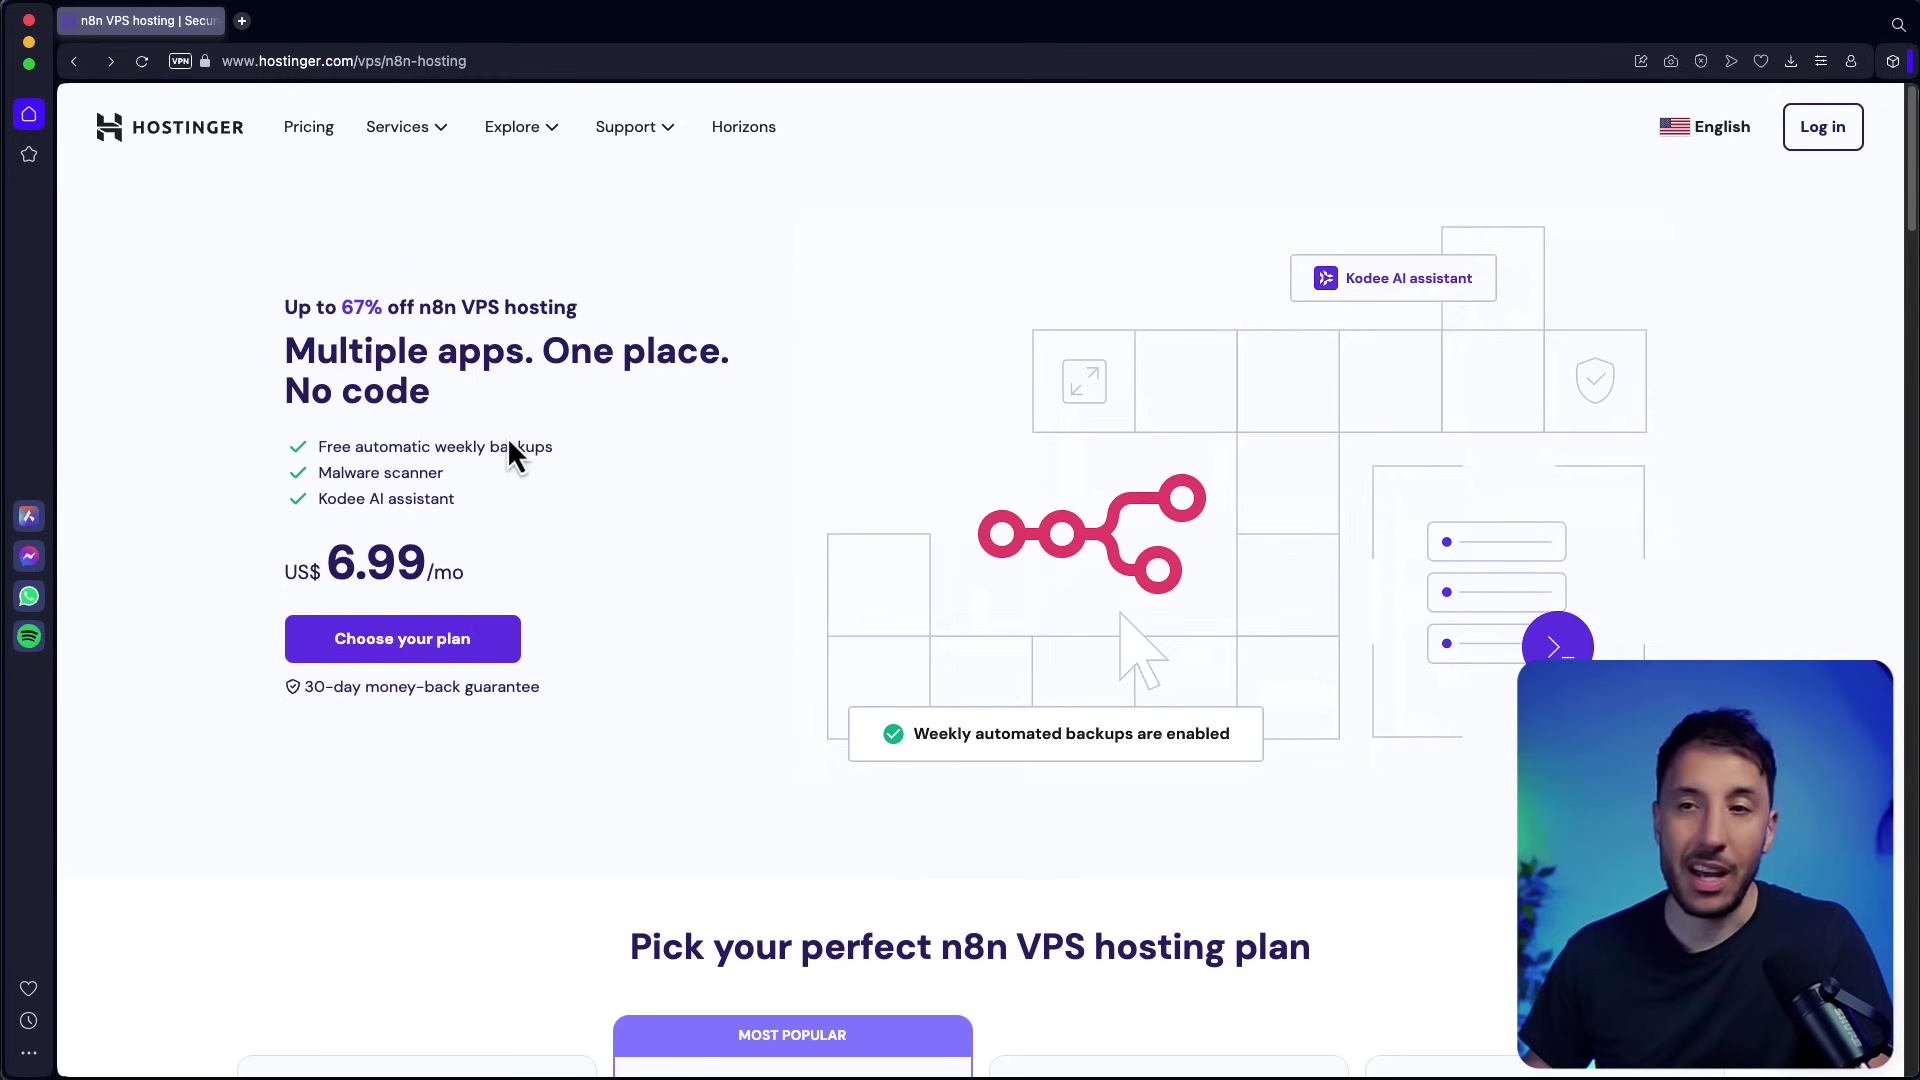
Why Hostinger for n8n Self-Hosting? My Two Cents!
Alright, let’s talk about Hostinger. Why do I recommend it for self-hosting n8n? Well, for starters, it’s like the friendly giant of hosting providers. It’s reliable, super easy to use (even for us non-techy folks), and the pricing? Chef’s kiss! It really simplifies setting up and managing a Virtual Private Server (VPS), which is basically your own little slice of the internet where your n8n can live and thrive. They even have dedicated n8n VPS hosting plans, which means they’ve already done some of the heavy lifting to make sure you have the right resources.
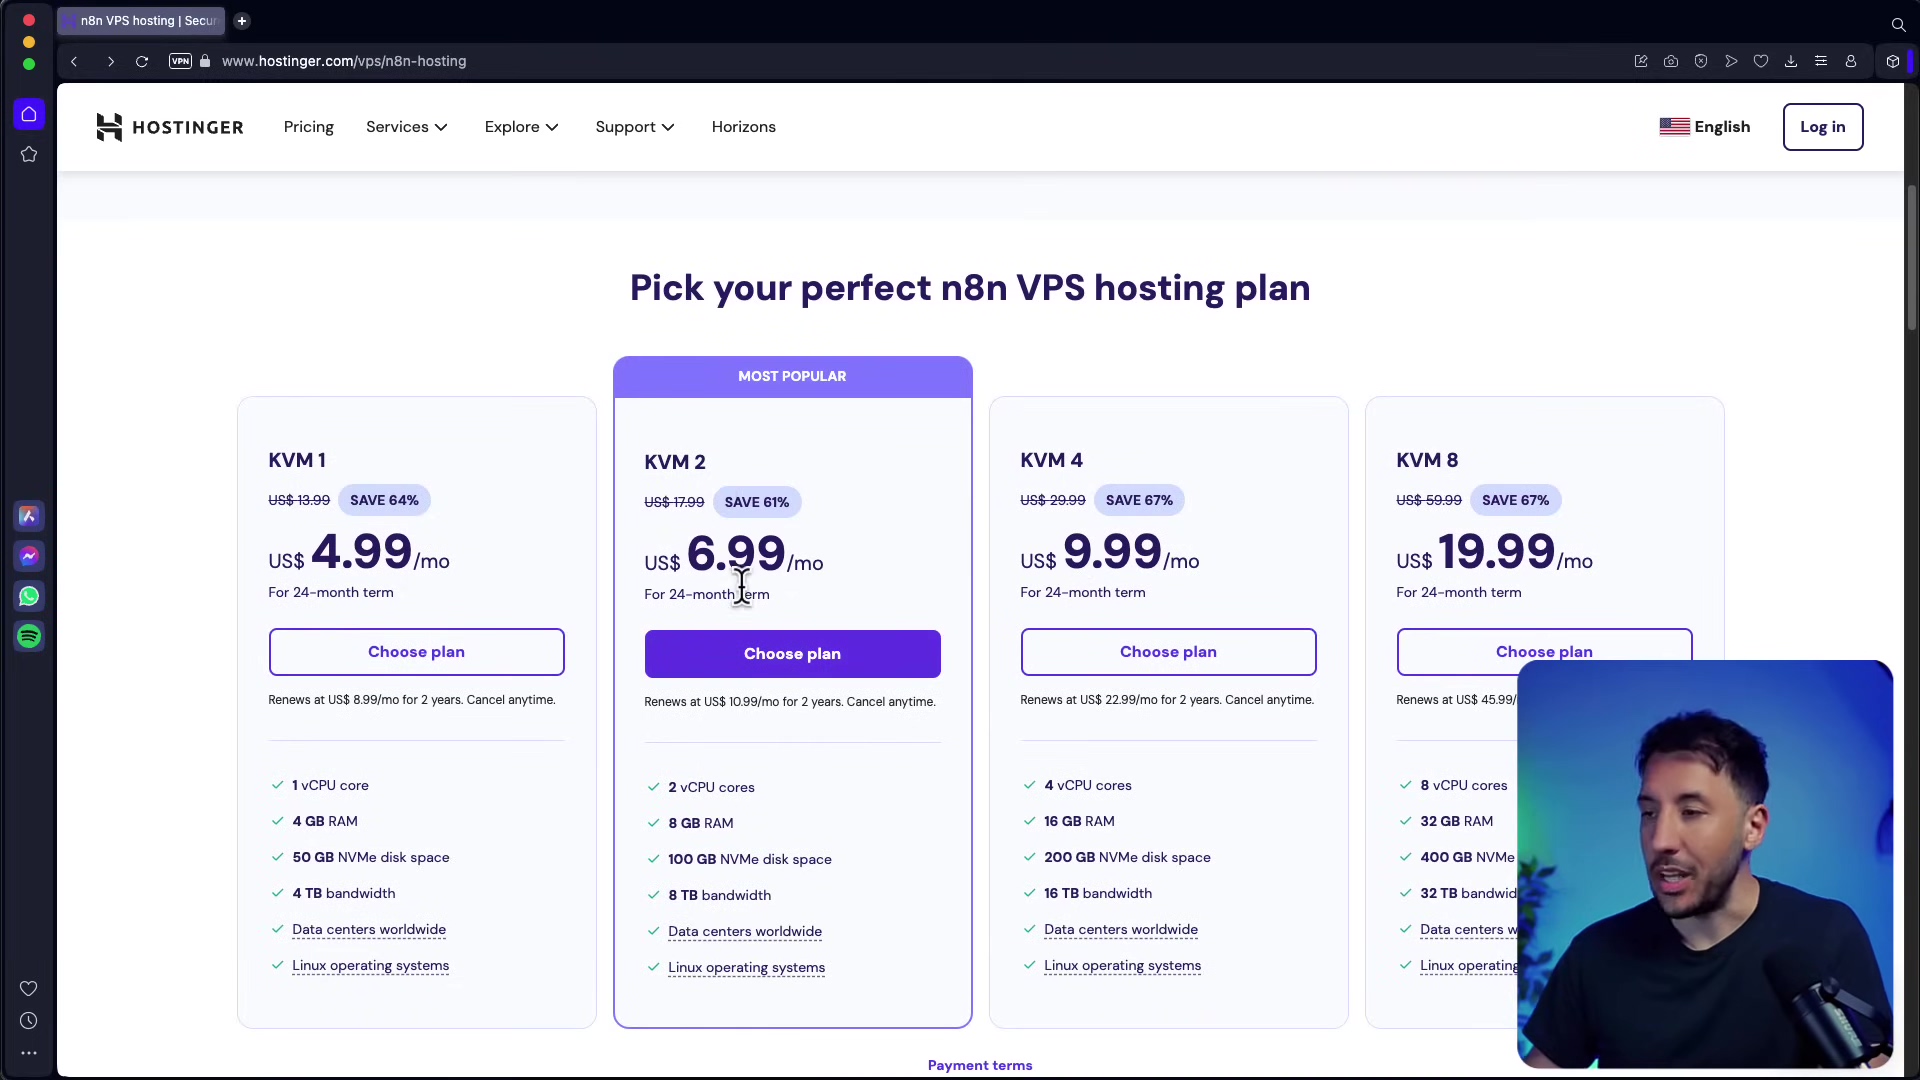
Choosing Your Hostinger VPS Plan: Don’t Skimp on the Juice!
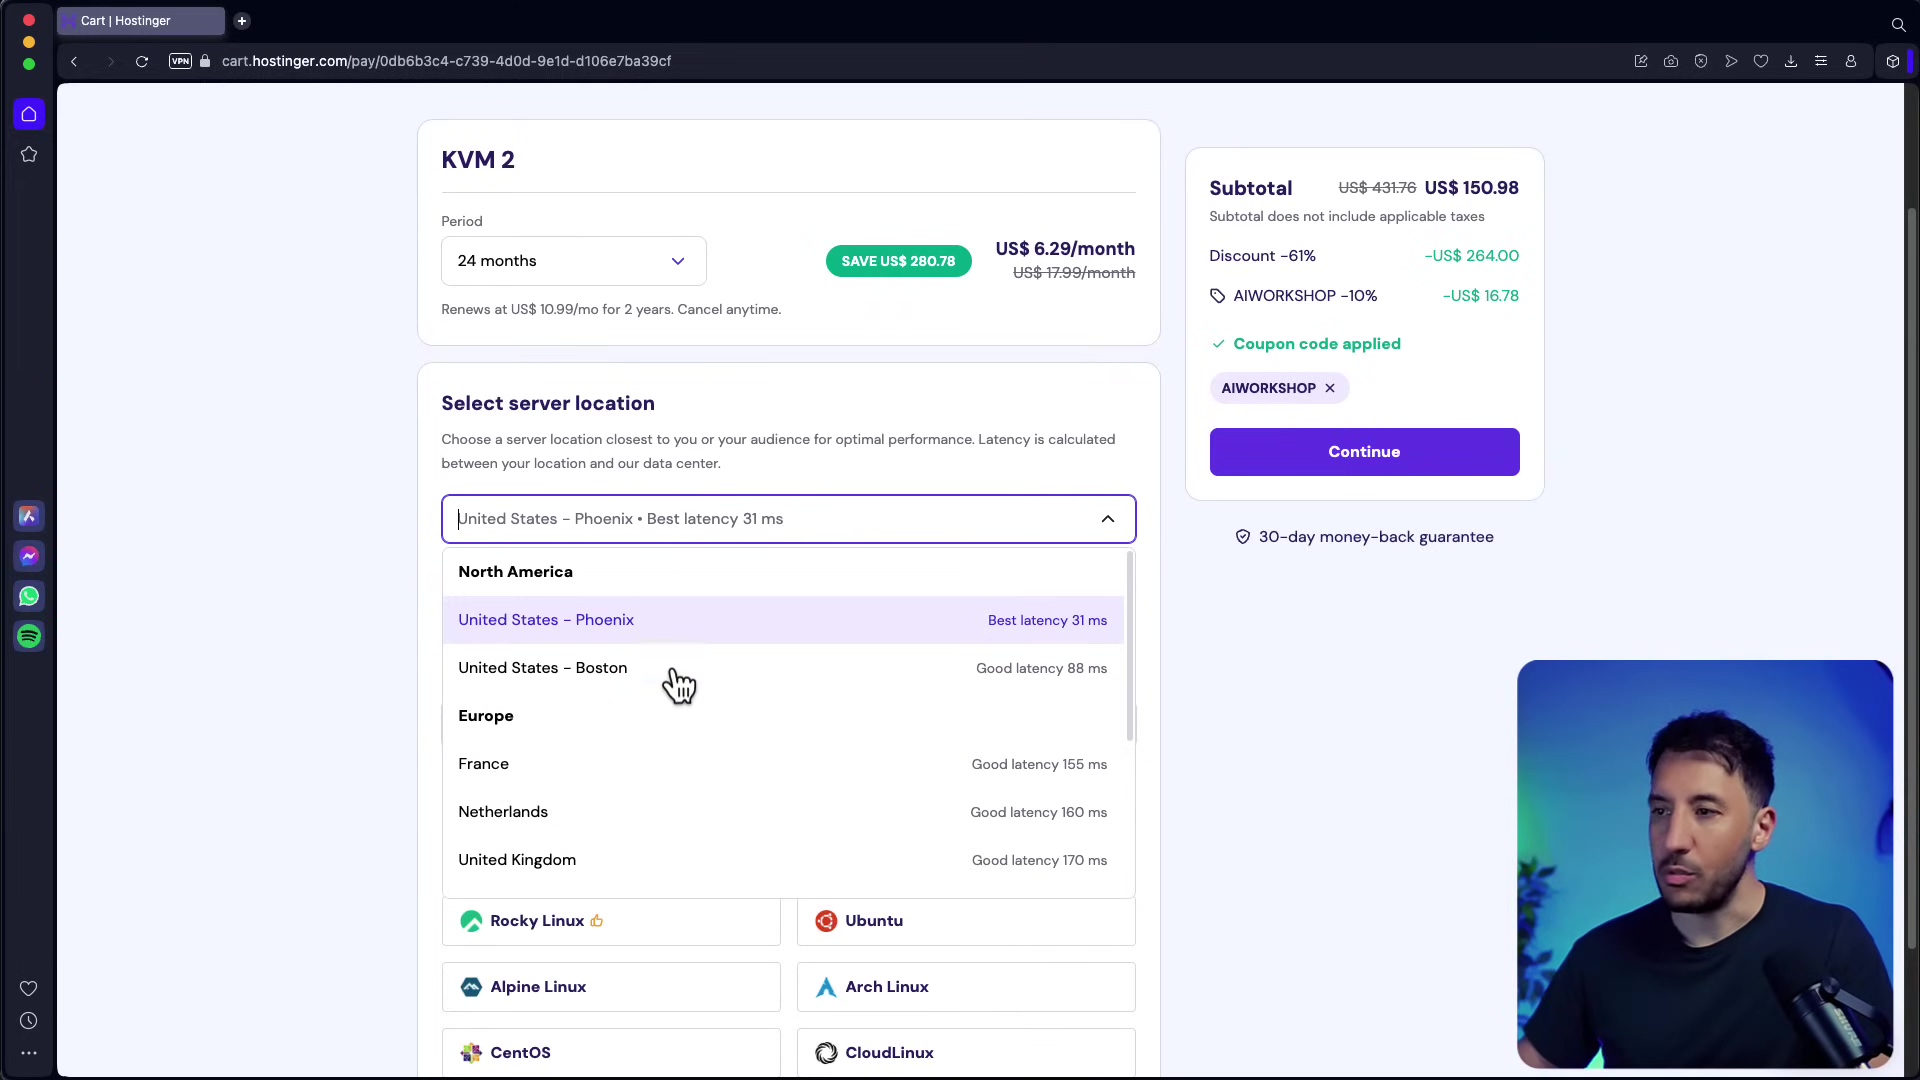
When you’re picking a VPS plan, think of it like choosing the right engine for your automation spaceship. You need enough power (resources) for your n8n workflows to run smoothly. Hostinger offers several KVM VPS plans. KVM 2 is usually my go-to recommendation for personal projects or even if you’re doing some intermediate stuff. Why? Because it gives you a solid 8GB of RAM and a speedy 100GB NVMe disk space. That’s plenty of room and power for n8n to stretch its legs and run those complex workflows without breaking a sweat.
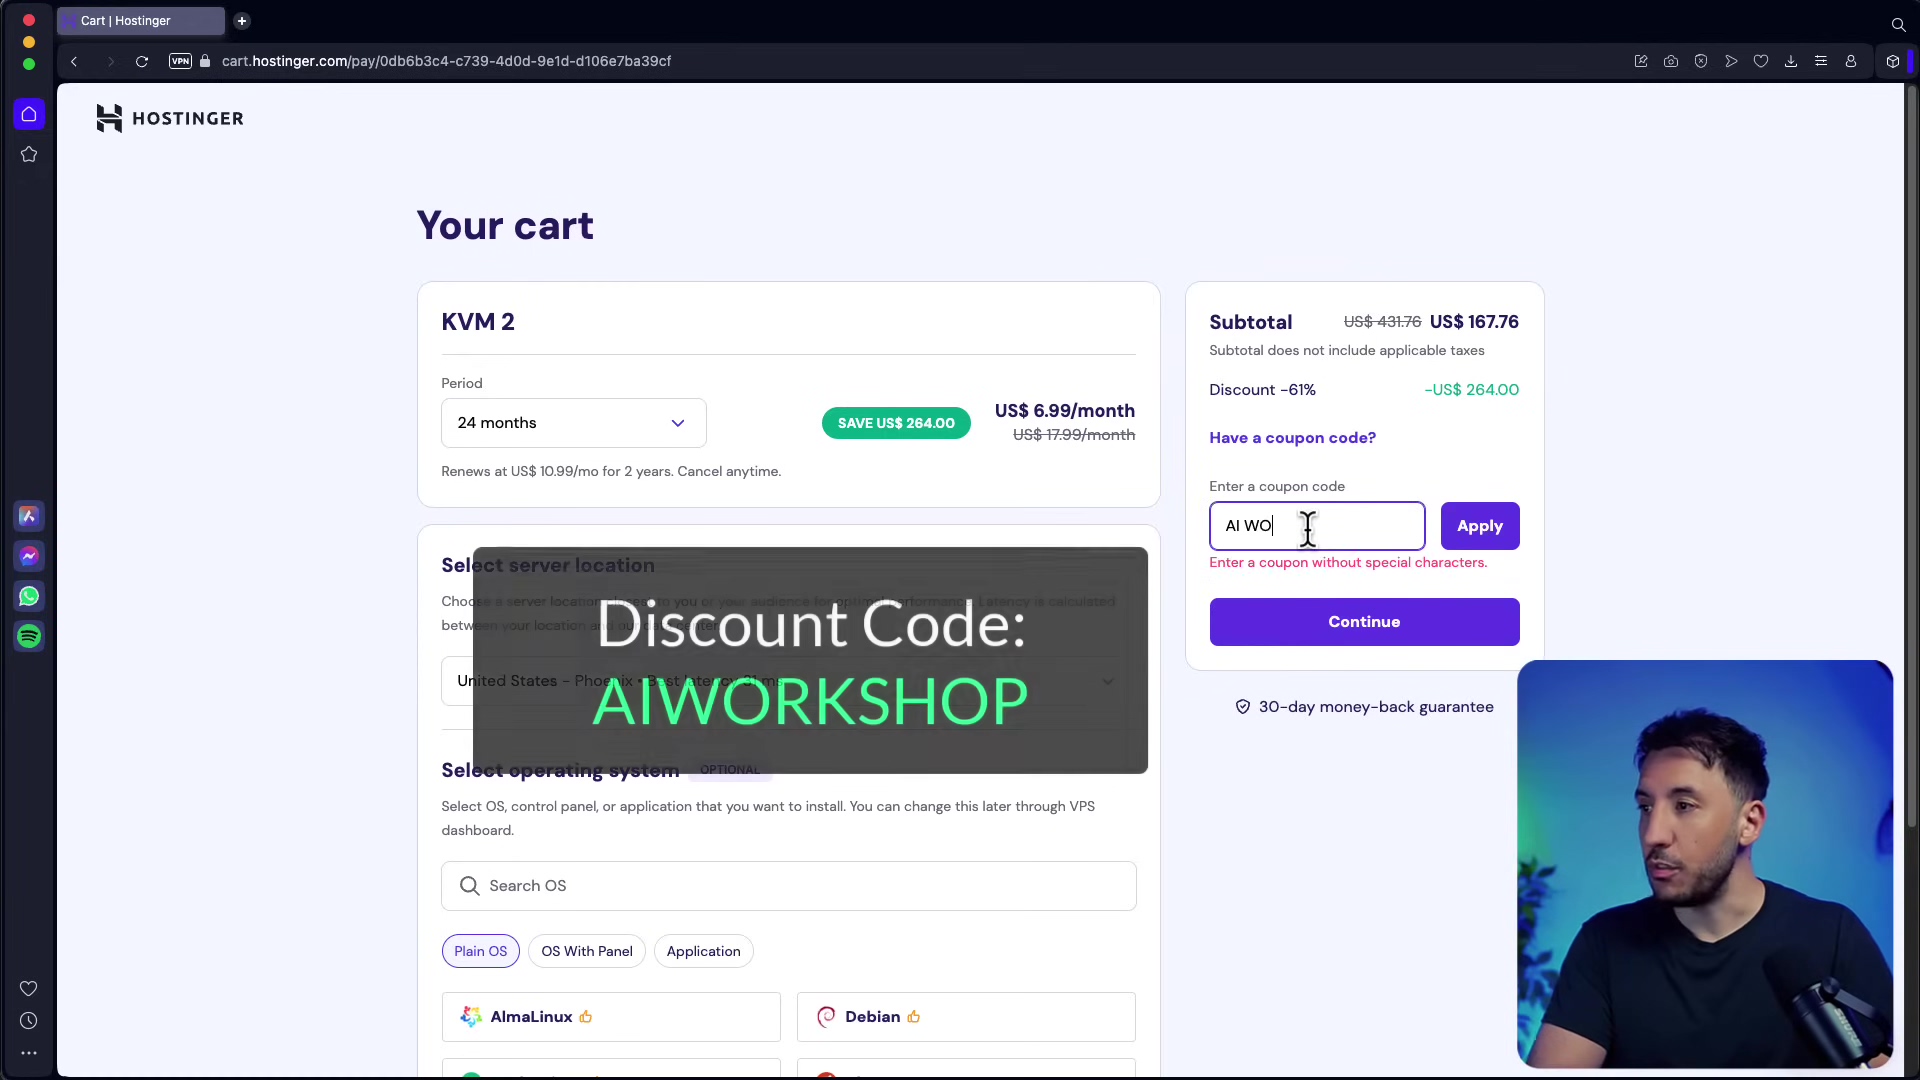
Applying Discount Codes: Who Doesn’t Love a Deal?
Here’s a little secret: Hostinger is often running sales! Always, always, always look for coupon codes. A little code like ‘AIWORKSHOP’ (or whatever the latest one is) can often snag you an extra 10% off. Every penny saved is a penny you can spend on, well, more automation tools, right? Or coffee. Definitely coffee.
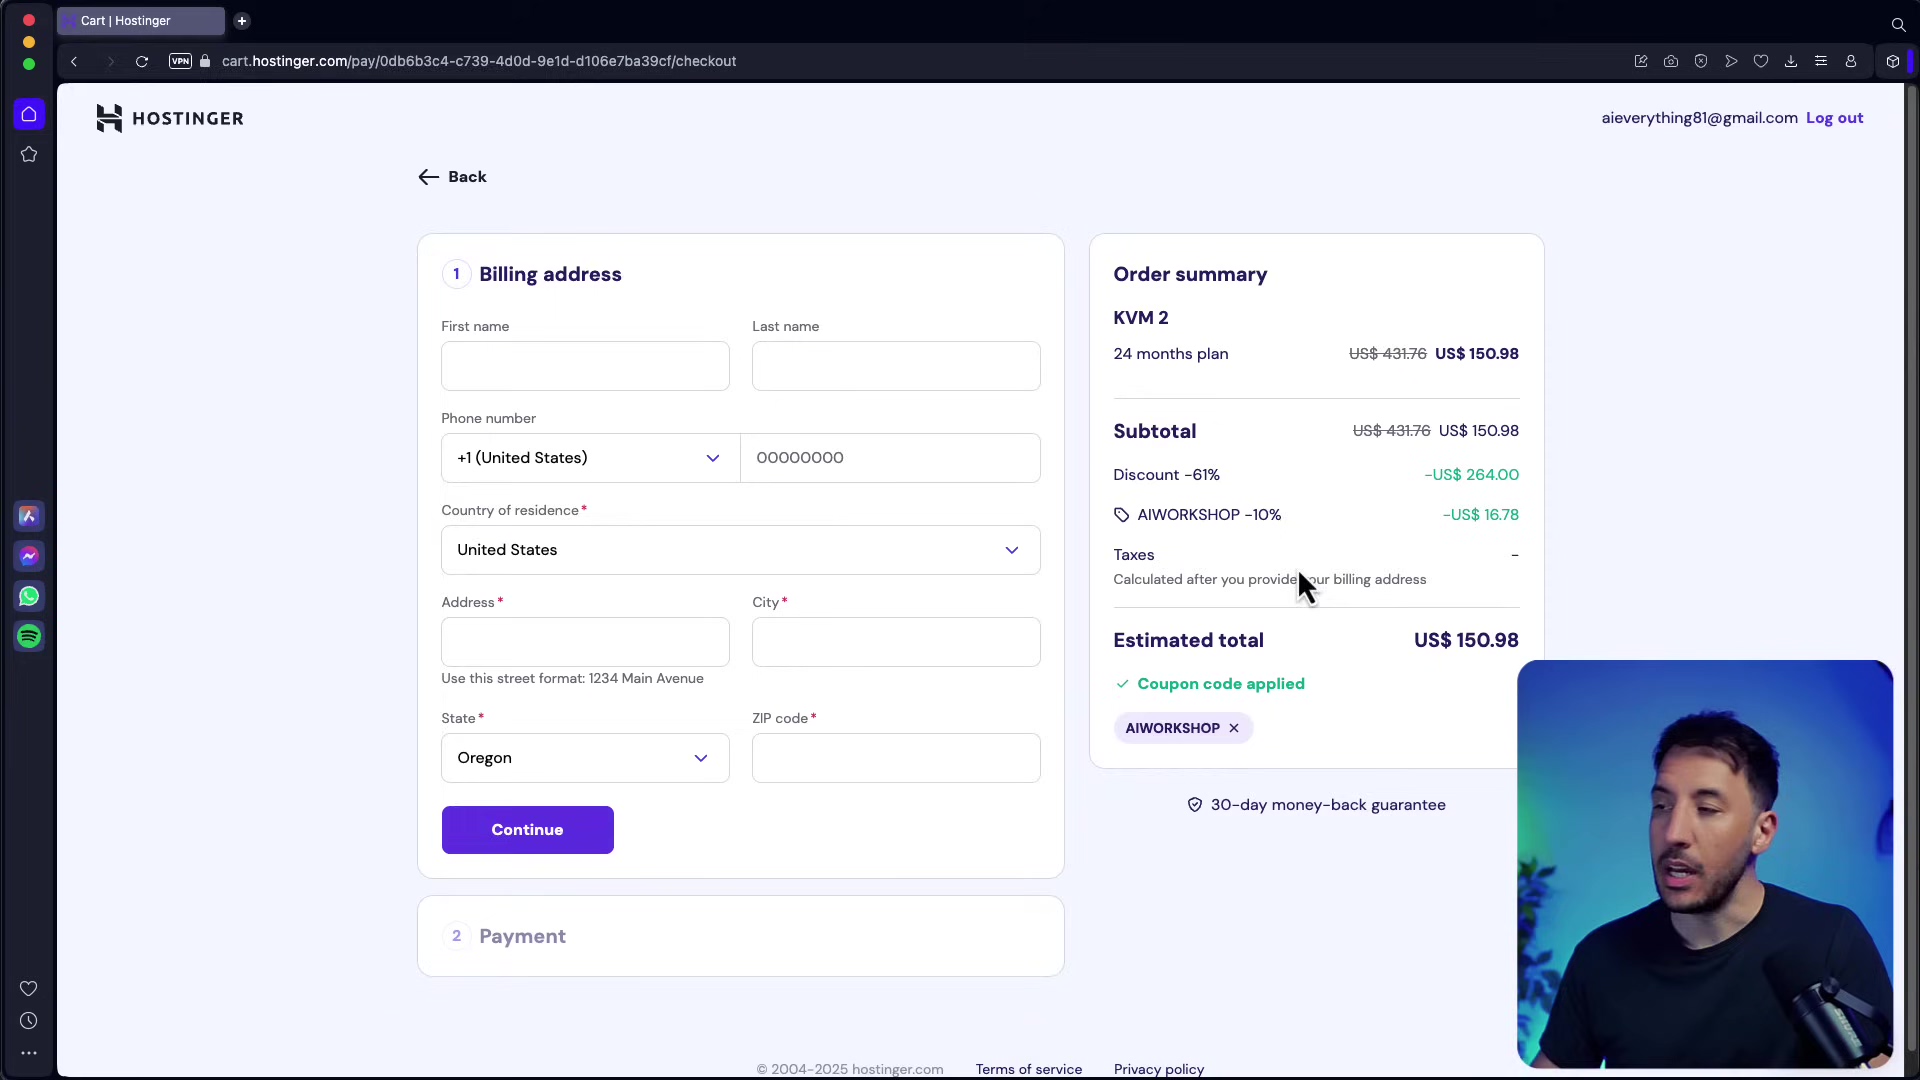
Location and Billing Setup: Where in the World is Your Server?
During checkout, you’ll get to pick your server’s location. Hostinger is pretty smart; it’ll usually suggest the closest one to you for the best performance. But if your audience or your data is primarily in another part of the world, you can totally pick a server closer to them. Once you’ve got your location sorted, double-checked your billing details, and made sure that sweet discount code is applied, you’re ready to hit that payment button. You’re almost there!
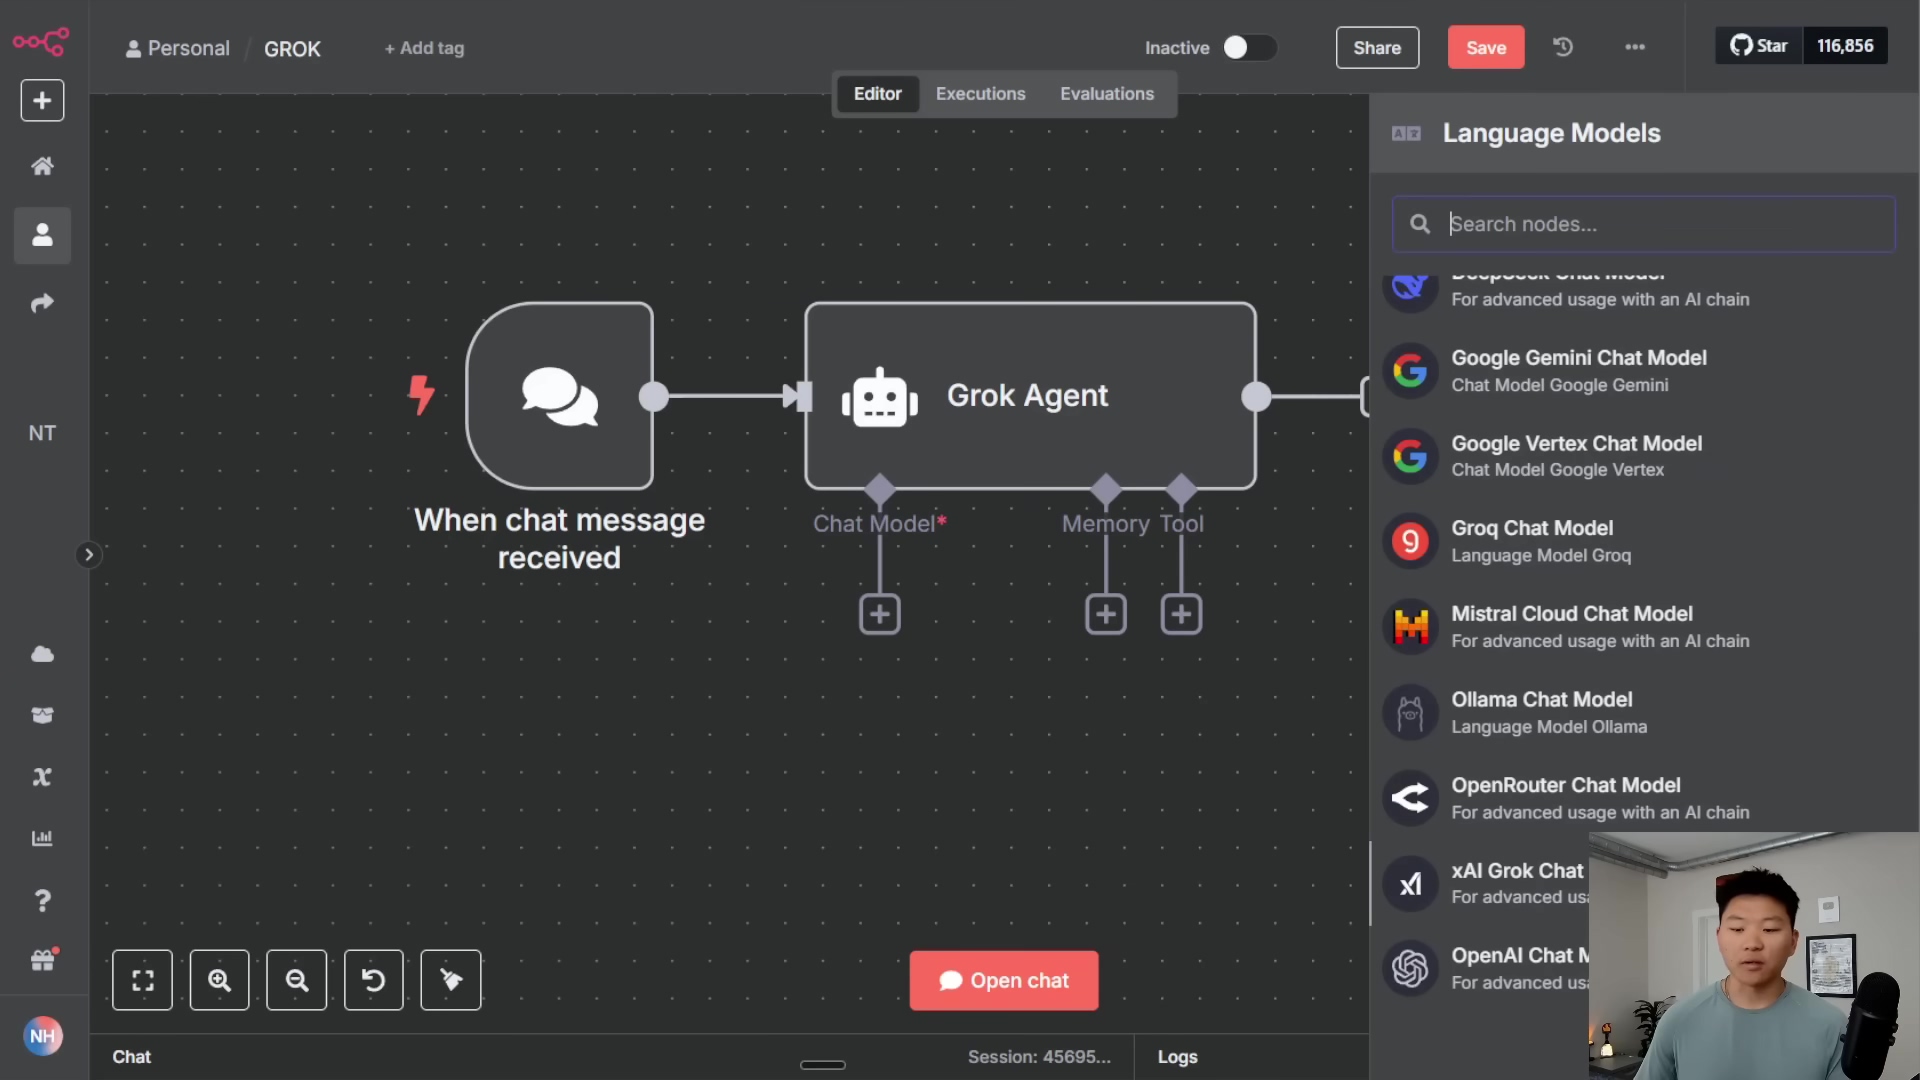
Initial n8n Setup on Hostinger: Easy Peasy!
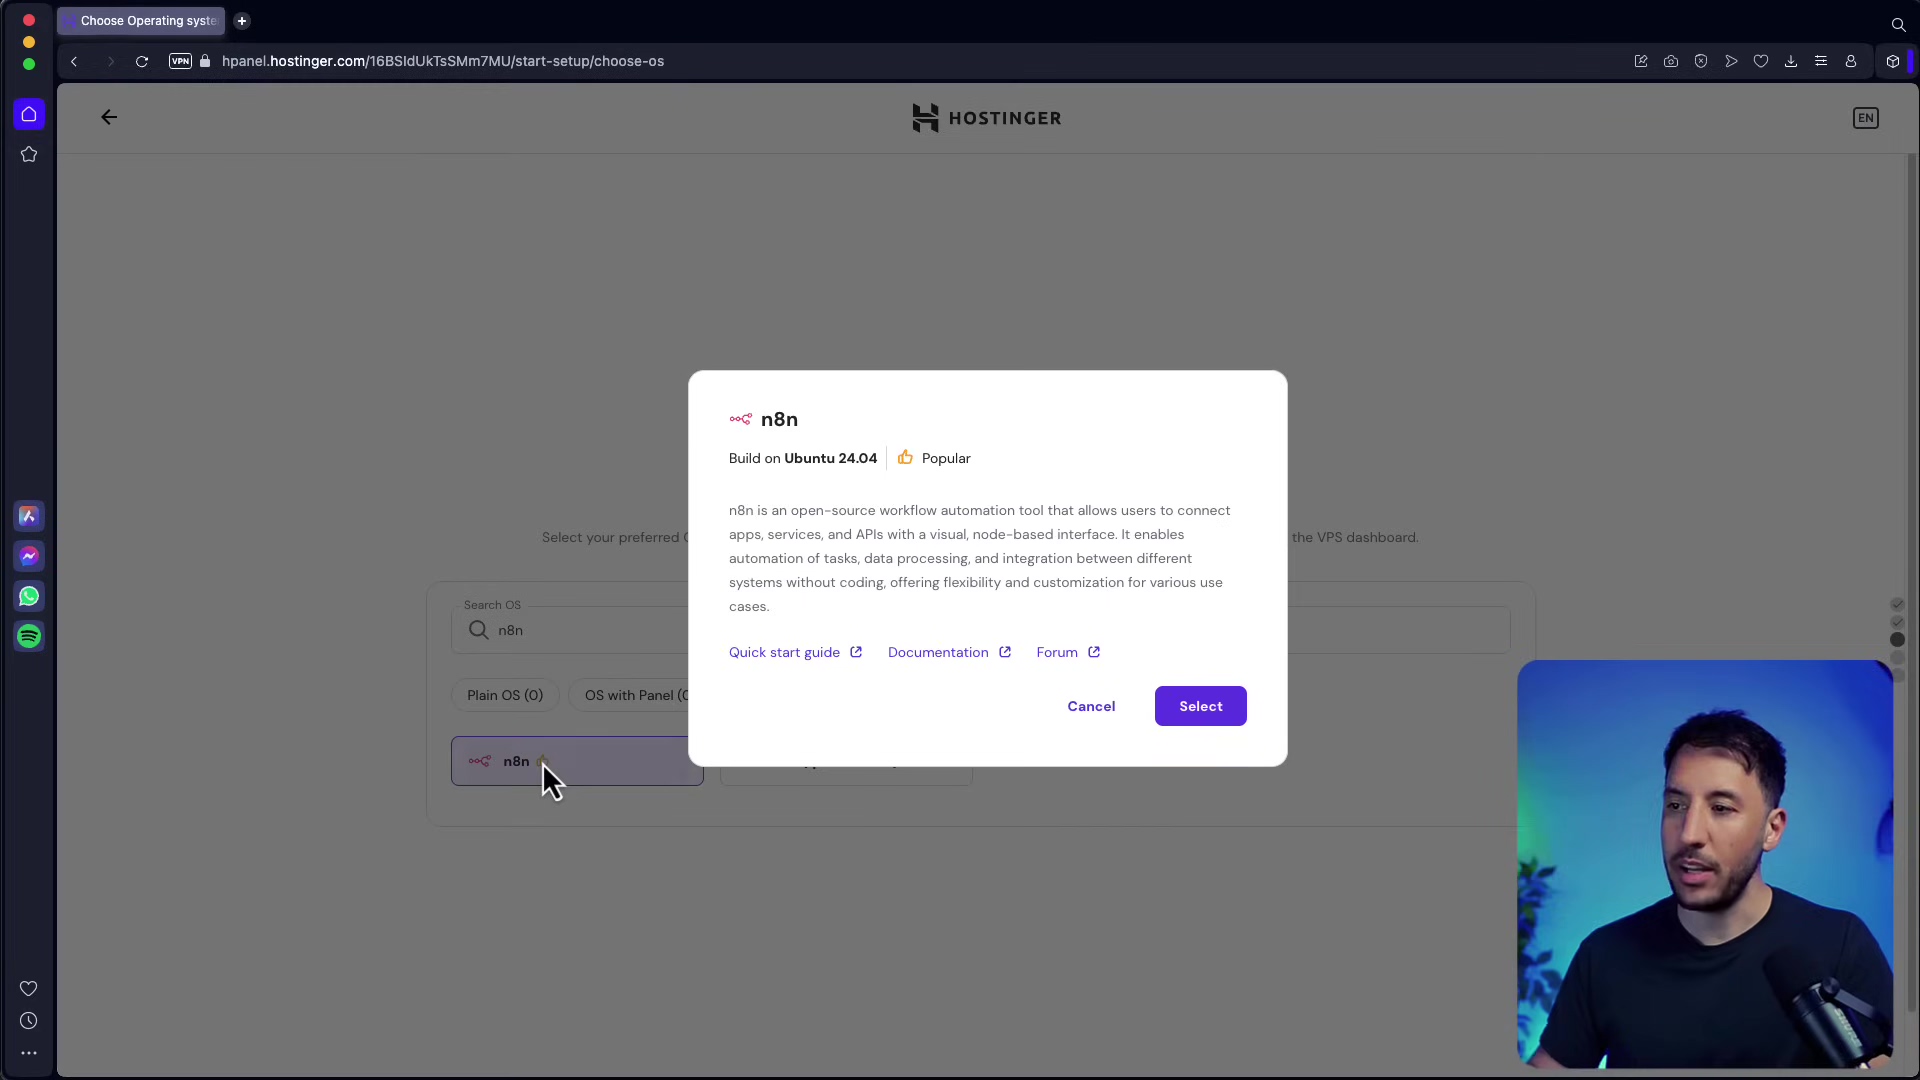
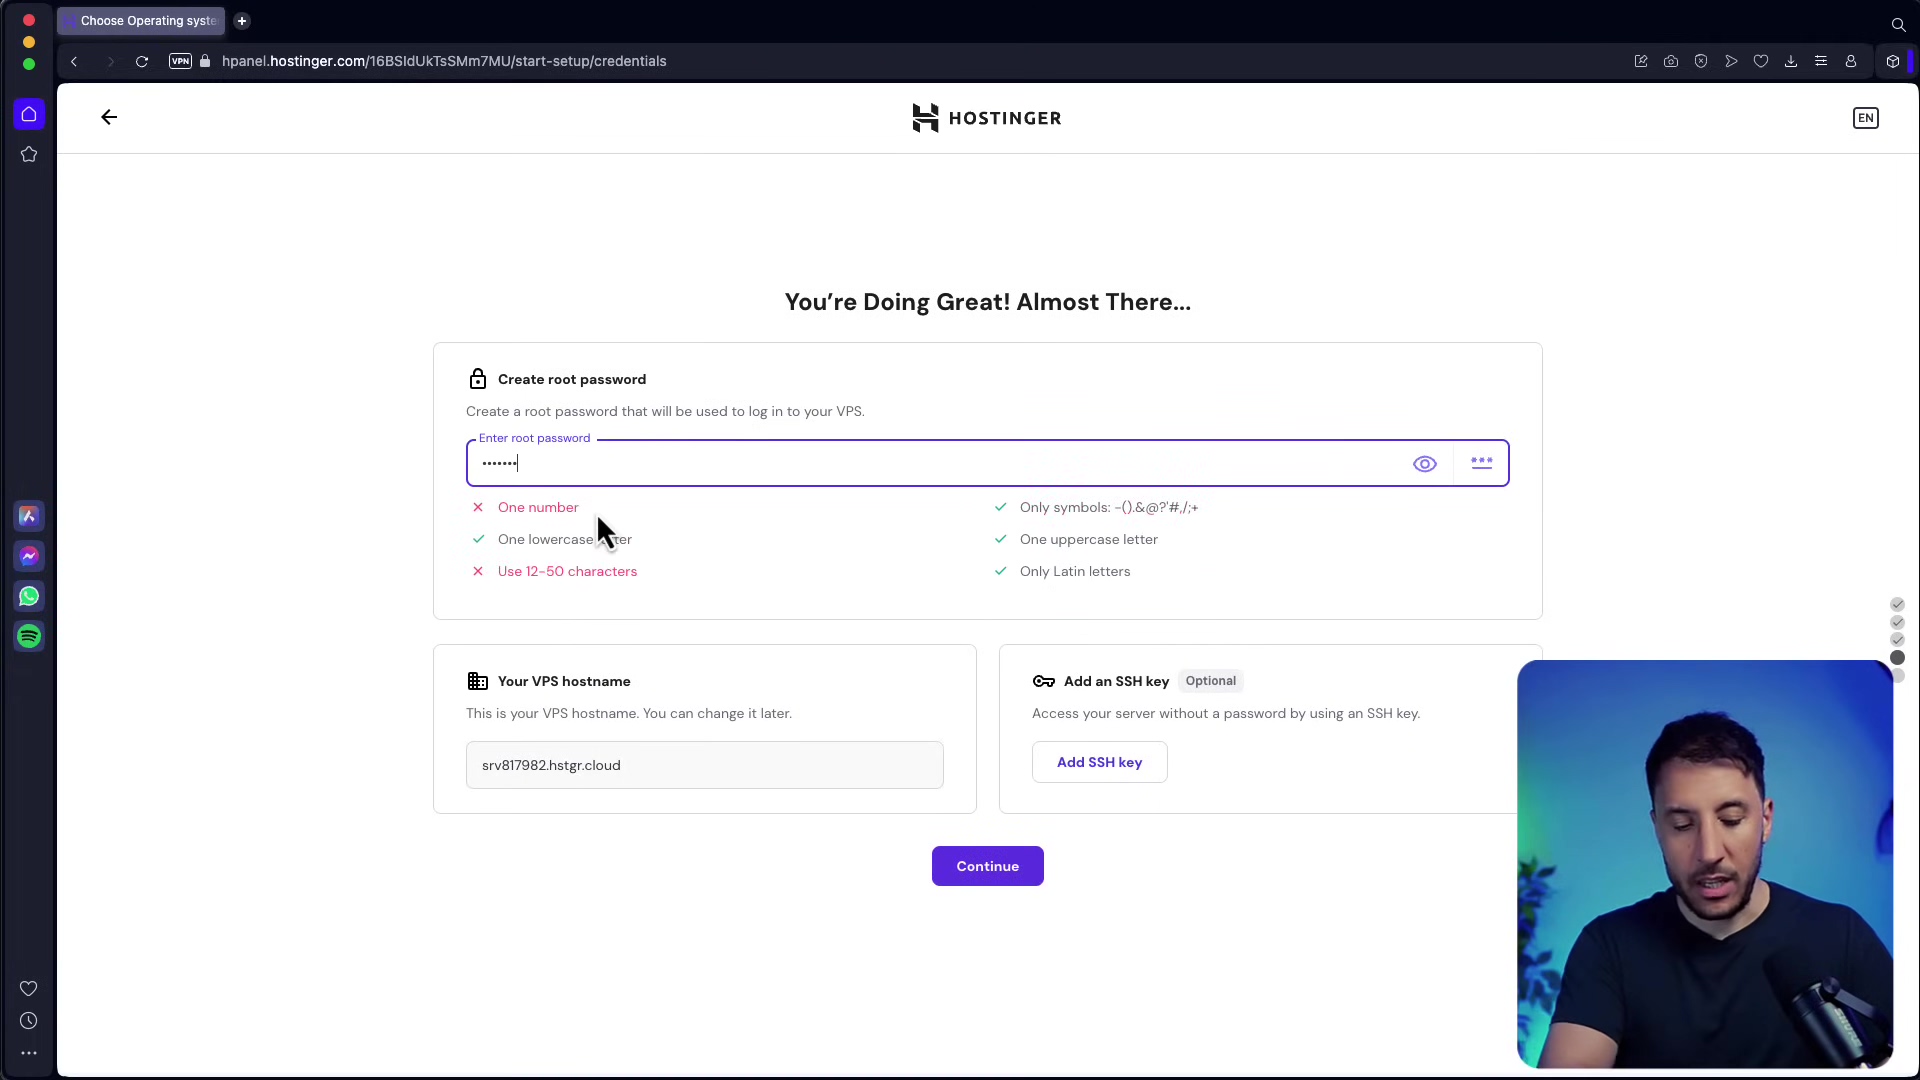
Once your VPS is ready – think of it as your digital land being prepped for building – Hostinger makes installing n8n surprisingly simple. They have this super handy feature where you can select n8n as an application template. What does that mean? It means Hostinger automatically installs n8n for you on an Ubuntu environment. Ubuntu is just a type of operating system, like Windows or macOS, but for servers. You’ll also set a root password for your VPS, which is like the master key to your server, so keep it safe!
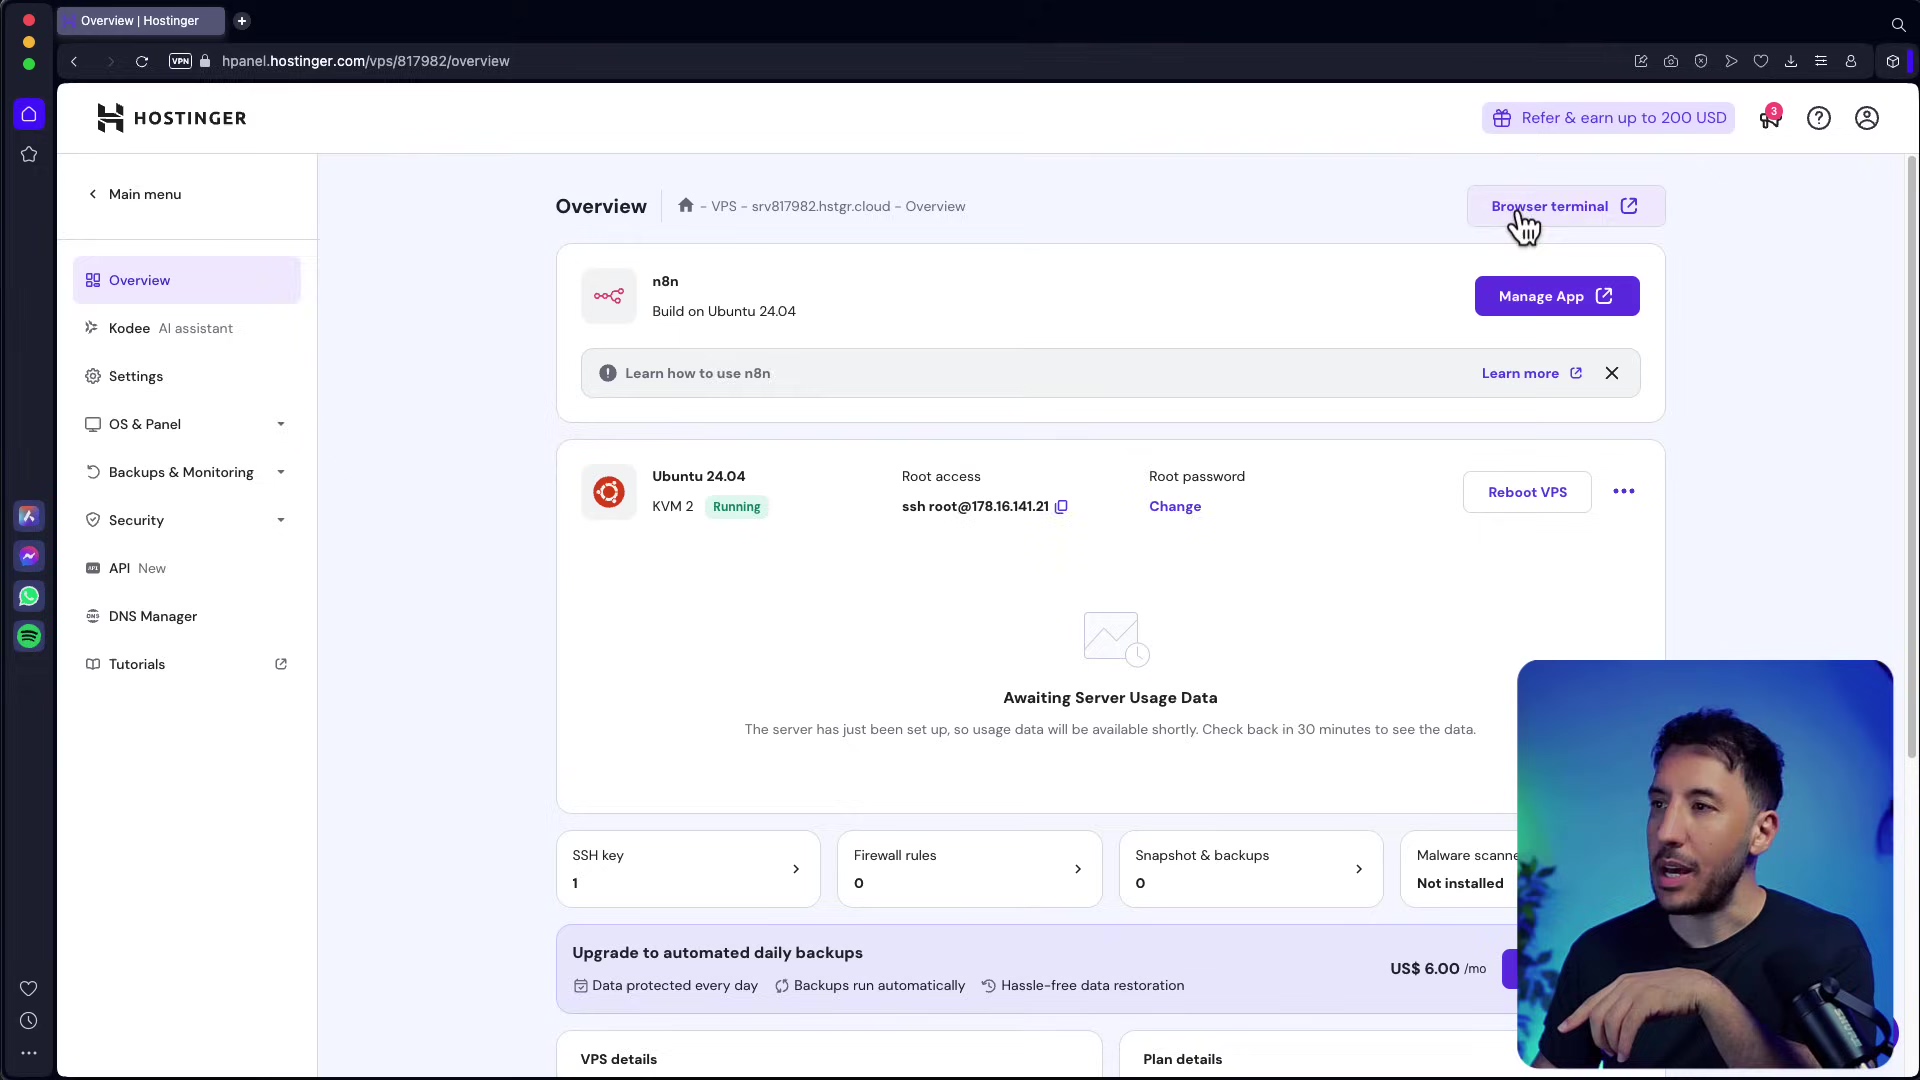
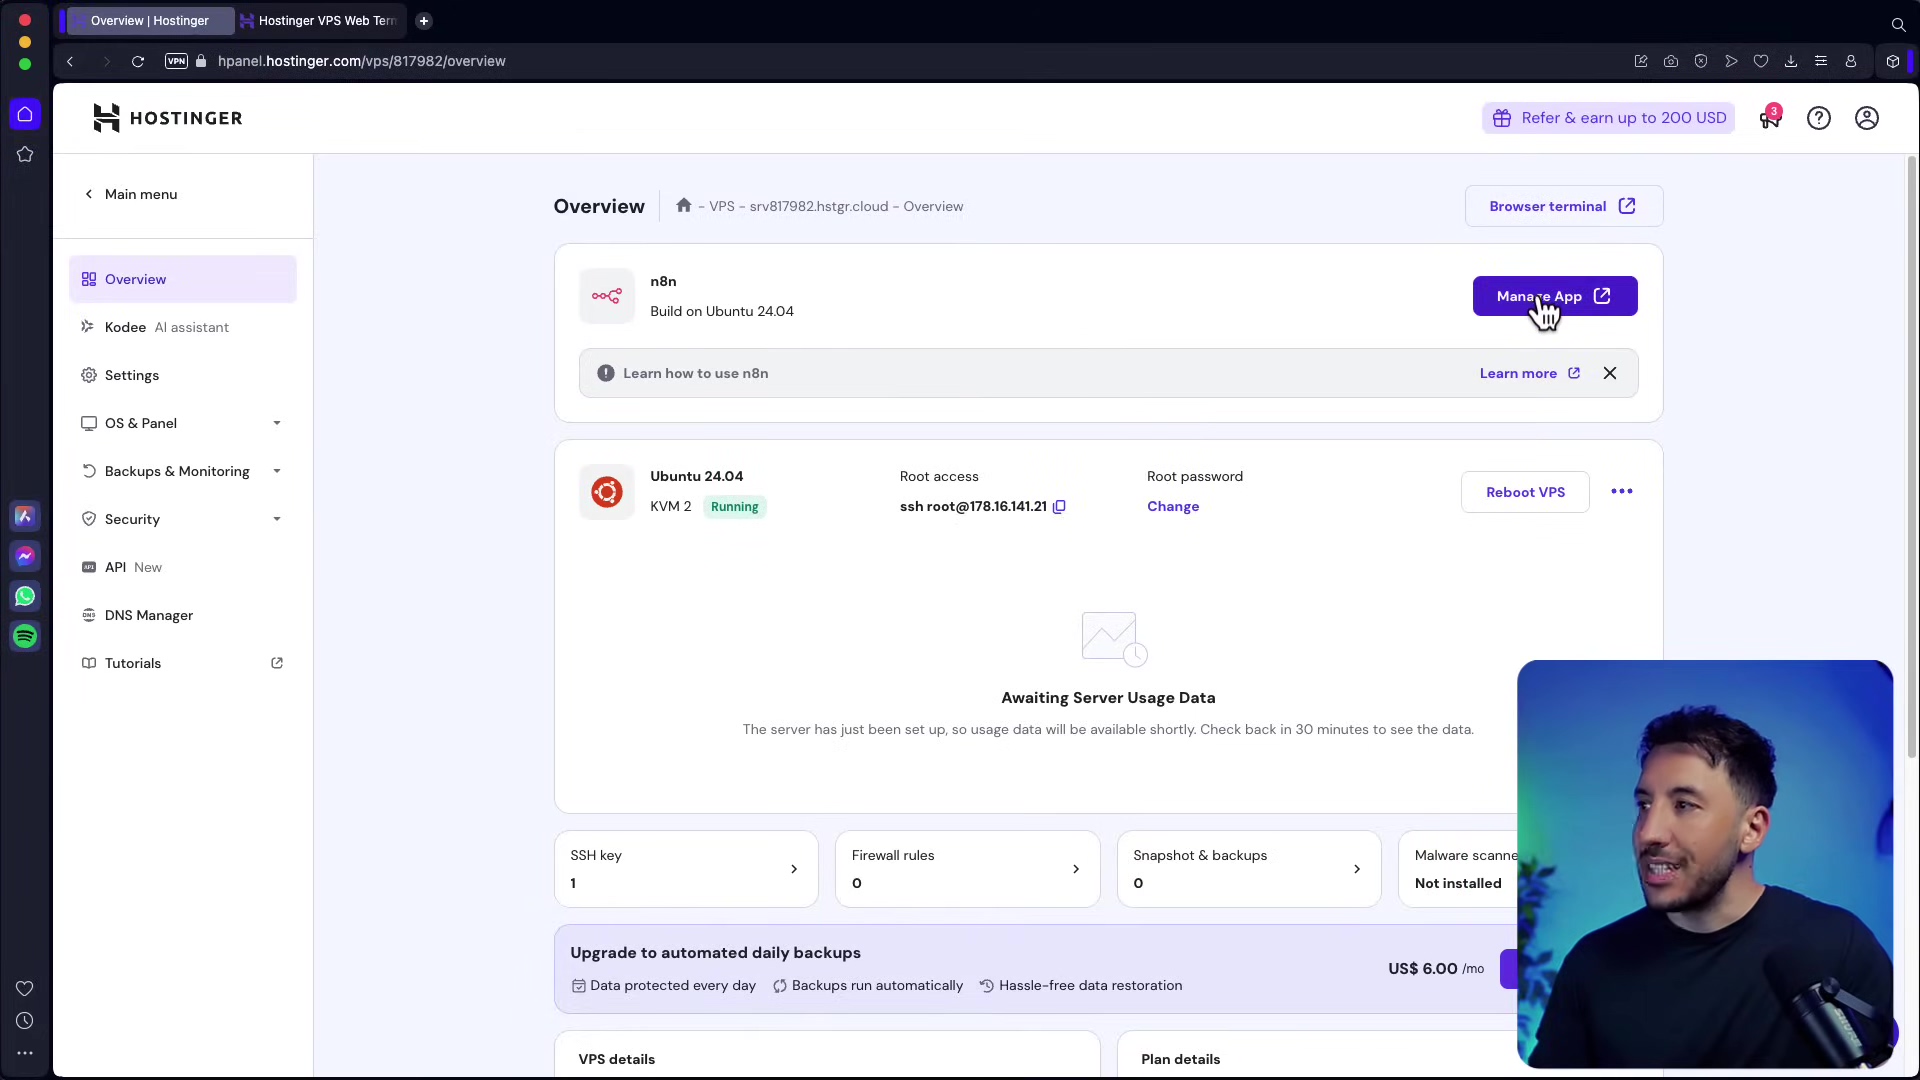
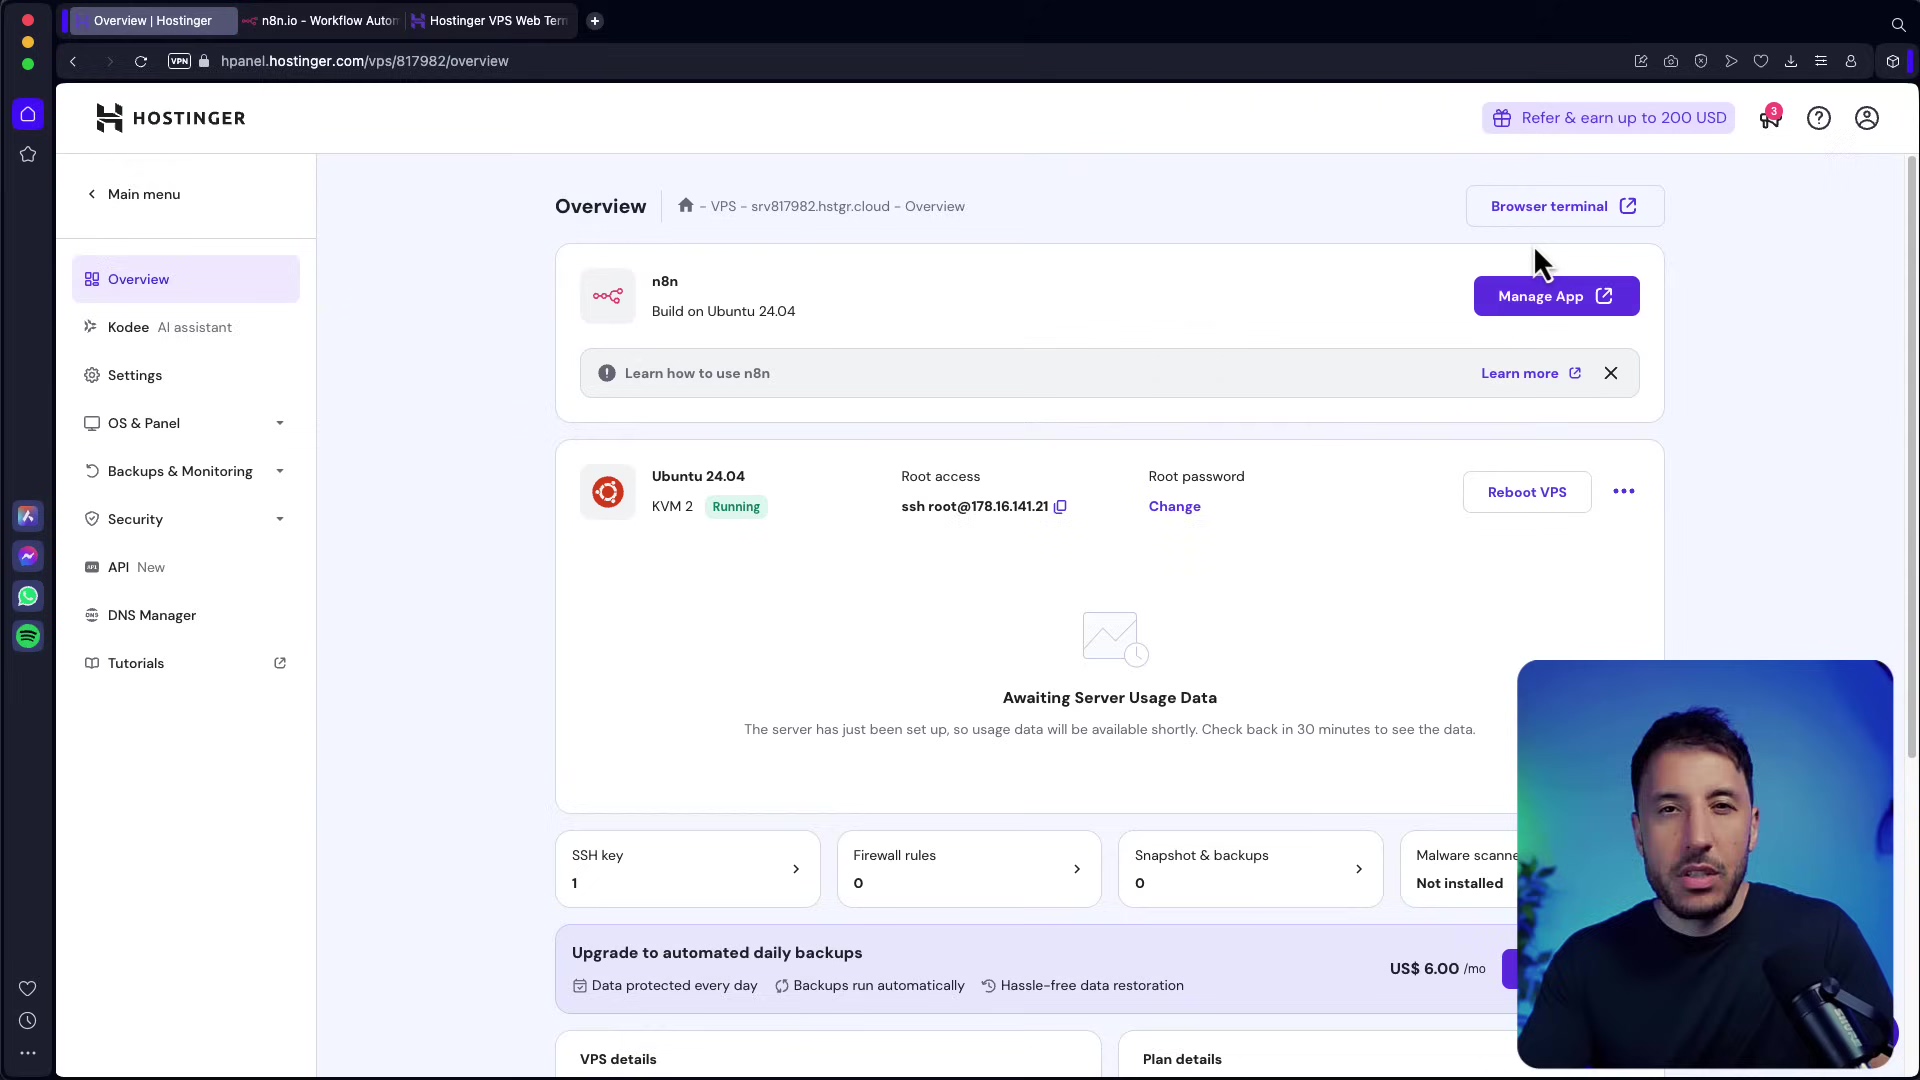
After this initial setup, you’ll land on your Hostinger VPS dashboard. This is your command center! From here, you can manage your n8n application and, crucially for us, access the browser terminal. The browser terminal is where we’ll be doing all the cool command-line stuff, so get ready to feel like a hacker (the good kind!).
Updating n8n on Your Hostinger VPS: The Main Event!
Alright, this is why we’re all here! Whether you’re doing an immediate update right after installation or upgrading to a brand-spanking-new version of n8n, the process is pretty much the same. And guess what? We’re doing it all through that Hostinger browser terminal I just mentioned. It’s basically a command-line interface (CLI) right in your browser, no fancy software needed on your end.
Accessing the Browser Terminal: Your Gateway to the Matrix!
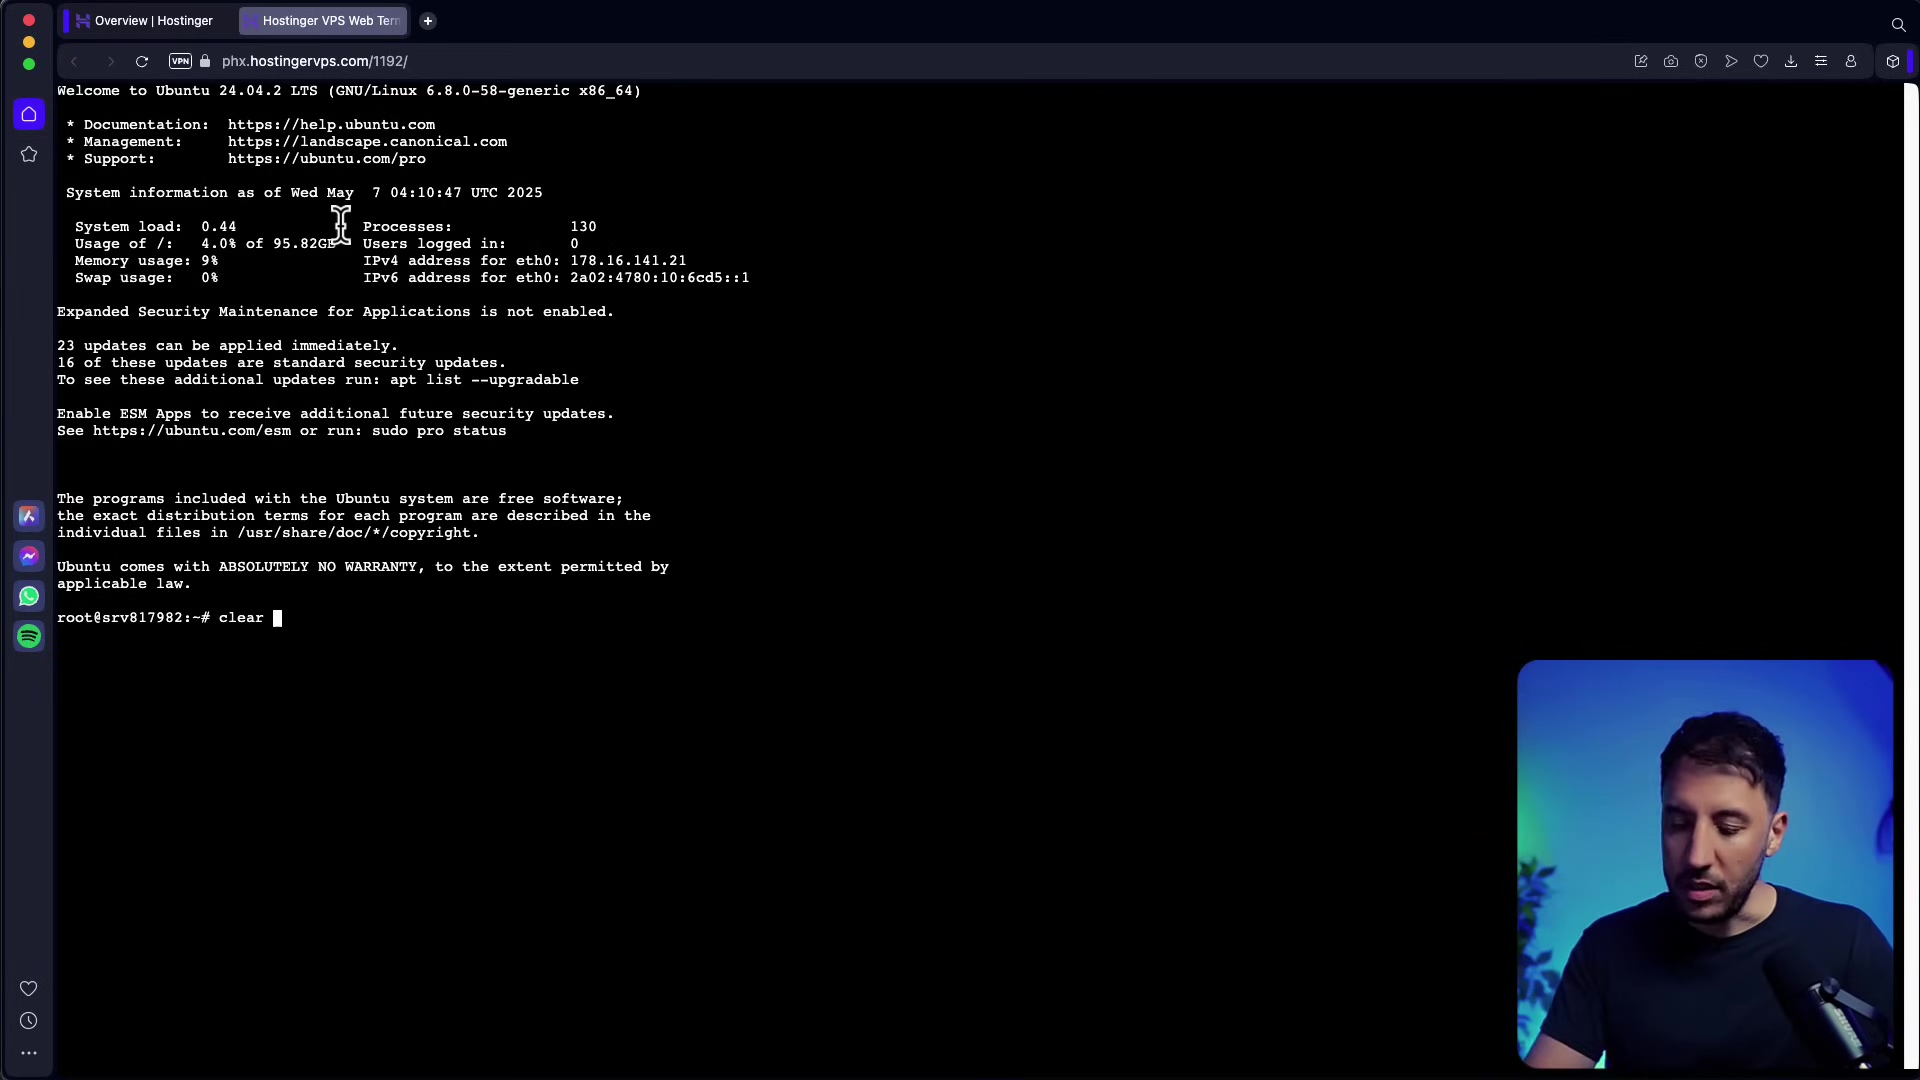
From your Hostinger VPS dashboard, look for something that says ‘Browser terminal’. Click it! A new tab will pop open, and you’ll see a command-line interface. It might have some text already there; don’t worry about it. Just type clear and hit Enter. This just tidies up the screen, giving you a fresh slate to work on.
Step-by-Step Update Process: Follow My Lead!
Now, for the main event! We’re going to run a few commands. Don’t be intimidated; I’ll explain what each one does. Just type them in exactly as you see them and hit Enter after each one. Ready?
-
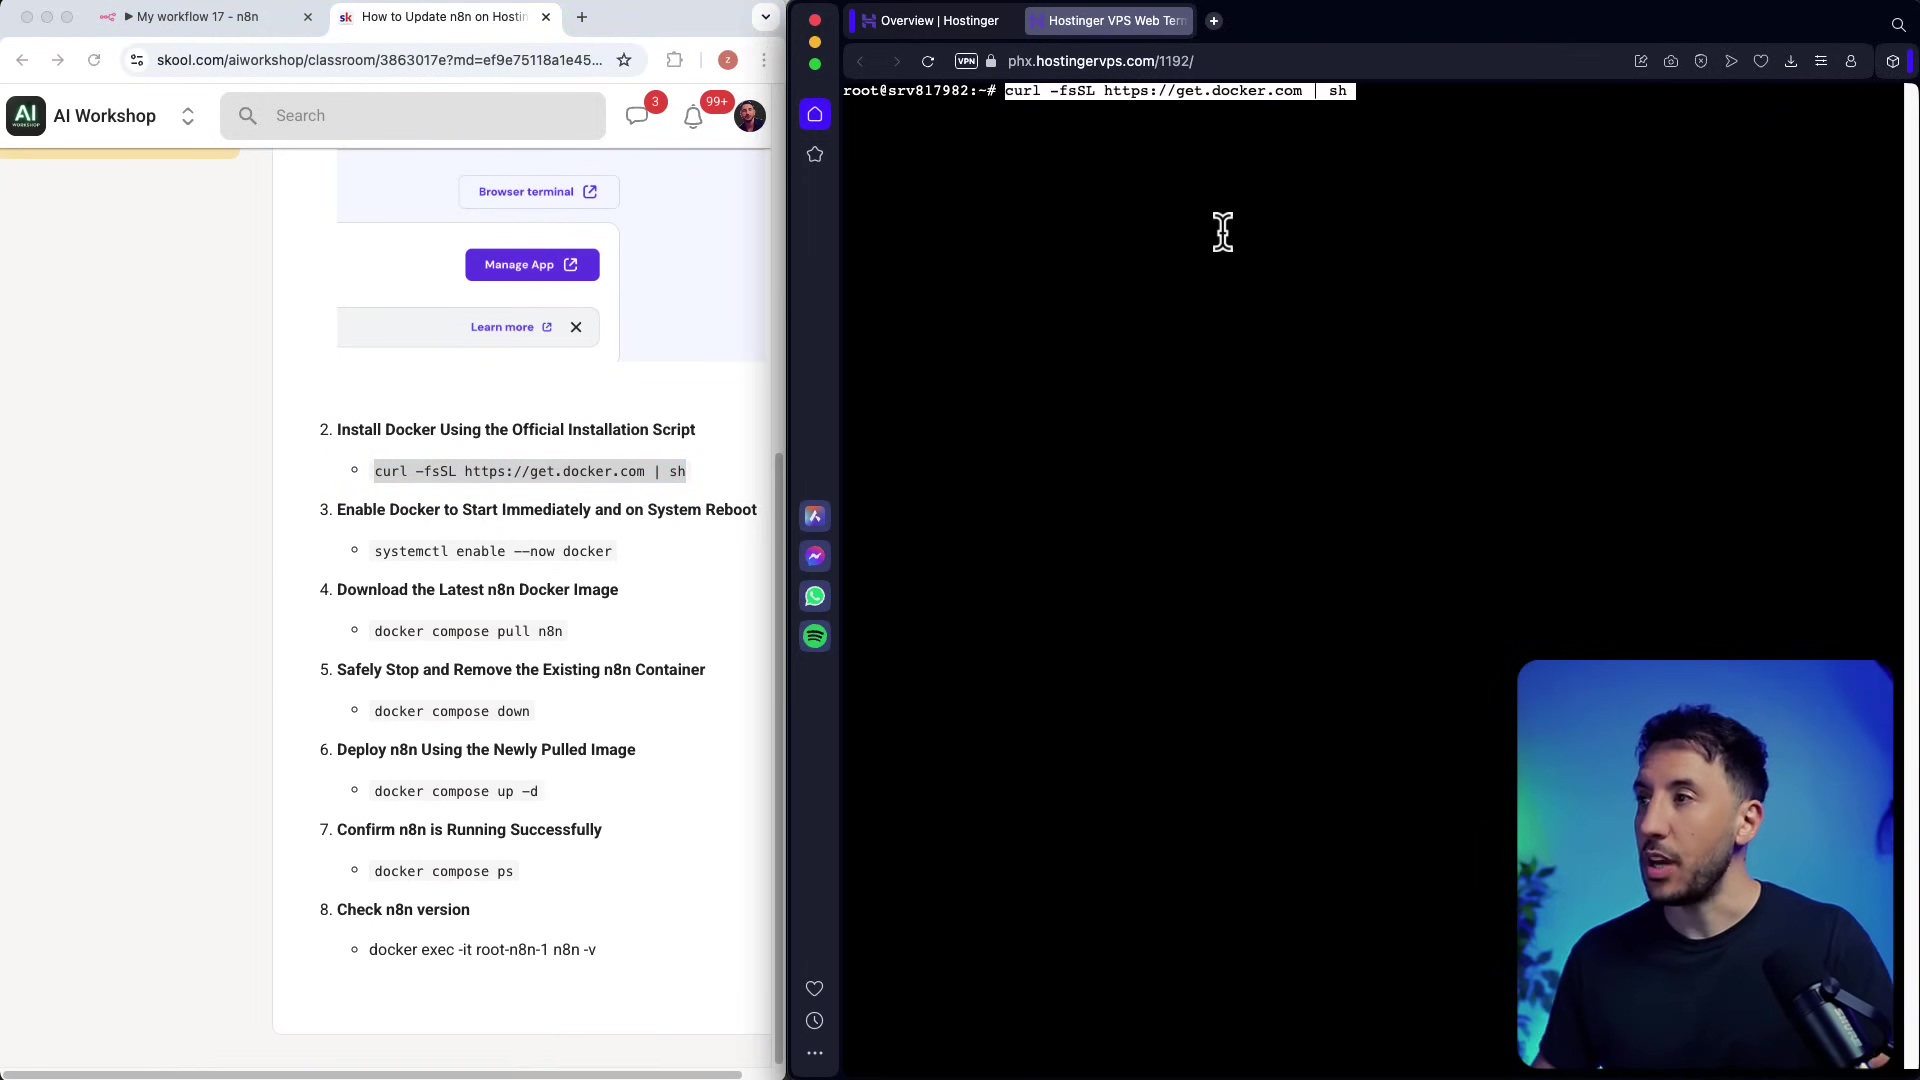
Install Docker: Okay, first things first. n8n on Hostinger often runs inside something called Docker. Think of Docker as a magical shipping container for software. It packages n8n and all its dependencies into one neat bundle, making it super easy to run and update without messing up your server. If Docker isn’t already installed (it usually is if you used the n8n template, but it’s good to check!), we’ll install it using its official script. You typically only need to do this step once in your VPS’s lifetime.
curl -fsSL https://get.docker.com | shWhat to expect: You’ll see a bunch of text scrolling by as Docker gets installed. If it’s already installed, it might just say something like “Docker is already installed.” No worries, just move on.
-
Enable Docker to Start on Reboot: Imagine your server needs to restart for some reason (maybe a Hostinger update, or you manually reboot it). We want Docker to automatically fire up when that happens, so n8n comes back online without you having to do anything. This command makes sure Docker is enabled to start automatically.
systemctl enable --now dockerWhat to expect: You might see output like
Created symlink /etc/systemd/system/multi-user.target.wants/docker.service -> /lib/systemd/system/docker.service.This just means it successfully created a link to ensure Docker starts up.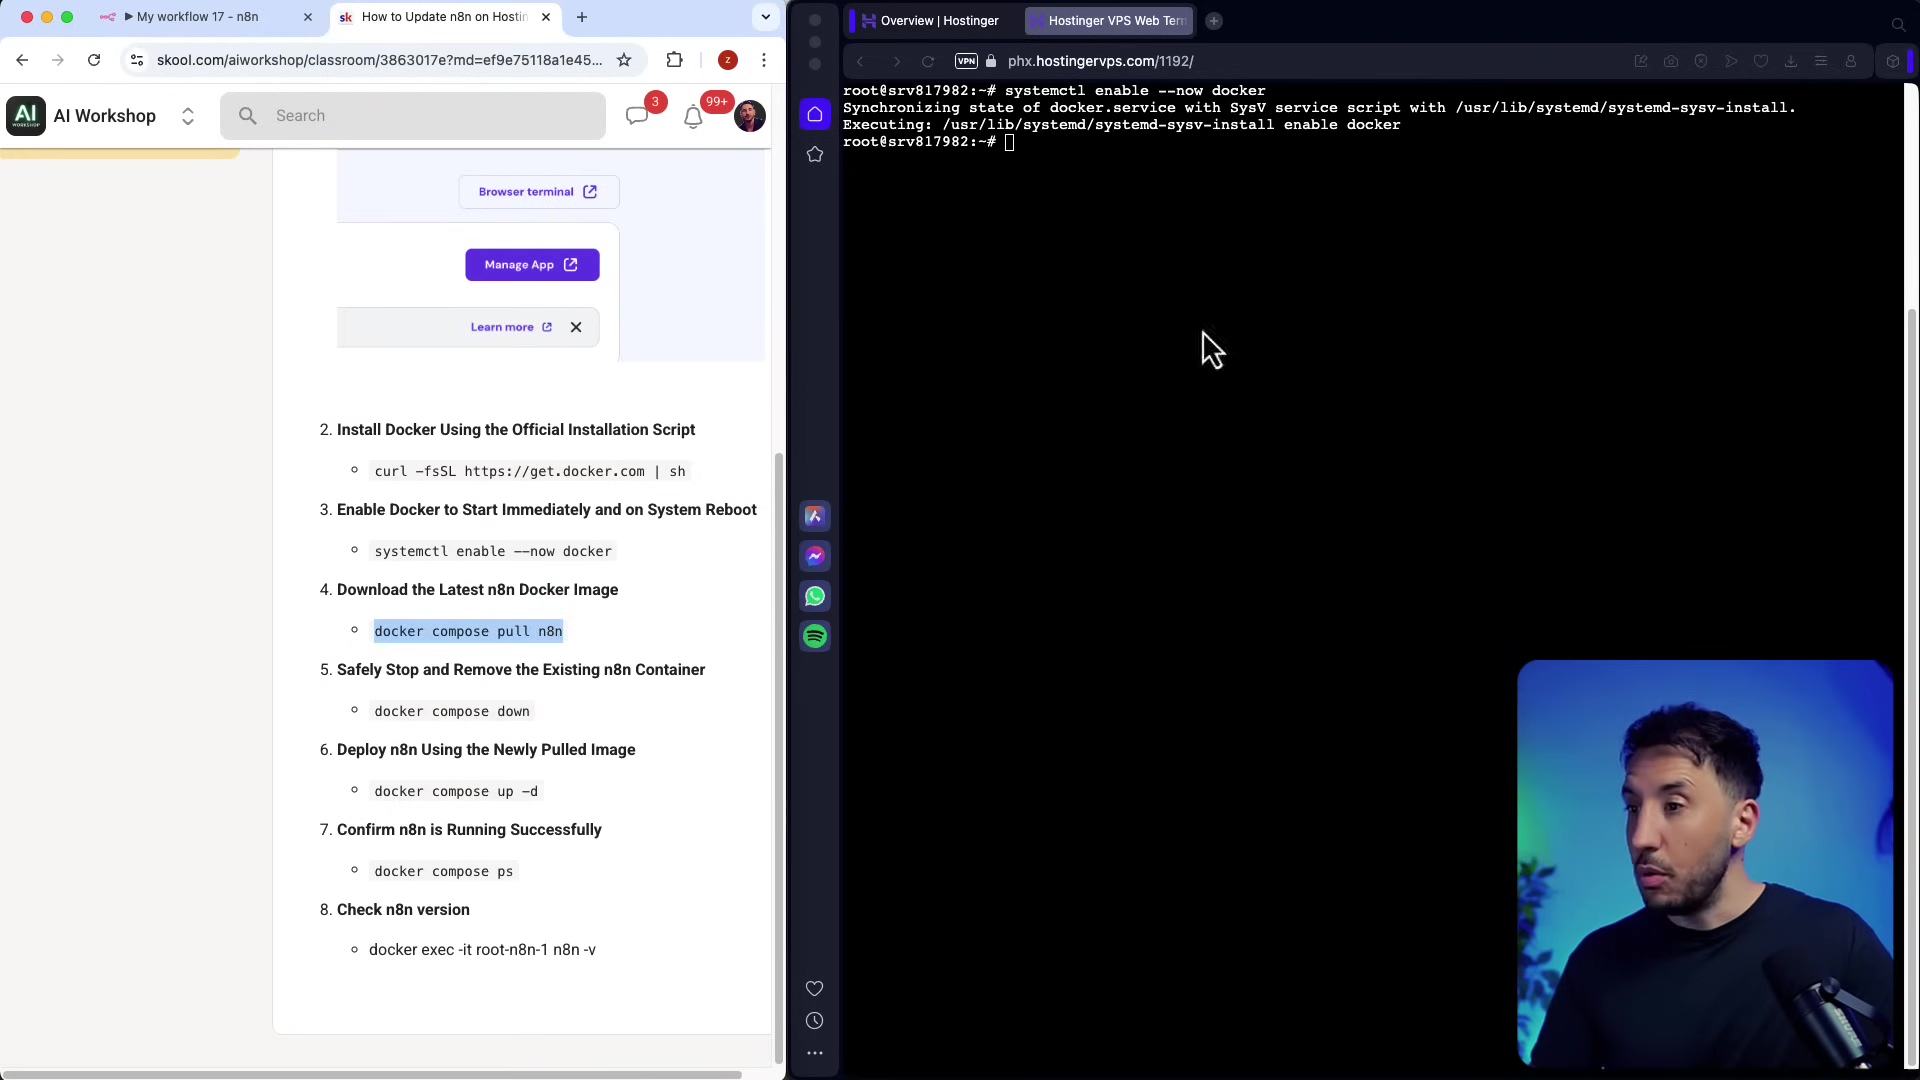
-
Download the Latest n8n Docker Image: Now, we’re telling Docker to go out to the internet (specifically, to Docker Hub, which is like a giant app store for Docker images) and grab the newest version of n8n. This doesn’t run n8n yet; it just downloads the latest blueprint.
docker compose pull n8nWhat to expect: You’ll see messages like
Pulling n8n (n8n/n8n:latest)...and thenStatus: Downloaded newer image for n8n/n8n:latest. This means it’s successfully pulled the latest version. -
Safely Stop and Remove Existing n8n Container: Before we can run the new n8n, we need to gracefully shut down the old one. Think of it like swapping out an old engine for a new, shinier one. This command stops the currently running n8n container and removes it. Don’t worry, your data (workflows, credentials) is usually stored in a separate place called a Docker volume (like a persistent hard drive for your container), so it’s safe.
docker compose downWhat to expect: You’ll likely see output like
Stopping root-n8n-1 ... doneandRemoving root-n8n-1 ... done. This confirms the old container is stopped and removed.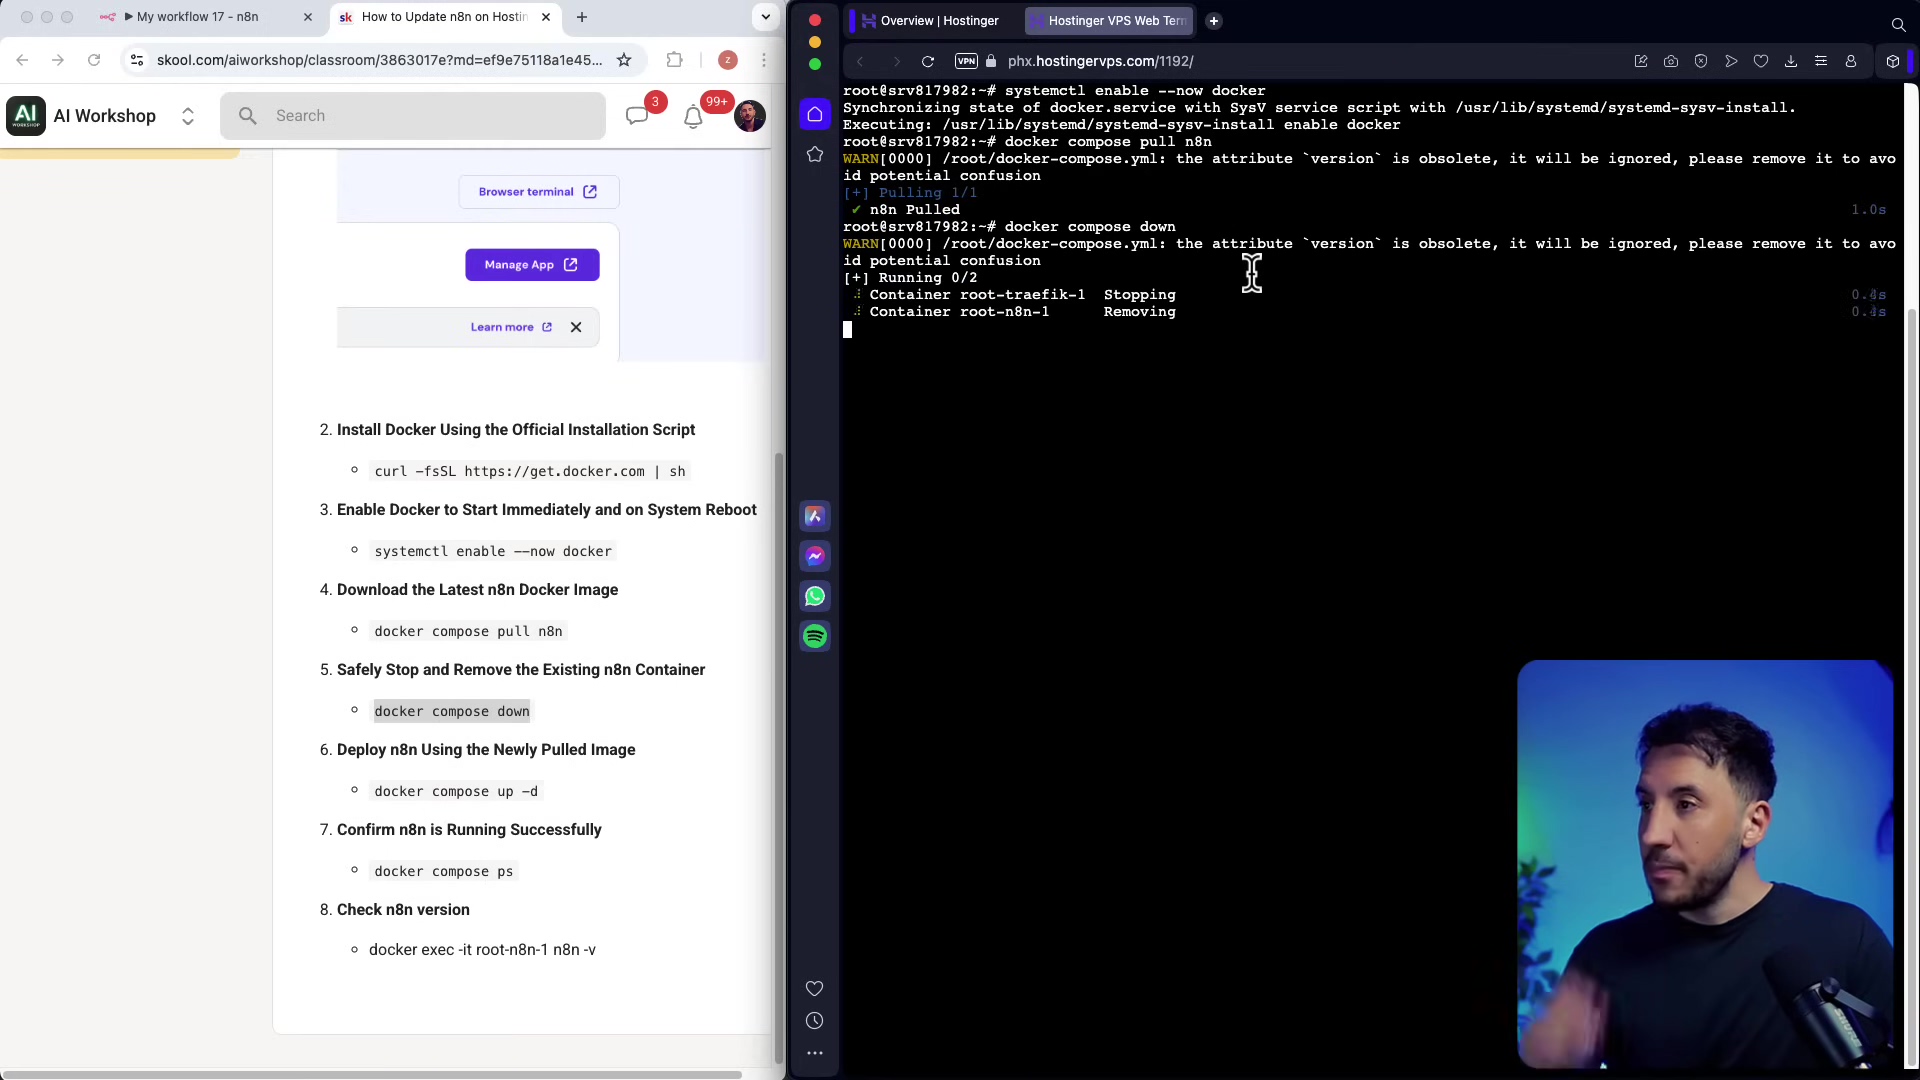
-
Deploy n8n Using the Newly Pulled Image: This is the grand finale! We’re now telling Docker to start up a new n8n container, using that fresh, new blueprint we just downloaded. The
-dflag means it will run in “detached” mode, which just means it runs in the background so you can close your terminal without stopping n8n.docker compose up -dWhat to expect: You should see something like
Creating root-n8n-1 ... done. This means your new, updated n8n container is spinning up!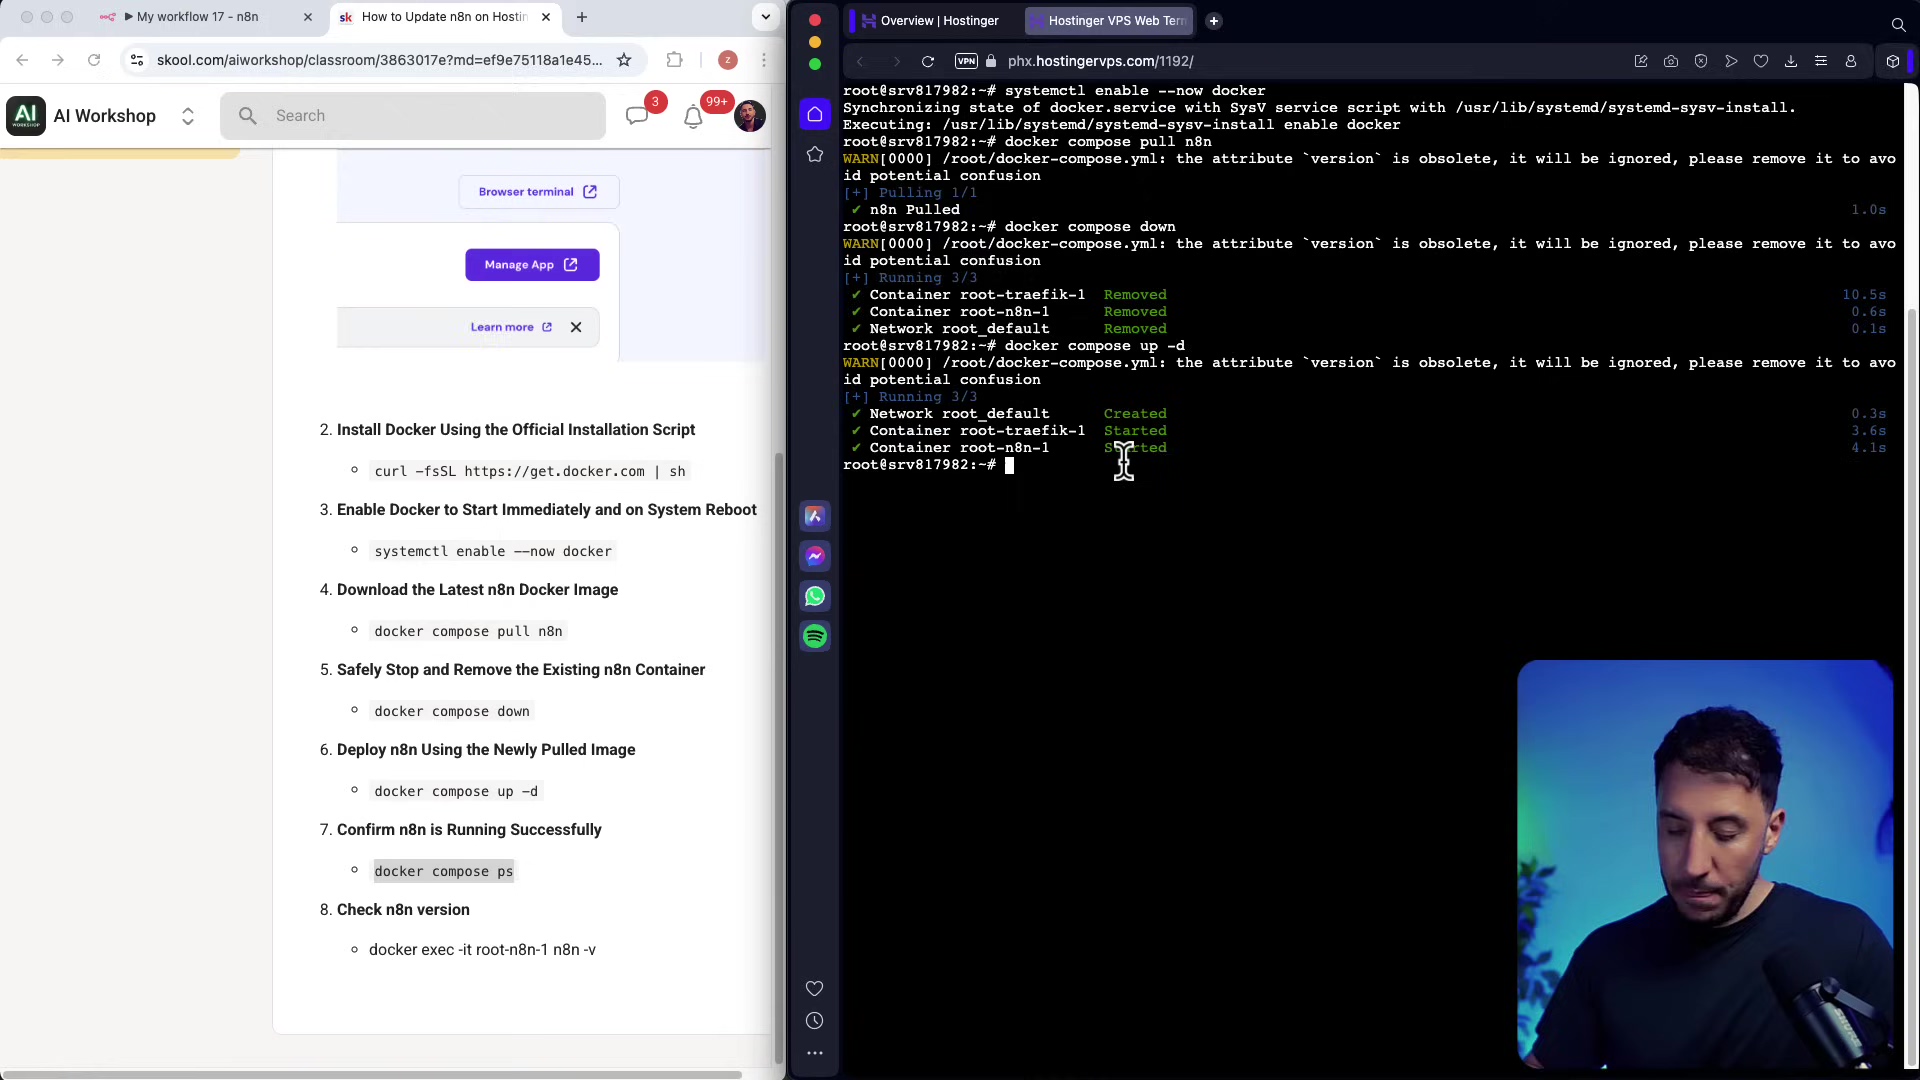
Confirming n8n is Running and Checking Version: Did it Work?
After all that command-line magic, let’s make sure everything is humming along nicely and that you’re indeed running the latest version. It’s like checking the dashboard after a software update.
-
Confirm n8n is Running: This command lists all the Docker containers that are currently running on your server. You should see your n8n container listed with a “running” status.
docker compose psWhat to expect: You’ll see a table. Look for a row with
root-n8n-1(or similar) under theNAMEcolumn andUpunder theSTATUScolumn. If it saysUp, you’re golden! -
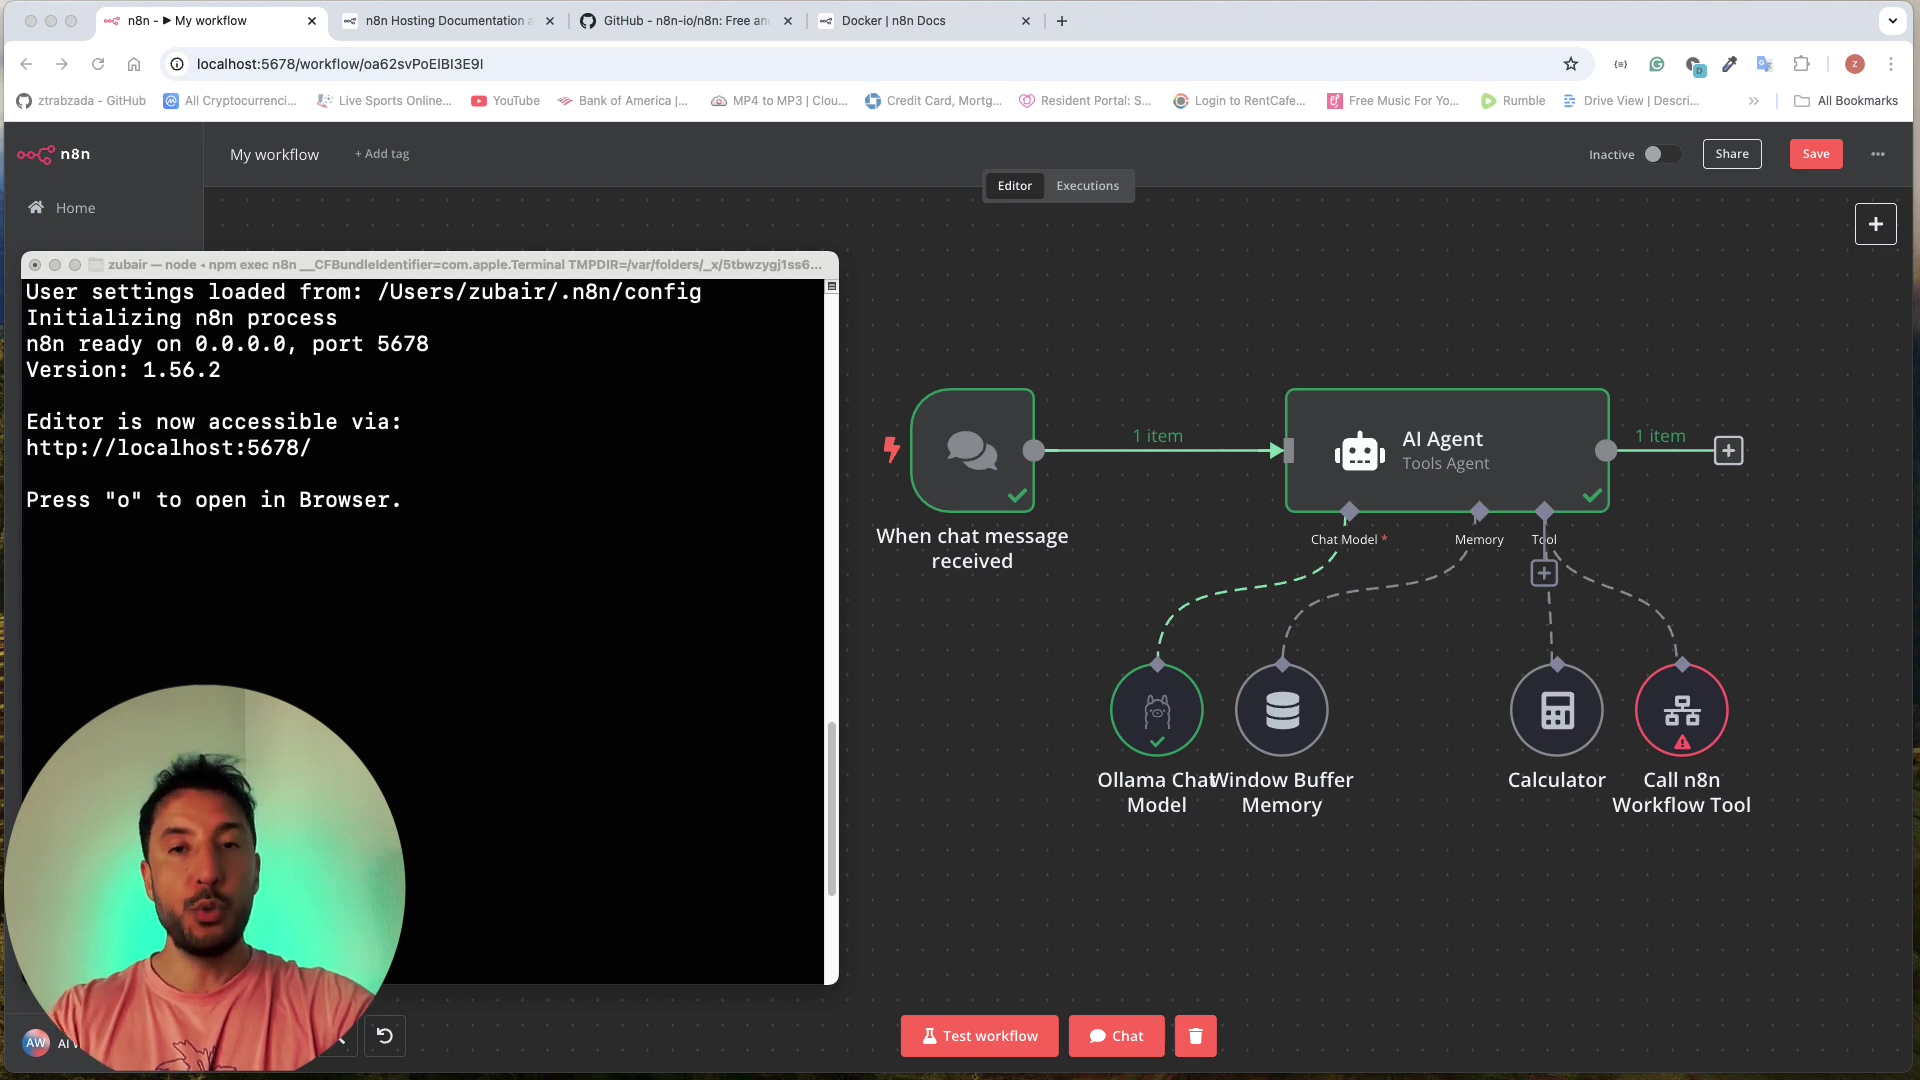
Check n8n Version: This command dives into your running n8n container and asks it directly: “Hey n8n, what version are you?” It’s the definitive way to confirm your update was successful.
docker exec -it root-n8n-1 n8n -vWhat to expect: You’ll see a version number, like
1.39.1or1.40.0. This should match the latest n8n version you intended to update to. If it does, you’ve nailed it!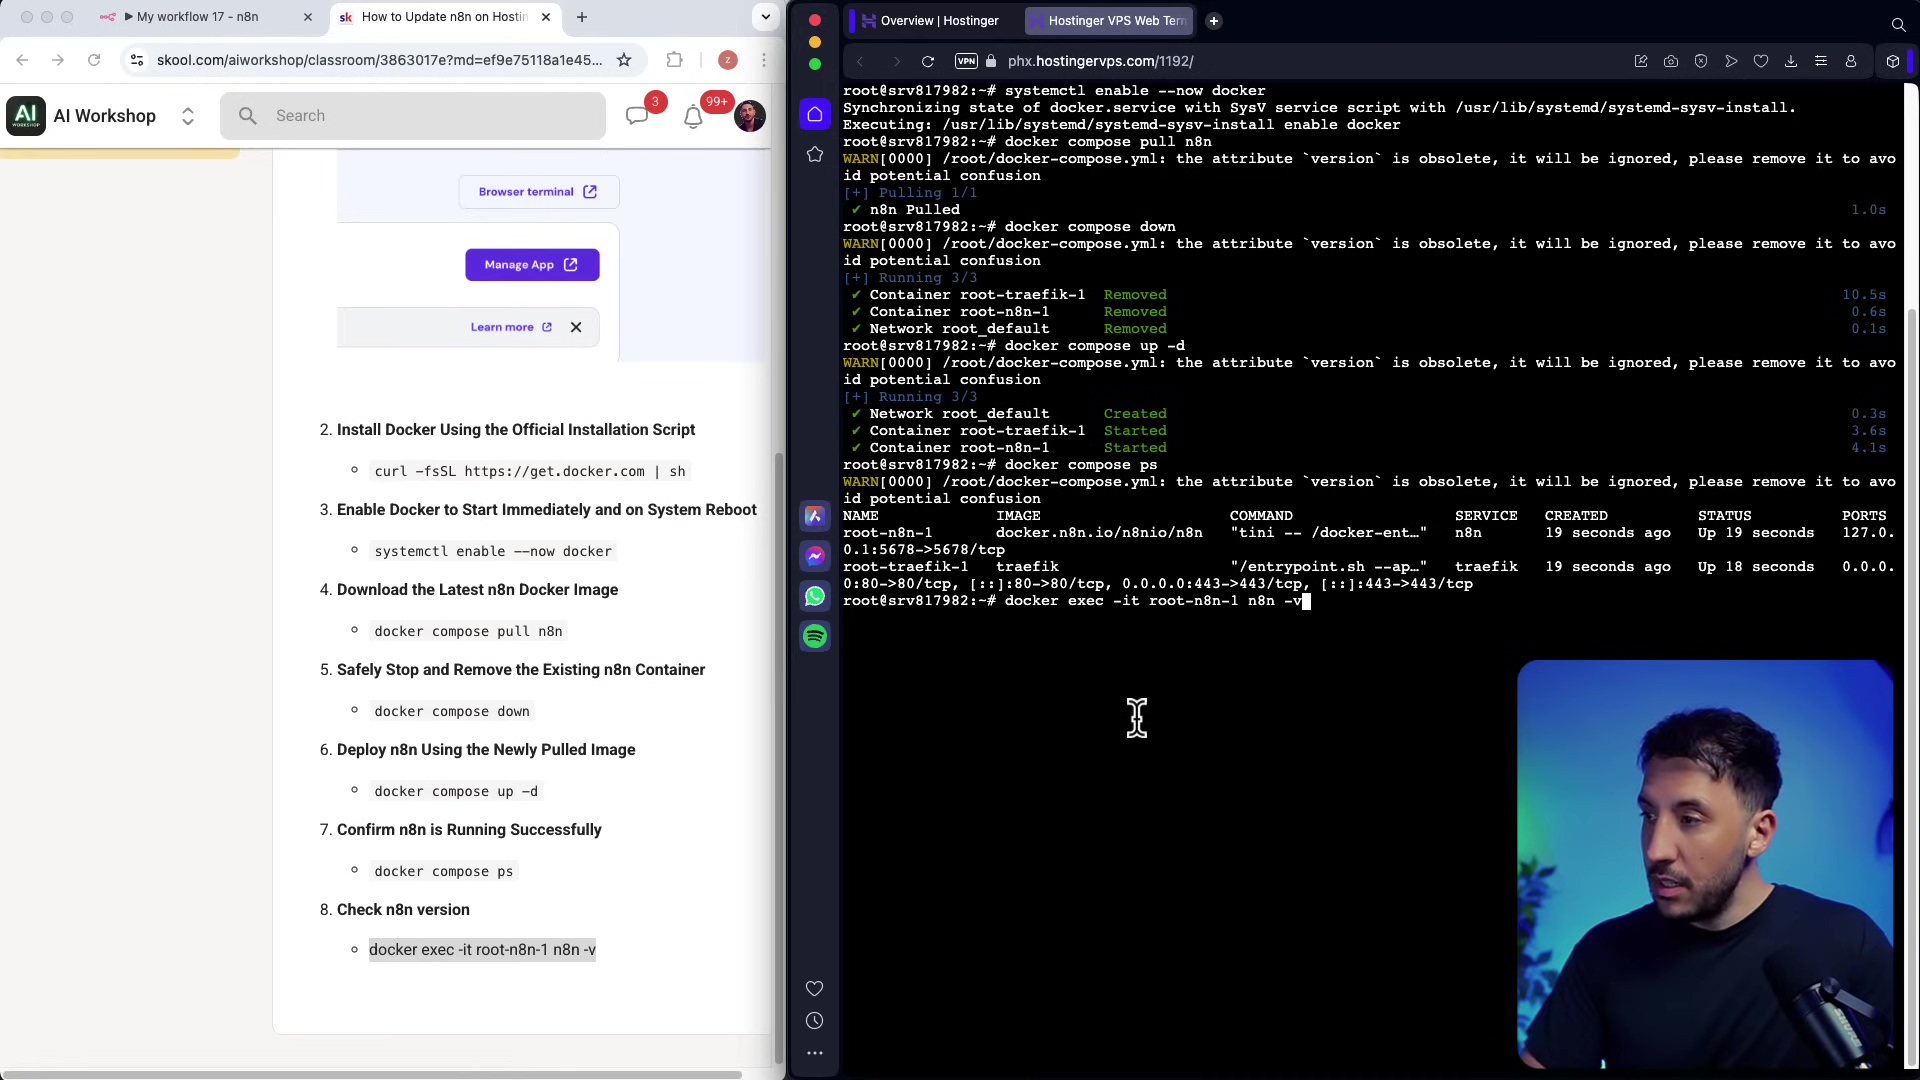
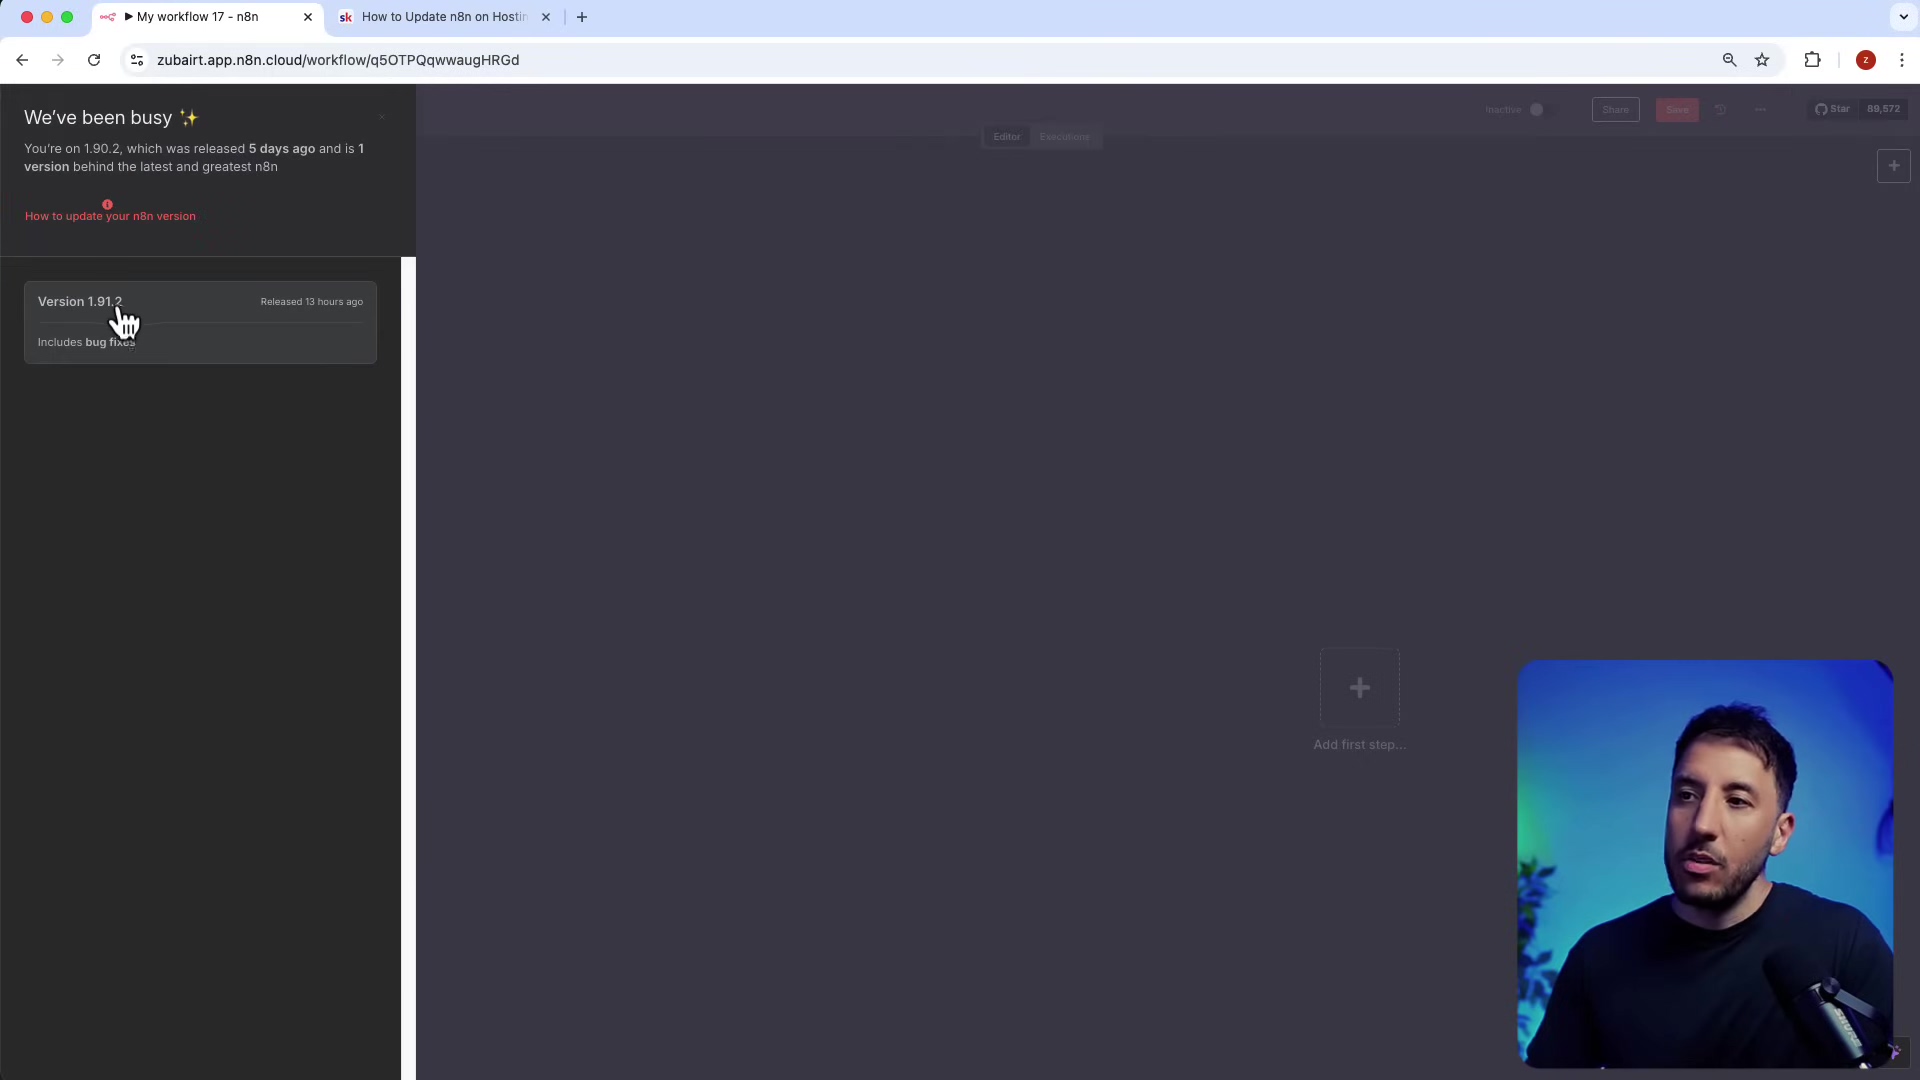
Accessing Your Updated n8n Instance: Time to Automate!
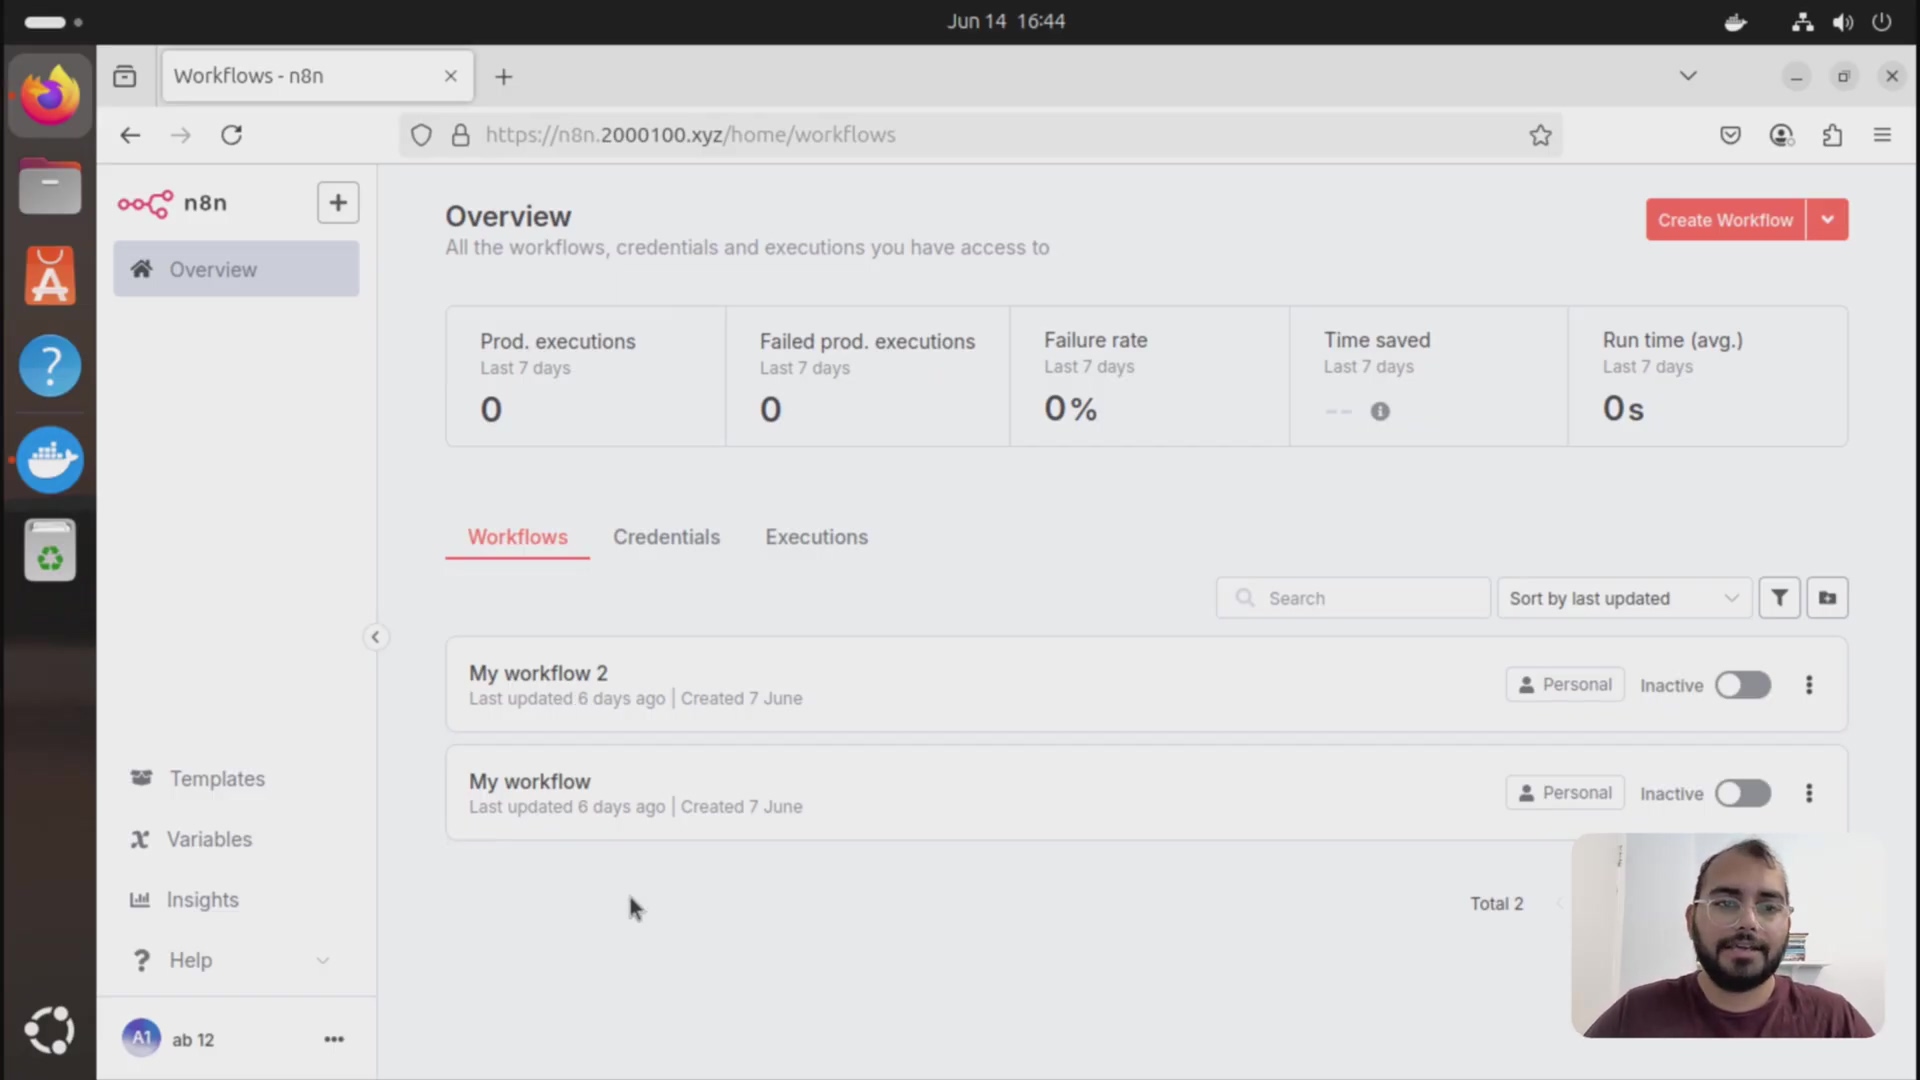
Congratulations, you’ve successfully updated your n8n! Now, let’s go check it out. Head back to your Hostinger dashboard. You should see a button or link that says ‘Manage App’ for n8n. Click it!
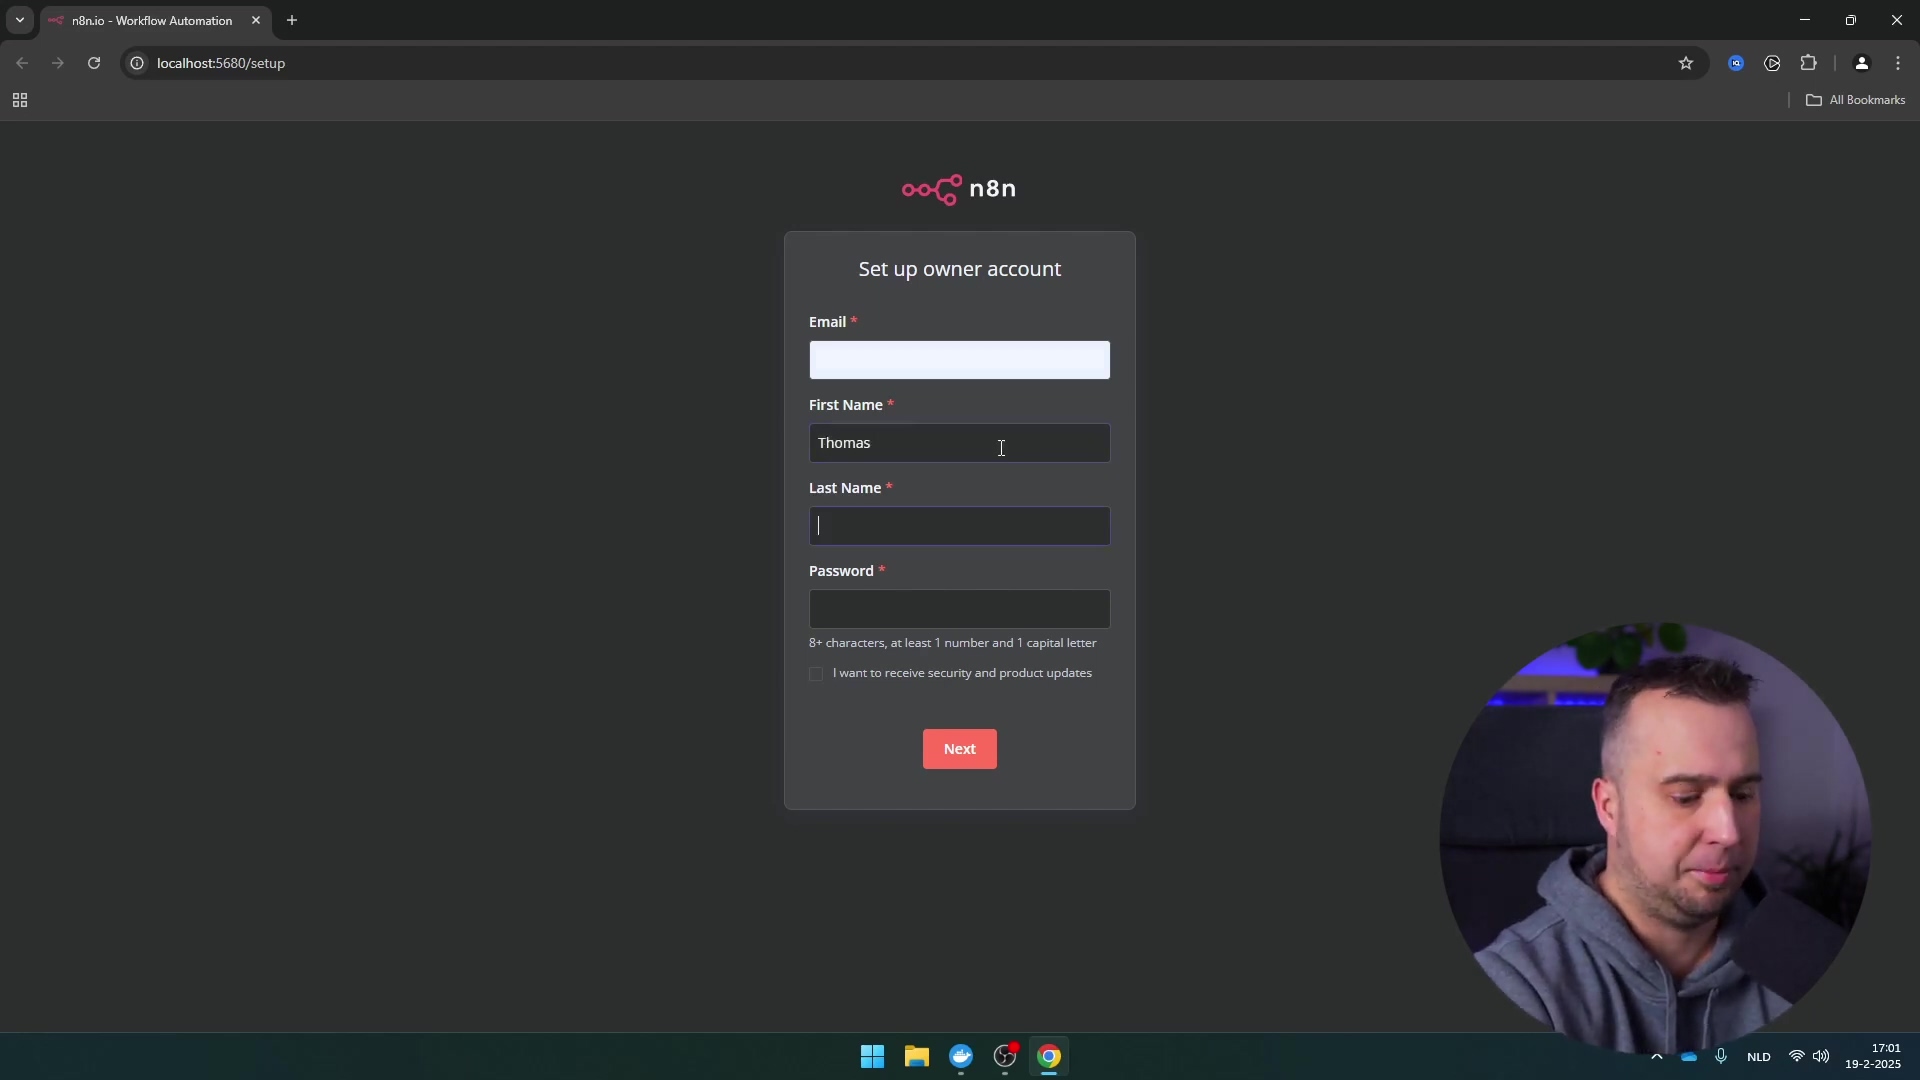
If this is your very first time accessing n8n, you’ll go through a quick setup to create your administrator account. Otherwise, you’ll just log in as usual. And just like that, you’re back in the saddle, ready to create and manage all your amazing workflows with the latest and greatest n8n features. How cool is that?
Required Resources List and Cost-Benefit Analysis: Show Me the Money (and the Value!)
Let’s break down what you need and why self-hosting n8n on Hostinger is such a smart move, especially when you compare it to managed cloud services.
Resource Checklist: What You’ll Need
| Item | Description | Estimated Cost (Monthly) | Notes |
|---|---|---|---|
| Hostinger KVM 2 VPS | 2 vCPU, 8GB RAM, 100GB NVMe SSD, 8TB Bandwidth | US$ 6.99 (with discount) | This is my sweet spot recommendation for most personal and intermediate users. It’s got enough oomph! |
| Docker | Containerization platform (pre-installed with n8n app) | Free | Docker is the magic behind the scenes that makes n8n run so smoothly. |
| n8n Application | Workflow automation tool | Free (open-source) | Yes, the self-hosted version is completely free! That’s a huge win. |
| Internet Connection | Stable internet for management | N/A | You already have this, right? |
Cost-Benefit Analysis: DIY Self-Hosting vs. Commercial n8n Cloud
This is where the rubber meets the road. Why go through the “trouble” of self-hosting when there are commercial n8n cloud options? Let’s compare, shall we?
| Feature/Aspect | DIY Self-Hosting (Hostinger VPS) | Commercial n8n Cloud (Paid Plan) |
|---|---|---|
| Upfront Cost | Low (VPS plan subscription) | Varies (monthly/annual subscription) |
| Monthly Cost | ~$7 - $20 (VPS cost) | ~$20 - $100+ (based on usage/features) |
| Control & Customization | Full root access, complete control over environment | Limited by provider’s offerings |
| Scalability | Manual/requires VPS upgrade | Often automatic, tiered plans |
| Maintenance | Manual updates, security patching, monitoring | Handled by provider |
| Data Privacy | Data resides on your chosen VPS, full control | Dependent on provider’s data policies |
| Learning Curve | Moderate (requires terminal commands) | Low (web-based interface) |
| Reliability | Dependent on VPS provider & your maintenance | High (managed by n8n team) |
| Backup Solutions | Manual or paid Hostinger add-on | Often included in higher tiers |
See? While there’s a bit more hands-on work with self-hosting, the cost savings and the sheer amount of control you get are huge. It’s like owning your own car versus always taking a taxi.
💡 Critical Best Practice Tips: Don’t Skip These!
- Regular Backups: Seriously, this is like wearing a seatbelt for your data. Always, always, always have a solid backup strategy for your n8n workflows and data. Hostinger offers automated backups, which is great, but I also recommend manually exporting your workflows regularly. It’s an extra layer of security, and you’ll thank yourself later if anything ever goes sideways.
- Secure Passwords: This should be a no-brainer, but use strong, unique passwords for your Hostinger account and that VPS root access. Better yet, look into implementing SSH keys for even stronger security. It’s like having a super-secret handshake instead of just a password.
- Monitor Resources: Keep an eagle eye on your VPS’s resource usage – that’s CPU, RAM, and disk space. You want to make sure n8n has enough breathing room, especially as your workflows get more complex and you start running a ton of them. Hostinger’s dashboard has handy usage data, so check it often!
Key Takeaways: The TL;DR Version!
- Hostinger is a fantastic, user-friendly, and reliable platform for self-hosting n8n. It’s great for both newbies and seasoned pros.
- Always hunt for those discount codes when checking out with Hostinger. Every little bit helps!
- Updating n8n on your Hostinger VPS is done using a few straightforward Docker commands right in your browser terminal. No fancy software needed!
- Keeping n8n updated means you get all the latest features, bug fixes, and security patches. Don’t fall behind!
- Regular maintenance, like updating and backing up your data, is absolutely crucial for a stable and secure self-hosted n8n instance. It’s like giving your car a regular tune-up.
Conclusion: You Got This!
Successfully self-hosting and updating n8n on a Hostinger VPS is a huge win. It gives you incredible control over your automation workflows and, more importantly, your data. By following the detailed steps we walked through, you can confidently manage your n8n instance, keeping it up-to-date and running like a well-oiled machine.
Yes, the DIY approach means a bit more hands-on work compared to a fully managed cloud service. But honestly, the cost savings and the complete control you gain are massive advantages. It’s empowering!
So, what are you waiting for? Go forth and apply these methods! Experience the power of self-hosted n8n. And hey, if you found this guide helpful, do me a solid and share it with anyone else who might benefit from mastering their n8n deployments. Let’s automate the world, one workflow at a time!
Frequently Asked Questions (FAQ)
Q: What is a VPS and why do I need it for n8n?
A: A VPS, or Virtual Private Server, is essentially a virtual computer that you rent from a hosting provider like Hostinger. Think of it as having your own dedicated computer in the cloud, but without the physical hardware. You need it for n8n because n8n is a software application that needs a place to run 24/7, and a VPS provides that stable, always-on environment with dedicated resources, unlike shared hosting which might be too restrictive.
Q: My n8n isn’t starting after the update. What should I do?
A: Don’t panic! First, double-check the docker compose ps command output. Is your root-n8n-1 container showing Up? If not, try running docker compose logs to see if there are any error messages that can give you a clue. Common issues include port conflicts (if you have other services running on port 5678) or insufficient resources. You might also try rebooting your VPS from the Hostinger dashboard as a last resort, but always check the logs first!
Q: How often should I update my n8n instance?
A: It’s a good practice to keep your n8n instance relatively up-to-date. n8n releases new versions frequently, often with new features, bug fixes, and performance improvements. I’d recommend checking for updates at least once a month, or whenever you see an announcement for a major new version that has features you want to use. Just remember to back up your workflows before any major update!
Q: Can I use a different VPS provider instead of Hostinger?
A: Absolutely! While this guide focuses on Hostinger because of its user-friendliness and n8n templates, the core Docker commands for updating n8n are universal. As long as your VPS provider allows you to install Docker and gives you command-line access (usually via SSH), you can follow a very similar process. Just make sure to adapt the initial setup steps to your chosen provider’s interface.
Q: What are Docker volumes and why are they important for n8n?
A: Docker volumes are special directories on your host machine (your VPS) that are designed to persist data generated by Docker containers. When you run n8n in a Docker container, all your workflows, credentials, and settings are stored in a Docker volume. This is super important because if you stop, remove, or update your n8n container, your data remains safe and sound in the volume. Without volumes, every time you updated your container, you’d lose all your work! It’s like having a separate, dedicated hard drive for your n8n data that doesn’t get wiped when you reinstall the operating system.