Watch the Video Tutorial
💡 Pro Tip: After watching the video, continue reading below for detailed step-by-step instructions, code examples, and additional tips that will help you implement this successfully.
Table of Contents
Open Table of Contents
- Introduction: Keeping Your n8n Workflows Current
- Step-by-Step Update Process
- Required Resources and Cost-Benefit Analysis
- Critical Best Practice Tips
- Key Takeaways
- Conclusion
- Frequently Asked Questions (FAQ)
- Q: What is Docker, and why is it used for n8n?
- Q: How do I find the correct path to my n8n data directory?
- Q: What if I forget to back up my data before updating?
- Q: I’m getting an error message in the Docker logs. What should I do?
- Q: Can I use Docker Compose to update n8n?
- Q: How often should I update n8n?
Introduction: Keeping Your n8n Workflows Current
Hey there, fellow automation enthusiasts! Boyce here, ready to guide you through the sometimes-scary world of updating n8n on Docker Desktop. Think of it like upgrading your spaceship – you want the latest tech without losing your precious cargo (your workflows!).
In the fast-evolving world of automation, keeping your tools updated is crucial. For n8n users running on Docker Desktop, updating your instance might seem daunting, especially with concerns about data loss. This guide provides a step-by-step process to update your n8n installation on Docker Desktop safely, ensuring all your valuable workflows and data remain intact. By following these instructions, you can leverage the latest features and improvements of n8n while maintaining data integrity.
Step-by-Step Update Process
1. Stop and Remove Existing n8n Containers
Before you can update n8n, you must first stop any running n8n containers. This is a critical first step to ensure a clean update process and prevent conflicts. Once stopped, the container can be safely removed.
Think of it like this: before renovating your house, you need to clear out the old furniture, right? Same principle here. We need to stop the old n8n container so we can bring in the new, improved version. Open your terminal or Docker Desktop and use the following command:
docker stop n8nWhat to expect? You should see the n8n container gracefully stop. If you’re using Docker Desktop, you’ll see the container status change to ‘Exited’.
Next, let’s remove the old container. This is like demolishing that old shed in your backyard to make way for a shiny new one. Run this command:
docker rm n8nExpected feedback: The terminal should output the name of the container (n8n) confirming its removal. In Docker Desktop, the container will disappear from the list.
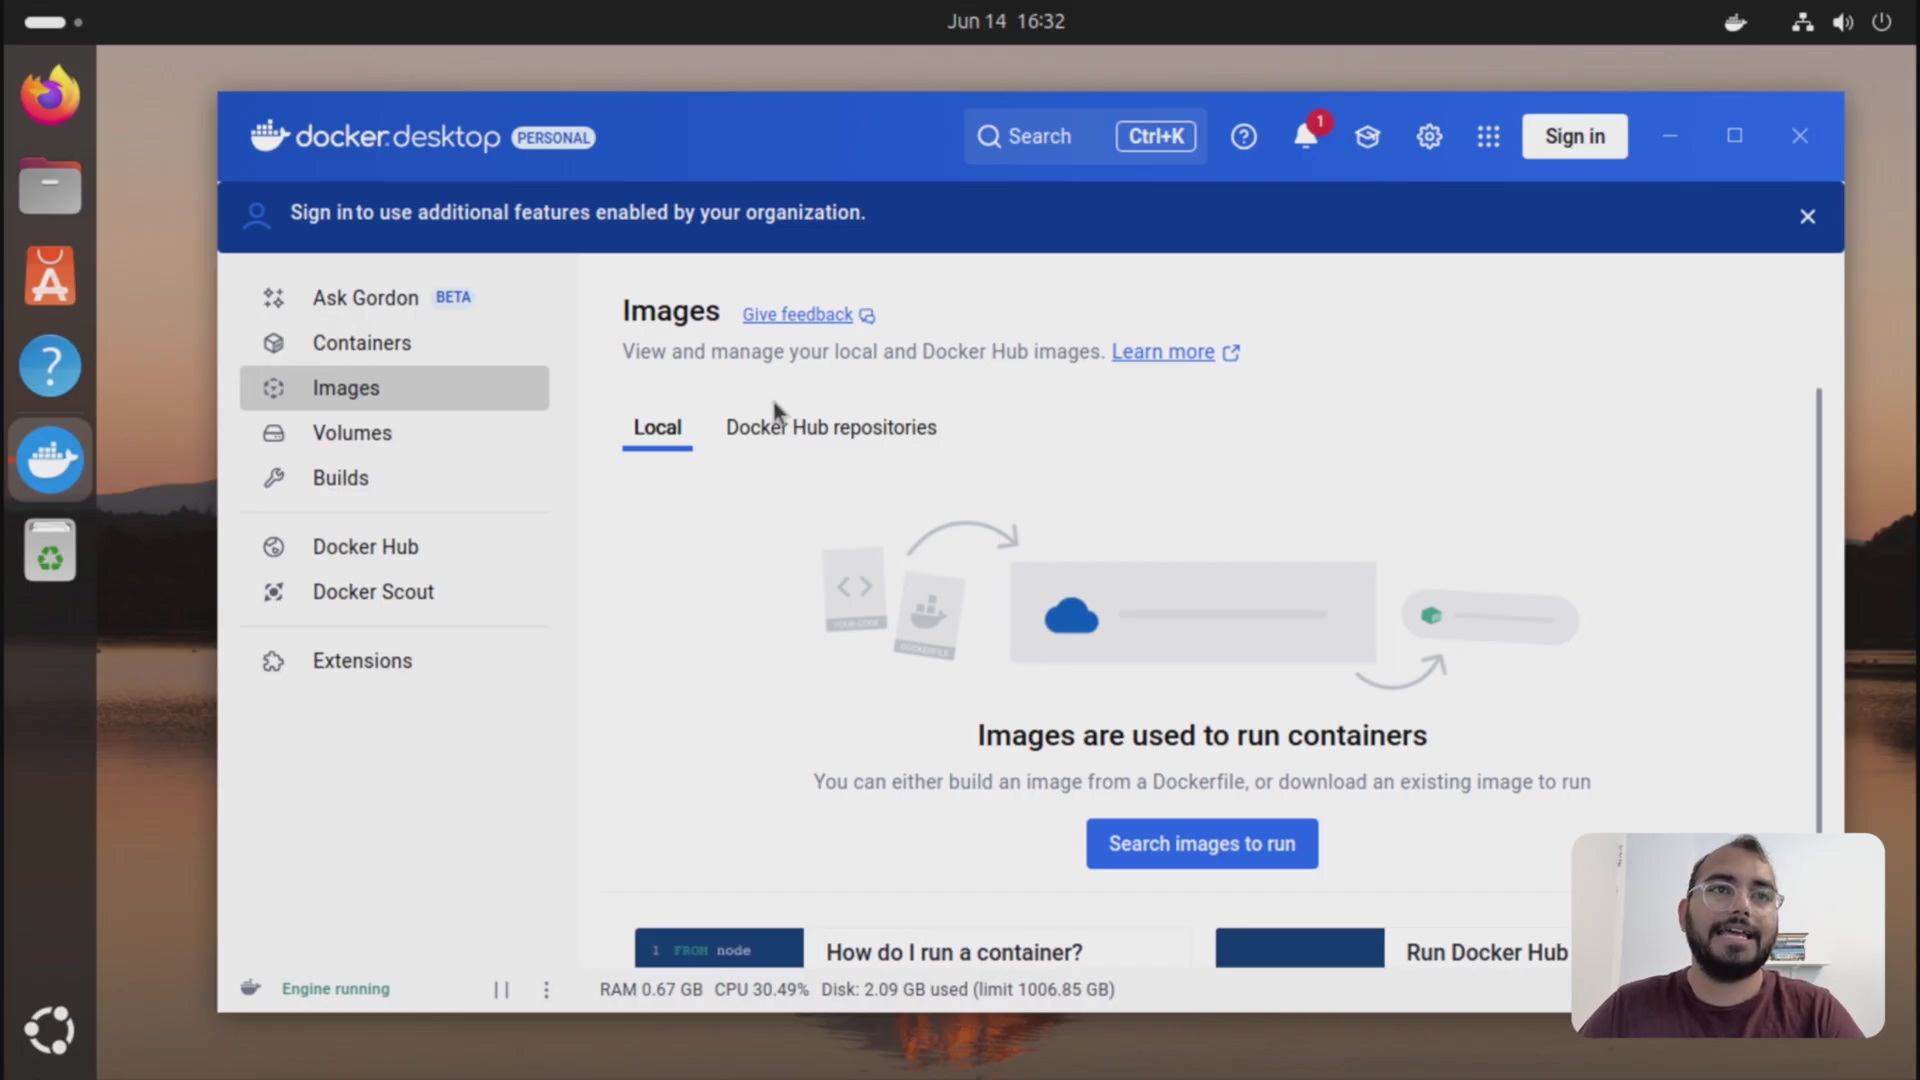
2. Delete Old n8n Images
After removing the containers, it’s good practice to delete the old n8n Docker images. This frees up disk space and ensures that when you pull a new image, you are truly getting the latest version.
Why do we do this? Well, old Docker images are like those digital photos you never delete – they just hog space! Getting rid of them ensures we’re pulling the freshest, latest version of n8n. Here’s how:
docker image rm n8n/n8nWhat you should see: The terminal will display the ID of the deleted image. If you have multiple versions, you might need to run this command multiple times, or use docker image prune to remove all unused images. Be careful with prune, though!
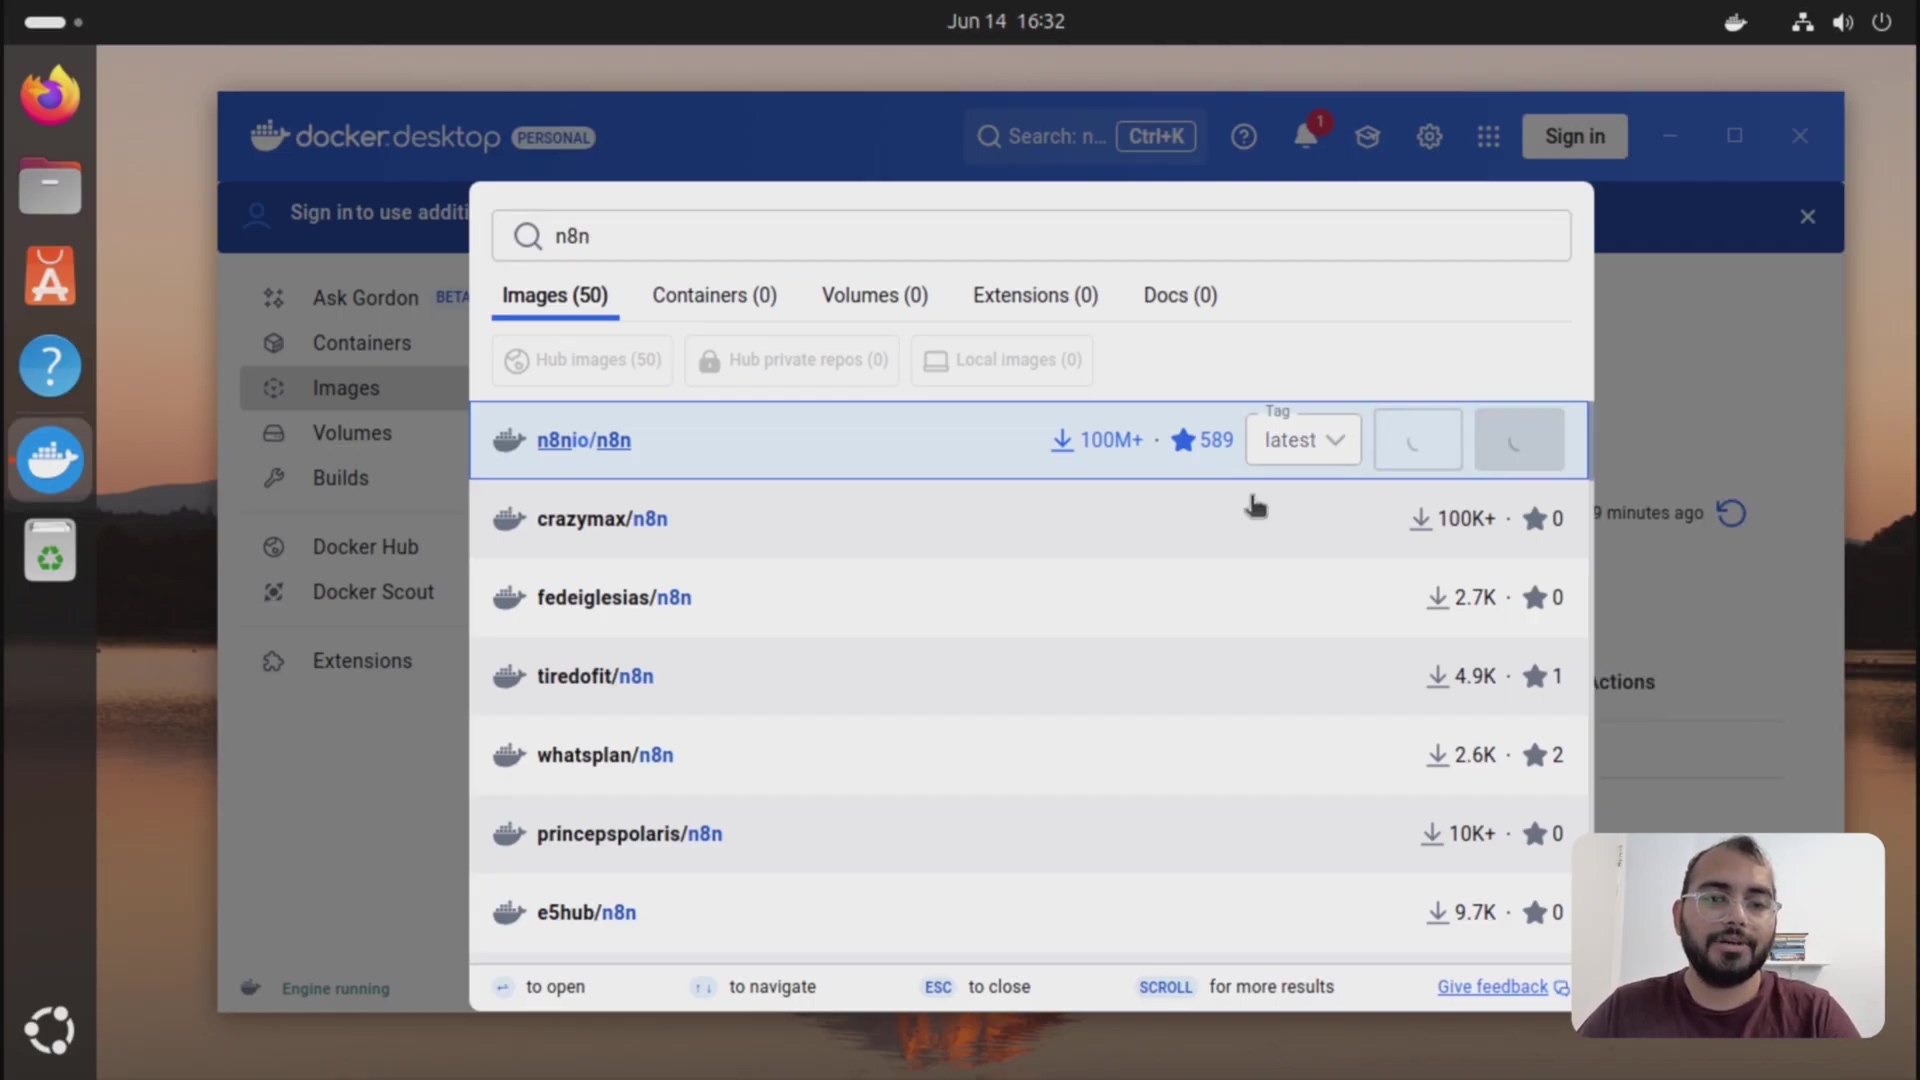
3. Pull the Latest n8n Image
With the old containers and images cleared, the next step is to pull the most recent n8n Docker image from Docker Hub. This ensures you are working with the very latest stable release of n8n.
Time to download the latest and greatest n8n! This is like ordering the newest model of your favorite gadget. Run this command to pull the image from Docker Hub:
docker pull n8n/n8nExpected output: You’ll see a progress bar as Docker downloads the image layers. This might take a few minutes depending on your internet speed. Once it’s done, you’ll see a ‘Download complete’ message.
4. Configure and Run the New n8n Container
This is the most crucial step for data preservation. When running the new container, you must map the volume to your existing n8n data directory. This ensures that the new n8n instance uses your old workflows and settings.
Alright, this is where the magic happens! We’re going to launch the new n8n container and, most importantly, link it to your existing data. This is like moving your furniture into the new house – you want everything in its place, right?
Here’s the command. Pay close attention to the volume mapping!
docker run -it --rm --name n8n -p 5678:5678 -v n8n_data:/home/node/.n8n n8n/n8nLet’s break this down:
-it: Runs the container in interactive mode.--rm: Automatically removes the container when it’s stopped (keeps things tidy!).--name n8n: Gives the container a name (easier to manage).-p 5678:5678: Maps port 5678 on your host to port 5678 in the container (allows you to access n8n in your browser).-v n8n_data:/home/node/.n8n: This is the critical part! It maps the Docker volume namedn8n_datato the directory where n8n stores its data inside the container. A Docker volume is like a separate hard drive for your Docker container. It allows data to persist even when the container is stopped or removed. If you didn’t create a volume, but instead bound a host directory, you’d replacen8n_datawith the absolute path to that directory on your machine.n8n/n8n: Specifies the image to use.
Important: If you are using a host directory instead of a volume, you need to replace n8n_data with the absolute path to your n8n data directory on your host machine. For example:
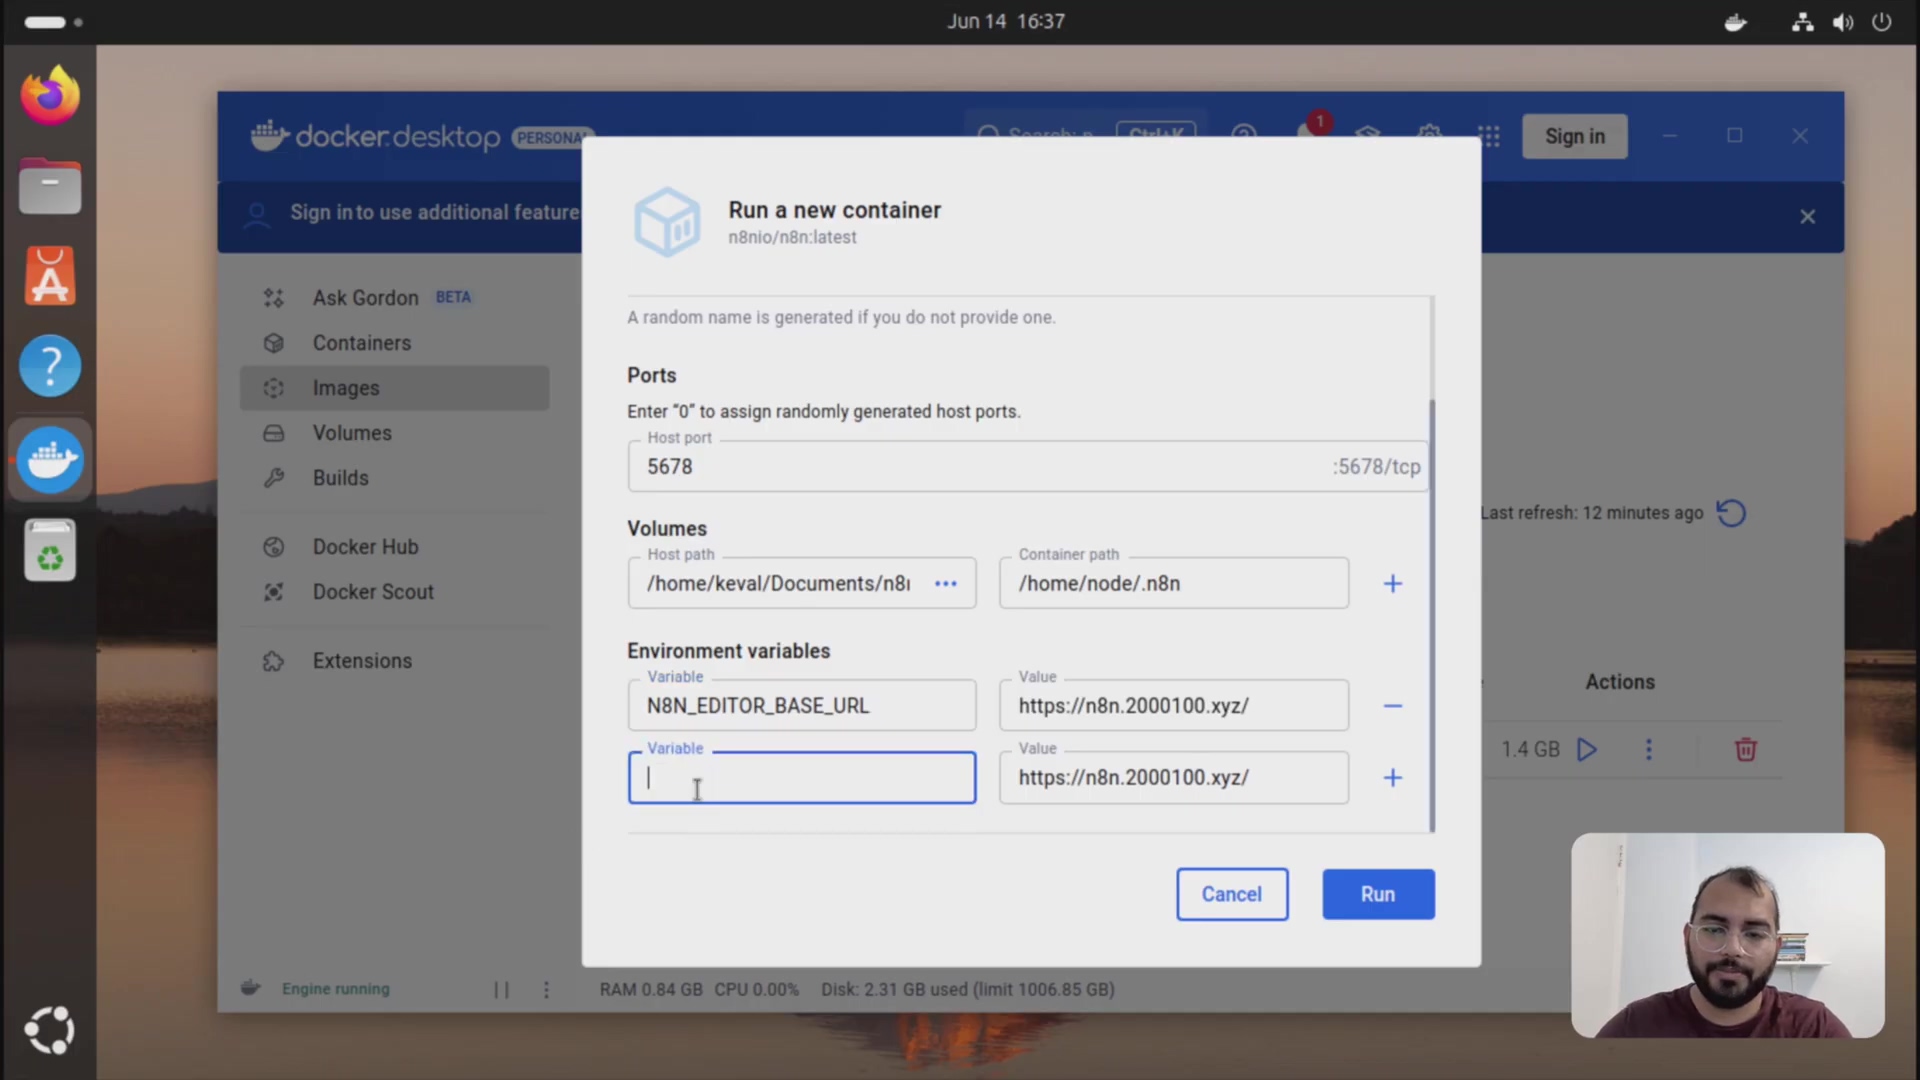
docker run -it --rm --name n8n -p 5678:5678 -v /path/to/your/n8n-data:/home/node/.n8n n8n/n8nRemember to specify the correct host path where your n8n data is stored (e.g., /home/Keval/Documents/n8n-data) and map it to the container path (/home/node/.n8n). Additionally, configure the necessary environment variables, such as N8N_EDITOR_BASE_URL.
To set environment variables, use the -e flag followed by the variable name and value. For example:
docker run -it --rm --name n8n -p 5678:5678 -v n8n_data:/home/node/.n8n -e N8N_EDITOR_BASE_URL=http://localhost:5678 n8n/n8n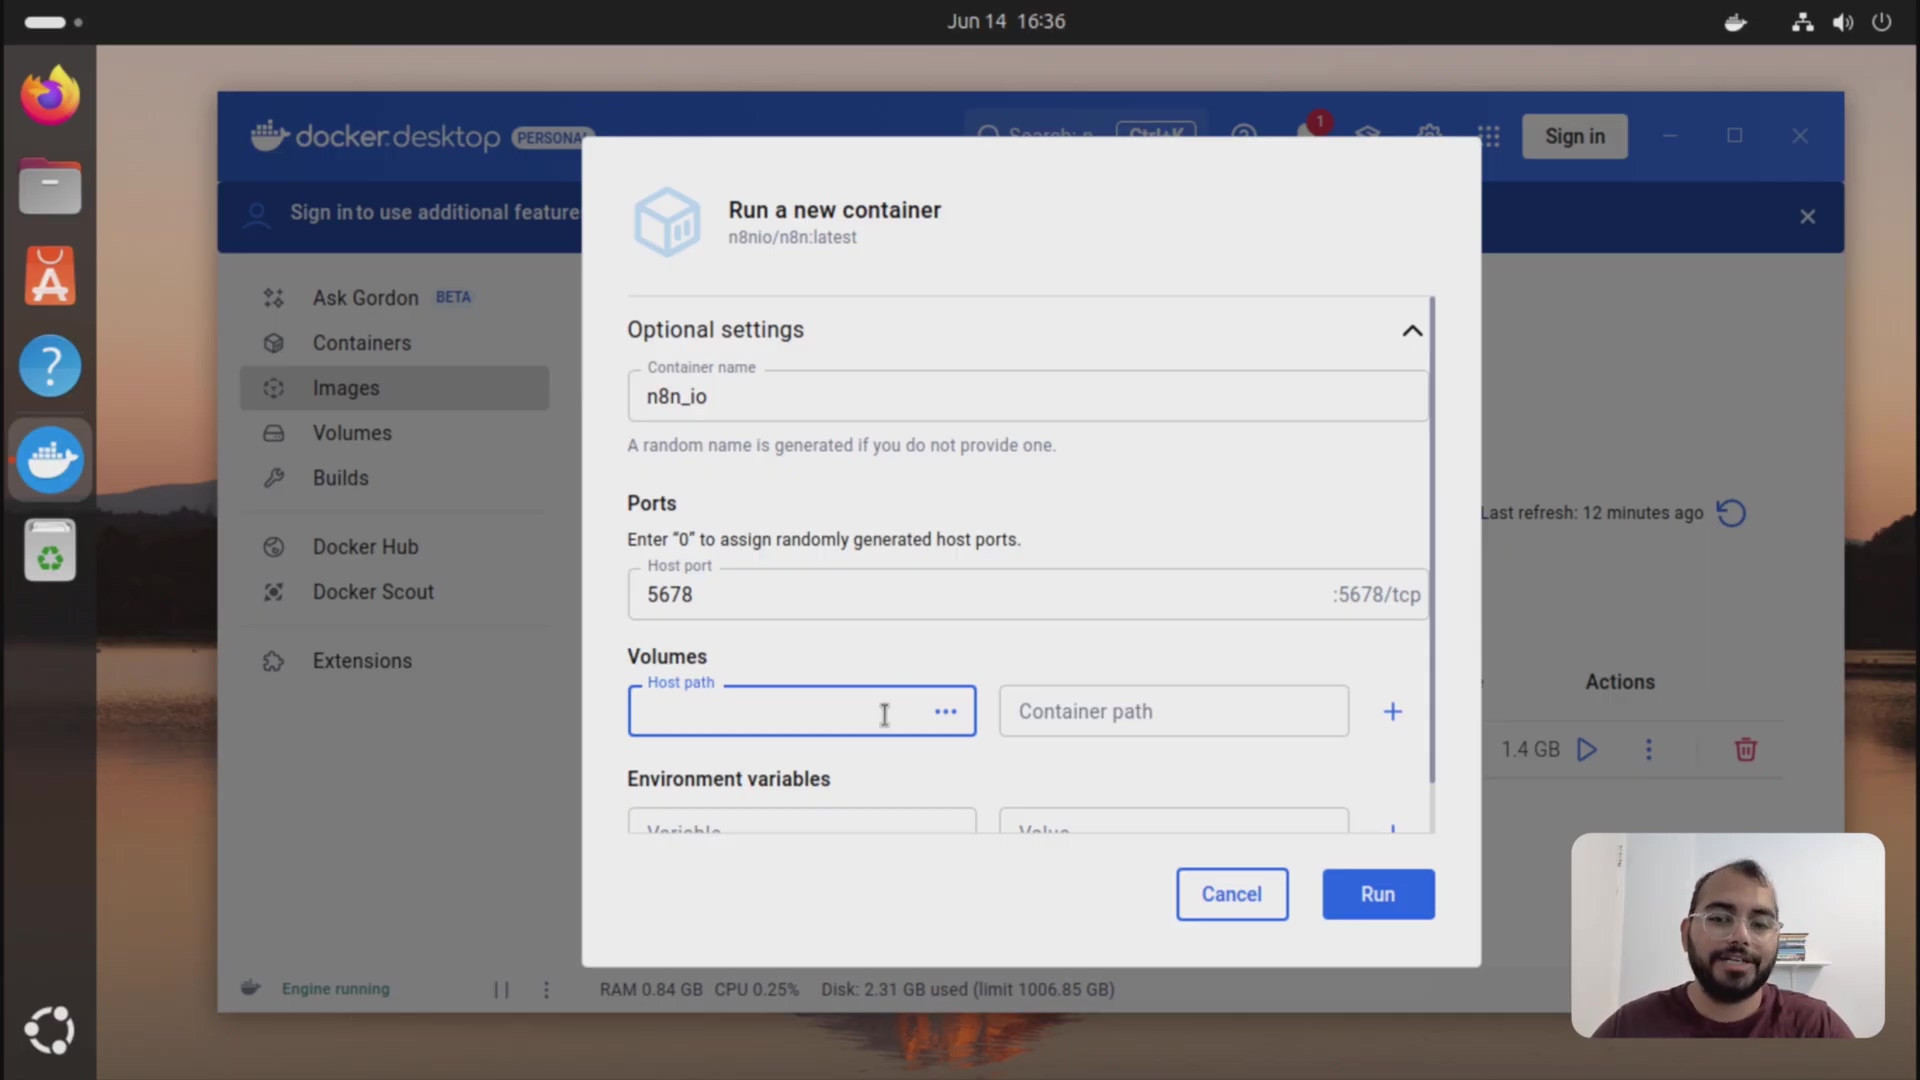
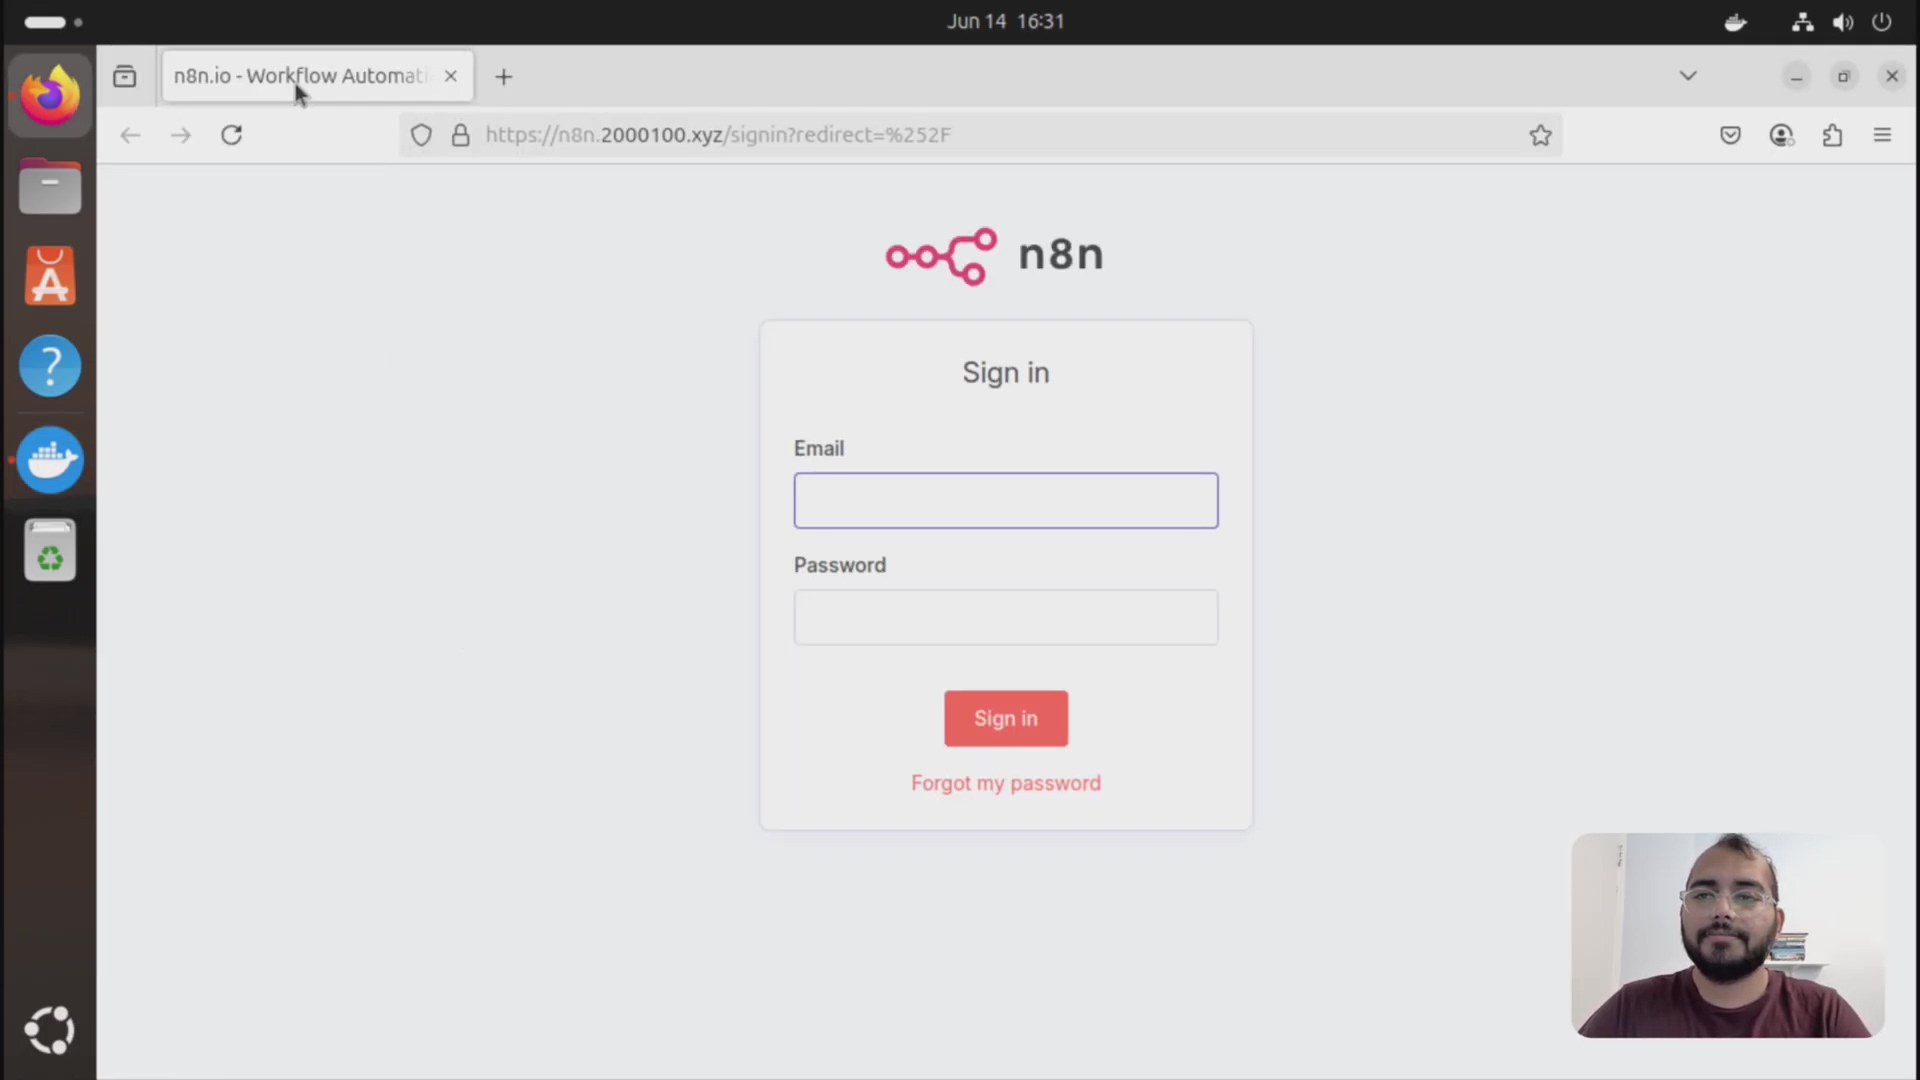
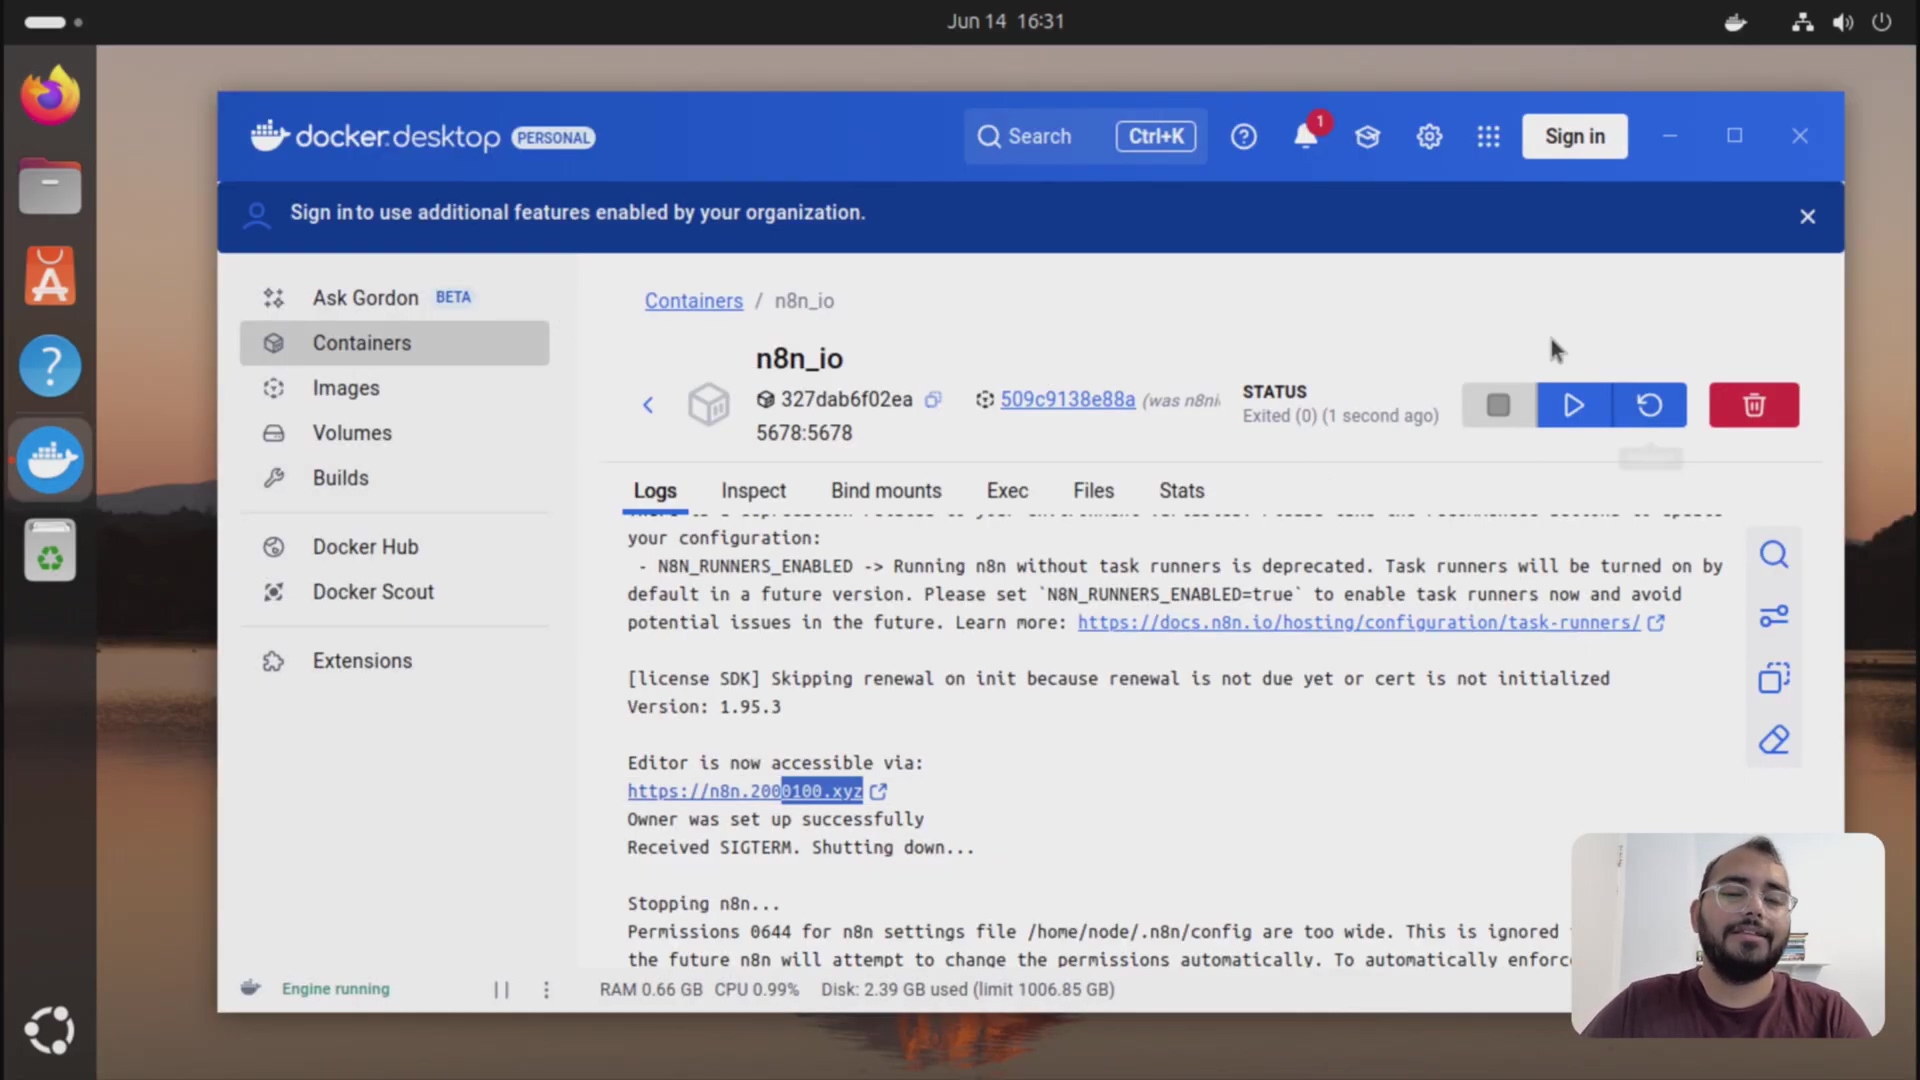
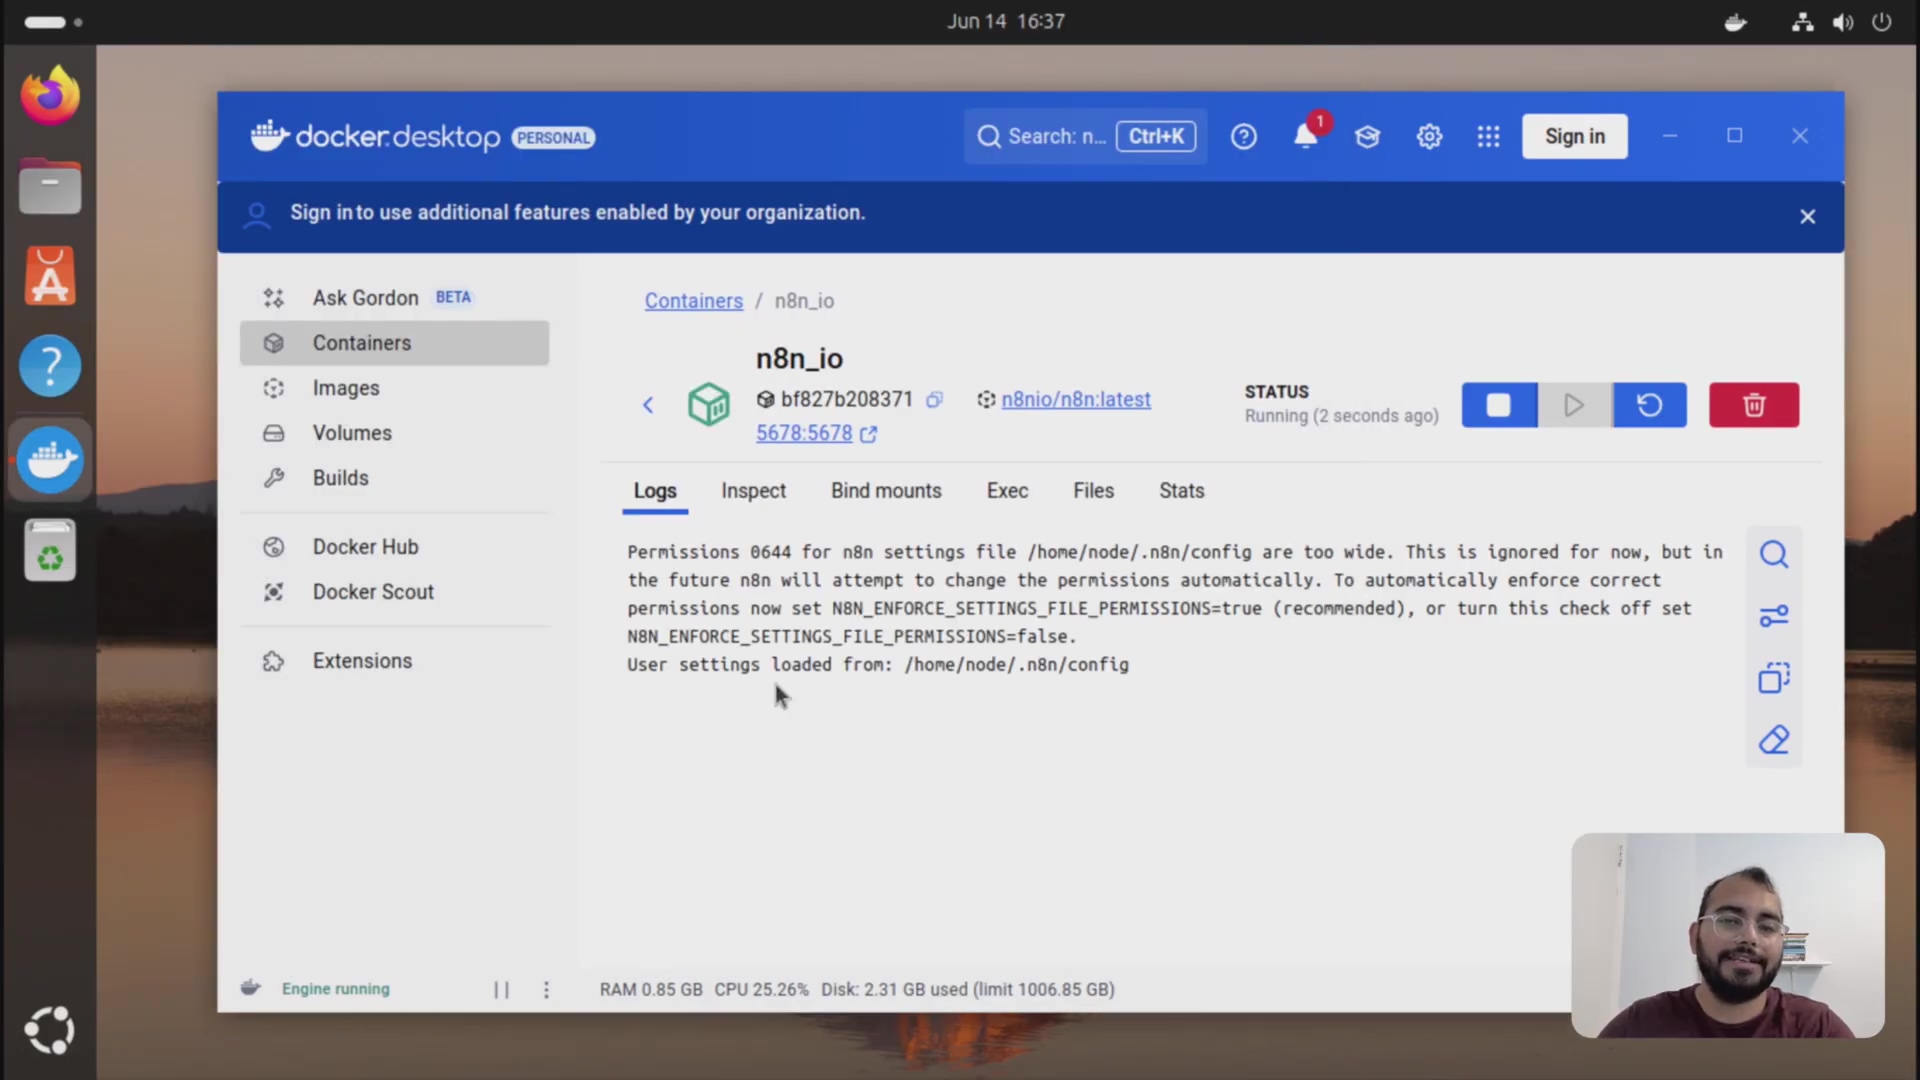
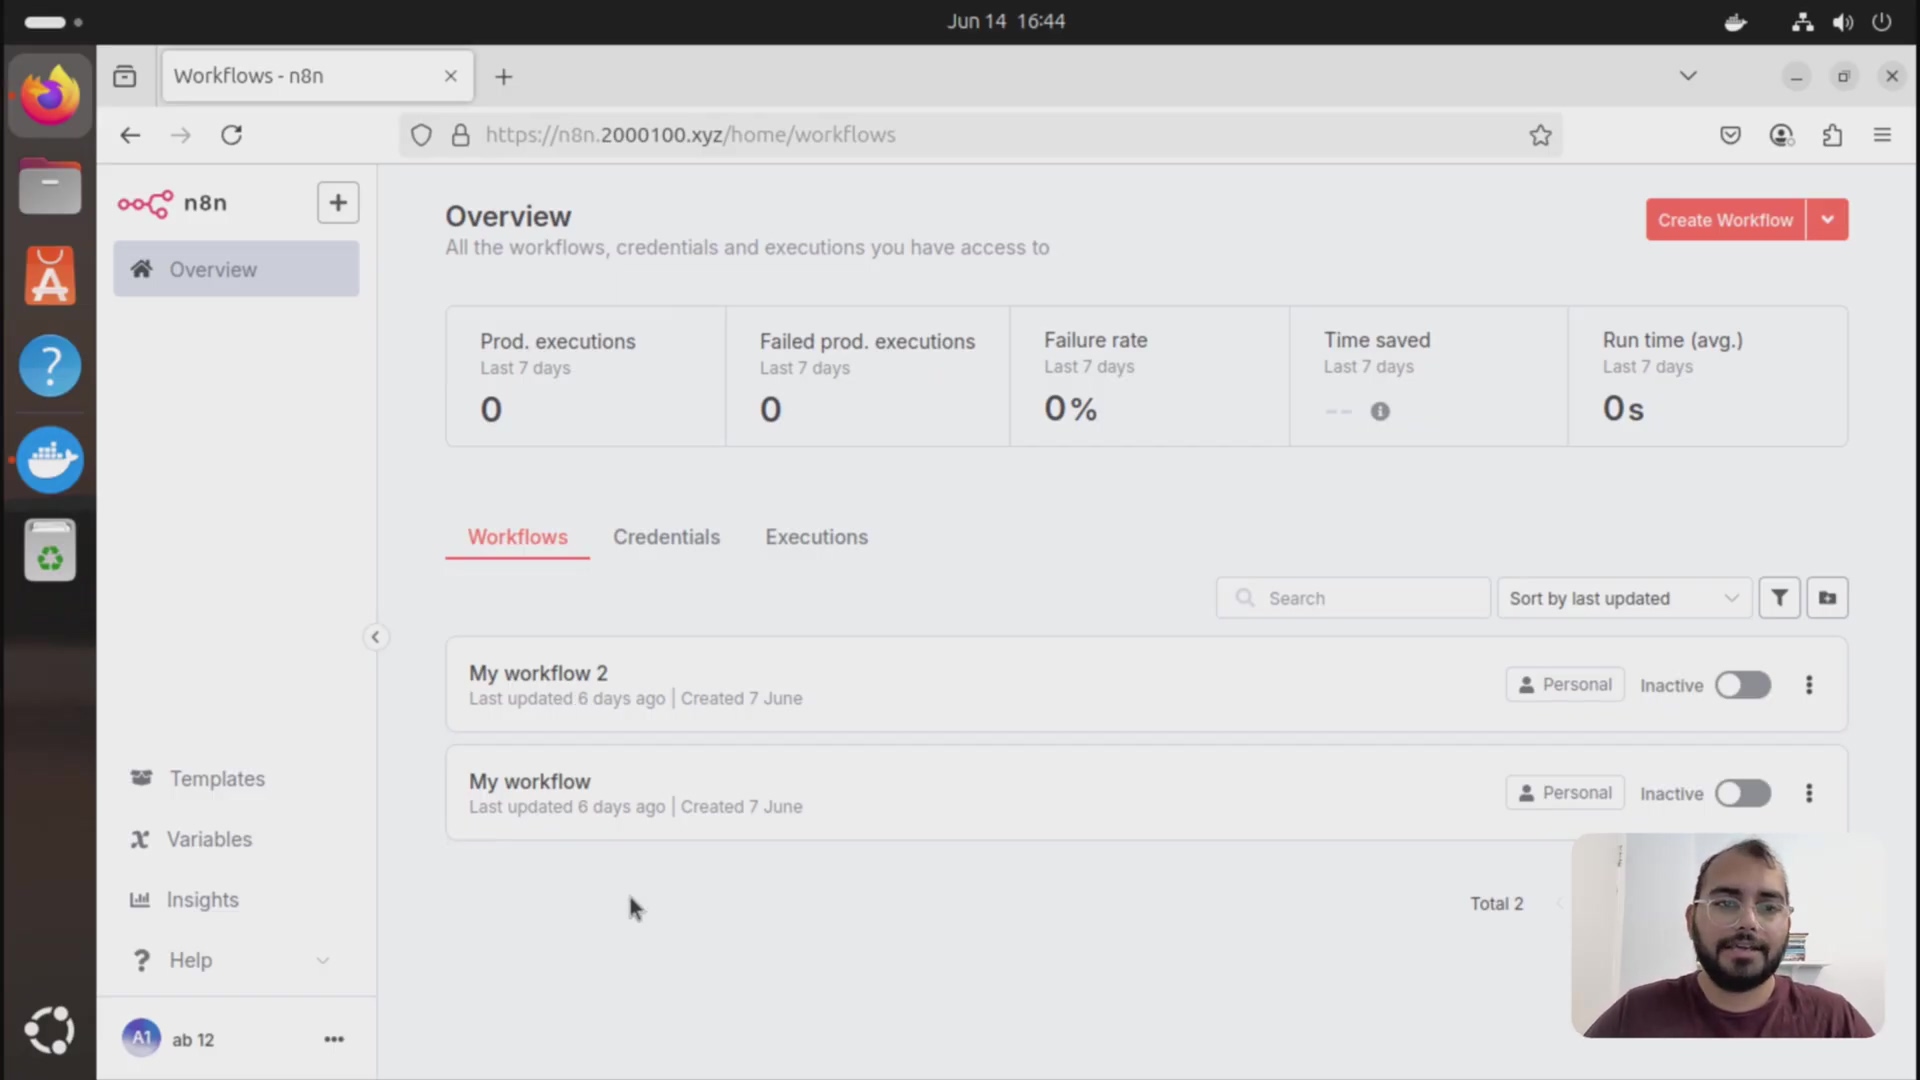
5. Verify the Updated n8n Instance
Once the new container is running, check its logs to ensure it started without errors. Then, access the n8n web interface to confirm that your workflows and data have been successfully loaded and are accessible. This verification step is crucial to ensure a successful, data-safe update.
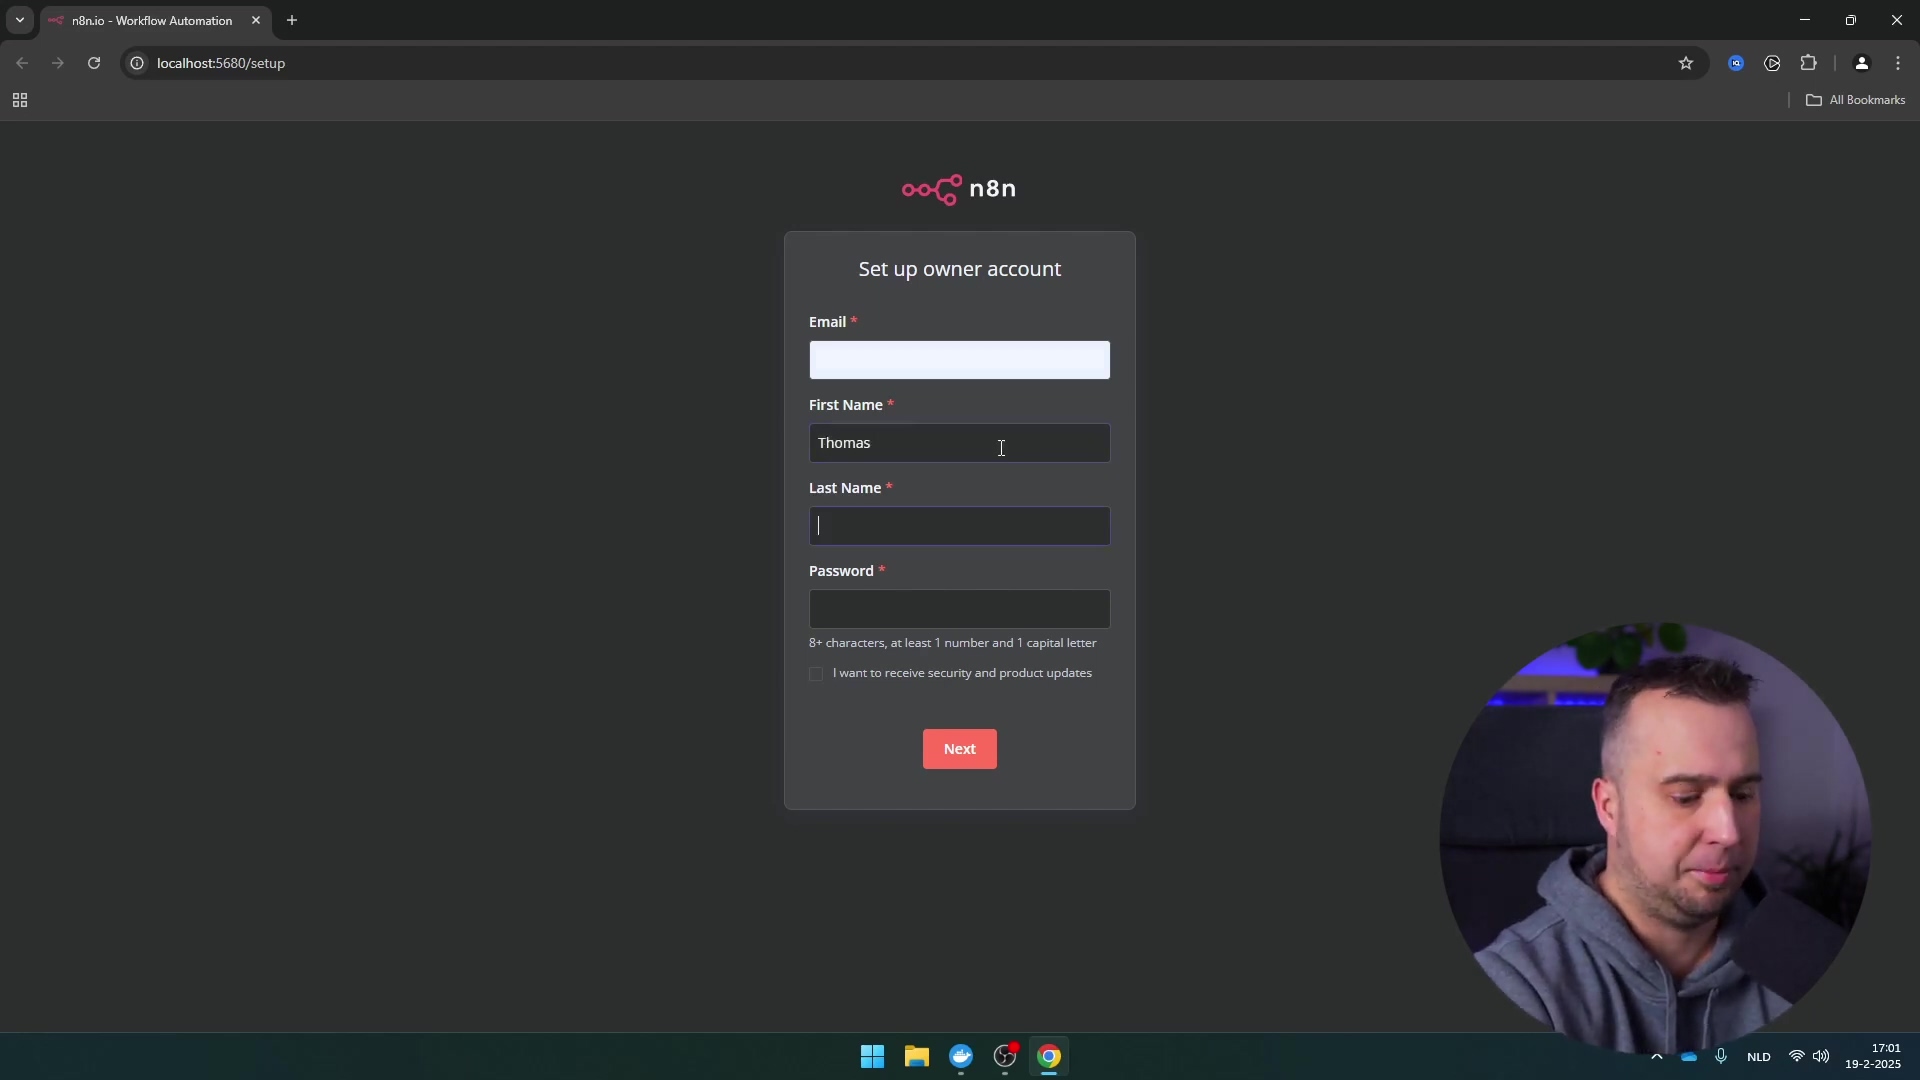
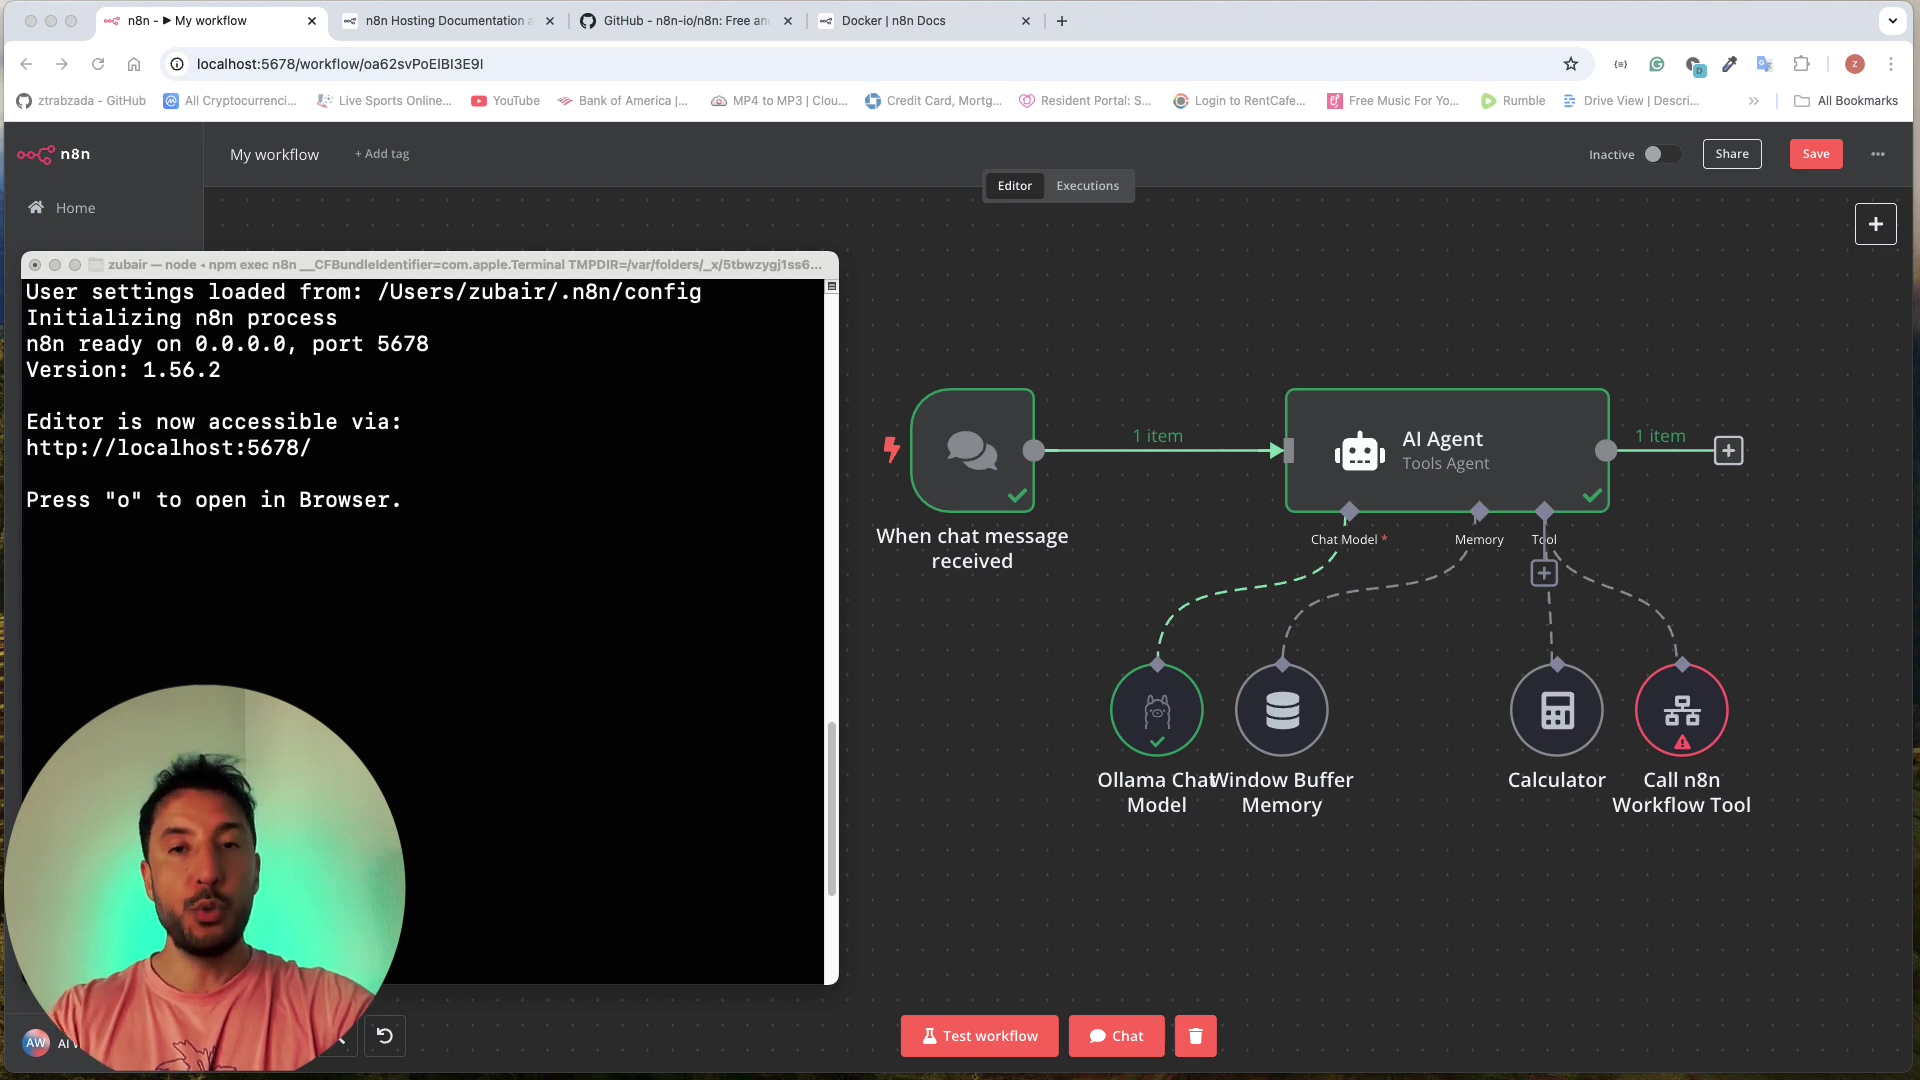
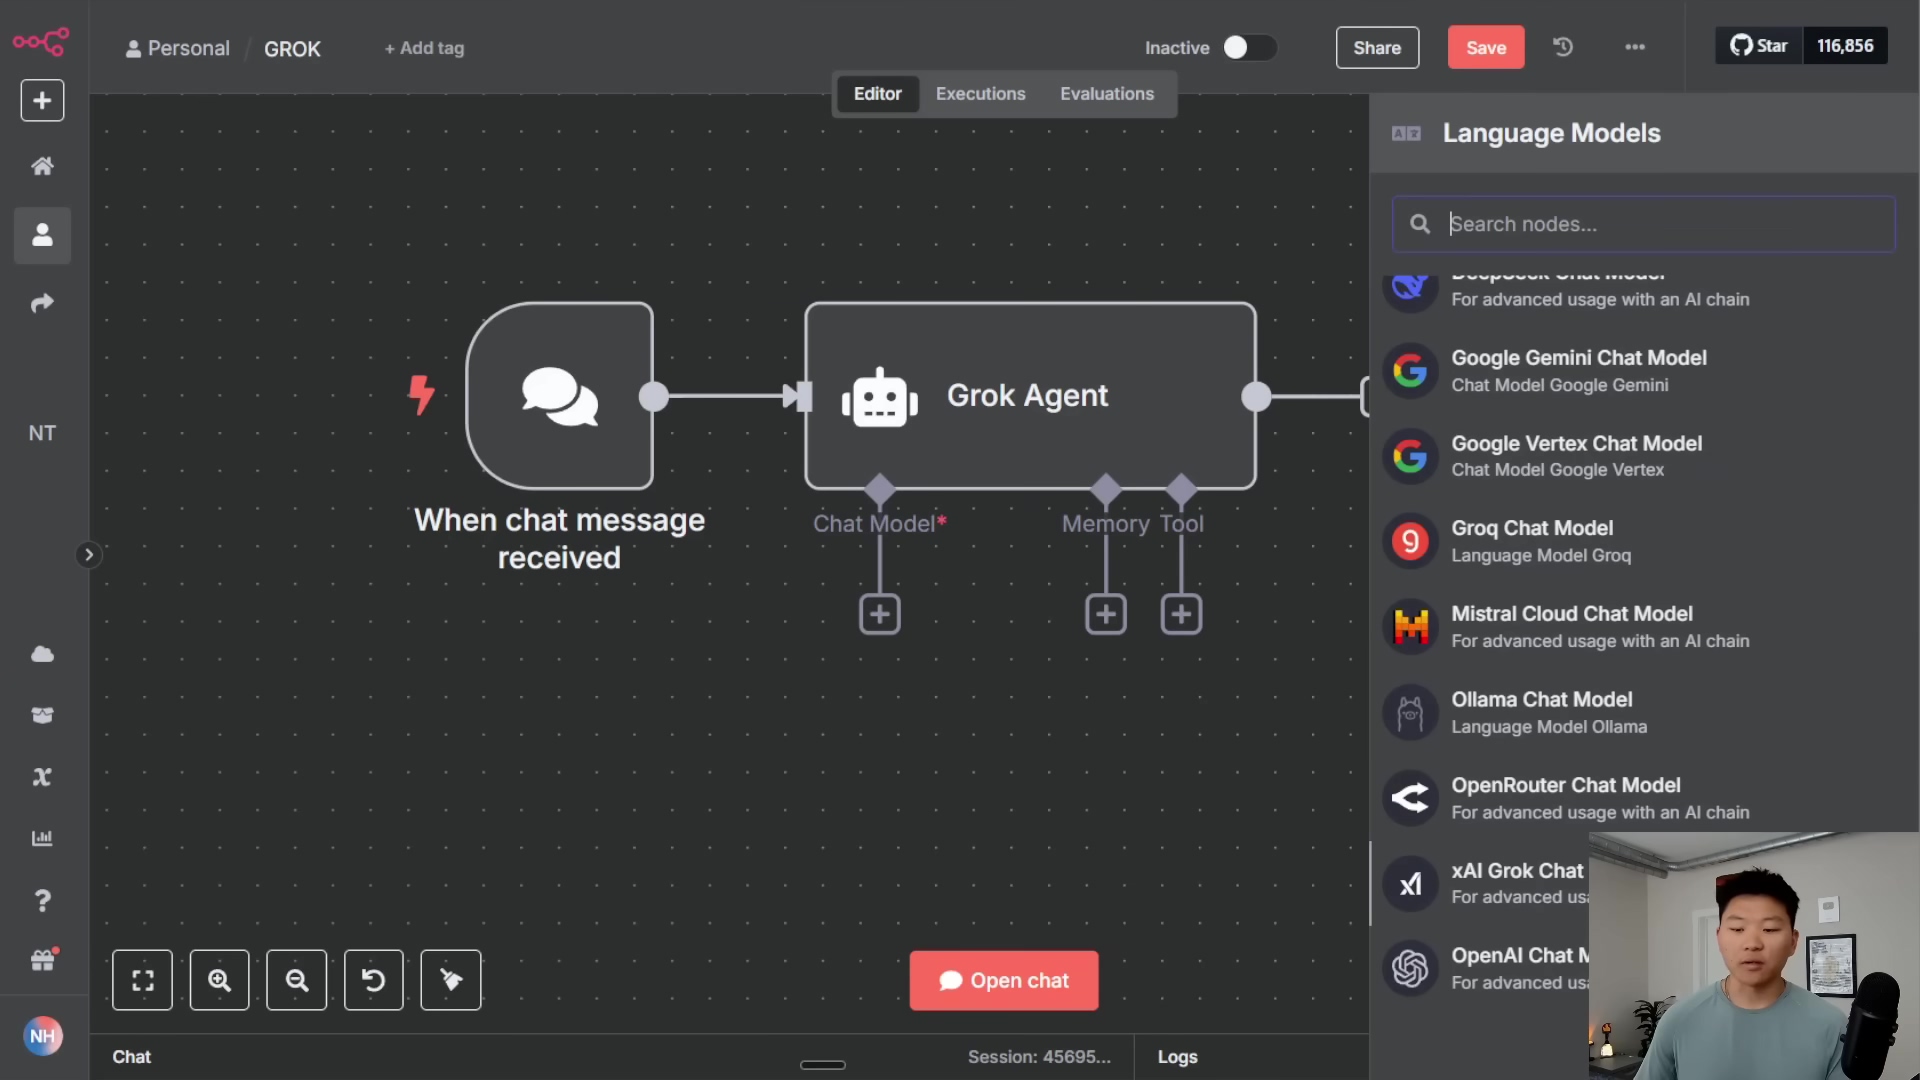
Alright, let’s make sure everything is working as expected. Open your browser and navigate to http://localhost:5678 (or whatever port you mapped). You should see your n8n instance up and running, with all your workflows and data intact!
If something went wrong, check the container logs. This is like reading the error messages on your spaceship’s dashboard. To view the logs, run:
docker logs n8nLook for any error messages or warnings. Common issues include incorrect volume mappings or missing environment variables. n8n’s official documentation is also a great resource for troubleshooting.
Required Resources and Cost-Benefit Analysis
Resource Checklist
| Resource/Tool | Description |
|---|---|
| Docker Desktop | Application for managing Docker containers |
| Existing n8n data | Your current n8n workflows and configuration |
| Internet Connection | To pull the latest n8n Docker image |
| Text Editor / CLI | For copying paths and environment variables |
Cost-Benefit Analysis
| Feature | DIY n8n Update (Docker) | Commercial n8n Cloud Service |
|---|---|---|
| Cost | Free (self-hosted) | Subscription-based |
| Control | Full control over environment | Limited control |
| Complexity | Moderate | Low |
| Maintenance | Manual updates & troubleshooting | Managed by provider |
| Data Privacy | On-premise control | Relies on provider’s policies |
| Scalability | Manual scaling | Auto-scaling capabilities |
Critical Best Practice Tips
💡 Backup Your Data: Always back up your n8n-data directory before initiating any update or major configuration change. This provides an essential safety net against unforeseen issues.
Think of this as making a save point in your favorite video game. Before you attempt a difficult boss battle (updating n8n), you want to make sure you can revert to a safe state if things go south. Backing up your data is super handy, and I highly recommend it.
💡 Verify Paths: Double-check the host and container paths when mapping volumes. Incorrect paths are the most common cause of data loss during Docker updates.
Seriously, I can’t stress this enough. A wrong path is like entering the wrong coordinates into your spaceship’s navigation system – you’ll end up in the wrong place (or, in this case, with a broken n8n instance).
💡 Check Logs: After running the new container, always review the Docker logs for any errors or warnings. Addressing these promptly can prevent future operational issues.
These logs are your friend! They’re like the diagnostic tools on your spaceship, telling you what’s working and what’s not. Don’t ignore them!
Key Takeaways
- Data Persistence: The key to a data-safe n8n update on Docker Desktop lies in correctly mapping your existing data volume to the new container.
- Clean Slate: Stopping and removing old containers and images before pulling the new one ensures a clean and conflict-free update.
- Configuration is Key: Properly setting environment variables and port mappings is vital for the new n8n instance to function correctly.
- Verify Everything: Always confirm that n8n is running and your workflows are accessible after the update.
Conclusion
Updating your n8n instance on Docker Desktop doesn’t have to be a stressful process. By diligently following the steps outlined in this guide – from stopping old containers to carefully configuring your new instance with existing data – you can ensure a smooth transition to the latest n8n version without any data loss. This method empowers you with the flexibility of a self-hosted solution while keeping your automation workflows cutting-edge.
For those seeking ultimate control and customization, the DIY Docker update path is invaluable. However, for users prioritizing simplicity and minimal overhead, managed n8n cloud services offer a compelling alternative, albeit with less direct control. The choice depends on your specific needs for control, technical expertise, and budget.
Now, armed with this comprehensive guide, confidently update your n8n on Docker Desktop and unlock its full potential. Share your update experiences or any tips you’ve discovered in the comments below!
Frequently Asked Questions (FAQ)
Q: What is Docker, and why is it used for n8n?
A: Docker is a platform that allows you to run applications in isolated containers. This makes it easier to manage dependencies and deploy n8n consistently across different environments. Think of it as a standardized shipping container for your applications.
Q: How do I find the correct path to my n8n data directory?
A: The path depends on where you initially stored your n8n data. If you used a Docker volume, you don’t need the host path. If you bound a directory on your host machine, you need to find that directory. Common locations include your home directory or a dedicated folder for n8n data.
Q: What if I forget to back up my data before updating?
A: While it’s strongly recommended to back up your data, if you forget, you might still be able to recover it from the old container or image. However, this is not guaranteed, and it’s always best to have a backup.
Q: I’m getting an error message in the Docker logs. What should I do?
A: Error messages in the Docker logs can provide clues about what went wrong. Common issues include incorrect volume mappings, port conflicts, or missing environment variables. Search the error message online or consult the n8n documentation for troubleshooting steps.
Q: Can I use Docker Compose to update n8n?
A: Yes, Docker Compose is a great way to manage multi-container applications like n8n. You can define your n8n setup in a docker-compose.yml file and use docker-compose up -d to update the container. This can simplify the update process.
Q: How often should I update n8n?
A: It’s generally a good idea to update n8n regularly to take advantage of new features, bug fixes, and security improvements. Check the n8n release notes for information about each update and assess whether it’s relevant to your use case.