Watch the Video Tutorial
💡 Pro Tip: After watching the video, continue reading below for detailed step-by-step instructions, code examples, and additional tips that will help you implement this successfully.
Let’s be honest, figuring out how to delete a workflow in n8n can be surprisingly nerve-wracking. You see “Archive,” you see “Delete,” and a voice in your head screams, “Am I about to break everything?!” Don’t worry, we’ve all been there.
TL;DR
- Archive First: Navigate to your workflow, click the three dots, and select “Archive” to move it to an archived state.
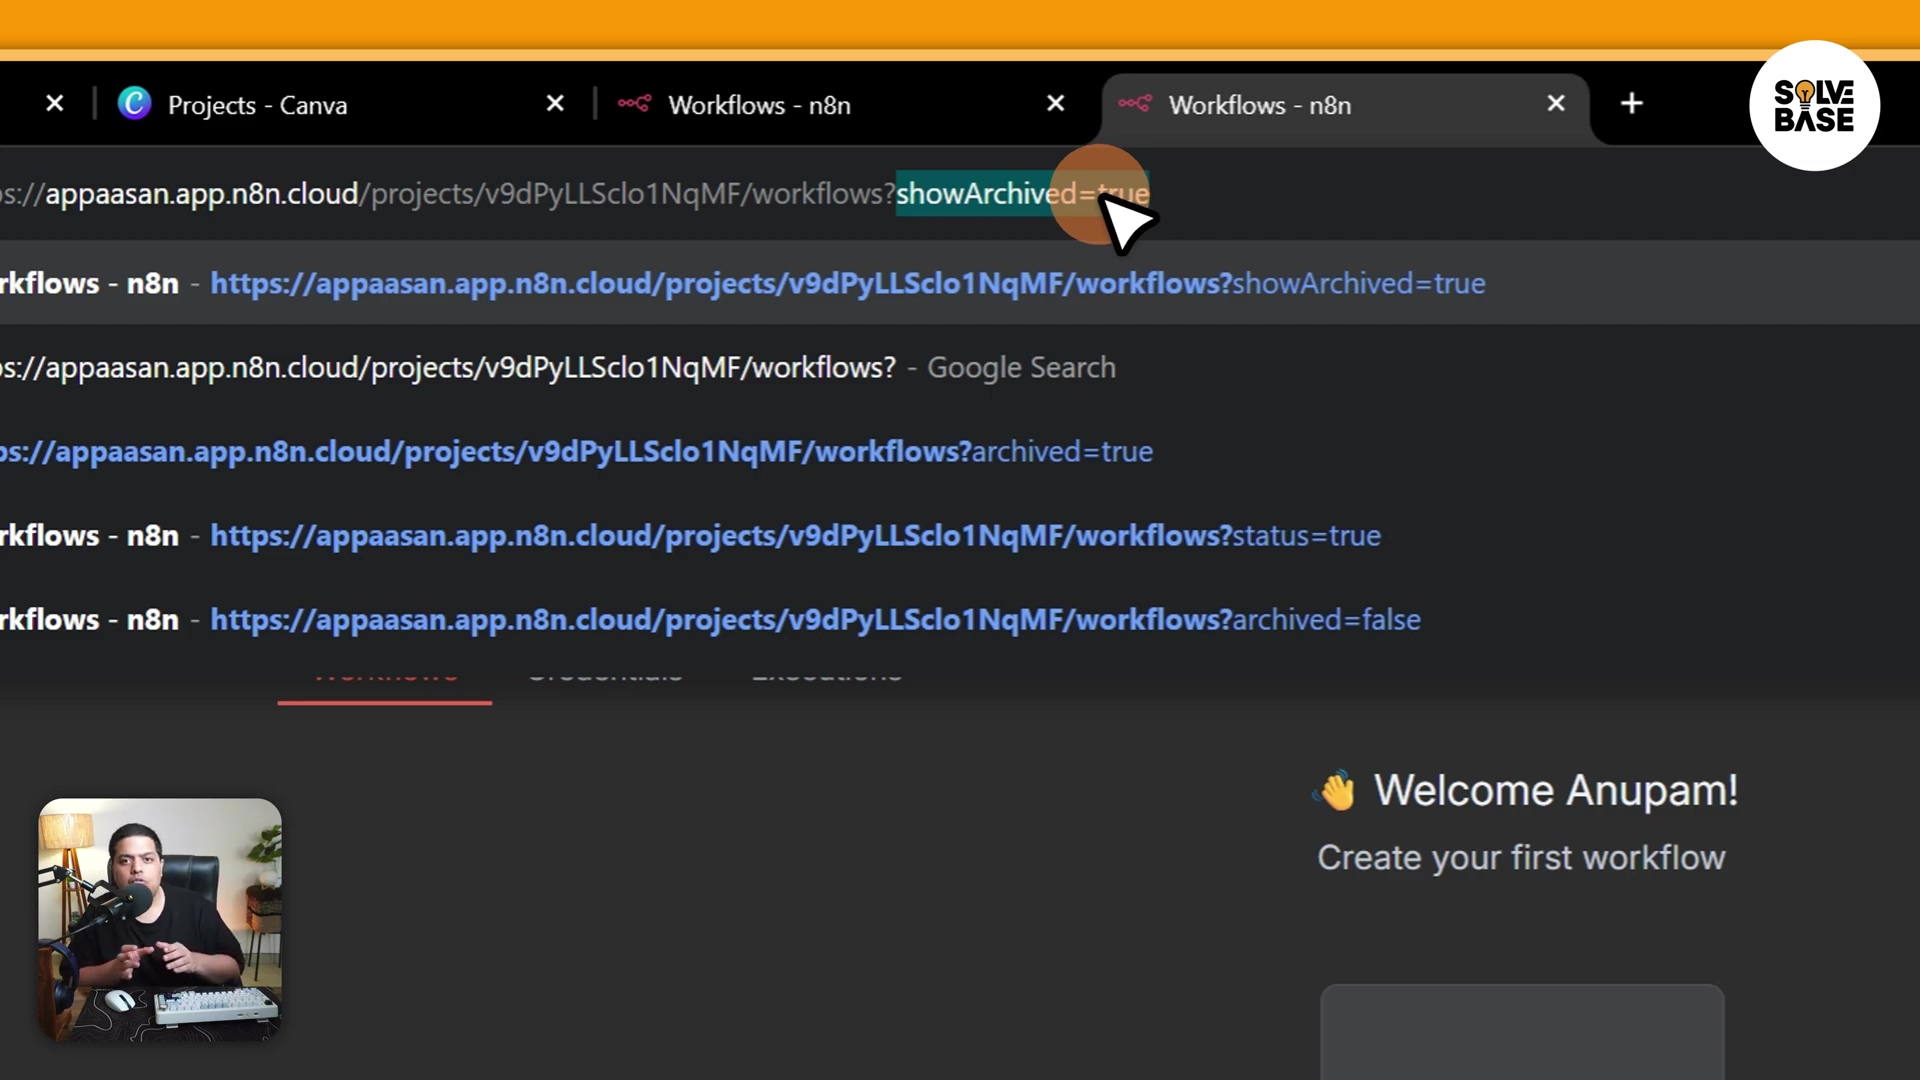
- Access Archived Workflows: Modify the URL by adding
?showArchived=trueafter your n8n instance URL to display archived workflows. - Permanent Deletion: From the archived view, select the three dots next to the desired workflow and choose “Delete” to permanently remove it.
- Verification: Confirm successful deletion by checking that the workflow no longer appears in either active or archived lists.
- Risk: Deleting is irreversible; always archive first to retain a recovery option.
Hey there, future automation wizard! Boyce here, your friendly neighborhood self-taught automation consultant. Ever felt like your n8n dashboard is getting a bit… cluttered? Like a digital attic full of old projects you don’t need anymore? Managing workflows in n8n is super crucial for keeping your automation environment neat, organized, and running like a well-oiled machine. But let’s be real, sometimes getting rid of those old workflows can feel like trying to solve a riddle, especially with the whole “archive vs. delete” thing. Don’t sweat it, we’ve all been there!
This guide is your trusty sidekick, giving you a comprehensive, step-by-step approach to safely deleting n8n workflows. We’ll make sure you keep your data safe and avoid any accidental operational disruptions. Follow along, and we’ll streamline your n8n workspace together, making it a lean, mean, automation dream machine!
Table of Contents
Open Table of Contents
- Unlocking n8n Workflow Deletion: A Quick Overview of Current Challenges
- Understanding Workflow States: Archive vs. Delete in n8n
- Locating Your Workflows in n8n for Management
- Step 1: Accessing the Workflow Dashboard
- Step 2: Identifying the Target Workflow
- Archiving Workflows: Your First Step Towards Deletion (and Recovery Option)
- Step 1: Initiating the Archive Process
- Step 2: Confirming Workflow Archival
- Permanently Deleting Workflows: Finalizing the Cleanup Process
- Step 1: Accessing Archived Workflows
- Step 2: Initiating Permanent Deletion
- Step 3: Confirming Permanent Deletion
- Troubleshooting Common Workflow Deletion Issues
- Best Practices for n8n Workflow Management and Housekeeping
- Ensuring Data Integrity: Pre-Deletion Checklists
- Frequently Asked Questions (FAQ)
- Streamlined n8n Workflow Deletion: Key Takeaways and Next Steps
- Final Summary
Unlocking n8n Workflow Deletion: A Quick Overview of Current Challenges
Alright, let’s talk about the elephant in the room. Many n8n users, myself included when I first started, often scratch their heads at the two-step process of archiving then deleting workflows. Why can’t we just hit a big red “DELETE” button, right? Well, this sequential approach, while a bit of a head-scratcher at first, is actually a safety net. It’s designed to give you a moment to pause and think before you permanently zap something into the digital void. But yeah, it can definitely lead to some confusion, leaving unwanted workflows hanging around or, worse, accidental data loss if you’re not careful. Understanding these initial hurdles is key to mastering workflow management, so let’s tackle them head-on!
Understanding Workflow States: Archive vs. Delete in n8n
Think of your n8n workflows like files on your computer. They can be active (you’re using them), archived (they’re in the recycle bin, but you can still pull them out), or deleted (they’re gone for good, like you emptied the recycle bin). The difference between archiving and deleting is fundamental, and it’s your superpower for effective workflow management.
The Archiving Process
Archiving a workflow is like putting it into a digital storage unit. It removes it from your main, active view – decluttering your dashboard – but it’s still there, chilling in a dormant state. The best part? This action is reversible! You can bring it back to life anytime you want. Archiving is your safety net, preventing those “oops, I didn’t mean to delete that!” moments and offering a recovery option. Plus, it keeps your active workflow list clean without losing potentially valuable configurations. Super handy, right?
The Deletion Process
Now, deleting a workflow? That’s the big one. It’s a permanent and irreversible action. Once you delete it, it’s gone from your n8n instance forever. Poof! And here’s the kicker: workflows must first be archived before you can permanently delete them. This two-phase process is n8n’s way of giving you a final chance to reconsider before all its associated data and configurations are purged. Recognizing this distinction is absolutely vital to avoid unintended data loss and keep your n8n environment clean and efficient. Trust me, you don’t want to accidentally delete that super complex workflow you spent days building!
Locating Your Workflows in n8n for Management
Before we can do anything – archive, delete, or even just admire our work – we first need to find the workflow we’re targeting within your n8n dashboard. The n8n interface is pretty intuitive, but knowing exactly where to click is always the first step, like finding the right key for a spaceship before launch!
Step 1: Accessing the Workflow Dashboard
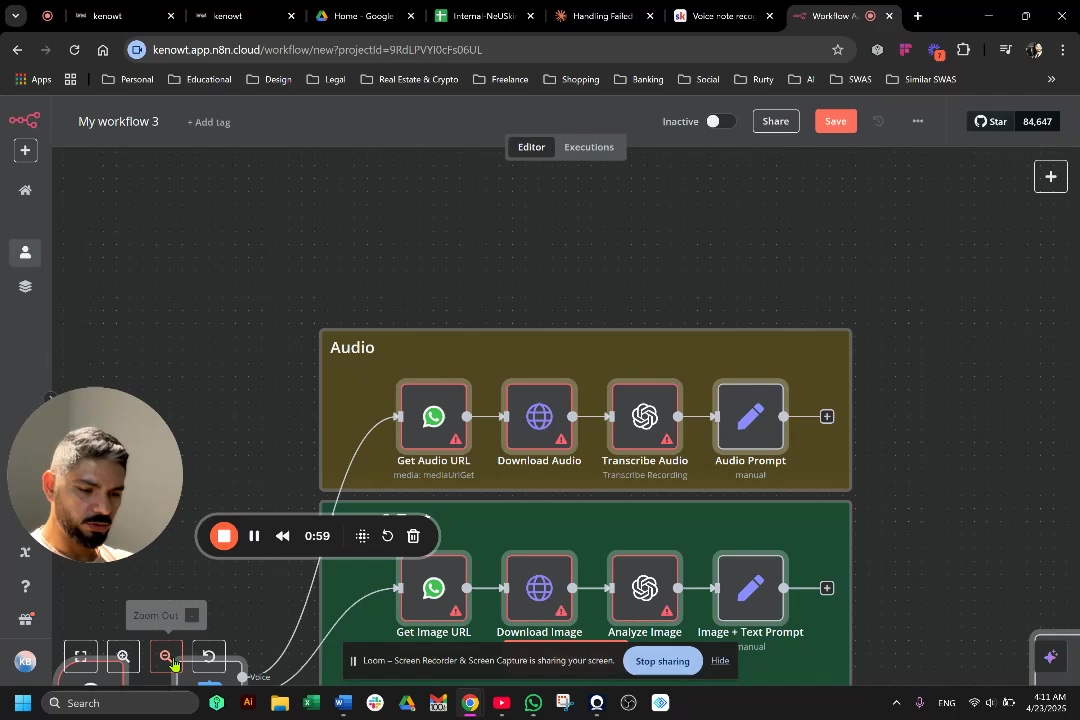
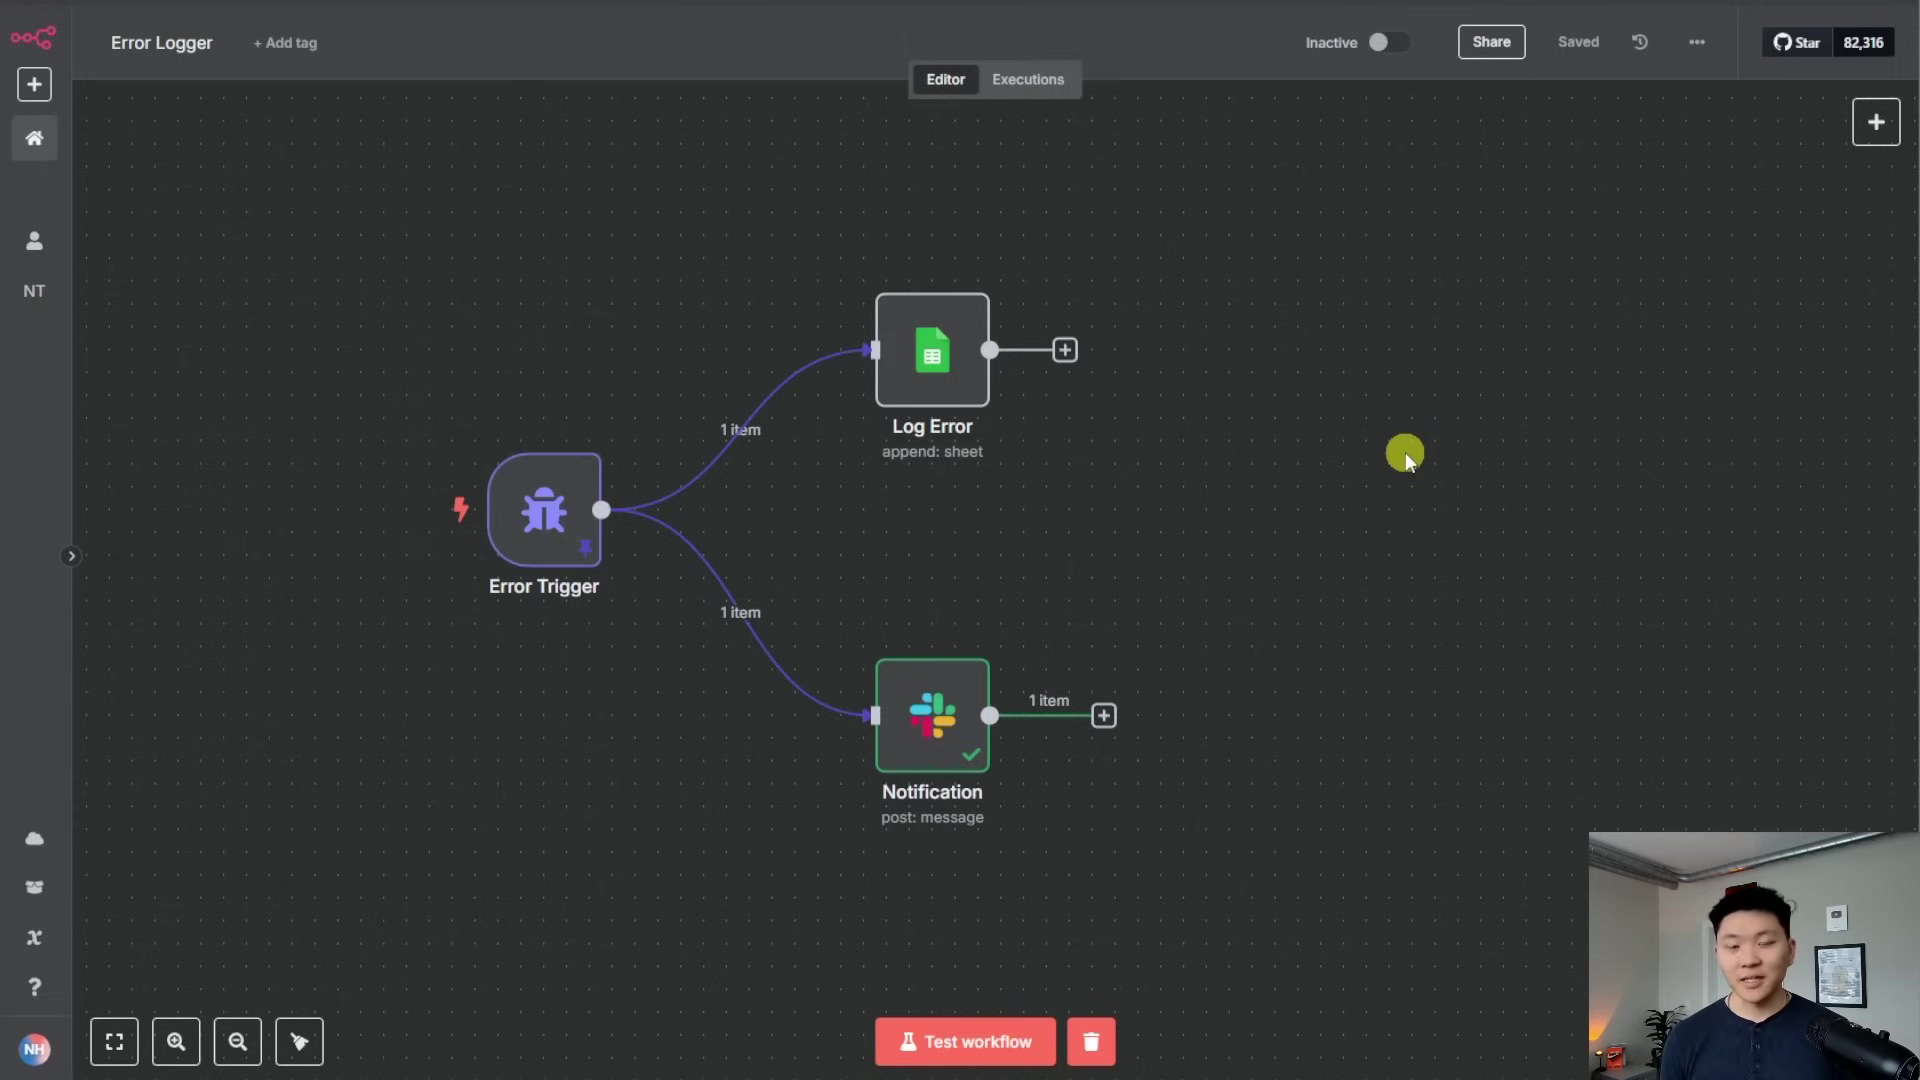
When you first log into your n8n instance (your personal automation command center!), you’ll usually land right on the Workflows dashboard. This is your mission control, giving you a bird’s-eye view of all your active automations. You can typically get here by clicking on Overview or Personal in the navigation pane on the left side of your screen. (The exact label might vary slightly depending on how your n8n instance is set up, but it’ll be something similar.) This dashboard will show you all your currently active, non-archived workflows, each with a little status indicator so you know what’s running and what’s not.
Step 2: Identifying the Target Workflow
Now that you’re on the dashboard, scroll through the list and pinpoint the exact workflow you want to manage. Each workflow entry will usually show its name, its current status (like “active” or “inactive”), and when it was last active. Take a moment here, like a sniper aiming for the bullseye, to make sure you’ve got the right one. Accidentally archiving or deleting the wrong workflow is a headache you definitely want to avoid! Double-check the name or the function of the workflow to ensure you’re targeting the correct one before moving on to the archiving step.
Archiving Workflows: Your First Step Towards Deletion (and Recovery Option)
Okay, so we’ve found our target! Archiving is our first move, and it’s a crucial one. Think of it as putting a workflow into a temporary holding cell. It moves it out of your active list, making your dashboard cleaner, but it’s still recoverable. This is your safety net against accidental permanent data loss, and it’s super important for keeping your workspace organized. Plus, it’s great for compliance and recovery strategies – you never know when you might need to audit or reactivate something later down the line.
Step 1: Initiating the Archive Process
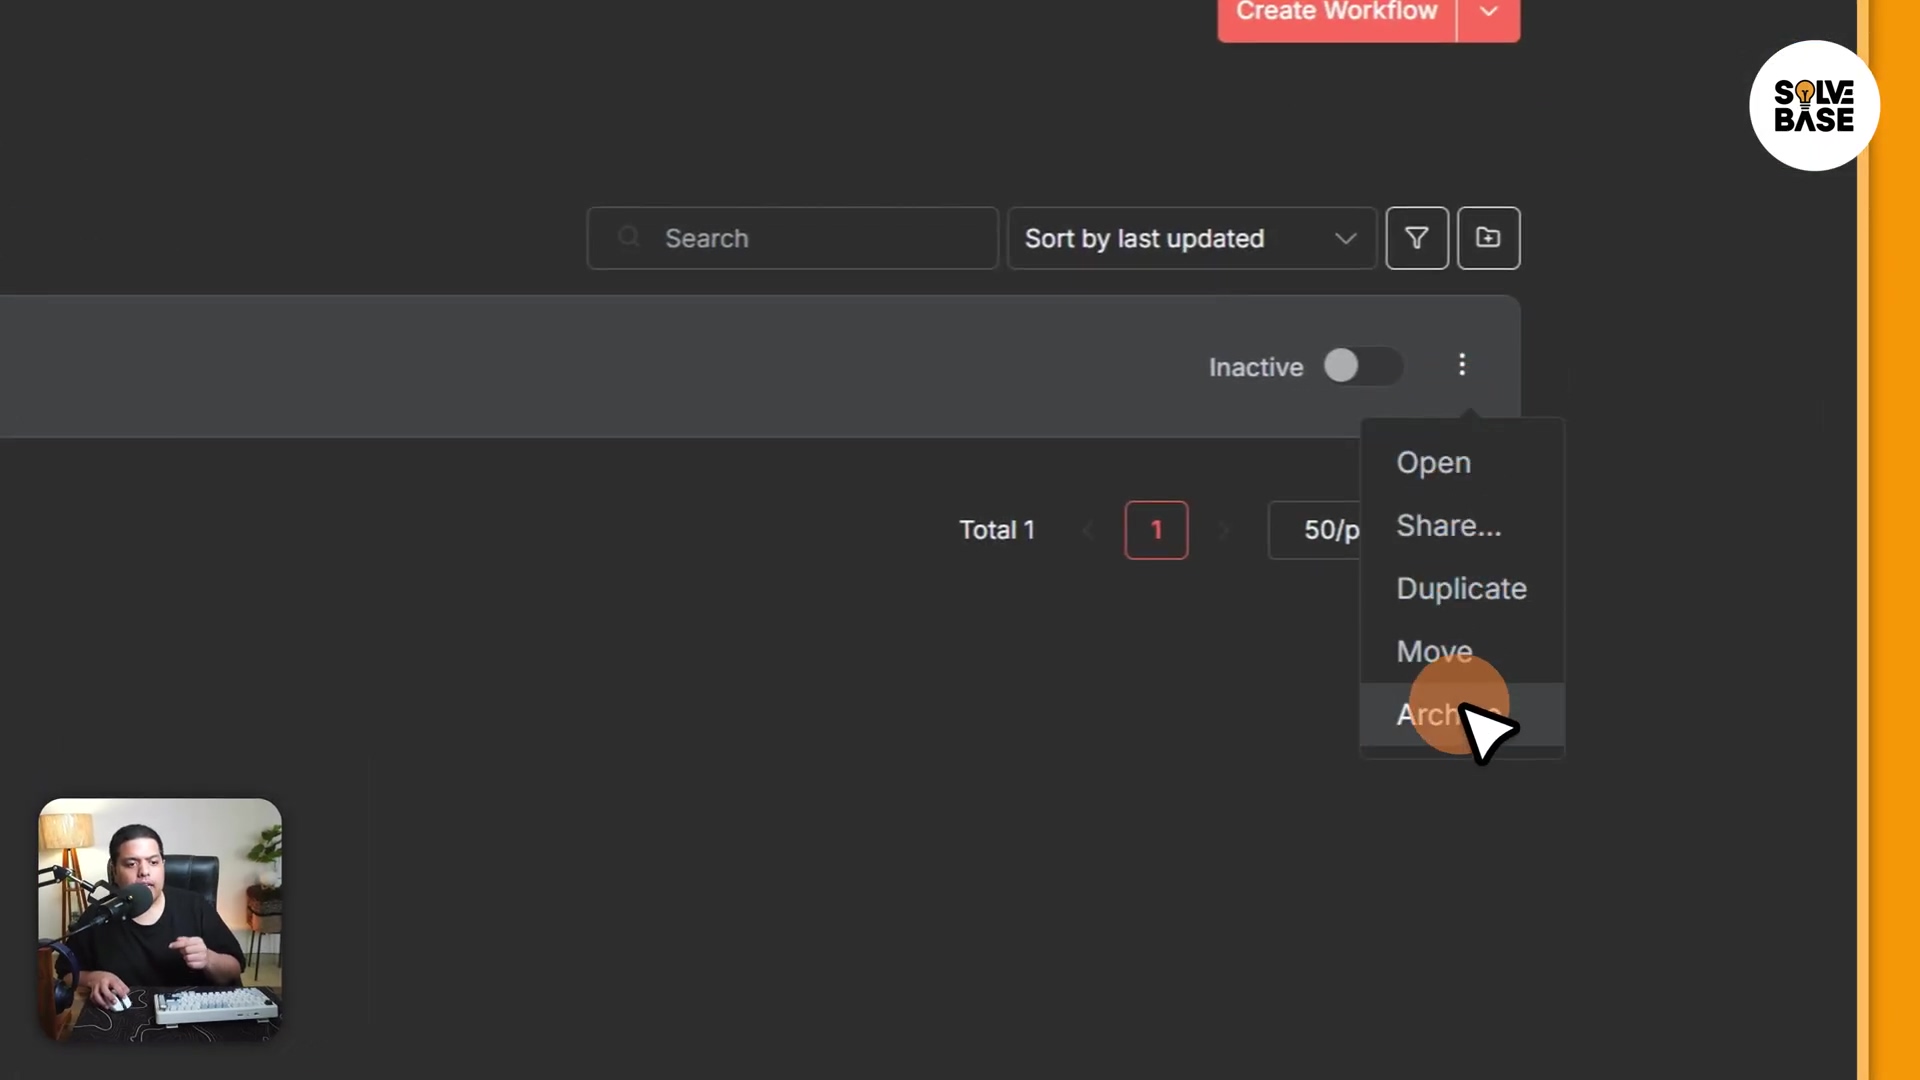
To archive a workflow, head back to your active Workflows dashboard. Look for the workflow you want to archive. On the far right side of that workflow’s entry, you’ll spot a three dots (ellipsis) icon. Give that a click! This will pop open a little context menu with a bunch of options specifically for that workflow.
Path: Workflows Dashboard > [Specific Workflow] > Three Dots (ellipsis icon)
Expected Feedback: A context menu will magically appear, showing options like Archive, Duplicate, Export, and more.
Risk: Seriously, take a second here. Make absolutely sure you’re clicking the three dots for the correct workflow. Archiving an active or critical automation by mistake is a real pain!
Step 2: Confirming Workflow Archival
Once that context menu is open, select the Archive option. n8n is smart, so it’ll usually throw up a confirmation dialog, just to make sure you’re really, truly, absolutely sure you want to archive it. Read it, confirm your decision, and click “Yes” or “Confirm.” As soon as you do, poof! The workflow will vanish from your active Workflows dashboard. This is your sign that it’s been successfully moved to its archived state.
Path: Context Menu > Archive > Confirmation Dialog > Yes (or similar confirmation button)
Expected Feedback: The workflow will no longer be visible in your regular Overview or Personal workflow lists. It’s now chilling in the archived dimension.
Rollback: If you change your mind, no worries! You’d just need to view your archived workflows (we’ll get to that next!) and then Unarchive it. Easy peasy.
Permanently Deleting Workflows: Finalizing the Cleanup Process
Alright, this is the big one. Permanent deletion. This is the final, irreversible step in banishing a workflow from your n8n instance forever. Remember, this action can only be performed on an archived workflow. It’s like taking something out of the recycle bin and shredding it. Once it’s gone, it’s gone. All its configurations, metadata, and execution history are purged from the system. No direct recovery options. So, proceed with extreme caution! This step truly finalizes your cleanup, ensuring your n8n environment is free of any obsolete or unnecessary automation components.
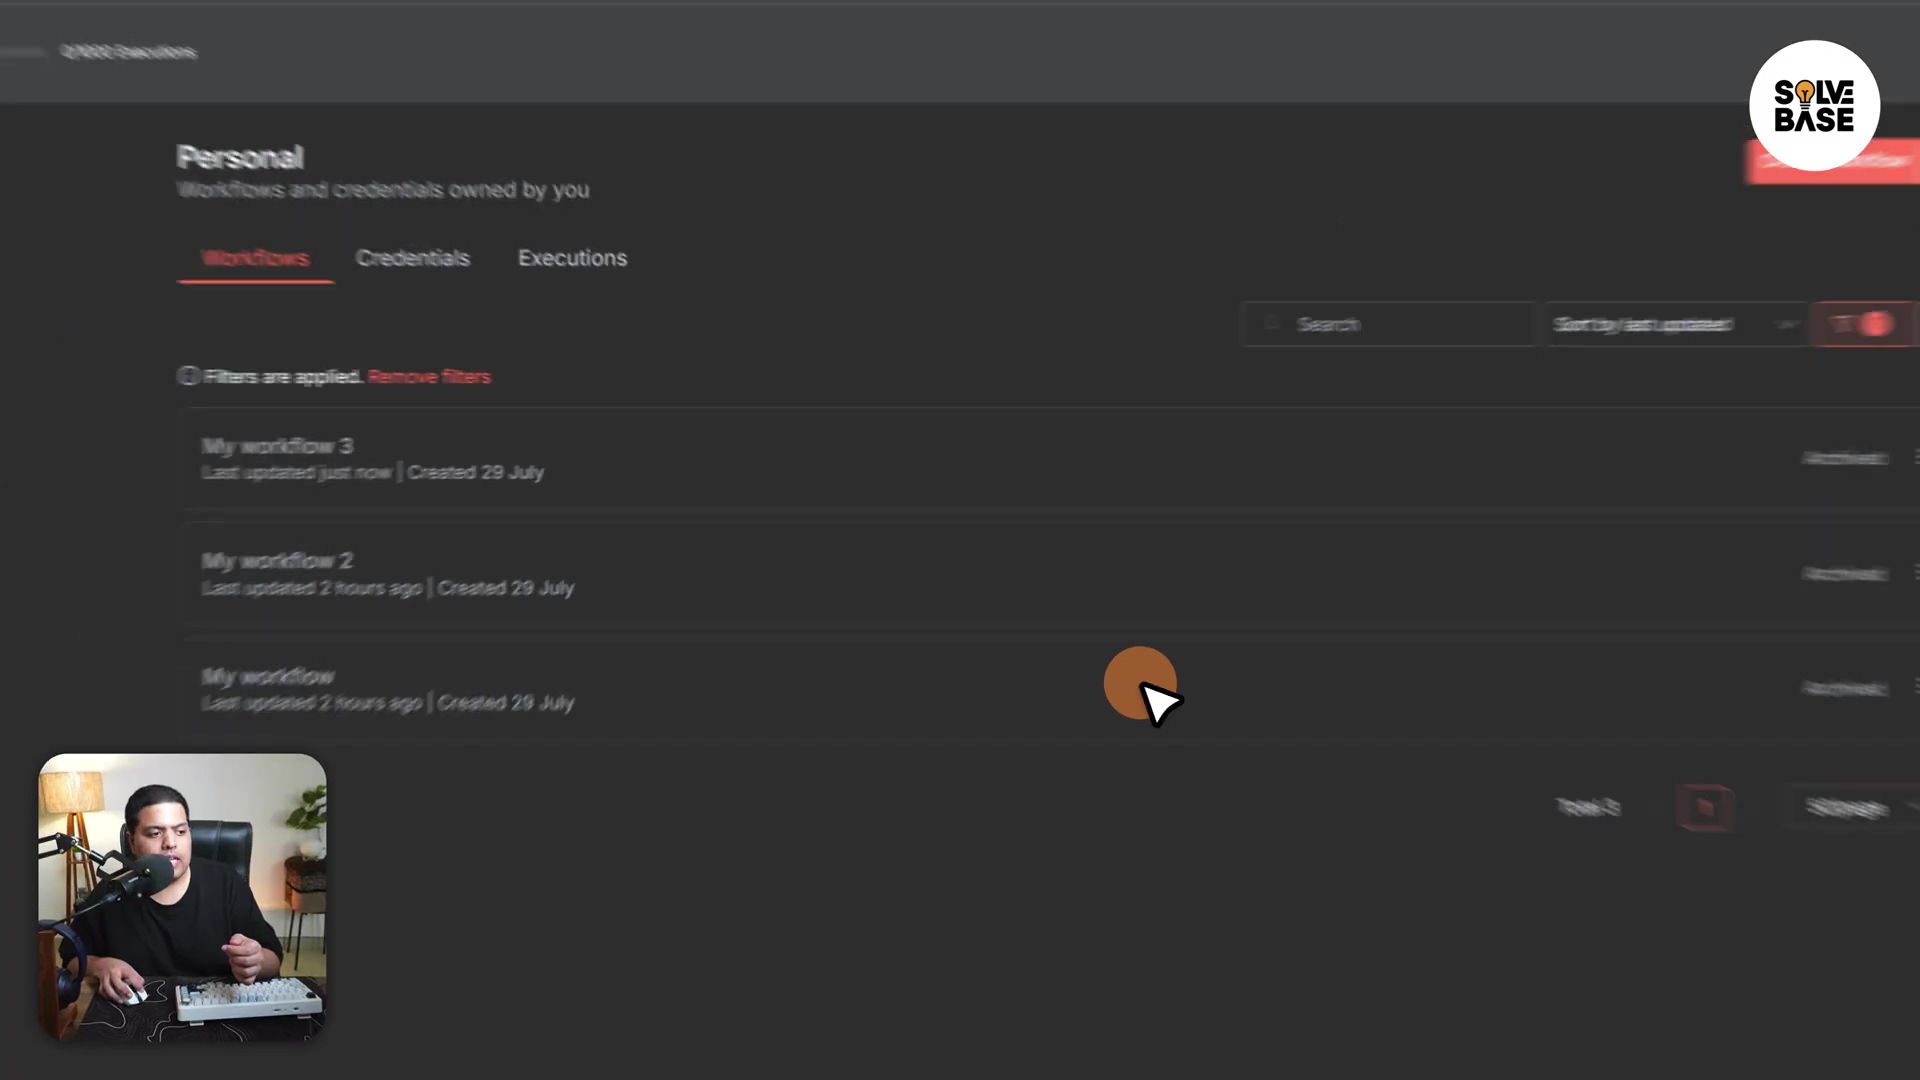
Step 1: Accessing Archived Workflows
Since we can only delete workflows that are already archived, our first mission is to actually see those archived workflows. How do we do that? By being a URL hacker! You’ll need to modify the URL in your web browser. Look at your n8n instance URL (it’ll look something like https://your-n8n-instance.com/workflows). After the /workflows part, you need to append ?showArchived=true. So, your full URL might look like https://your-n8n-instance.com/workflows?showArchived=true. Hit Enter to refresh the page. This little command tells n8n, “Hey, show me all those workflows you’ve got tucked away in the archive!”
Path: Browser URL Bar > Append '?showArchived=true' > Enter
Expected Feedback: Your n8n dashboard will reload, but this time, it will display a list of workflows specifically marked as Archived. You won’t see your active workflows in this view, which is exactly what we want!
Risk: Be super careful with that URL! A typo or putting the ?showArchived=true in the wrong spot can lead to a page error. Make sure it’s correctly appended right after the base URL, with no extra spaces or characters.
Step 2: Initiating Permanent Deletion
Now that you’re looking at your archived workflows, find the specific one you want to permanently delete. Just like when we archived it, you’ll click the three dots (ellipsis) icon next to that archived workflow. A context menu will pop up again, but this time, it’ll have options relevant to archived workflows, like Unarchive (to bring it back to life) and, our target, Delete.
Path: Archived Workflows View > [Specific Archived Workflow] > Three Dots (ellipsis icon)
Expected Feedback: The context menu will appear, and you’ll clearly see the Delete option staring back at you.
Risk: Don’t get trigger-happy! It’s easy to accidentally click Unarchive instead of Delete. If you click Unarchive, the workflow will just pop back into your active list instead of being removed. So, eyes on the prize: Delete!
Step 3: Confirming Permanent Deletion
From that context menu, select Delete. n8n isn’t messing around here; it’s going to give you a final, stern confirmation prompt. This prompt will explicitly warn you that this action is irreversible. This is your last, last, last chance to back out! Read the warning carefully. If you are absolutely, 100% certain, confirm by clicking Yes, Delete (or whatever the confirmation button says). Once you click that, the workflow is permanently removed from your n8n instance. It’s gone, baby, gone!
Path: Context Menu > Delete > Confirmation Prompt > Yes, Delete (or similar confirmation button)
Expected Feedback: The workflow will vanish from your archived list. It won’t show up in your active workflows, nor in your archived ones. It’s successfully been sent to the digital graveyard.
Rollback: Let me be crystal clear: permanent deletion is irreversible. There is no “undo” button in n8n for this. So, before you click Yes, Delete, make sure you’ve got backups or you’re absolutely sure you don’t need it anymore. Seriously, this is like launching a rocket – once it’s off, there’s no calling it back!
Troubleshooting Common Workflow Deletion Issues
Even with the best guides, sometimes things go sideways. It’s part of the tech journey! Here are a few common snags you might hit when trying to delete workflows, and how to get yourself unstuck.
Workflow Not Appearing in Archived List
“Boyce, I added ?showArchived=true, but my workflow isn’t there!” If you’re expecting to see a workflow in your archived list and it’s playing hide-and-seek, the first thing to check is that URL parameter. A tiny typo or putting ?showArchived=true in the wrong spot in the URL will prevent those archived workflows from showing up. Make sure it’s appended directly after the base n8n URL (like https://your-n8n-instance.com/workflows?showArchived=true) and that it’s spelled perfectly.
Unable to Archive an Active Workflow
What if the Archive option is grayed out or just not there for an active workflow? This can happen if there are active executions running or some other dependency preventing it from being archived. In super rare cases, another user might have it locked, or a system process is holding onto it. Try refreshing the page first. If that doesn’t work, you might need to dig into n8n’s official documentation or hit up their support channels for some advanced troubleshooting. But usually, a refresh or checking for active runs does the trick!
Accidental Unarchive Instead of Delete
Oh, this is a classic! We’ve all been there. You’re in the archived view, you see the Unarchive and Delete options, and your finger slips, hitting Unarchive instead of Delete. Don’t panic! If this happens, your workflow will just reappear in your active workflow list. No harm done. Simply go back, re-archive the workflow, and then proceed very carefully with the deletion process. Slow and steady wins the race here!
Best Practices for n8n Workflow Management and Housekeeping
Deleting workflows isn’t just about getting rid of stuff; it’s about keeping your n8n environment healthy and happy! Think of it like cleaning your house – regular maintenance makes everything run smoother. These best practices will help you avoid clutter, cut down on debugging time, and keep your automations stable.
Regular Archiving Schedule
Don’t let those inactive workflows pile up like old magazines! Set up a routine for archiving workflows that are no longer active or have completed their mission. This proactive approach keeps your active list clean and improves your dashboard’s clarity and performance. Maybe a quick review once a month or every quarter? Your future self will thank you.
Clear Naming Conventions
Imagine trying to find a book in a library where all the titles are “Book 1,” “Book 2,” etc. Nightmare, right? The same goes for workflows! Adopt consistent and descriptive naming conventions. Include things like project names, creation dates, or even status indicators in your workflow titles. This makes it a breeze to identify what each workflow does and whether it’s ready for archiving or deletion.
Documentation and Version Control
For your critical or super complex workflows, don’t just rely on n8n’s interface. Keep external documentation! Detail its purpose, any dependencies it has, and specific configurations. If your n8n setup supports it (like via Git), use version control systems. This adds another layer of recovery and oversight, way beyond just n8n’s native archiving.
Dependency Mapping
Before you archive or delete anything, put on your detective hat and figure out if that workflow is connected to anything else. Does it feed data to another workflow? Is an external service relying on it? Deleting a workflow without understanding its downstream impact is like pulling a Jenga block without looking – everything might come crashing down! Tools like a dependency graph (or even just a simple mental map) are invaluable here.
Staging Environment Testing
For those super critical workflows, don’t just delete them in production! Test the archiving and deletion process in a staging or development environment first. This is like a dress rehearsal; it lets you see the impact of removing it without messing with your live systems. You can gauge the consequences and refine your procedures without any real-world drama.
By weaving these practices into your routine, you’ll build a more robust and manageable n8n ecosystem. Workflow lifecycle management will become a smooth, controlled process, not a frantic scramble!

Ensuring Data Integrity: Pre-Deletion Checklists
Before you hit that final “Delete” button, let’s do a quick pre-flight check. This pre-deletion checklist is like your mission control before launching a rocket. It ensures you don’t accidentally lose any essential data, processes, or historical records that could cause major operational headaches. Taking a few moments here can save you a ton of grief later.
Pre-Deletion Checklist
| Check Item | Description | Action Required |
|---|---|---|
| Workflow Activity | Is the workflow currently running or scheduled to run? | Deactivate or unschedule the workflow. |
| Dependencies | Are other workflows or external systems dependent on this workflow? | Identify and update dependent systems/workflows. |
| Data Export | Does the workflow process or store critical data that needs retaining? | Export relevant data before deletion. |
| Historical Logs | Are the execution logs or historical data of this workflow required for auditing or analysis? | Archive or export logs if necessary. |
| Documentation | Is the workflow documented externally? | Update documentation to reflect deletion. |
| Business Impact | Has the business impact of deleting this workflow been assessed? | Consult with stakeholders to confirm no negative impact. |
| Backup | Is a backup or export of the workflow configuration available? | Create a workflow .json export as a last resort. |
| Notification | Have relevant teams or individuals been informed of the impending deletion? | Send out notifications to prevent unexpected issues. |
Going through this checklist systematically ensures that your deletion process is controlled, transparent, and minimizes any risks to your data integrity and continuous operations. You’re basically being a superhero for your automation!
Frequently Asked Questions (FAQ)
Got more questions? I figured you might! Here are some common queries about managing, archiving, and deleting workflows in n8n, with quick and clear answers.
Q: Can I recover a permanently deleted workflow?
A: Nope, sorry! Once a workflow is permanently deleted, it’s gone for good. This is exactly why n8n has that two-step archive-then-delete process – it’s your last line of defense before permanent removal.
Q: What happens to active executions when I archive a workflow?
A: When you archive a workflow, any currently active executions will typically stop, and no new ones will start. Think of it as hitting the pause button on that workflow.
Q: Is storage space freed immediately after archiving?
A: Archiving mainly changes the workflow’s status and hides it from your main view. While it helps declutter, the real storage space reduction usually happens only after permanent deletion, because that’s when all the workflow’s data is actually purged from the system.
Q: Can I bulk archive or delete multiple workflows?
A: The n8n interface is primarily designed for archiving and deleting workflows one by one. If you’re an advanced user and need to do bulk operations, you might be able to explore API interactions, but be super cautious – it’s not for the faint of heart!
Q: Does deleting a workflow delete its associated credentials or integrations?
A: Good question! No, deleting a workflow only removes the workflow itself. Any credentials or integrations you’ve configured separately in n8n (like your API keys for other services) will remain untouched. This is great because you can reuse them for other workflows without having to set them up again.
Streamlined n8n Workflow Deletion: Key Takeaways and Next Steps
Phew! We’ve covered a lot, haven’t we? Effectively managing your n8n workflows really boils down to understanding the distinct processes of archiving and permanently deleting. Always, always, always archive first. It’s your critical recovery option before you commit to that irreversible deletion. Regular maintenance and sticking to those pre-deletion checklists are your secret weapons for a clean, efficient, and robust automation environment. Make it a habit to regularly review your Workflows dashboard and archive any dormant processes to keep things tidy. And for future peace of mind, consider exporting vital workflow .json files as a manual backup before you finally delete them. You’re doing great!

Final Summary
Nailed it! You’ve successfully learned how to archive and permanently delete workflows in n8n. You navigated your dashboard like a pro and mastered the ?showArchived=true URL trick. Remember, to keep your n8n environment in tip-top shape, regularly review your workflow list and make good use of that archiving feature via the ... menu on each workflow entry before you even think about deleting. Keep automating, my friend!