Watch the Video Tutorial
💡 Pro Tip: After watching the video, continue reading below for detailed step-by-step instructions, code examples, and additional tips that will help you implement this successfully.
Table of Contents
Open Table of Contents
- The Challenge of Automated TikTok Posting: Why Is This So Hard?
- The Free Automation Solution: N8N, Google Sheets, Zapier, and Buffer – The Avengers of Automation!
- Step 1: Prepare Your Google Sheet – Our Data Command Center
- Step 2: Configure N8N to Append Rows – N8N, Our Data Pusher
- Step 3: Set Up Your Free Buffer Account – Our Social Media Dispatcher
- Step 4: Build the Zapier Workflow – The Ultimate Bridge Builder
- Step 5: Test and Publish Your Zap – The Grand Finale!
- Resource List and Cost-Benefit Analysis: The Free Tier Superpowers!
- ⚠️ Critical Best Practice Tips: Don’t Trip on the Finish Line!
- Key Takeaways: The Wisdom Gained
- Conclusion: You’re a TikTok Automation Wizard Now!
- Frequently Asked Questions (FAQ)
- Q: Why can’t I just post directly to TikTok using N8N?
- Q: What if I need to post more than 100 TikToks a month? Will this solution still work?
- Q: Can I use a different spreadsheet tool instead of Google Sheets, like Excel Online?
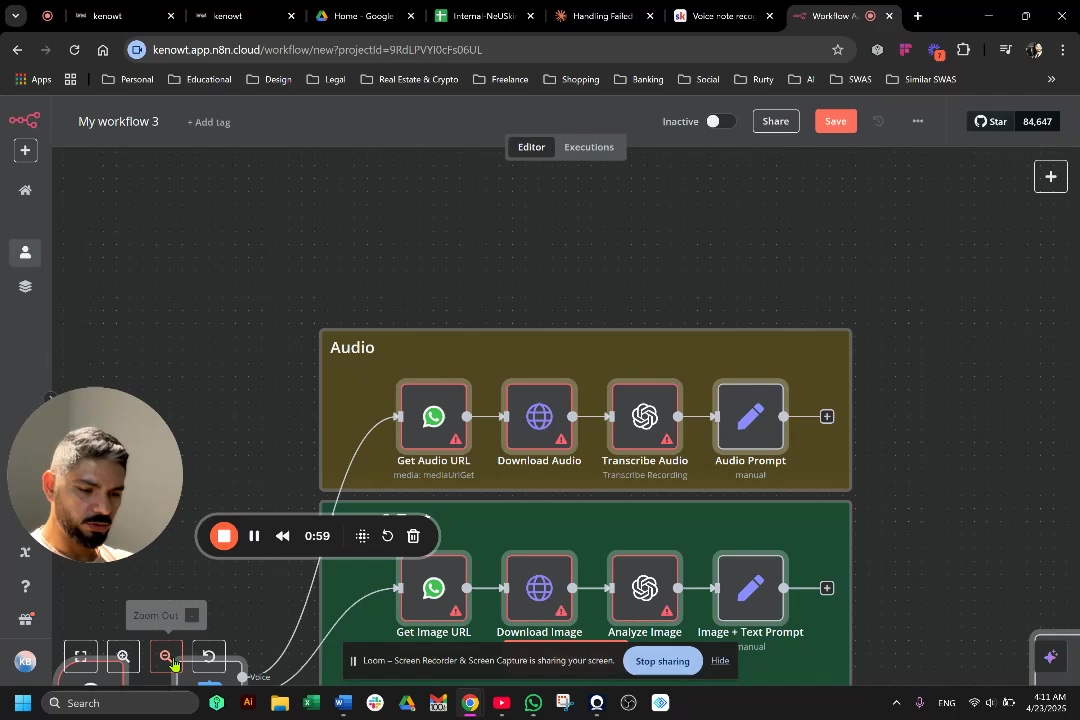
- Q: What happens if my N8N workflow fails to add a row to Google Sheets?
- Q: Is there any risk of my TikTok account getting banned for using this automation method?
The Challenge of Automated TikTok Posting: Why Is This So Hard?
So, you want to automate your TikTok posts? Great idea! But here’s the kicker: TikTok isn’t exactly rolling out the red carpet for just anyone to automate their content. Their official content posting API (think of an API as a secret handshake between two software programs) is mostly for the big players, like huge apps such as CapCut. They need verified websites and apps, which means us regular folks, individual creators, or small businesses trying to automate a few posts, are pretty much out of luck. It’s like trying to get into an exclusive club without the secret password. This limitation often pushes us towards third-party services, and that’s where things can get pricey, fast!
Costly Third-Party Solutions: Don’t Break the Bank!
I’ve seen it all. So many platforms promise to automate your TikToks, but then they hit you with a monthly fee that could buy you a decent amount of coffee (or even a new gadget!). For casual users or small businesses, these costs can be a real deal-breaker. Take a look at some examples I’ve encountered:
| Platform | Starting Price (Monthly) | TikTok Support | Notes |
|---|---|---|---|
| Blow Potato | $29 | Yes | Up to 900 TikToks/month |
| Eraser | $149 | Yes | Free plan exists, but no TikTok |
| Upload-Post | $19 | Yes | Free plan exists, but no TikTok |
See what I mean? These costs add up quicker than you can say “viral video.” That’s why finding a free solution became my personal quest. Who wants to pay for something you can build yourself, right?
The Free Automation Solution: N8N, Google Sheets, Zapier, and Buffer – The Avengers of Automation!
Alright, enough about the problems, let’s talk solutions! My secret sauce involves a fantastic combo of tools, and the best part? They all have generous free tiers! Think of it like assembling your own superhero team, each with a specific power, working together to achieve your goal. We’re going to use N8N (my personal favorite, it’s like a super flexible brain for your workflows), Google Sheets (our data hub), Zapier (the bridge builder), and Buffer (our social media scheduler).
The core idea is pretty neat: N8N will push your video details (like the video link and title) into a Google Sheet. Then, Zapier will notice that new entry in the sheet and tell Buffer to grab that video and post it to TikTok. Simple, elegant, and totally free! Let’s get building!
Step 1: Prepare Your Google Sheet – Our Data Command Center
First things first, we need a place for our video information to live temporarily. That’s where Google Sheets comes in. It’s going to act as the data transfer bridge, a sort of pit stop for your video details between N8N and Zapier.
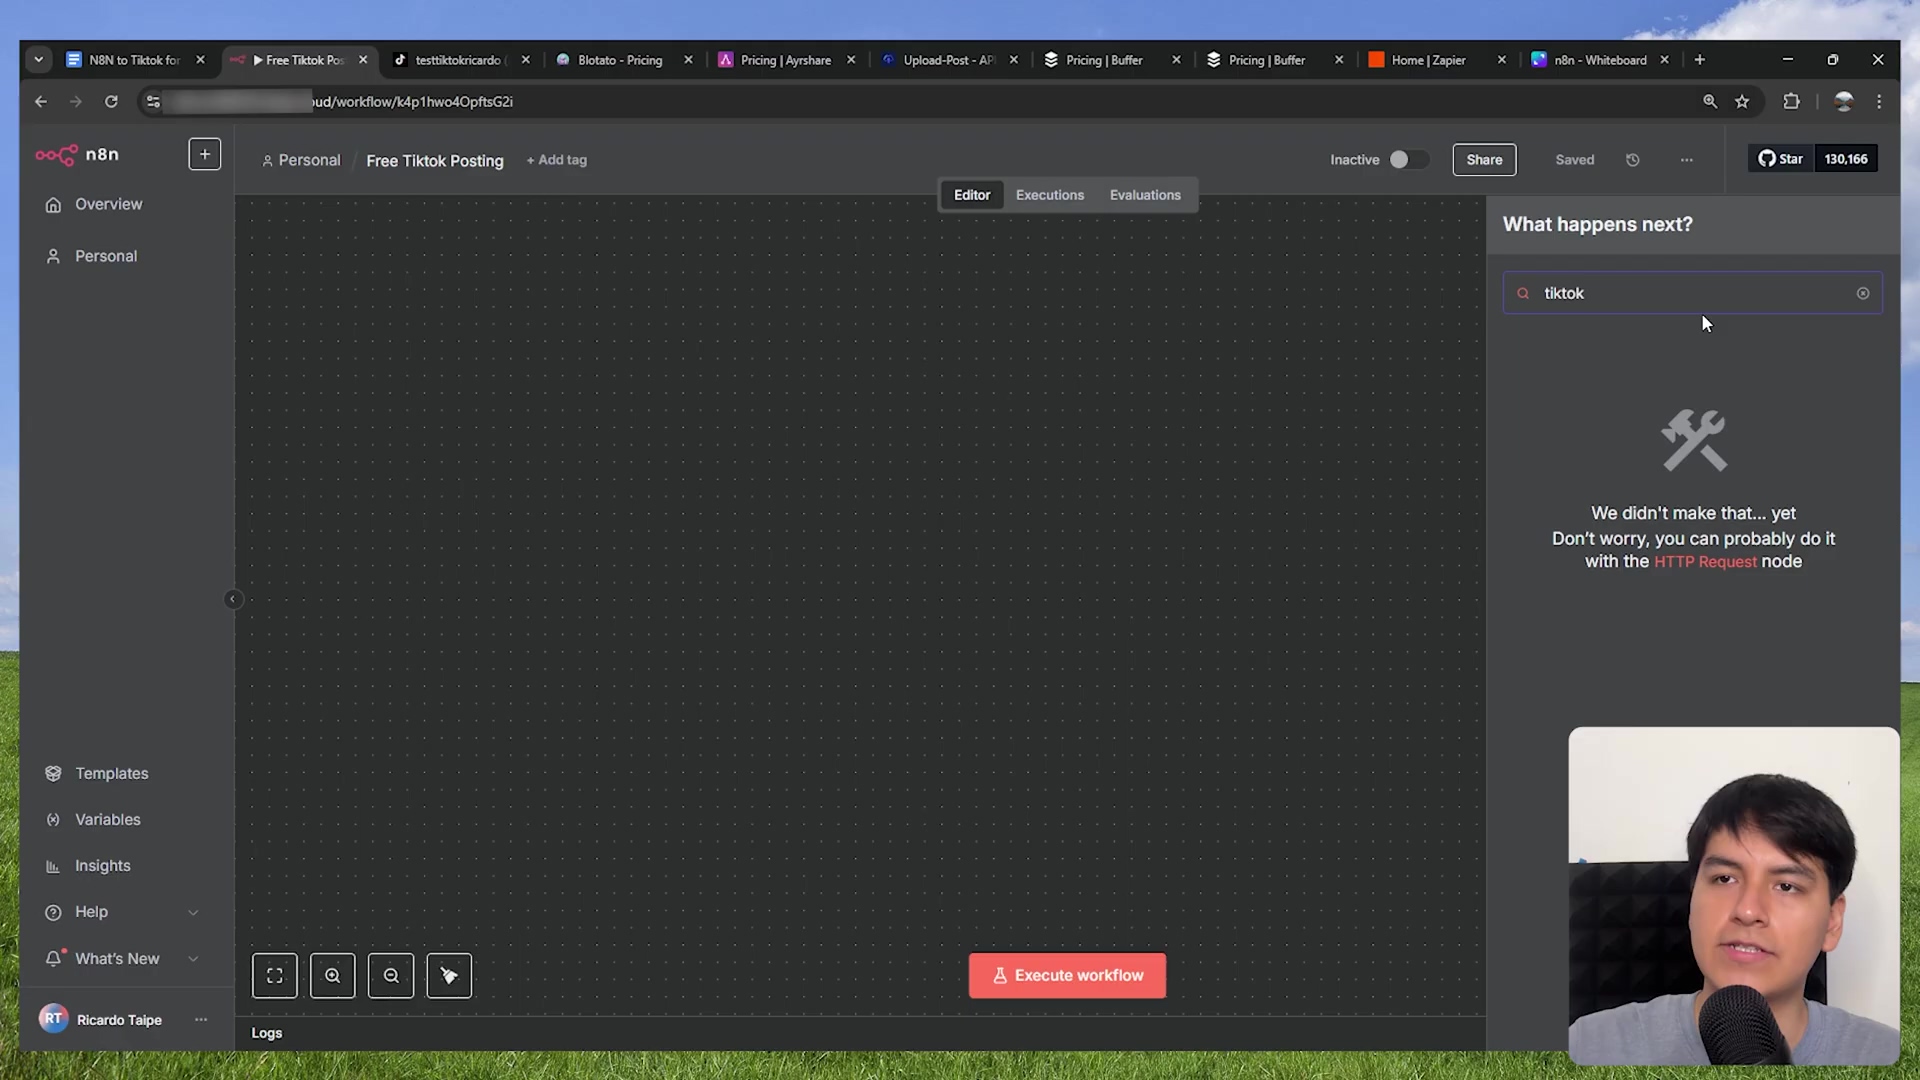
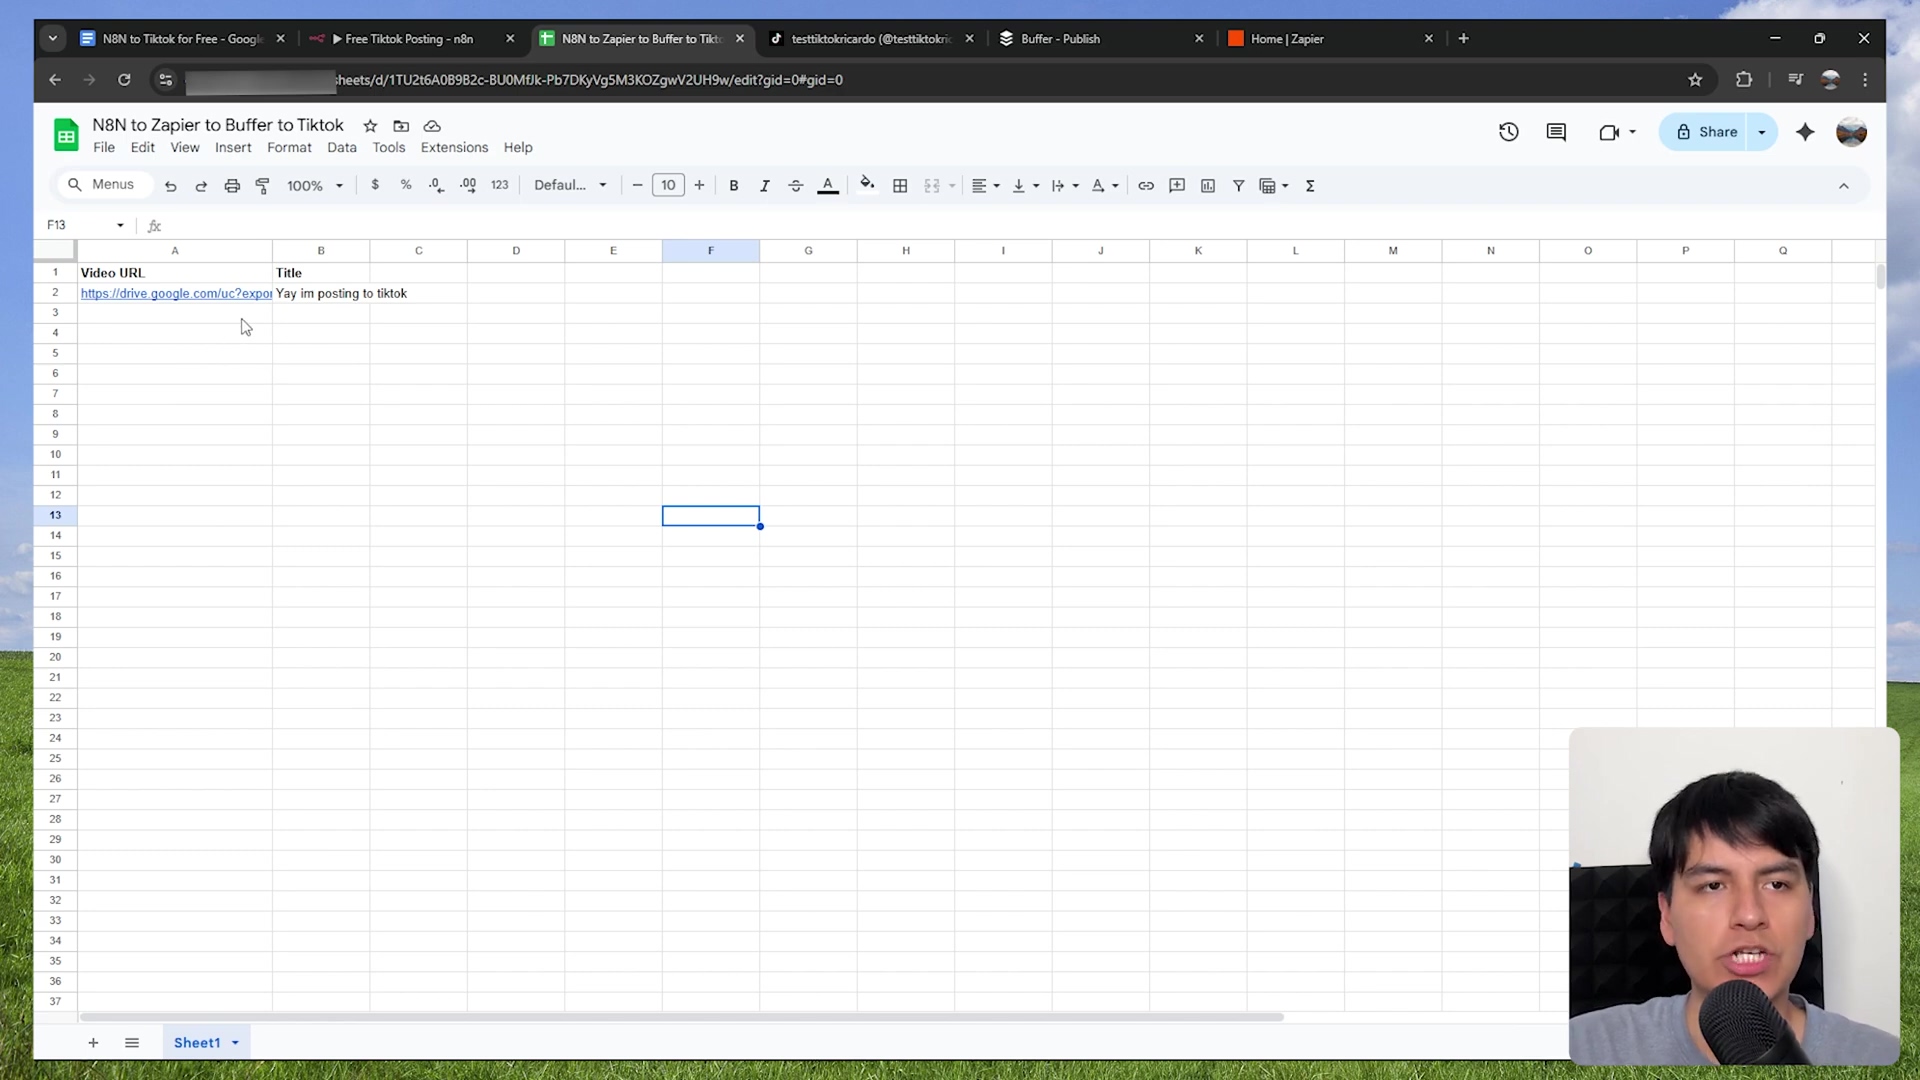
Open up a new Google Sheet. You’ll need two very specific column headers in the first row: Video URL and Title. Make sure you spell them exactly like that, capitalization and all! This is super important because N8N and Zapier will be looking for these exact names.
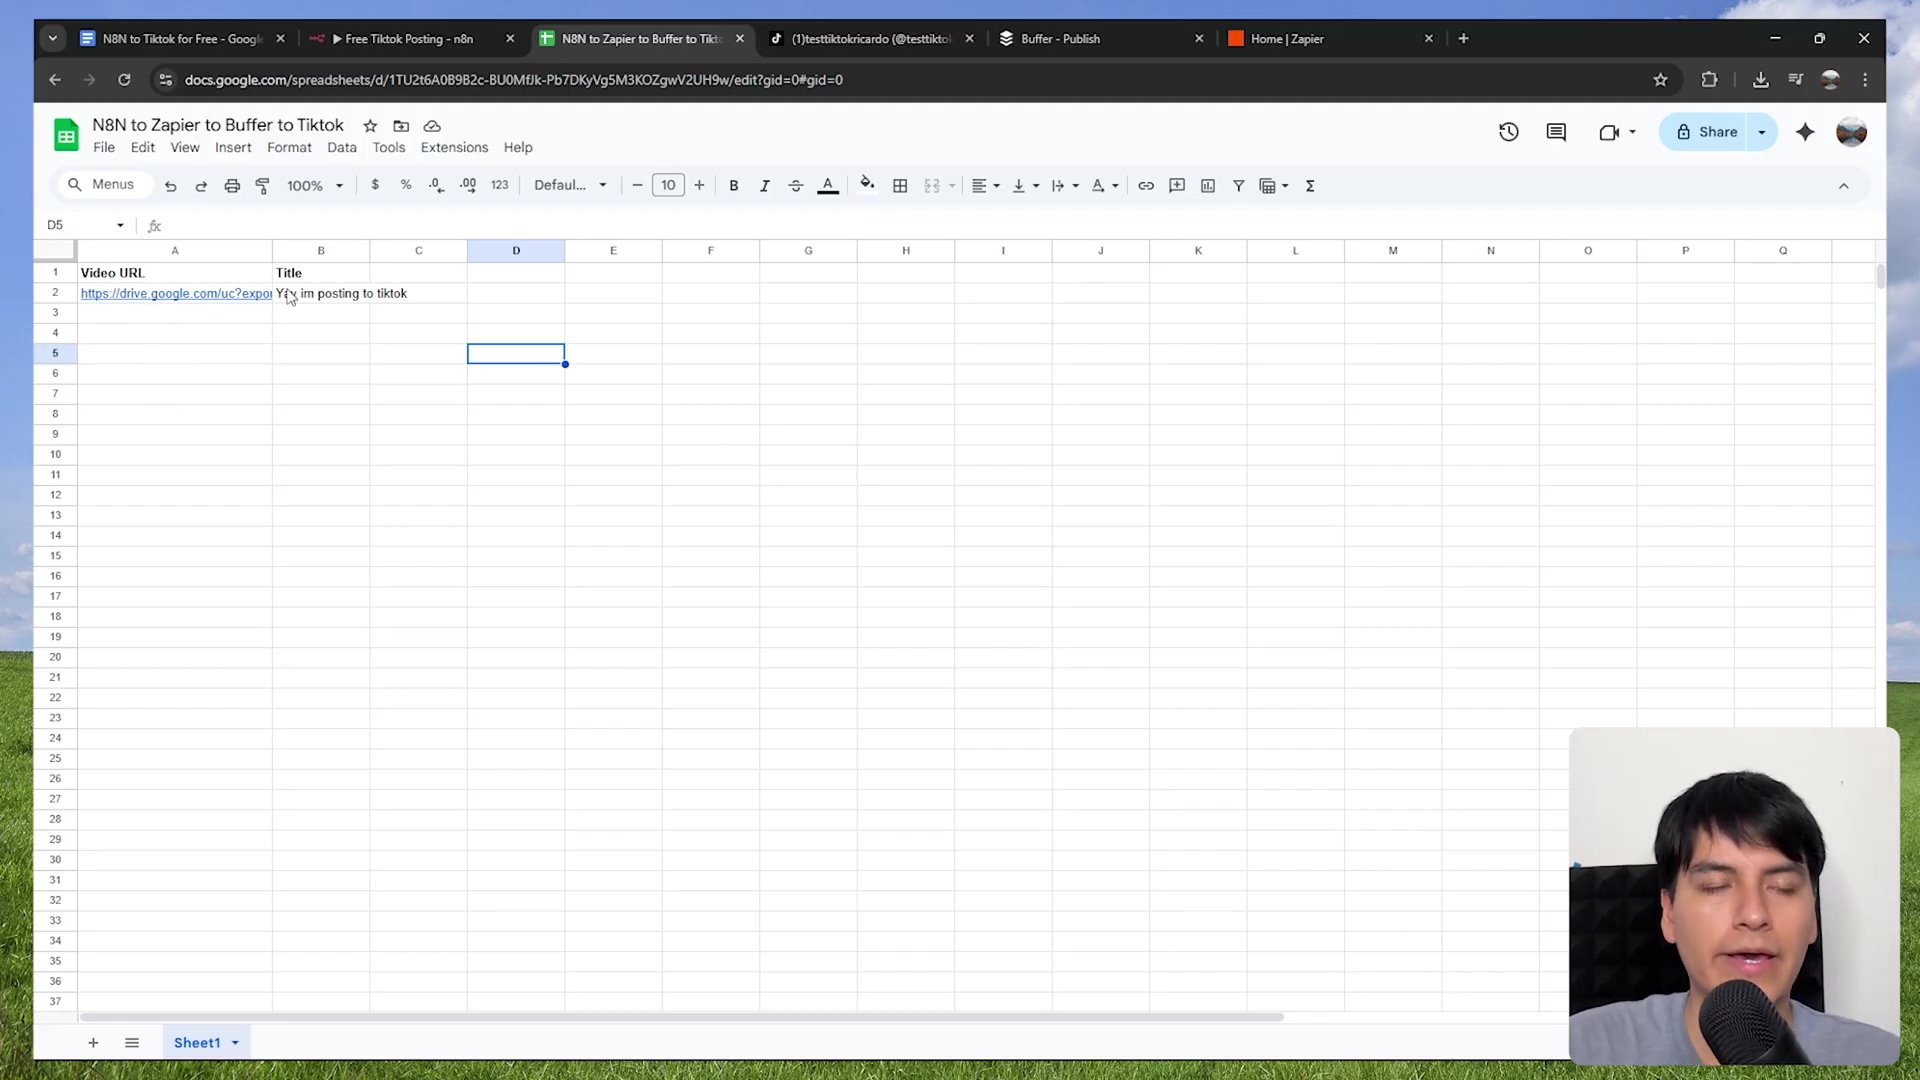
Pro Tip: Once you’ve set up these column headers, try not to change them later. Seriously, it can mess up your Zapier workflow and cause all sorts of headaches. Think of it like laying the foundation for a house – you want it solid from the start!
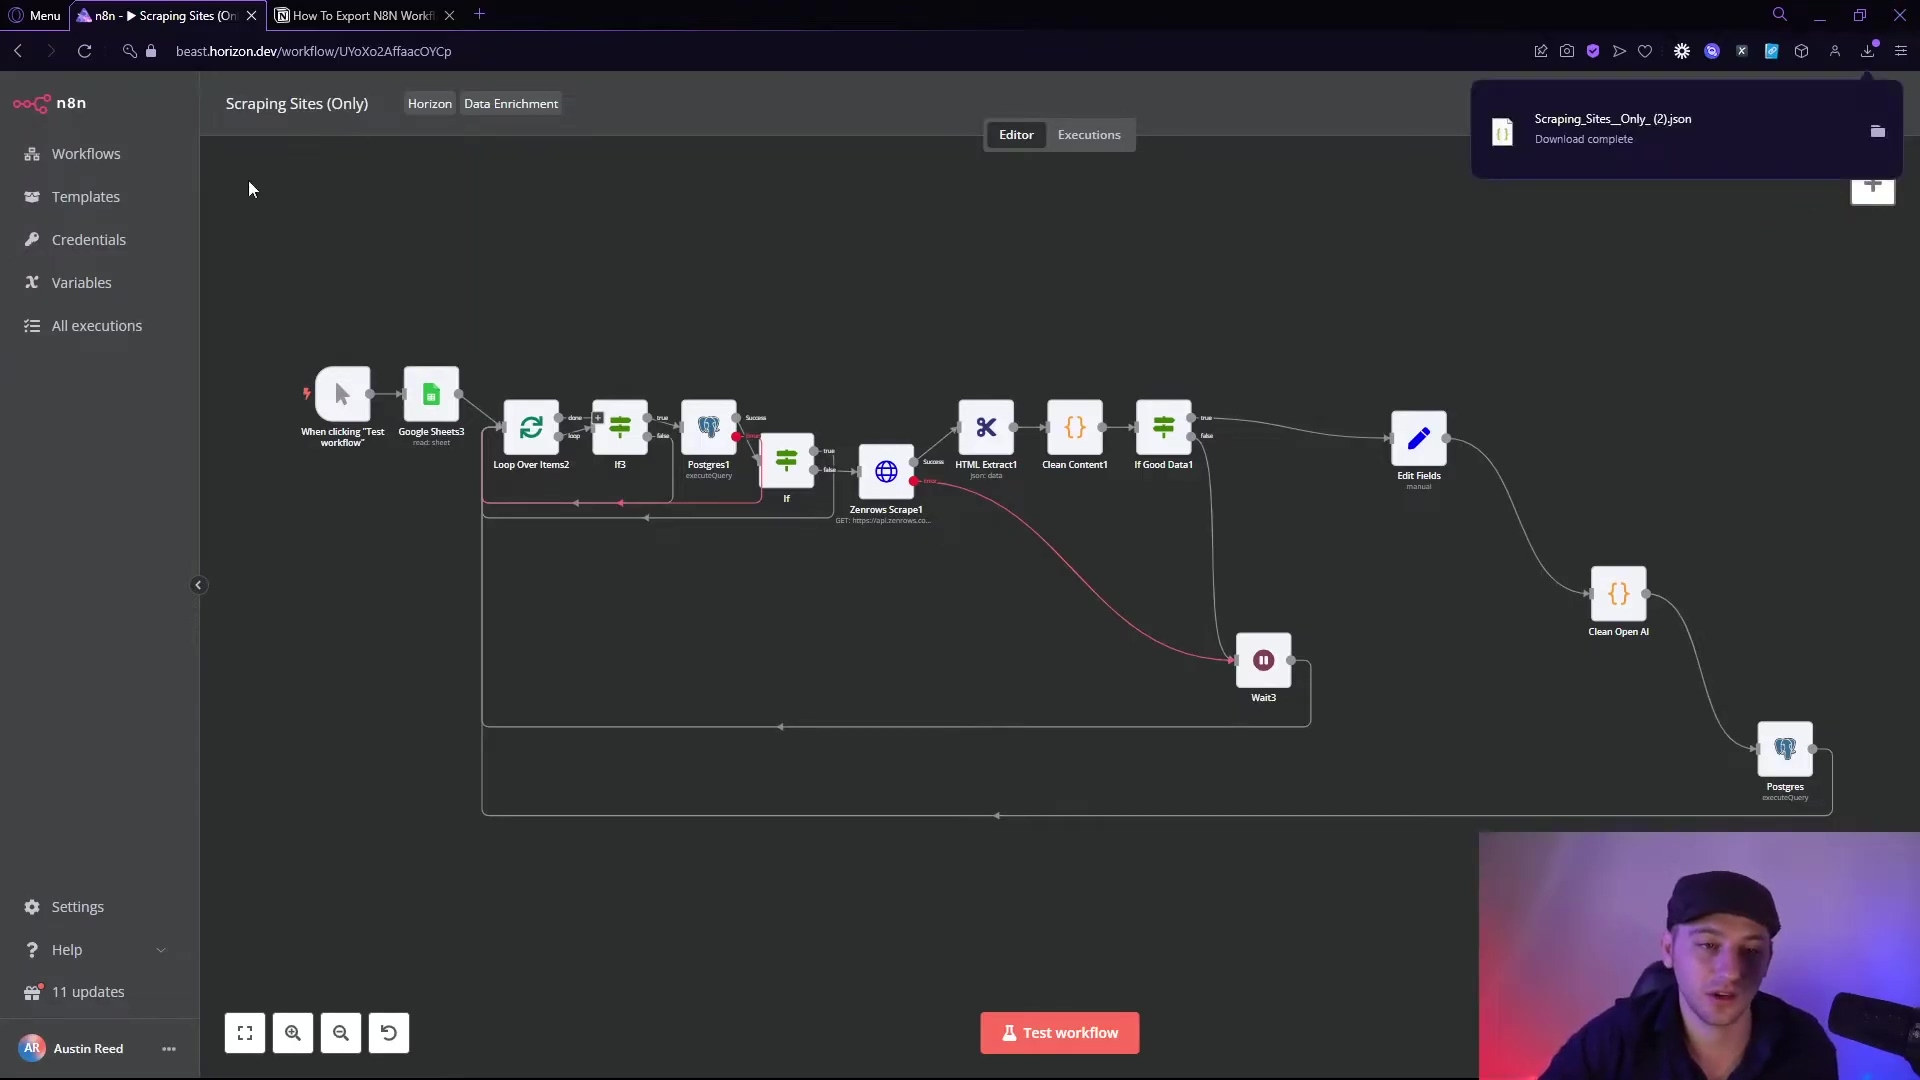
Step 2: Configure N8N to Append Rows – N8N, Our Data Pusher
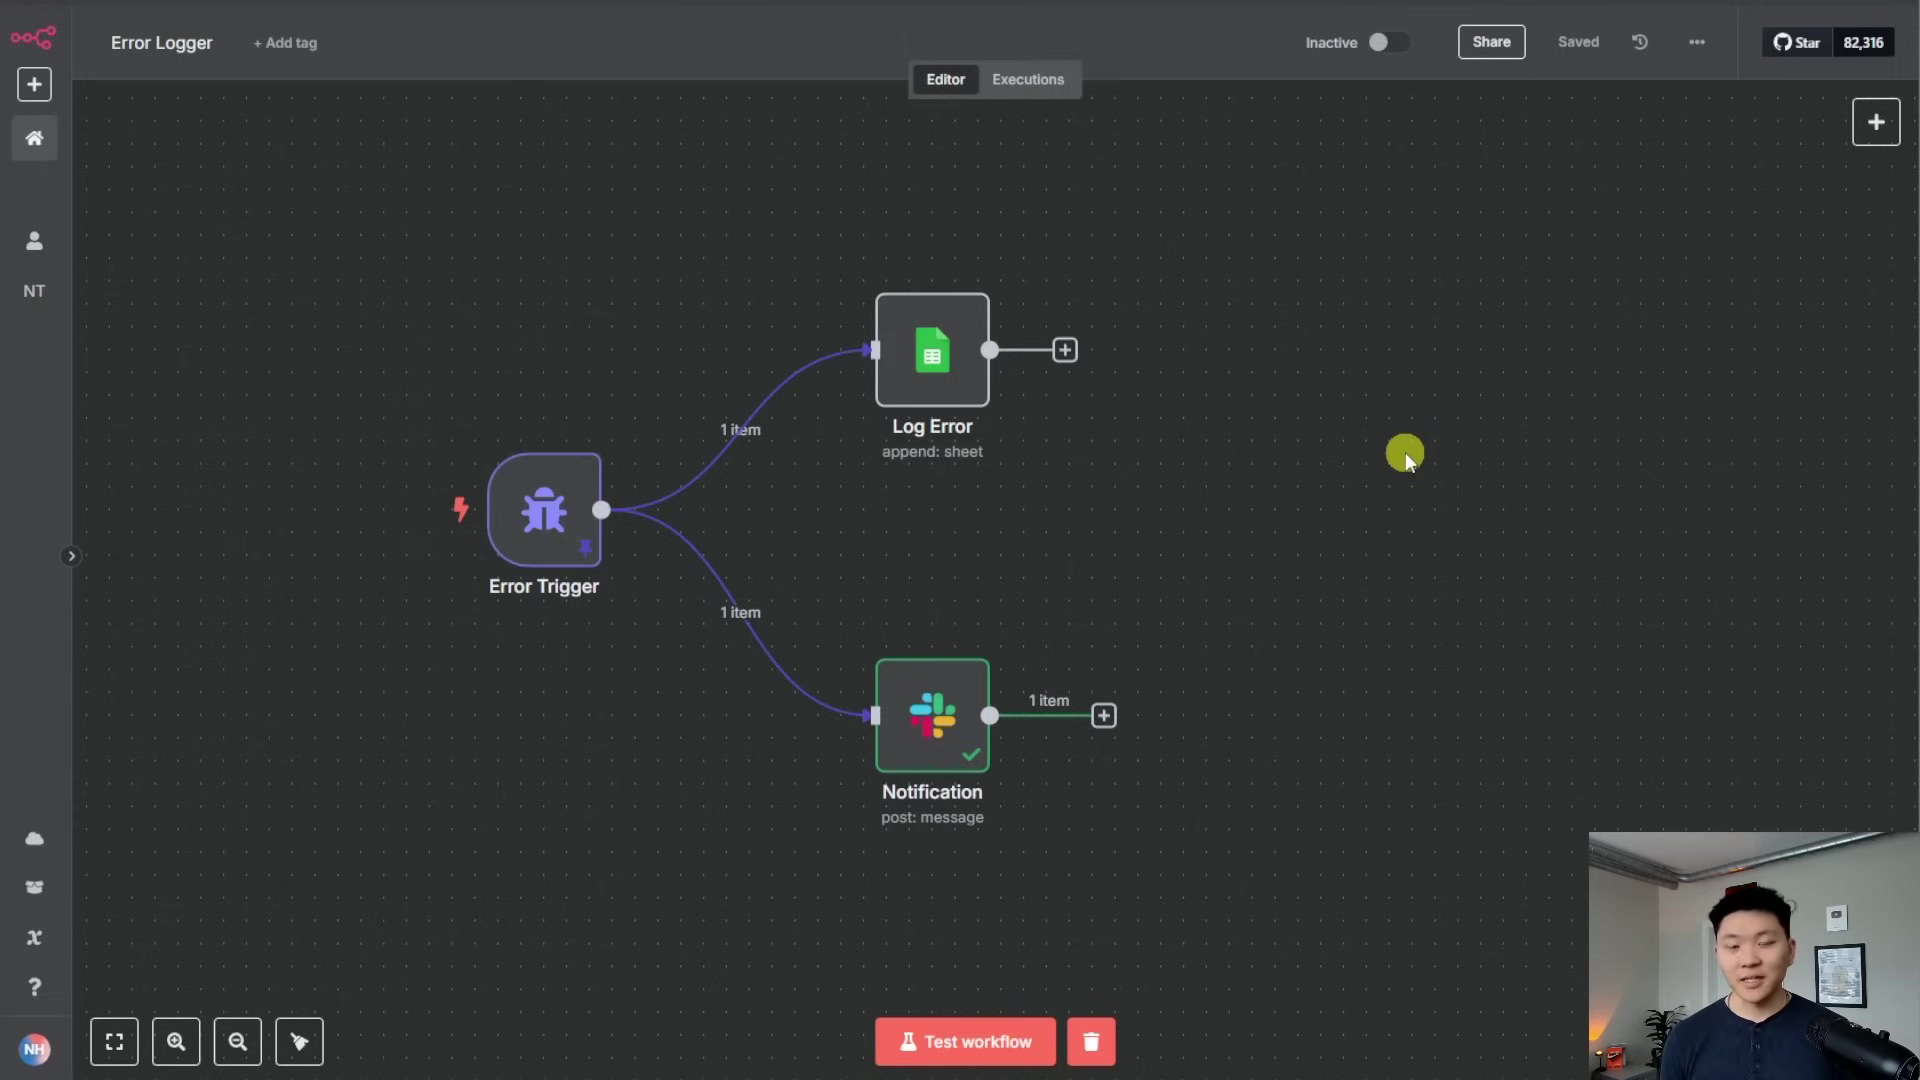
Now, let’s get N8N involved. If you’re new to N8N, it’s an amazing open-source workflow automation tool. You can self-host it (which is what I usually do) or use their cloud service. Inside your N8N workflow (where you’re probably already doing some cool stuff to generate your videos), you’ll need to add a ‘Google Sheets’ node.
-
Add a Google Sheets Node: Search for “Google Sheets” in the node selector and drag it into your workflow.
-
Set the Operation: In the settings for this node, you’ll want to choose the ‘Append Row’ operation. This tells N8N to add a new row of data to your sheet, not overwrite anything.
-
Connect Your Google Account: You’ll need to connect your Google account to N8N. This usually involves a quick pop-up where you grant N8N permission to access your Google Sheets. Don’t worry, it’s a standard process.
-
Select Your Spreadsheet and Sheet: Choose the specific Google Spreadsheet you just created and the particular sheet (usually ‘Sheet1’ unless you renamed it).
-
Map Your Data: This is where the magic happens! You’ll see fields for ‘Video URL’ and ‘Title’. You need to tell N8N where to get this information from your previous nodes in the workflow. For example, if a previous node outputs a video URL, you’d map that output to the ‘Video URL’ field in the Google Sheets node. Do the same for your video title.
{
  "Video URL": "{{ $json.videoUrlFromPreviousNode }}",
  "Title": "{{ $json.videoTitleFromPreviousNode }}"
}
(Just a heads-up: The exact variable names like
videoUrlFromPreviousNodewill depend on how your N8N workflow is structured. You’ll use the expression editor in N8N to pick the right ones!)
Now, whenever your N8N workflow runs, it’ll automatically add a new row with your video’s URL and title to your Google Sheet. How cool is that?
Step 3: Set Up Your Free Buffer Account – Our Social Media Dispatcher
Next up, Buffer! This tool is super handy for scheduling social media posts. The best part? Their free plan supports TikTok posting with unlimited video uploads. Yes, you heard that right – unlimited! This makes it the perfect intermediary for our setup.
- Create a Free Buffer Account: Head over to buffer.com and sign up for their free plan. It’s pretty straightforward.
- Connect Your TikTok Profile: Once you’re in, you’ll need to connect your TikTok profile to Buffer. This is crucial. Make sure you’re already logged into your TikTok account in another browser tab before you try to connect it in Buffer. This usually makes the connection process much smoother. Buffer will ask for permissions to post on your behalf, so grant those.
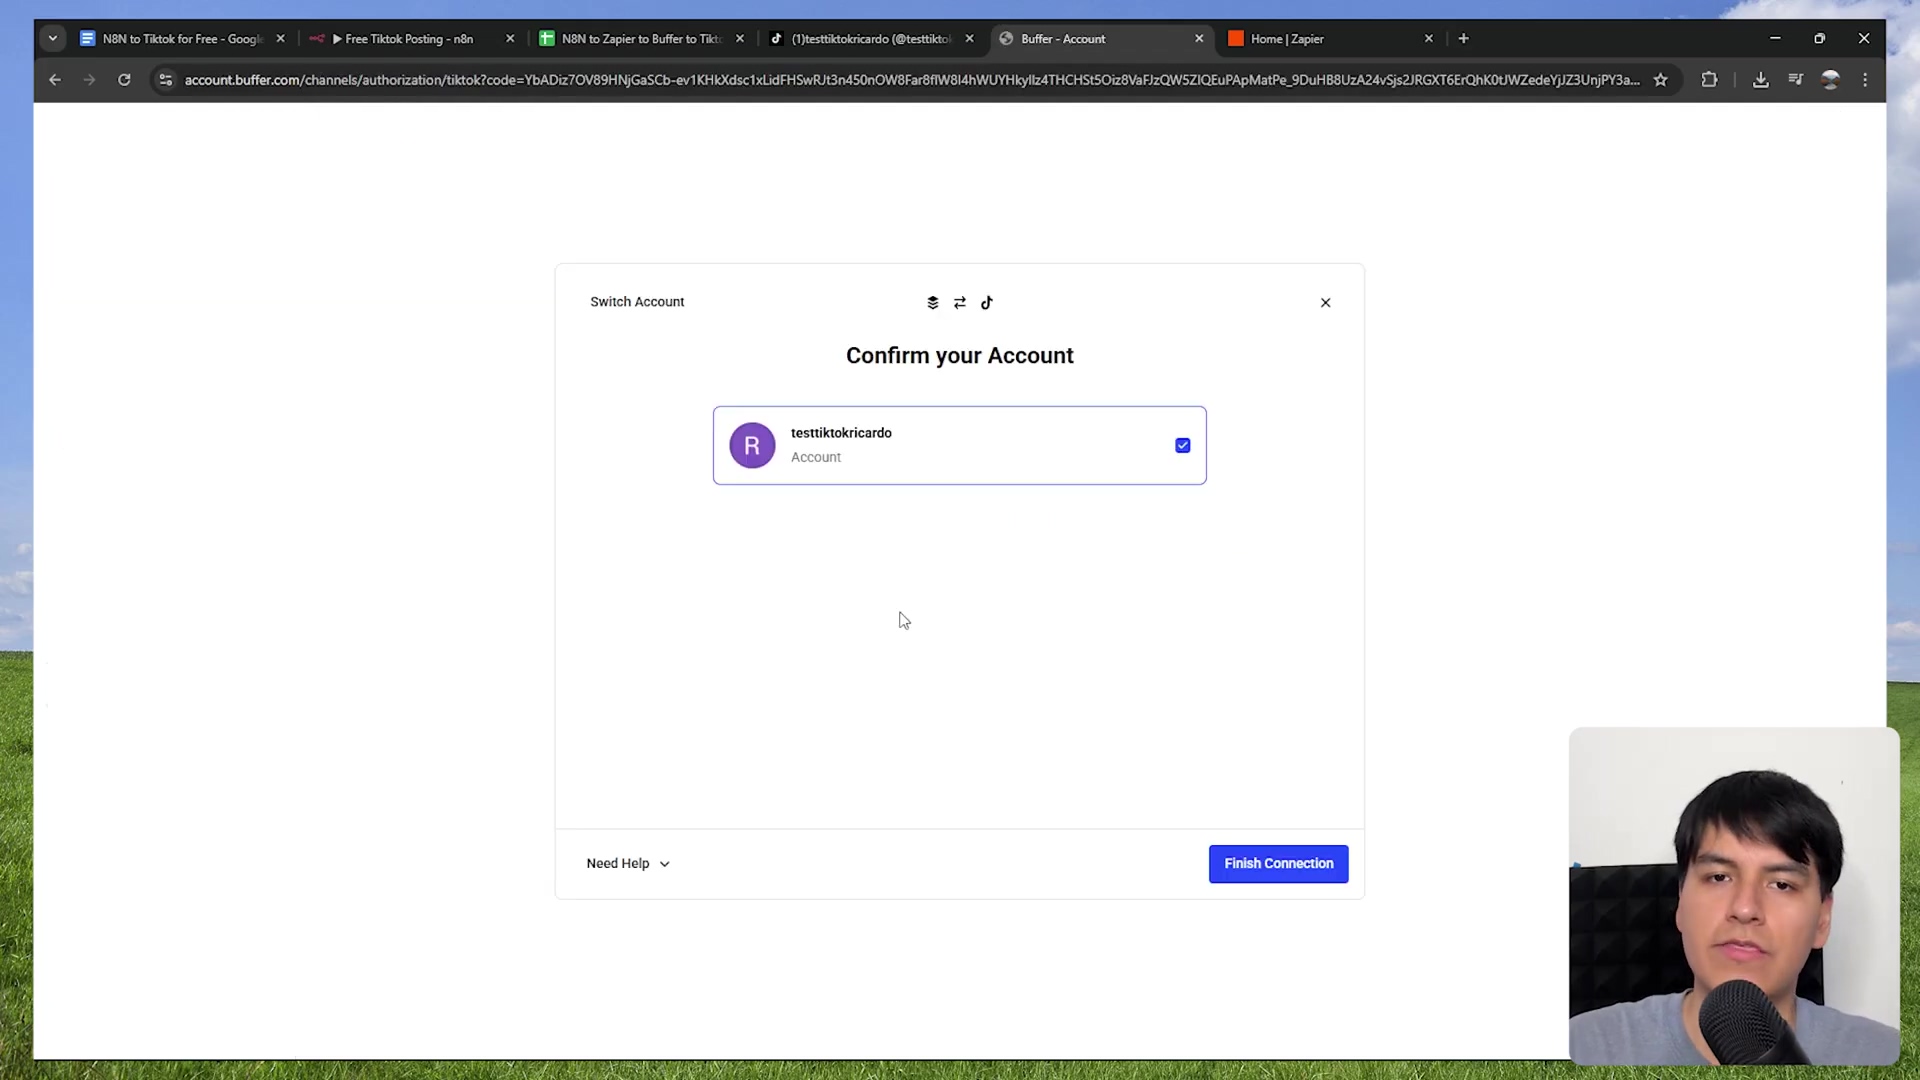
Once connected, Buffer is ready to receive our videos and send them off to TikTok!
Step 4: Build the Zapier Workflow – The Ultimate Bridge Builder
Now for the grand orchestrator: Zapier! Zapier is like the ultimate bridge builder between different apps. It’s going to watch our Google Sheet for new entries and then tell Buffer to do its thing. Create a free Zapier account if you don’t have one already, and let’s start building a new “Zap” (that’s what Zapier calls its automated workflows).
4.1: Set Google Sheets as the Trigger – “Hey Zapier, Something New!”
This is the first part of our Zap, the “when this happens…” part.
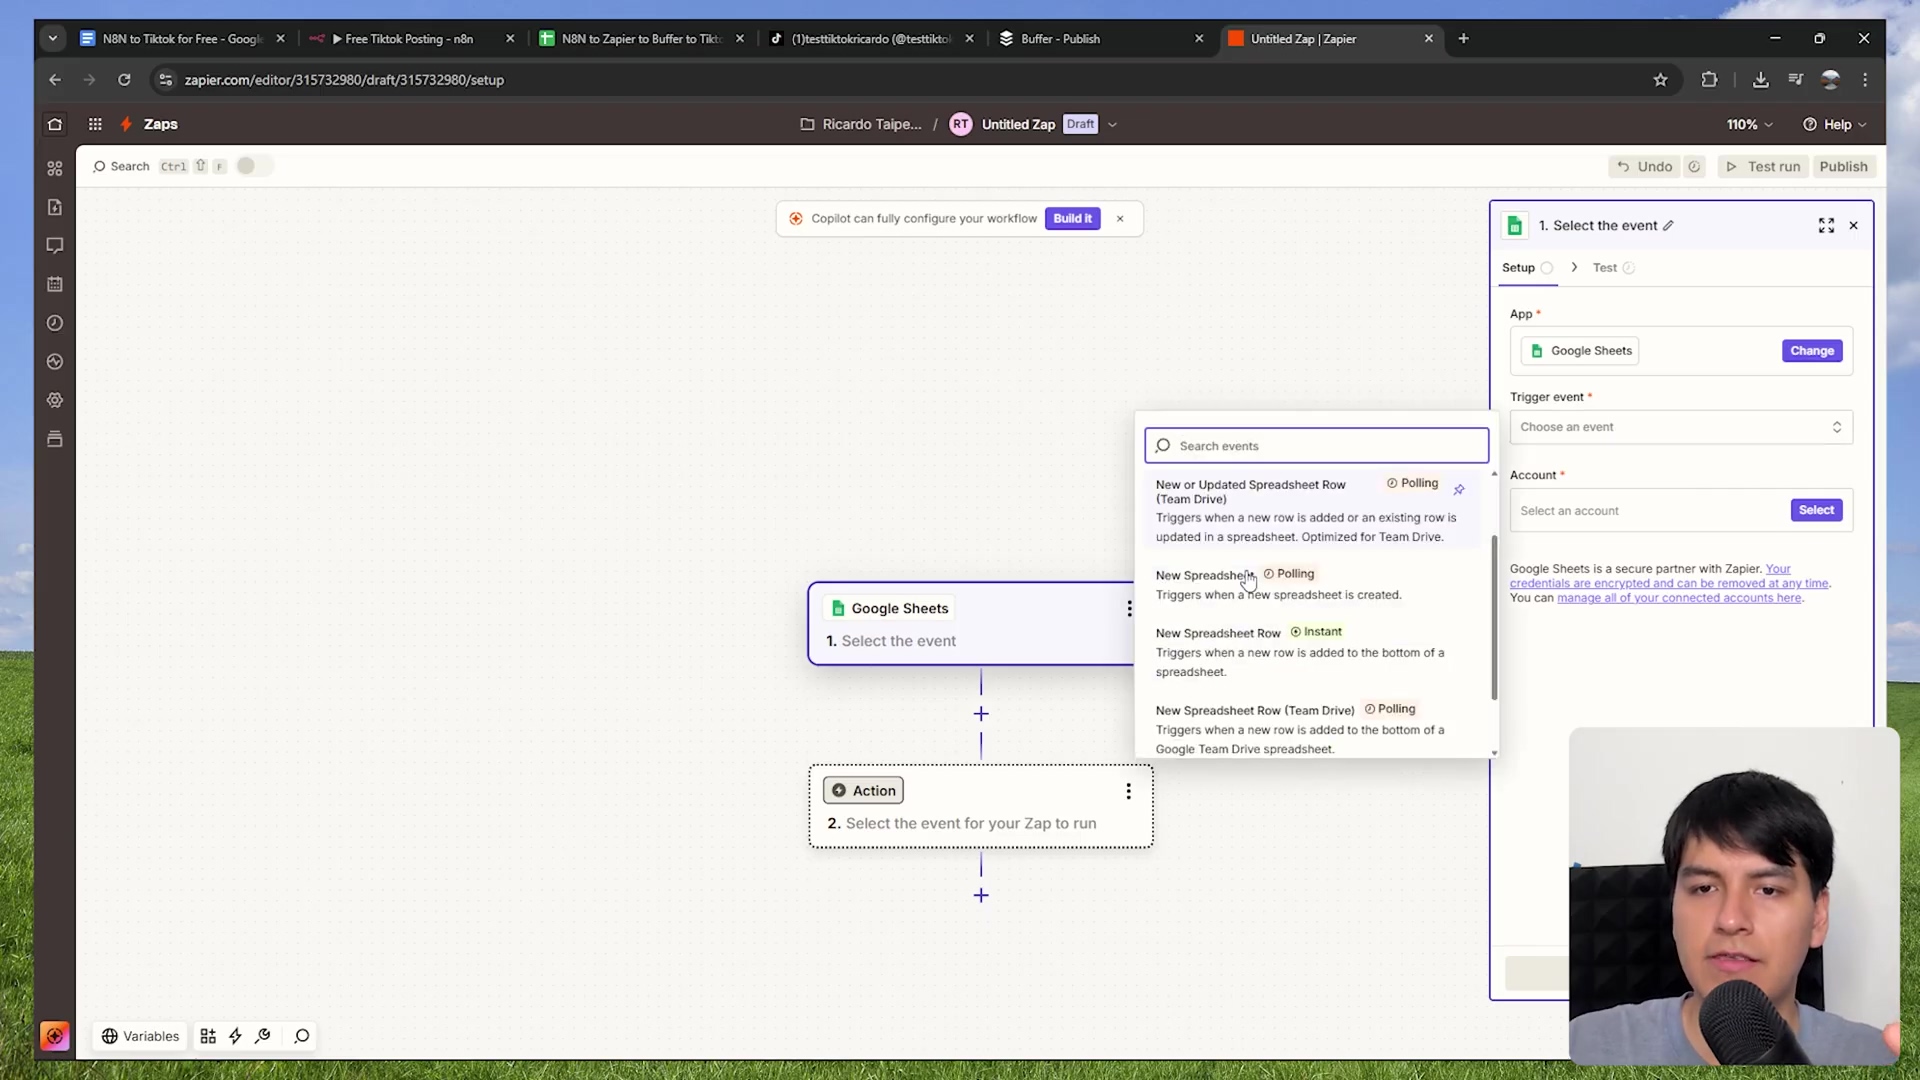
- Choose Your Trigger App: Search for and select ‘Google Sheets’ as your trigger app.
- Choose Your Trigger Event: Select ‘New Spreadsheet Row’ as the trigger event. This tells Zapier, “Wake up when a new row appears!”
- Connect Your Google Account: Just like with N8N, you’ll need to connect your Google account to Zapier and grant the necessary permissions.
- Select Your Spreadsheet and Worksheet: Pick the exact same Google Spreadsheet and worksheet (e.g., ‘Sheet1’) that you’re using with N8N. This ensures Zapier is watching the right place.
Zapier will then ask you to test the trigger. Go ahead and do it! If you’ve already got a row in your Google Sheet (maybe you manually added one for testing, or N8N already pushed one), Zapier should find it. This confirms it can see your sheet.
4.2: Configure Buffer as the Action – “Okay Buffer, Time to Post!”
This is the second part of our Zap, the “…then do this” part.
- Add an Action Step: Click the ’+’ button to add a new action step.
- Choose Your Action App: Search for and select ‘Buffer’ as the action app.
- Choose Your Action Event: Select ‘Add to Queue’ as the action event. This means we’re telling Buffer to add a post to its queue for publishing.
- Connect Your Buffer Account: Connect your Buffer account. Again, standard permission granting.
- Configure the Action: This is where we tell Buffer what to post and where:
- Profile: Select your connected TikTok channel from the dropdown.
- Text: This is your video’s caption. You’ll want to map this to the ‘Title’ column from your Google Sheet. Zapier will show you options like ‘COL B: Value in column B’ (assuming ‘Title’ is in column B). Select that!
- Media: This is your actual video. Select ‘Video’ as the media type. Then, map it to your ‘Video URL’ column from the Google Sheet (e.g., ‘COL A: Value in column A’).
- Method: Set this to ‘Share now’. This ensures your video gets published instantly once Zapier triggers, rather than just sitting in Buffer’s queue.

Step 5: Test and Publish Your Zap – The Grand Finale!
You’re almost there! After configuring both the Google Sheets trigger and the Buffer action, it’s time to test your Zapier workflow. Zapier will give you an option to send a test post to Buffer. Do it! Check your Buffer account and, if all goes well, you should see your test video appear, ready to be posted (or already posted if you set ‘Share now’).
If everything looks good, hit that ‘Publish’ button! Congratulations, you’ve just built your very own automated TikTok posting system! Now, whenever N8N adds a new row to your Google Sheet, Zapier will spring into action, and Buffer will post your video to TikTok. How awesome is that?! You’ve basically built a robot to handle your TikTok uploads!
Resource List and Cost-Benefit Analysis: The Free Tier Superpowers!
This setup is a testament to the power of free tiers! We’re leveraging the generosity of these platforms to create a powerful, zero-cost solution for automating TikTok posts. Let’s break down what each tool brings to the table and its limitations (because, let’s be real, free tiers always have some).
| Tool | Purpose | Cost (Free Tier) | Limitations (Free Tier) |
|---|---|---|---|
| N8N | Workflow Automation | Free | Self-hosted or limited cloud |
| Google Sheets | Data Transfer / Storage | Free | Standard Google account limits |
| Zapier | Integrations / Workflow Orchestration | Free | 100 tasks/month (approx. 100 posts) |
| Buffer | Social Media Scheduling / Posting | Free | 3 channels, 10 posts in queue |
DIY vs. Commercial Product Comparison: Build Your Own Spaceship or Buy a Ticket?
I always love comparing the DIY approach to buying an off-the-shelf solution. It really highlights the value you’re getting here!
| Feature | DIY Solution (N8N + Zapier + Buffer) | Commercial Product (e.g., Blow Potato) |
|---|---|---|
| Initial Cost | $0 | $29 - $149/month |
| Monthly Cost | $0 | $29 - $149/month |
| Flexibility | High (custom workflows) | Moderate (pre-defined features) |
| Scalability | Limited by free tier tasks | Higher, with paid plans |
| Ease of Setup | Moderate (requires technical steps) | High (user-friendly interfaces) |
| Control | Full control over data flow | Limited to platform’s features |
| Posts/Month | ~100 | 900+ (depending on plan) |
As you can see, our DIY solution is a clear winner on cost and flexibility, but it does require a bit more elbow grease to set up. But hey, you’re a self-taught automation wizard now, right?
⚠️ Critical Best Practice Tips: Don’t Trip on the Finish Line!
Alright, you’ve built an amazing system! But like any good engineer, you need to know the best practices to keep it running smoothly. Trust me, I’ve learned these the hard way!
- Maintain a Clean Google Sheet: This is critical! Once your Zapier workflow is active and happily munching on new rows, do not manually edit the Google Sheet that N8N is writing to. Seriously, avoid changing column headers, deleting rows, or inserting new ones manually. Any changes to the structure can confuse Zapier and break your automation. Let N8N be the only one adding rows. If you need to clean up, create a new sheet or make a copy and start fresh.
- Monitor Zapier Task Usage: Remember that 100 tasks/month limit on Zapier’s free plan? Each successful post counts as one task. It’s super easy to hit this limit if you’re posting frequently. Keep an eye on your Zapier dashboard to see your task usage. If you hit the limit, your automation will pause until the next billing cycle or until you upgrade your Zapier plan. It’s like running out of gas – your car stops until you refuel!
- Secure Your Accounts: This should go without saying, but it’s worth repeating: use strong, unique passwords for N8N, Google, Zapier, and Buffer. These tools are handling your content and potentially sensitive API keys. Think of your passwords as the keys to your digital kingdom – keep them safe and don’t reuse them!
Key Takeaways: The Wisdom Gained
So, what have we learned today, my fellow automators?
- TikTok’s official API is a tough nut to crack for individual creators, pushing us towards third-party solutions.
- Those third-party solutions can be super expensive, but we’ve found a way around it!
- You can build a powerful, free automation system using the free tiers of N8N, Google Sheets, Zapier, and Buffer. It’s like getting a high-tech car for free!
- The workflow is pretty slick: N8N adds data to Google Sheets, which triggers Zapier to tell Buffer to post to TikTok.
- This setup gives you about 100 free automated TikTok posts per month. That’s a lot of content without spending a dime!
- Careful configuration and monitoring of free tier limits are crucial to keep your automation running smoothly and cost-free.
Conclusion: You’re a TikTok Automation Wizard Now!
By now, you’ve got the blueprint for a robust and completely free method to automate your TikTok content posting. We’ve bypassed those pricey commercial tools and built something flexible and powerful. You’re not just posting videos; you’re building a custom content delivery system!
While this DIY solution requires a bit of technical setup, the control and cost savings are immense. For individuals or small creators who want a consistent TikTok presence without the financial outlay, this method is truly unparalleled. If you’re looking to post thousands of videos a month or prefer a completely hands-off experience, then maybe a paid commercial solution is your next step. But for everyone else, you’ve just unlocked a superpower!
Now, go forth and automate! Share your experiences, your successes, and any cool modifications you make to this workflow. I’d love to hear about them!
Frequently Asked Questions (FAQ)
Q: Why can’t I just post directly to TikTok using N8N?
A: Ah, the million-dollar question! TikTok’s official API is pretty locked down, primarily designed for large applications and verified partners like CapCut. This means it’s not easily accessible for individual developers or small-scale automation. It’s like they’ve got a VIP entrance, and we’re trying to get in through the back door. That’s why we need this multi-tool workaround!
Q: What if I need to post more than 100 TikToks a month? Will this solution still work?
A: That’s a great question! The 100 posts/month limit comes from Zapier’s free tier. If you need to post more, you’d have to upgrade your Zapier plan, which would introduce a monthly cost. At that point, you might want to re-evaluate the cost-benefit and compare it to dedicated commercial TikTok automation tools. But for most creators, 100 free posts is a fantastic starting point!
Q: Can I use a different spreadsheet tool instead of Google Sheets, like Excel Online?
A: While theoretically possible, Google Sheets is generally the most straightforward and widely supported option for integrations like this, especially with Zapier. Other spreadsheet tools might require more complex setups or might not have direct Zapier integrations on their free tiers. Stick with Google Sheets for simplicity and reliability in this specific workflow.
Q: What happens if my N8N workflow fails to add a row to Google Sheets?
A: If your N8N workflow fails, the data won’t make it to Google Sheets, and therefore, Zapier won’t trigger, and Buffer won’t post. You’ll need to check your N8N execution logs to debug why the Google Sheets node failed. Common reasons include incorrect credentials, wrong sheet names, or data mapping issues. Always monitor your N8N workflow’s health!
Q: Is there any risk of my TikTok account getting banned for using this automation method?
A: This is a common concern with any automation! While no method is 100% risk-free, using Buffer (a reputable social media management tool) to post significantly reduces the risk compared to direct, unofficial API interactions. Buffer adheres to social media platform guidelines. However, always ensure your content complies with TikTok’s community guidelines, as content violations are the primary reason for account issues, regardless of how it’s posted.