Watch the Video Tutorial
💡 Pro Tip: After watching the video, continue reading below for detailed step-by-step instructions, code examples, and additional tips that will help you implement this successfully.
Table of Contents
Open Table of Contents
- Introduction to n8n Workflow Management
- Exporting n8n Workflows
- Importing n8n Workflows
- Troubleshooting Common Import Issues: Credential Management
- Pro-Tip: Leveraging AI for Workflow Enhancements
- Required Resources and Cost-Benefit Analysis
- 💡 Best Practice Tips for n8n Workflow Management
- Conclusion
- Frequently Asked Questions (FAQ)
Introduction to n8n Workflow Management
n8n is this incredible open-source workflow automation tool. What does that even mean? Well, imagine you have a bunch of apps and services that don’t talk to each other – like your email, your spreadsheet, and your favorite messaging app. n8n is the universal translator that gets them all chatting, allowing you to automate tasks and streamline operations. It’s like having a tiny robot assistant that handles all the repetitive clicks and copy-pasting for you. And trust me, once you go automation, you never go back!
One of the super handy things about n8n, especially if you’re like me and constantly tinkering or moving your setups around, is the ability to export and import your workflows. This is crucial for backing up your hard work or moving your automations from, say, your personal n8n instance to a shiny new server. This guide is gonna walk you through the whole shebang, point out the tricky bits (because, let’s be real, there are always tricky bits!), and give you some pro tips to make your n8n journey smoother than a freshly paved road.
Exporting n8n Workflows
Alright, first up: getting your precious workflow out of n8n. Exporting an n8n workflow is actually pretty straightforward. It’s like packing a suitcase for your workflow – you’re getting it ready to travel. This is essential for backing up your automations (because who wants to lose all that hard work?) or sharing them across different n8n instances (maybe you’ve got a staging environment and a production one, or you’re just sharing a cool workflow with a friend).
Step-by-Step Export Process
-
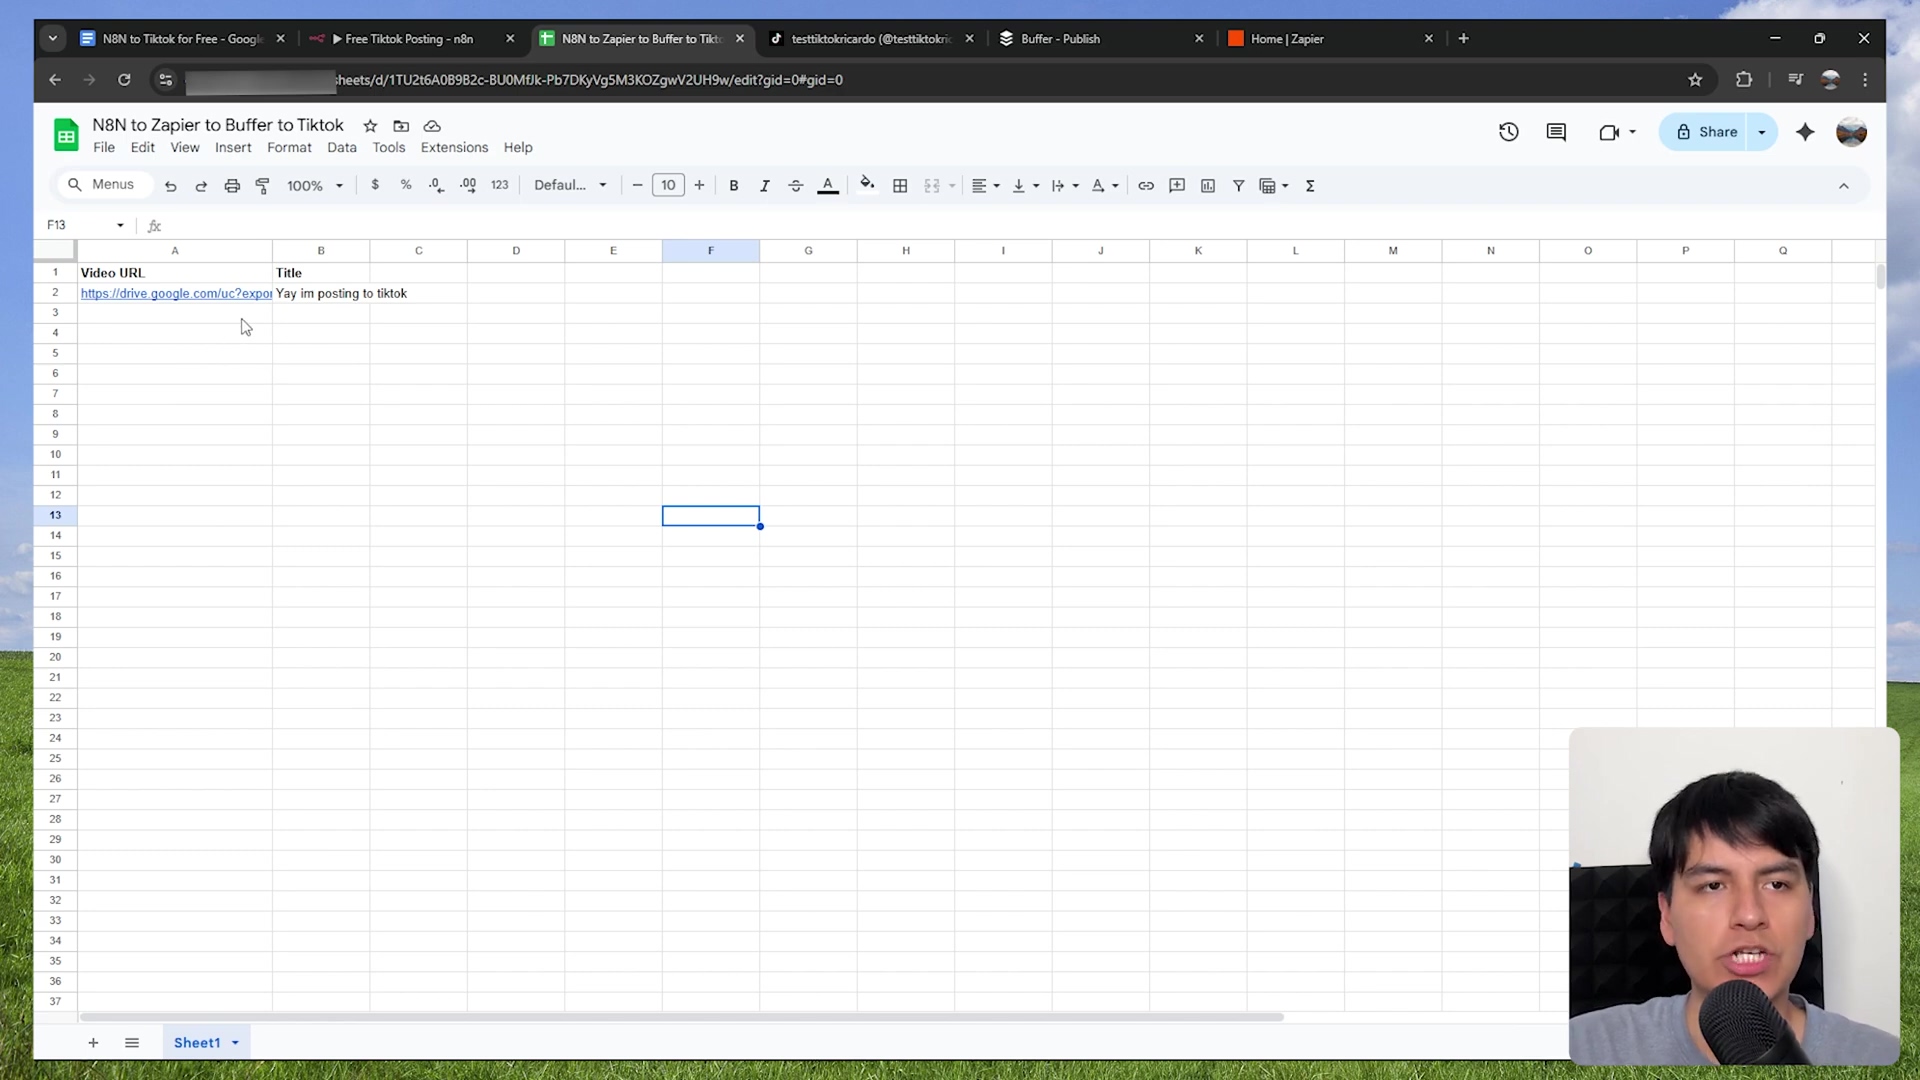
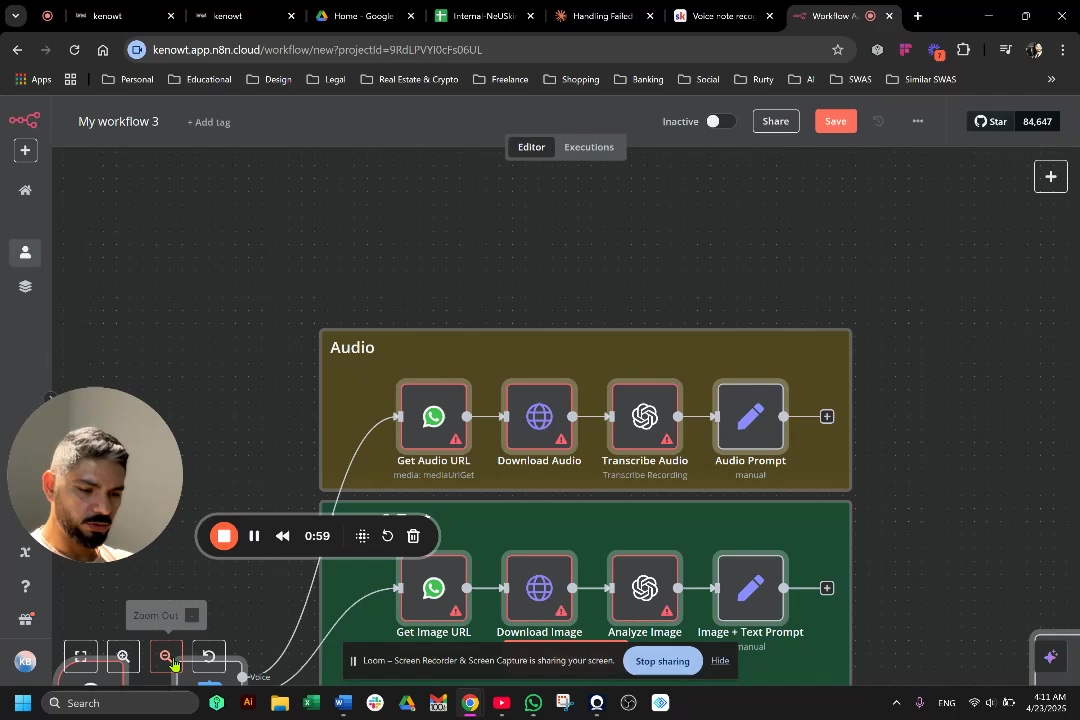
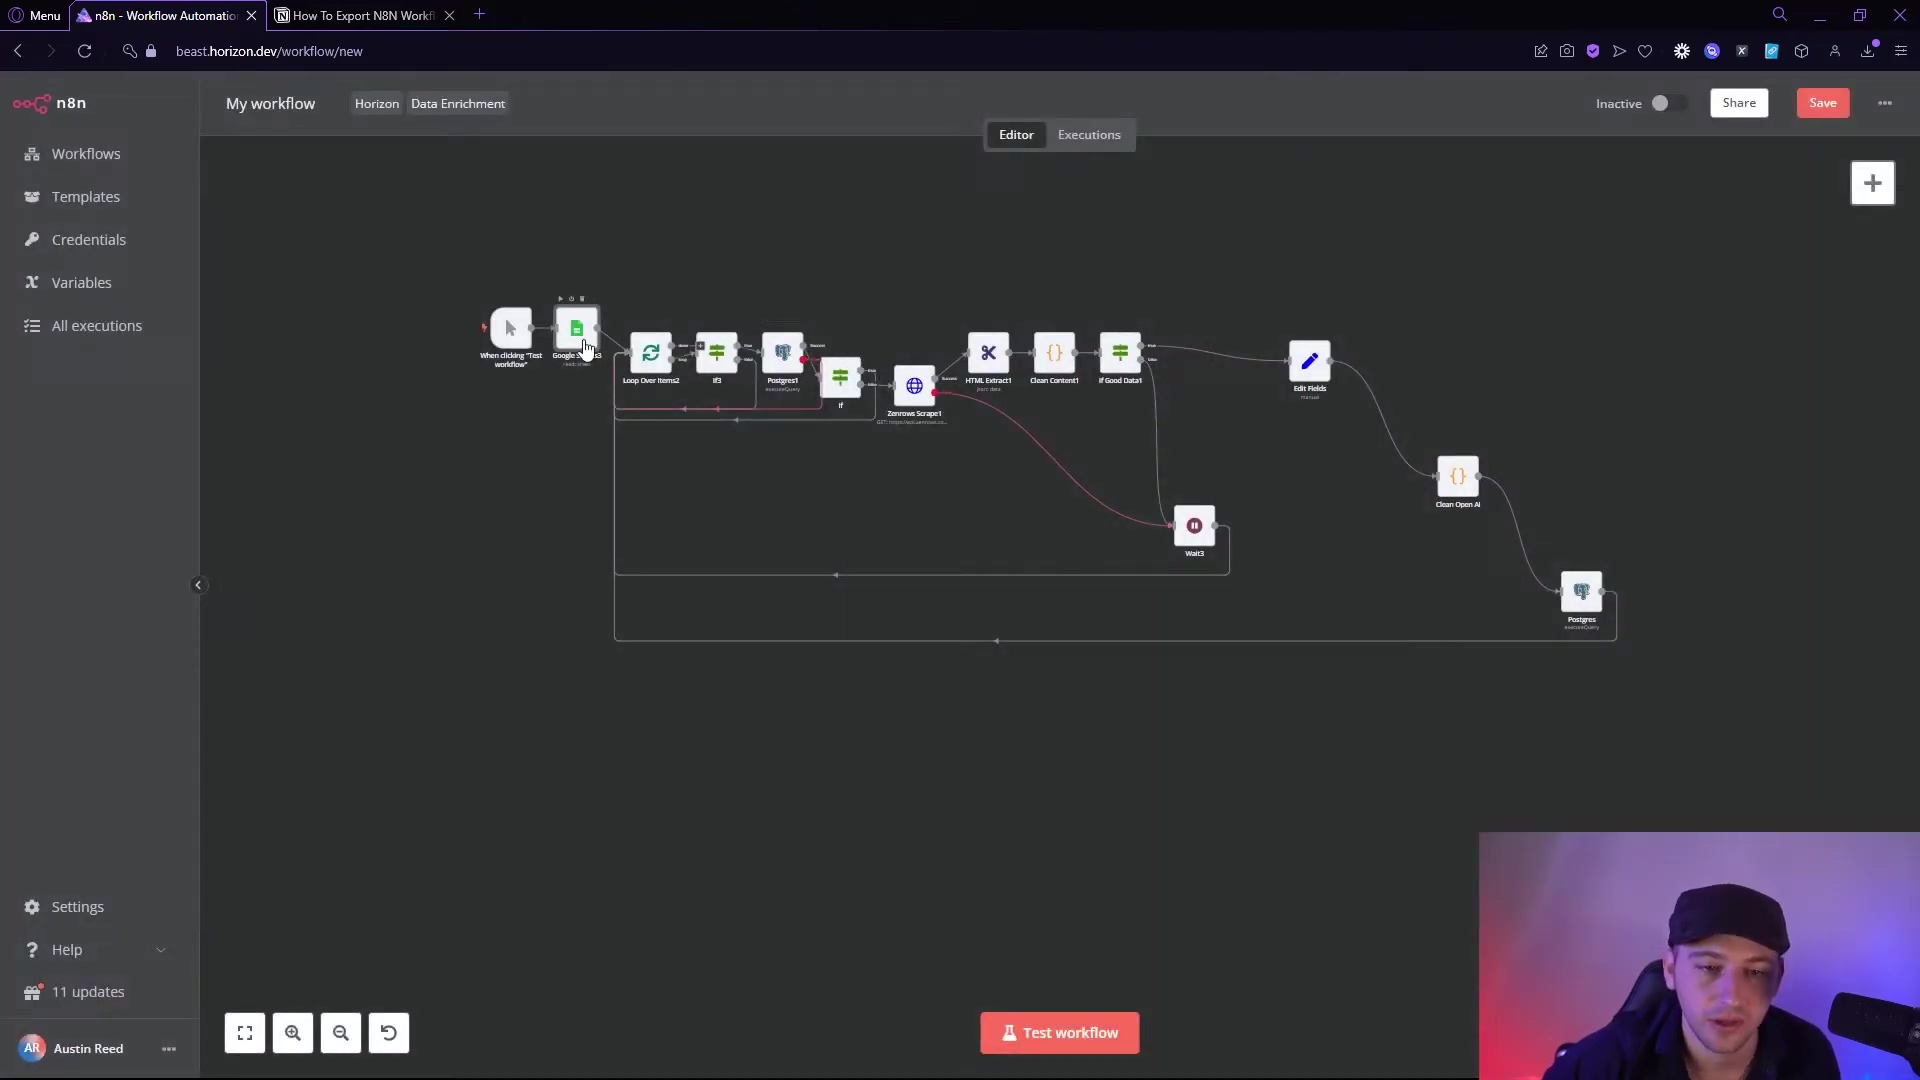
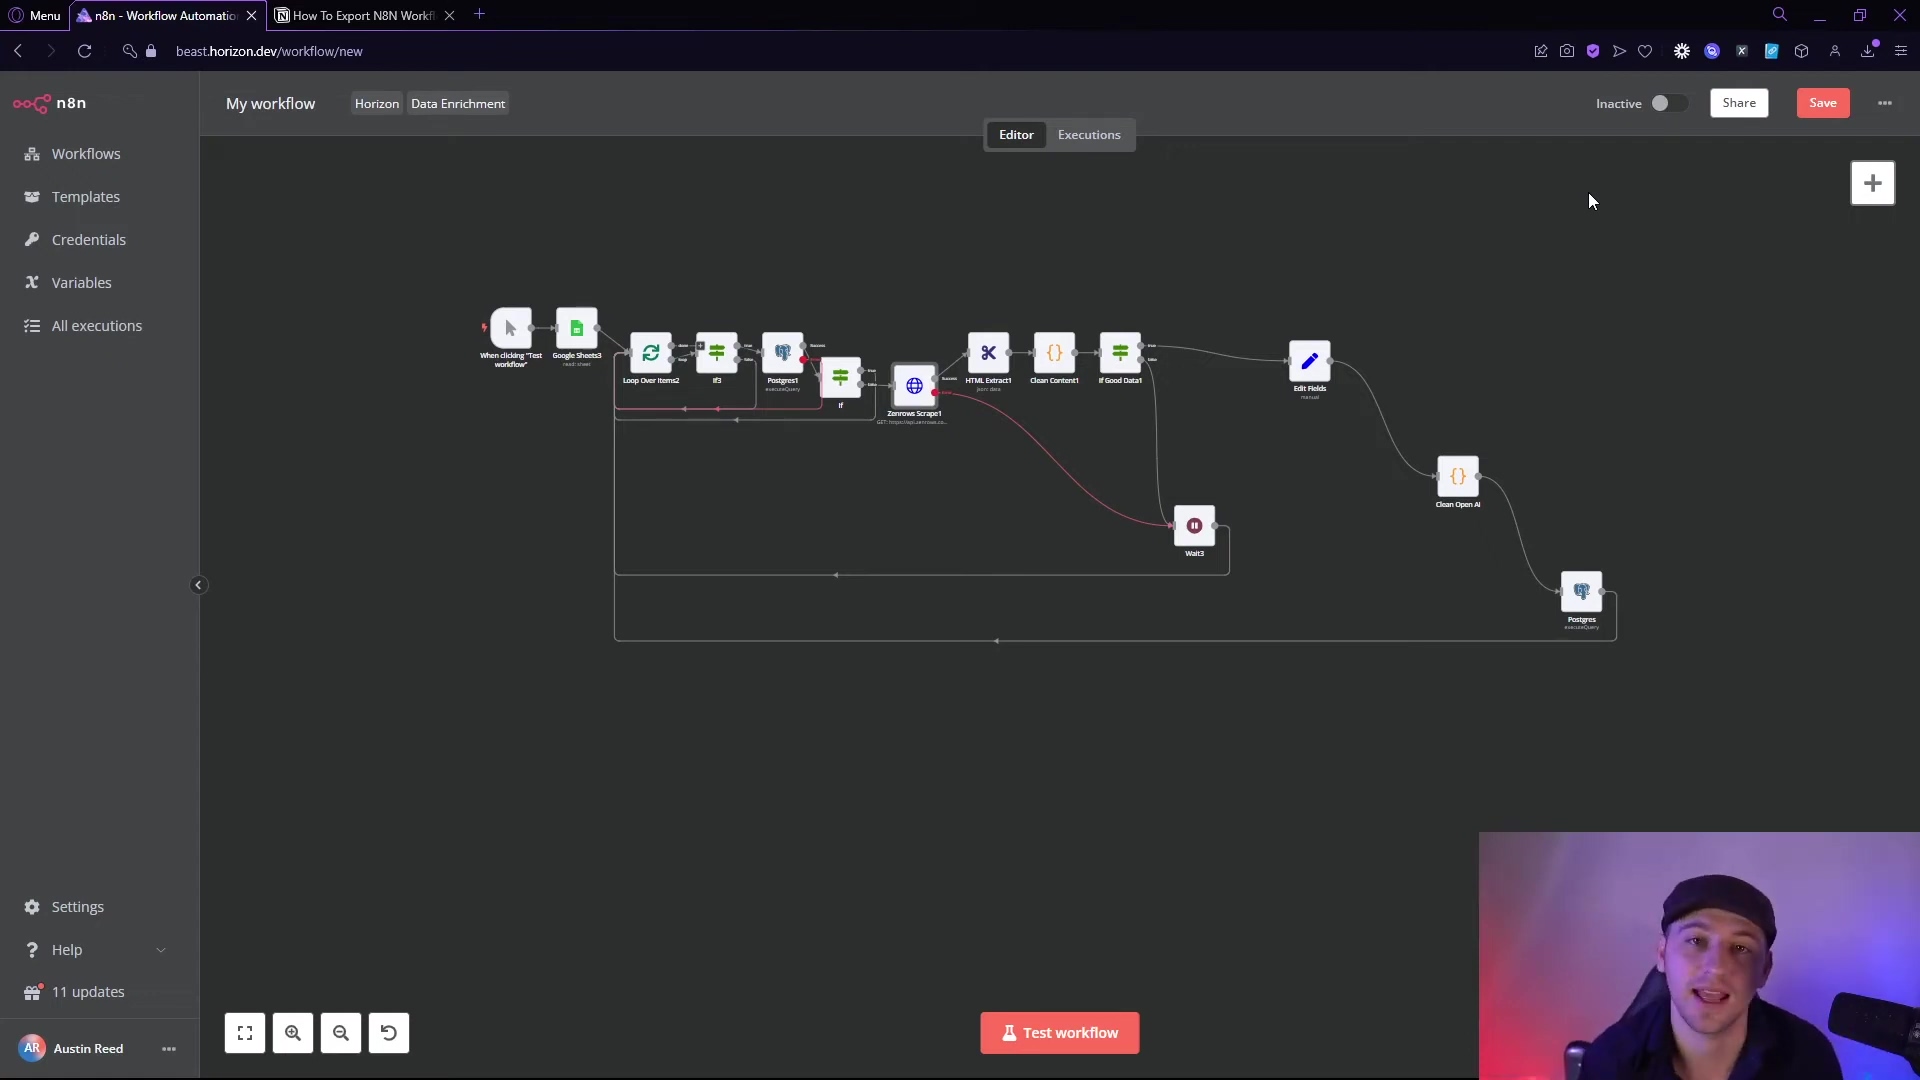
Open n8n and Select Workflow: First things first, fire up your n8n instance. You know, open your web browser and navigate to wherever you’ve got n8n running. Once you’re in, head over to your workflows dashboard. You’ll see a list of all your amazing automations. Pick the one you want to export. I’d suggest picking one that uses some external services, just so you can see how credentials play a role later on. It’s good practice to pick something a little challenging to learn from, right?
-
Download the Workflow: Now that your workflow is open, look for the download option. It’s usually a little download icon (looks like an arrow pointing down into a box) or a button that says ‘Download’. Click that bad boy! What happens next? Your browser will download a file – it’ll be a JSON file. Think of JSON as the universal language for data. It’s how n8n packages up all the instructions, nodes, and connections of your workflow into one neat little file.
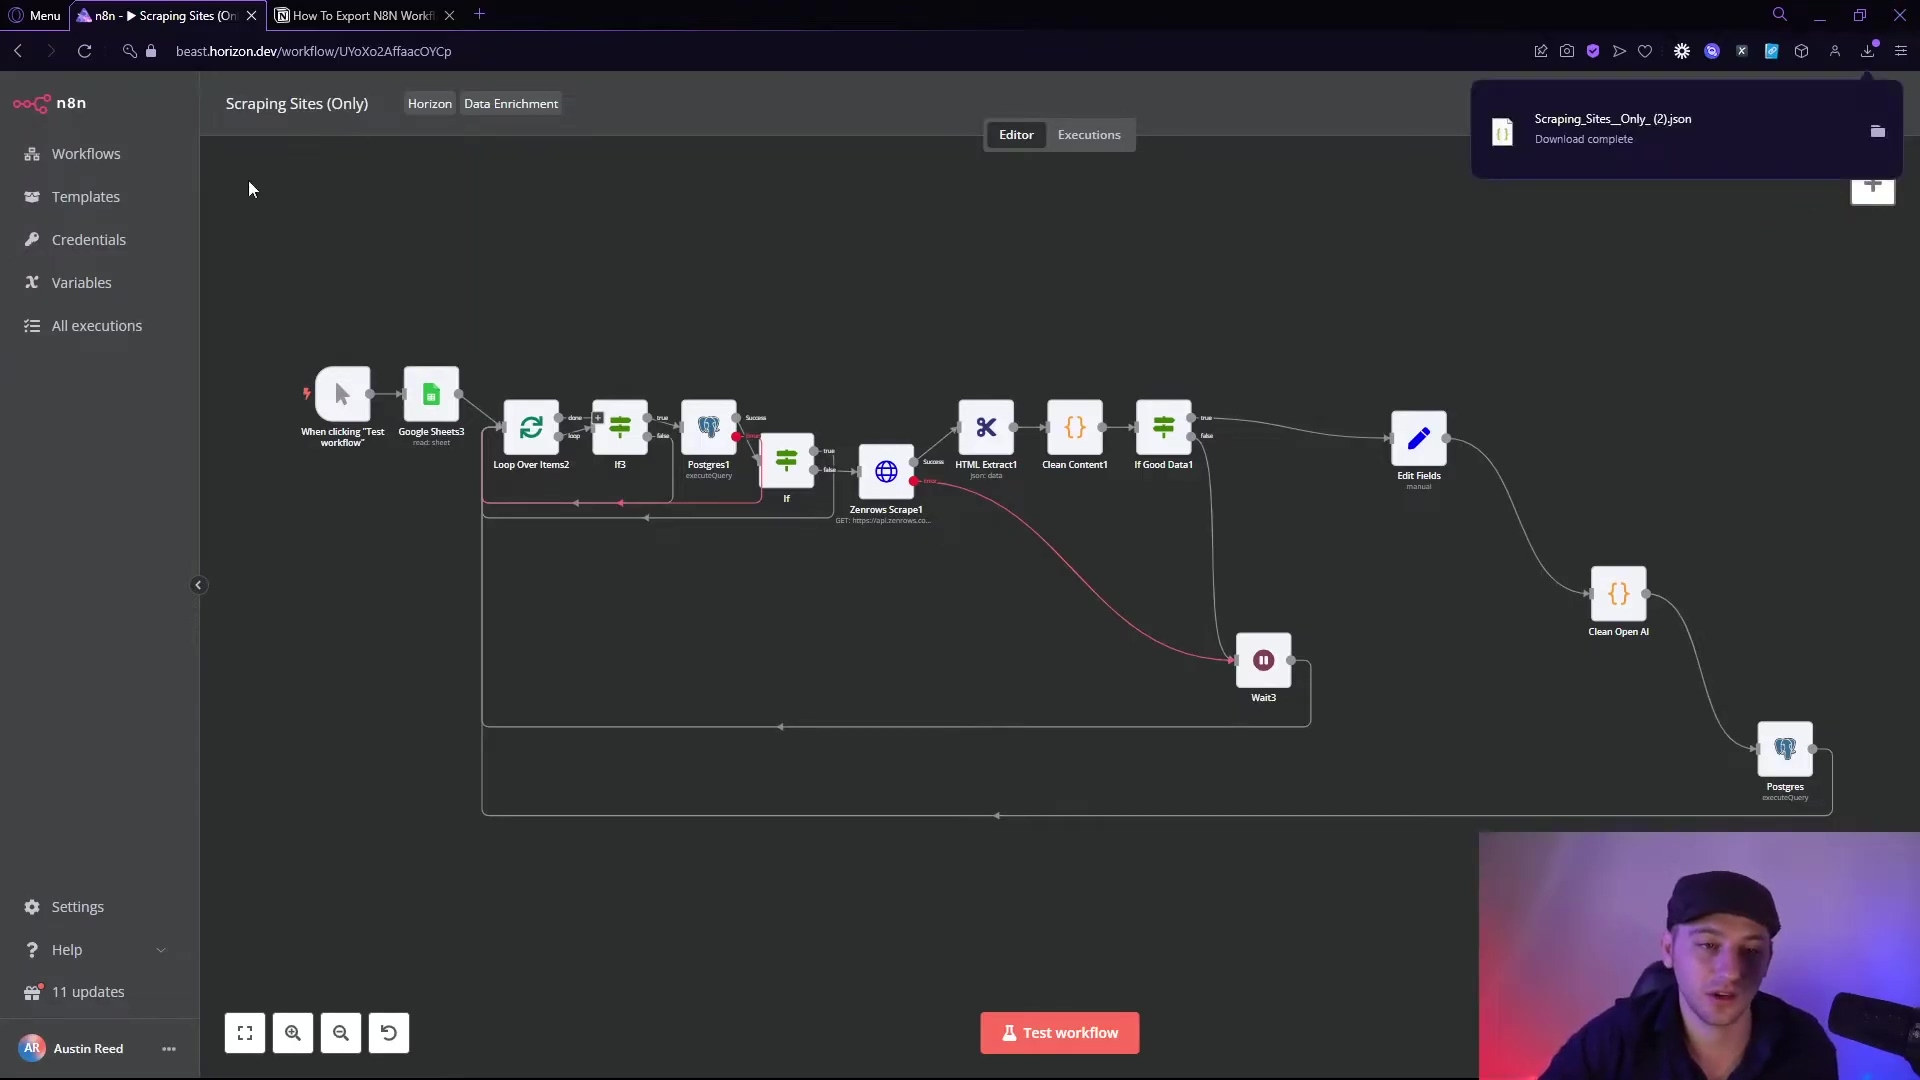
Once that JSON file is on your computer, you’ve successfully exported your workflow! This file is like the blueprint of your automation, containing all the configurations and nodes, ready to be re-imported or shared with the world (or just your other n8n instance).
Importing n8n Workflows
Now for the fun part: bringing a workflow into n8n! Importing workflows is just as vital as exporting. It’s how you deploy existing automations you’ve built, or how you use those awesome shared workflow templates you find online. If you’re importing to the same n8n instance you exported from, it’s usually smooth sailing – like putting on your favorite comfy socks. But, and this is a big but, if you’re moving workflows to a new instance, things can get a little spicy. Don’t worry, I’ve got your back!
Step-by-Step Import Process
-
Add New Workflow: On your target n8n instance (this could be a brand new setup, or just a different n8n environment you’re managing), head over to the workflows section. You’ll want to find the ‘Add workflow’ button. It’s usually pretty prominent.
-
Import from File: After clicking ‘Add workflow’, you’ll see a few options. Choose ‘Import from file’. This will open a file selection dialog, just like when you’re uploading a picture to social media. Navigate to where you saved that JSON file you exported earlier, select it, and hit ‘Open’ or ‘Upload’.
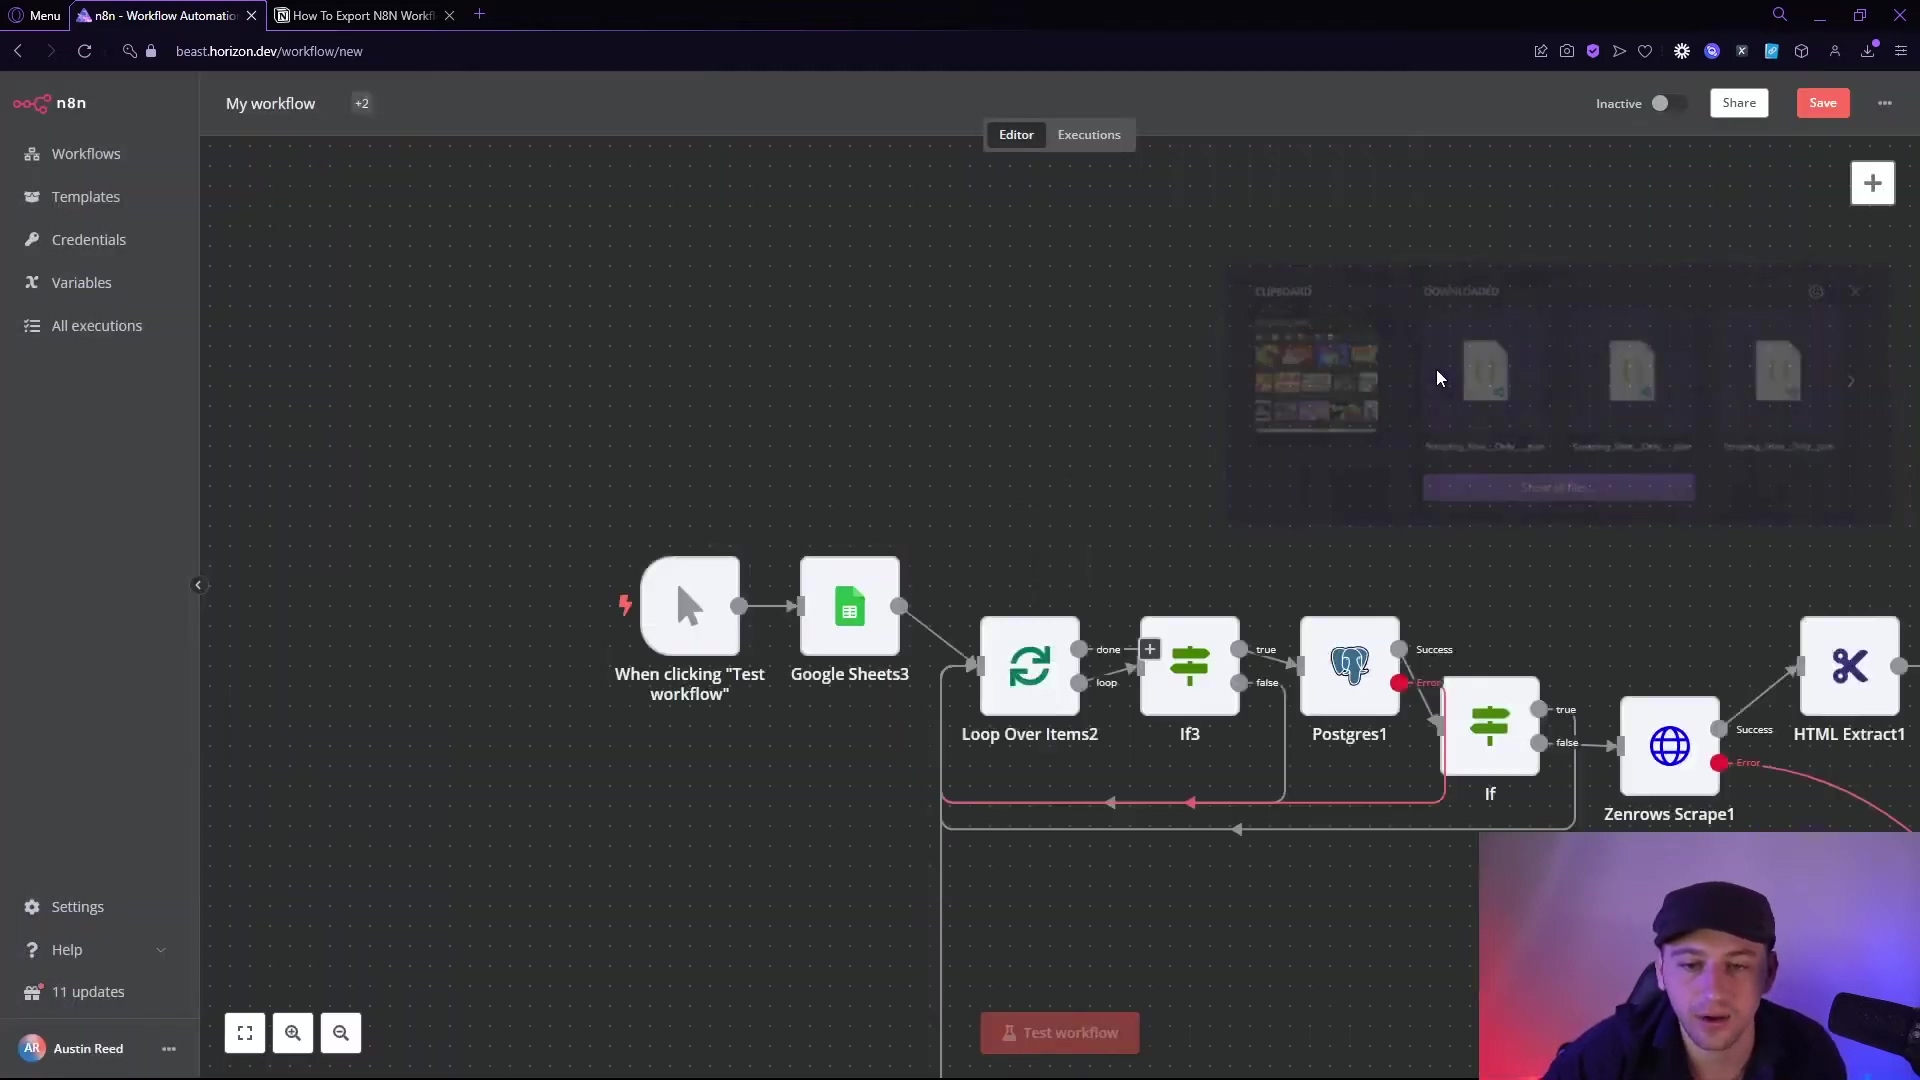
Once you select the file, n8n will magically load the workflow onto your new instance. You should see it appear in your list of workflows. Pretty neat, right? But hold your horses, we’re not out of the woods yet, especially if this is a new instance.
Troubleshooting Common Import Issues: Credential Management
Alright, buckle up, because this is where most folks hit a snag. The most frequent issue you’ll run into when importing workflows to a different n8n instance is what I like to call ‘credential confusion’. Think of it this way: your workflow is like a super-smart chef, and its credentials are its secret recipe ingredients (like API keys or database logins). When you move the chef to a new kitchen (a new n8n instance), it doesn’t automatically know where the new ingredients are stored. So, the connections break. It’s a classic case of “it worked on my machine!” but now it doesn’t.
Workflows often rely on specific credentials (e.g., API keys, database connections, OAuth tokens) that are tied to the original n8n environment. When moved, these connections are no longer valid because the new instance doesn’t have the same stored ‘secret recipe ingredients’.
Resolving Credential Problems
For each node in your newly imported workflow that needs credentials (like a Google Sheets node that talks to your spreadsheet, a Postgres node for your database, an OpenAI node for AI magic, or a ZenRows Scrape node for web scraping – basically, any node that talks to an external service), you’ve gotta manually re-establish that connection. It’s like re-stocking the chef’s pantry in the new kitchen:
-
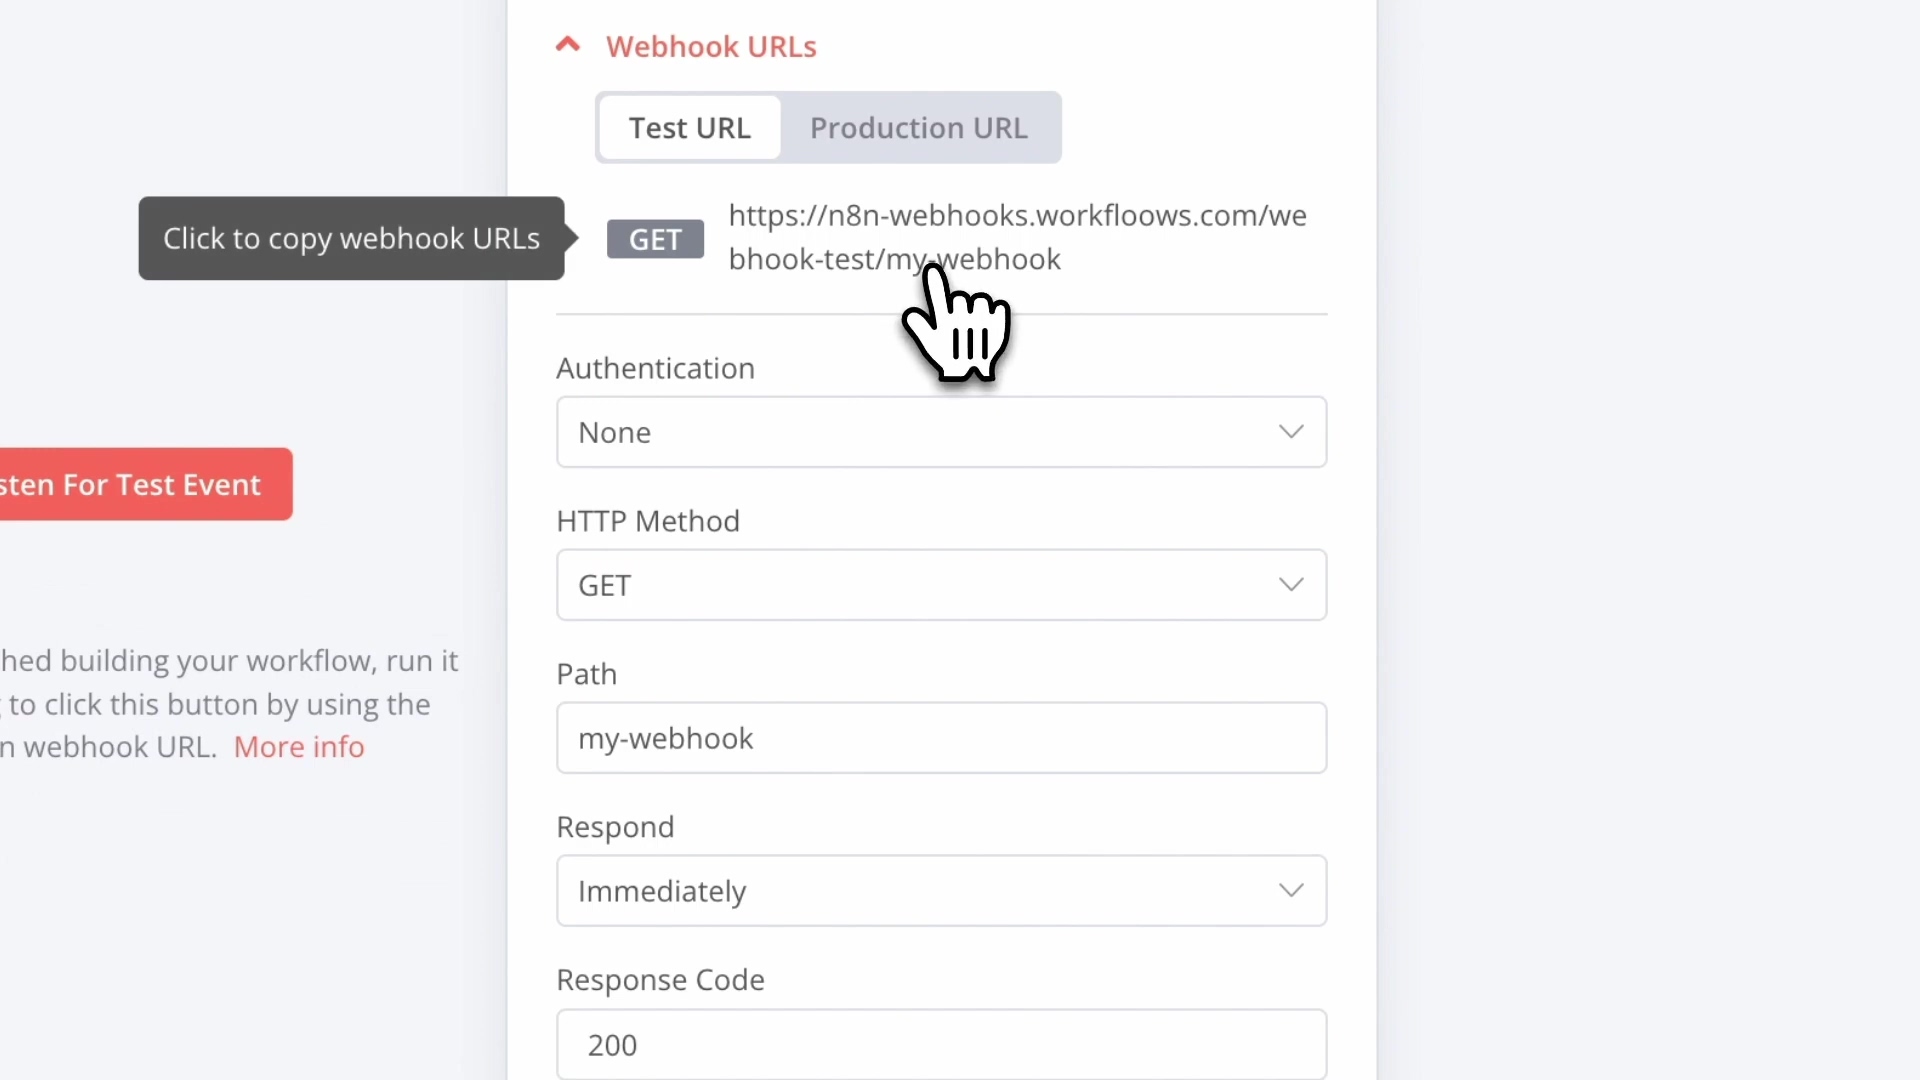
Identify Credential Nodes: Open up your newly imported workflow. Go through each and every node. How do you know if a node needs credentials? Look for fields that say ‘Credential’, ‘API Key’, ‘Connection’, or similar. Nodes that interact with external services are the prime suspects.
-
Add/Select Credentials: For each node you’ve identified, you’ll need to tell it where its ‘ingredients’ are. You’ll typically see a dropdown menu next to the credential field. Here’s what you do:
- Add New Credentials: If the required credentials don’t exist in your new n8n instance yet (which is highly likely if it’s a fresh setup), you’ll need to add them. This usually involves clicking an ‘Add new credential’ button and then inputting the necessary details – like a new API key, setting up a new database connection string, or going through an OAuth flow. It’s a one-time setup for that specific credential type on this instance.
- Select Existing Credentials: If you’ve already set up compatible credentials on this n8n instance (maybe you’ve used Google Sheets before), you can simply select the correct one from the dropdown menu. Easy peasy!
-
Configure Parameters (if necessary): Sometimes, even after you’ve picked the right credential, you might need to tweak a few more things. This could be specific API keys, URLs, or other variables that are unique to your setup. Just double-check the node’s settings to make sure everything looks right. It’s like making sure the chef knows which specific brand of flour to use.
Once you’ve gone through all the nodes and correctly configured all the necessary credentials and parameters, your workflow should be ready to rock and roll! Give it a test run and watch it work its magic. You’ve nailed it!
Pro-Tip: Leveraging AI for Workflow Enhancements
Okay, this is where things get really futuristic and cool! Did you know you can use large language models (LLMs) like OpenAI’s ChatGPT to help you modify and enhance your n8n workflows? It’s like having a super-smart co-pilot for your automation journey. This is a bit more advanced, but trust me, it’s worth knowing about.
AI-Powered Workflow Modification
-
Export Workflow JSON: First, you need that workflow blueprint. Export your n8n workflow as a JSON file, just like we did earlier. This is the raw data the AI needs to understand your workflow.
-
Import into OpenAI: Now, here’s the magic trick. You can actually paste this JSON file’s content directly into an AI model (like ChatGPT, especially the paid versions that handle larger inputs). The AI is smart enough to understand the structure and purpose of the n8n workflow from that JSON. It’s like giving the AI the entire LEGO instruction manual.
-
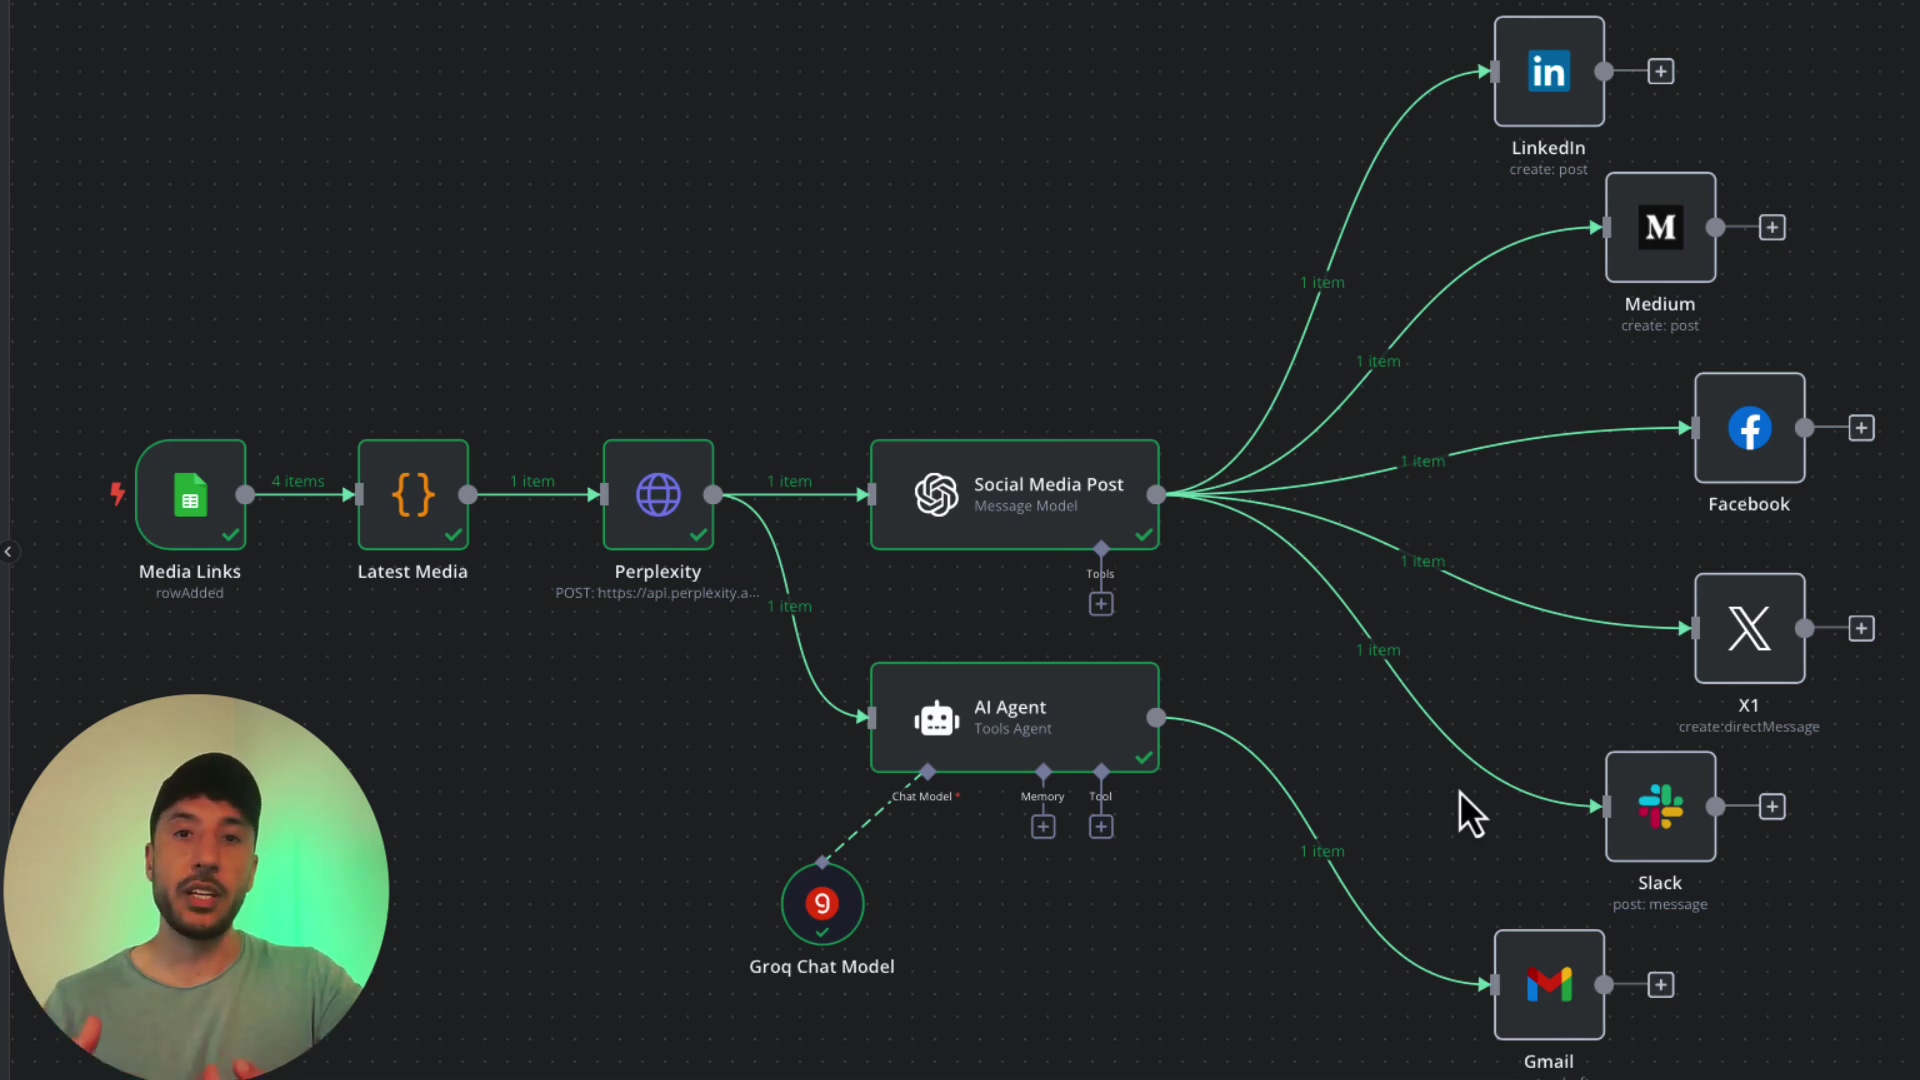
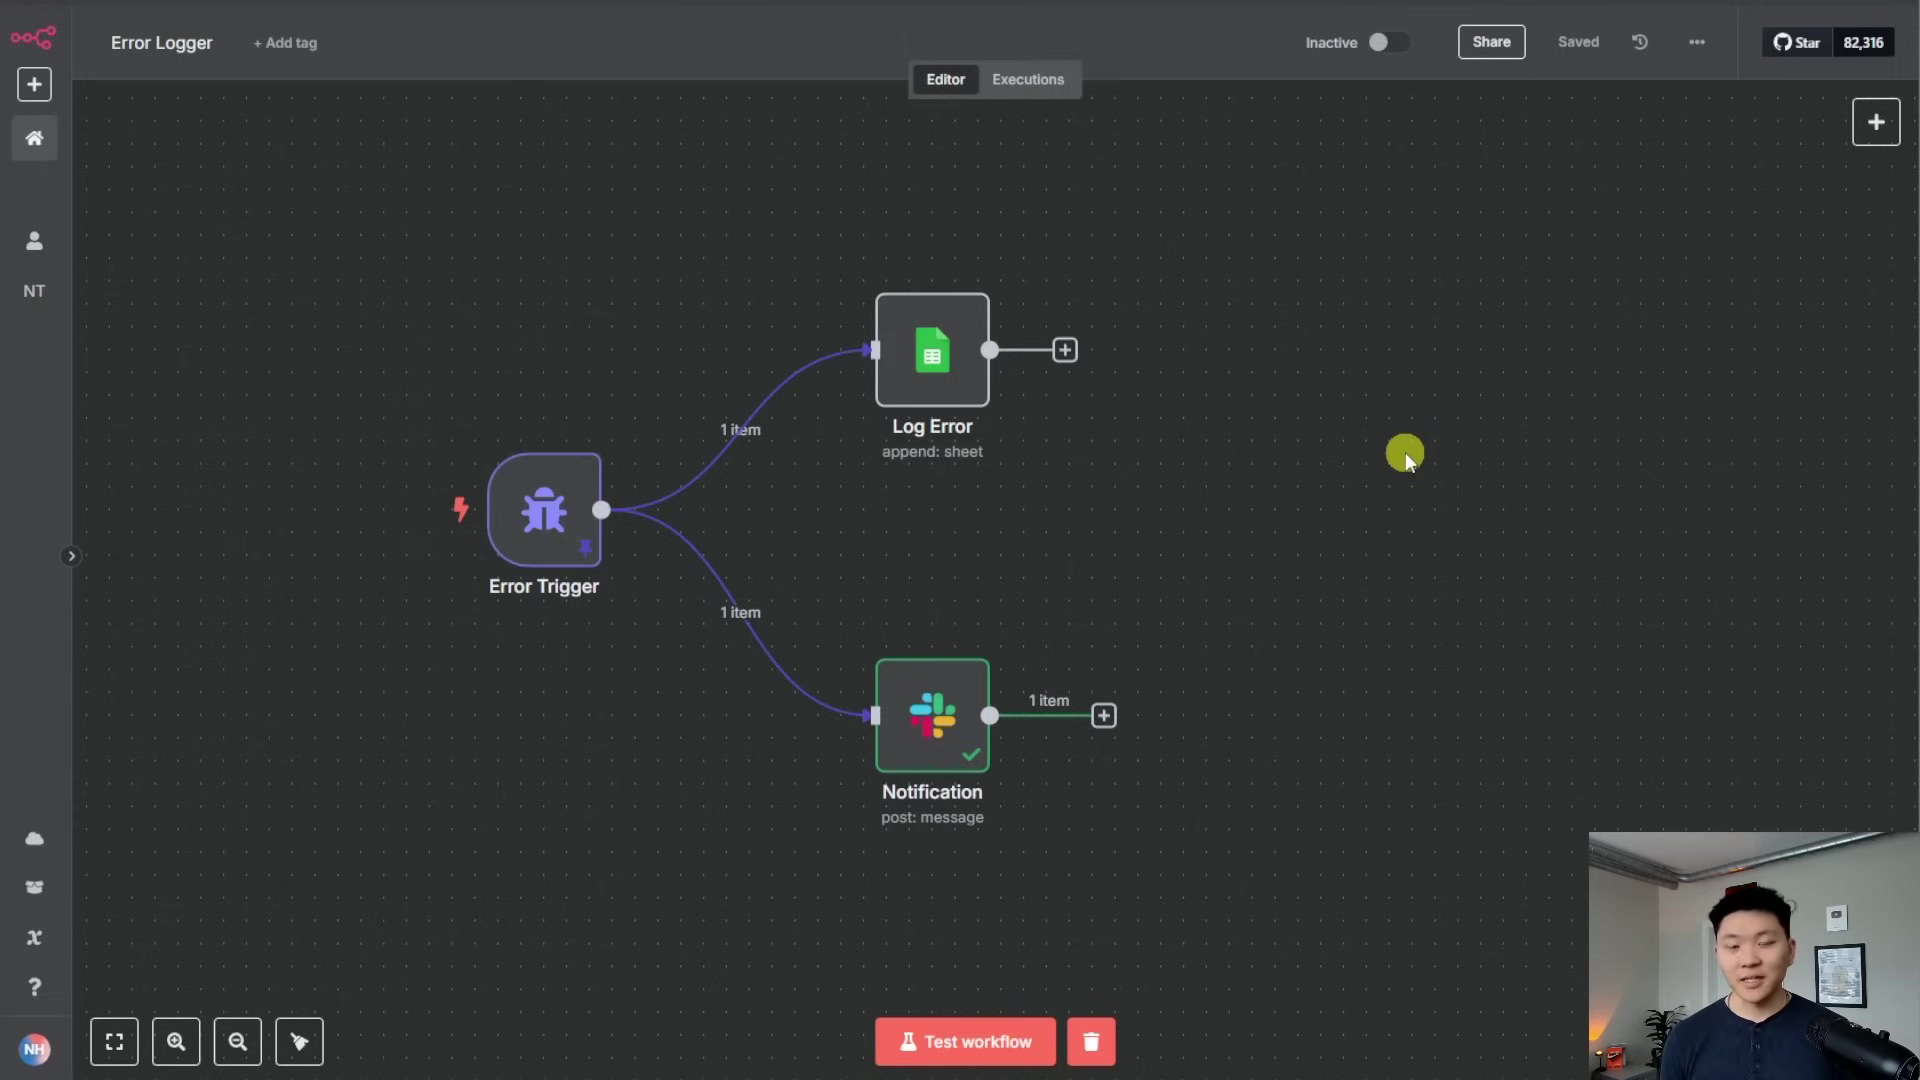
Request Changes: This is where you get to be the boss. You can then instruct the AI to make specific changes or add new functionalities. Be clear and concise! For example, you could say something like: “Hey, after the ‘Edit Fields’ node, could you add an automation to send an email notification using Gmail?” or “Can you add an extra node for data validation at the beginning of the workflow to check if the input is a valid email address?” The more specific you are, the better the AI’s output will be.
-
Generate New JSON: The AI will then process your request and generate a modified JSON file. This new JSON incorporates all your requested changes. It’s like the AI just rewrote a section of your LEGO instructions for you!
-
Re-import to n8n: Copy that new JSON content from the AI and upload it back into your n8n instance using the ‘Import from file’ option we discussed earlier. Voila! Your workflow is now updated with AI-powered enhancements.
While this method might not work perfectly every single time (AI is still learning, just like us!), it offers a powerful shortcut for workflow development, especially for complex modifications or when you’re just looking for ideas. It’s an experimental but incredibly promising avenue for rapid development. Give it a try, you might be surprised!
Required Resources and Cost-Benefit Analysis
Let’s talk about what you need to get started and whether it’s worth it. Because, let’s be honest, we all want to know the ‘what’s in it for me?’ and ‘how much will it cost?’ questions answered.
Resource Checklist
| Resource Type | Item/Tool | Description | Estimated Cost (DIY) |
|---|---|---|---|
| Software | n8n | Open-source workflow automation platform | Free (self-hosted) / Paid (cloud) |
| Software | Web Browser | For accessing n8n UI | Free |
| Software | Text Editor | For minor JSON edits (optional) | Free |
| Credentials | API Keys | For external services (Google Sheets, OpenAI, etc.) | Varies by service |
| Hosting | Server/Cloud Instance | For self-hosting n8n (if not using cloud) | Varies (e.g., $5-50/month) |
DIY vs. Commercial Product Comparison
So, why go through all this ‘DIY’ hassle when there are commercial platforms out there? Good question! Let’s break down the pros and cons, comparing a self-hosted n8n setup to something like Zapier or Make (formerly Integromat).
| Feature/Aspect | DIY n8n Solution | Commercial Automation Platform (e.g., Zapier) |
|---|---|---|
| Cost | Low to Moderate (hosting, self-management time) | Moderate to High (subscription fees) |
| Flexibility | High (full control, custom nodes) | Moderate (limited by platform features) |
| Scalability | Dependent on server resources and user’s expertise | High (managed by provider) |
| Maintenance | User responsibility (updates, troubleshooting) | Provider responsibility |
| Learning Curve | Steeper (requires technical understanding) | Gentler (user-friendly interfaces) |
| Data Privacy | Full control over data on self-hosted instances | Dependent on provider’s policies |
As you can see, n8n gives you incredible power and flexibility, especially if you’re comfortable getting your hands a little dirty with server stuff. But if you just want something that works right out of the box with minimal fuss, a commercial platform might be your jam. It really depends on your needs and comfort level!
💡 Best Practice Tips for n8n Workflow Management
Alright, before we wrap this up, here are some golden nuggets of wisdom – best practices that I’ve learned the hard way (so you don’t have to!). These will save you headaches down the line:
- Version Control: This is a big one. Always, always keep exported JSON files of your workflows. Think of it as saving your game progress. Especially before you make any big changes, export that workflow! This acts as a manual version control system. If something goes sideways, you can always revert to a previous working version. Trust me, future you will thank past you for this.
- Document Credentials: Remember our ‘credential confusion’ talk? To avoid that, maintain a secure, organized record of all credentials (API keys, passwords, etc.) you use across your n8n instances. A password manager or a secure document is your best friend here. This simplifies the re-establishment process during imports immensely.
- Test Thoroughly: After importing a workflow, or making any changes for that matter, always run comprehensive tests. Don’t just assume it works! Trigger the workflow, check the execution logs, and make sure all nodes are functioning correctly and that data flows exactly as you expect. This is especially critical after re-configuring credentials.
Conclusion
So, there you have it! Mastering the export and import of n8n workflows is a fundamental skill for any automation enthusiast or professional. It’s like learning to drive a car – once you get it, a whole new world of possibilities opens up. This capability not only facilitates seamless migration between instances but also opens doors to advanced workflow management, including those cool AI-driven enhancements we just talked about.
By understanding the process and being mindful of credential management (that’s the tricky part, remember?), you can ensure your n8n automations remain robust, reliable, and adaptable across various environments. While direct imports on the same instance are straightforward, always expect to reconfigure credentials when moving to a new n8n setup. It’s just part of the game.
And that ability to leverage AI for workflow modifications through JSON manipulation? That’s a powerful, albeit experimental, avenue for rapid development that I’m super excited about. For those seeking maximum control and customization, the self-hosted n8n solution offers unparalleled flexibility compared to commercial alternatives. It’s your automation, your rules!
Now, armed with these insights, go forth and optimize your n8n workflows like a true professional! You’ve got this!
Frequently Asked Questions (FAQ)
Q: Why do my credentials break when I import a workflow to a new n8n instance?
A: Ah, the classic credential conundrum! When you export a workflow, it includes references to the credentials it uses, but not the actual secret values (like API keys). Those secrets are stored securely within your specific n8n instance. So, when you import the workflow to a new instance, it’s like the workflow is asking for a key that doesn’t exist in the new lock. You need to manually re-link or create those credentials in the new n8n environment so the workflow can ‘find’ its secret ingredients again.
Q: Can I use the AI-powered workflow modification for sensitive data?
A: That’s a really important question! While using AI to modify workflow JSON is powerful, you should exercise extreme caution with sensitive data. When you paste your workflow’s JSON into an AI model, you’re essentially sharing its structure and potentially some non-sensitive parameters with that AI service. Never include actual sensitive credentials (like API keys or passwords) directly in the JSON you feed to a public AI model. Focus on structural changes or adding new nodes, and always re-configure sensitive credentials after importing the AI-modified workflow back into your n8n instance.
Q: What’s the main advantage of self-hosting n8n over using a commercial platform like Zapier?
A: The biggest advantage of self-hosting n8n is control and flexibility. You have full control over your data, you can install custom nodes, and there are no limits on the number of tasks or workflows based on a subscription tier (only limited by your server resources). It’s generally more cost-effective in the long run for heavy usage. However, it does come with the responsibility of maintenance, updates, and troubleshooting, which commercial platforms handle for you. It’s a trade-off between ultimate freedom and convenience.