Watch the Video Tutorial
💡 Pro Tip: After watching the video, continue reading below for detailed step-by-step instructions, code examples, and additional tips that will help you implement this successfully.
Table of Contents
Open Table of Contents
- Why Error Handling Matters in n8n
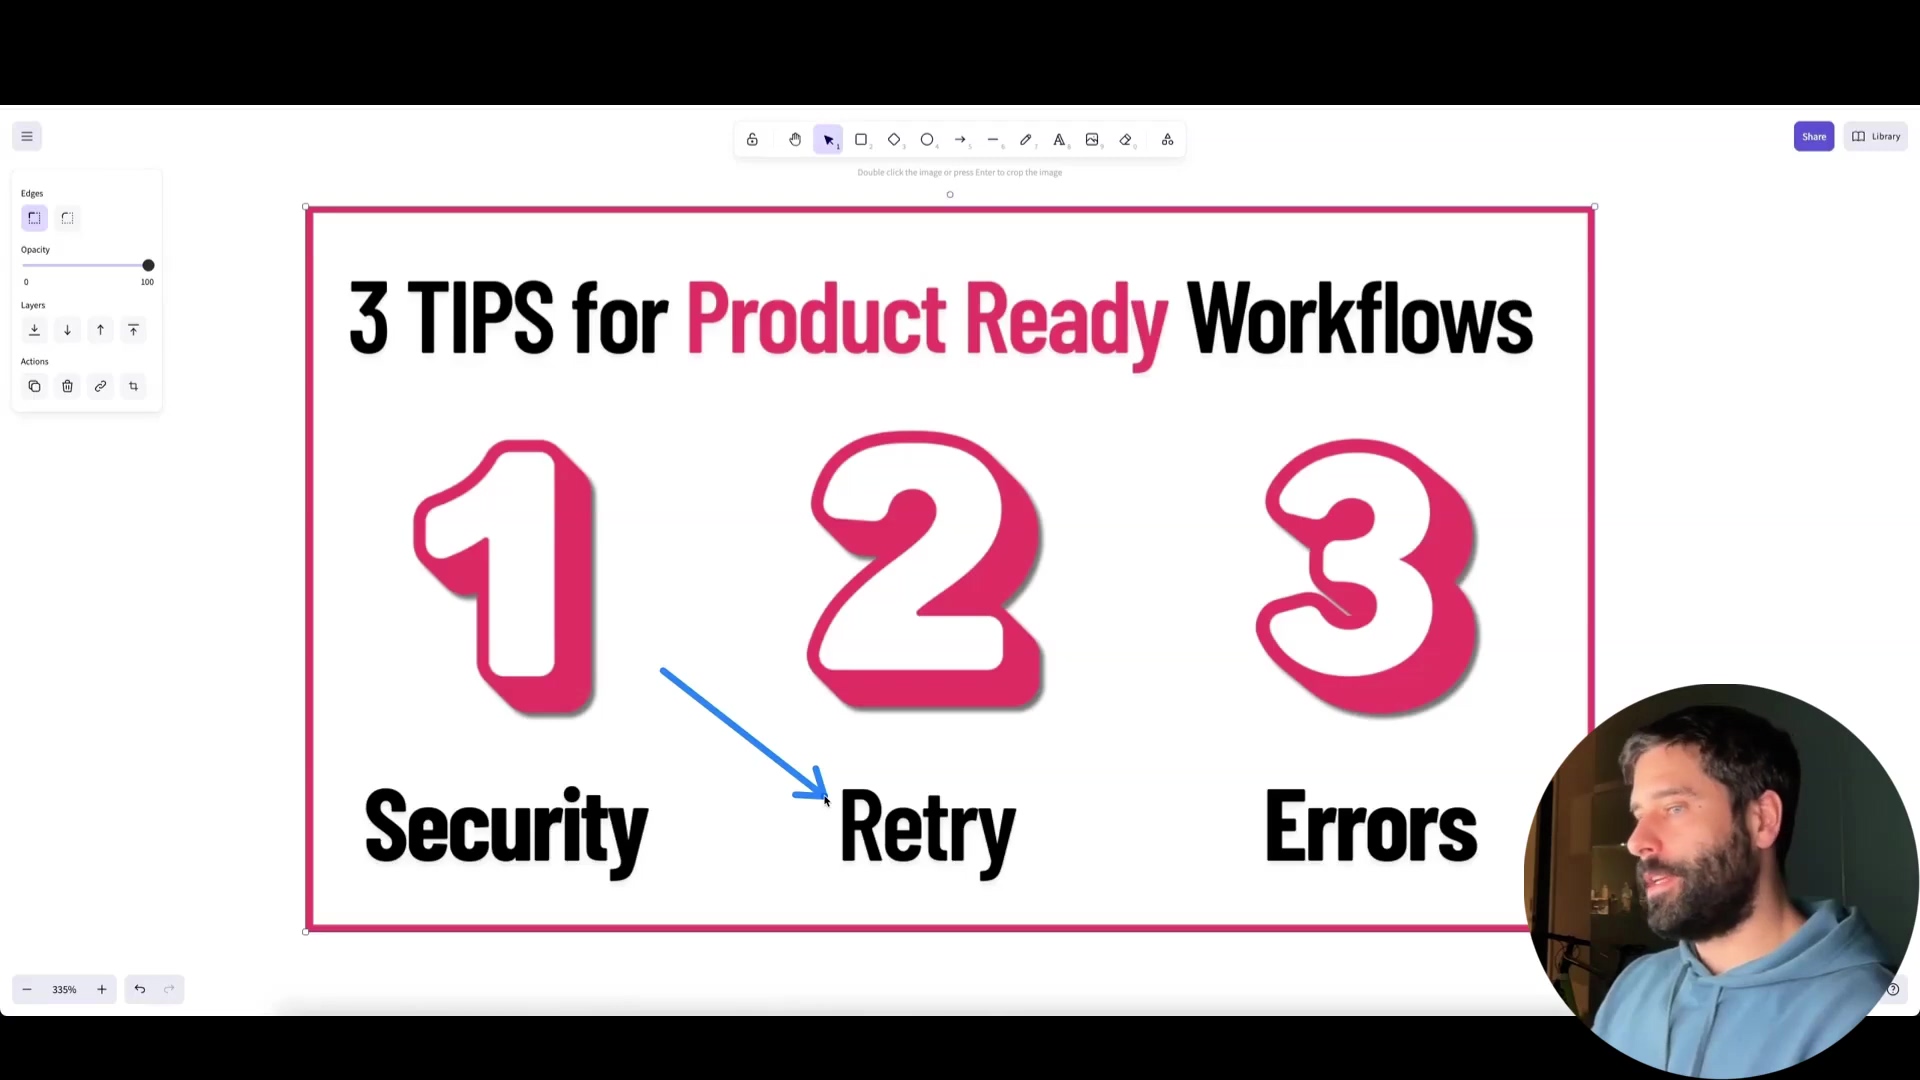
- 1. Proactive Error Prevention: Security and Validation
- 2. Implementing Retry Mechanisms
- 3. Centralized Error Logging and Monitoring
- 4. Version Control for Workflow Stability
- Conclusion: Mastering n8n Error Handling
- Frequently Asked Questions (FAQ)
- Q: What’s the difference between the Error Trigger and the Stop and Error nodes?
- Q: How do I find the Execution URL for logging?
- Q: What if I don’t want to use Google Sheets for logging?
- Q: How often should I retry failed API calls?
- Q: Is header authentication the only way to secure webhooks?
- Q: What are the benefits of using predefined credential types?
Why Error Handling Matters in n8n
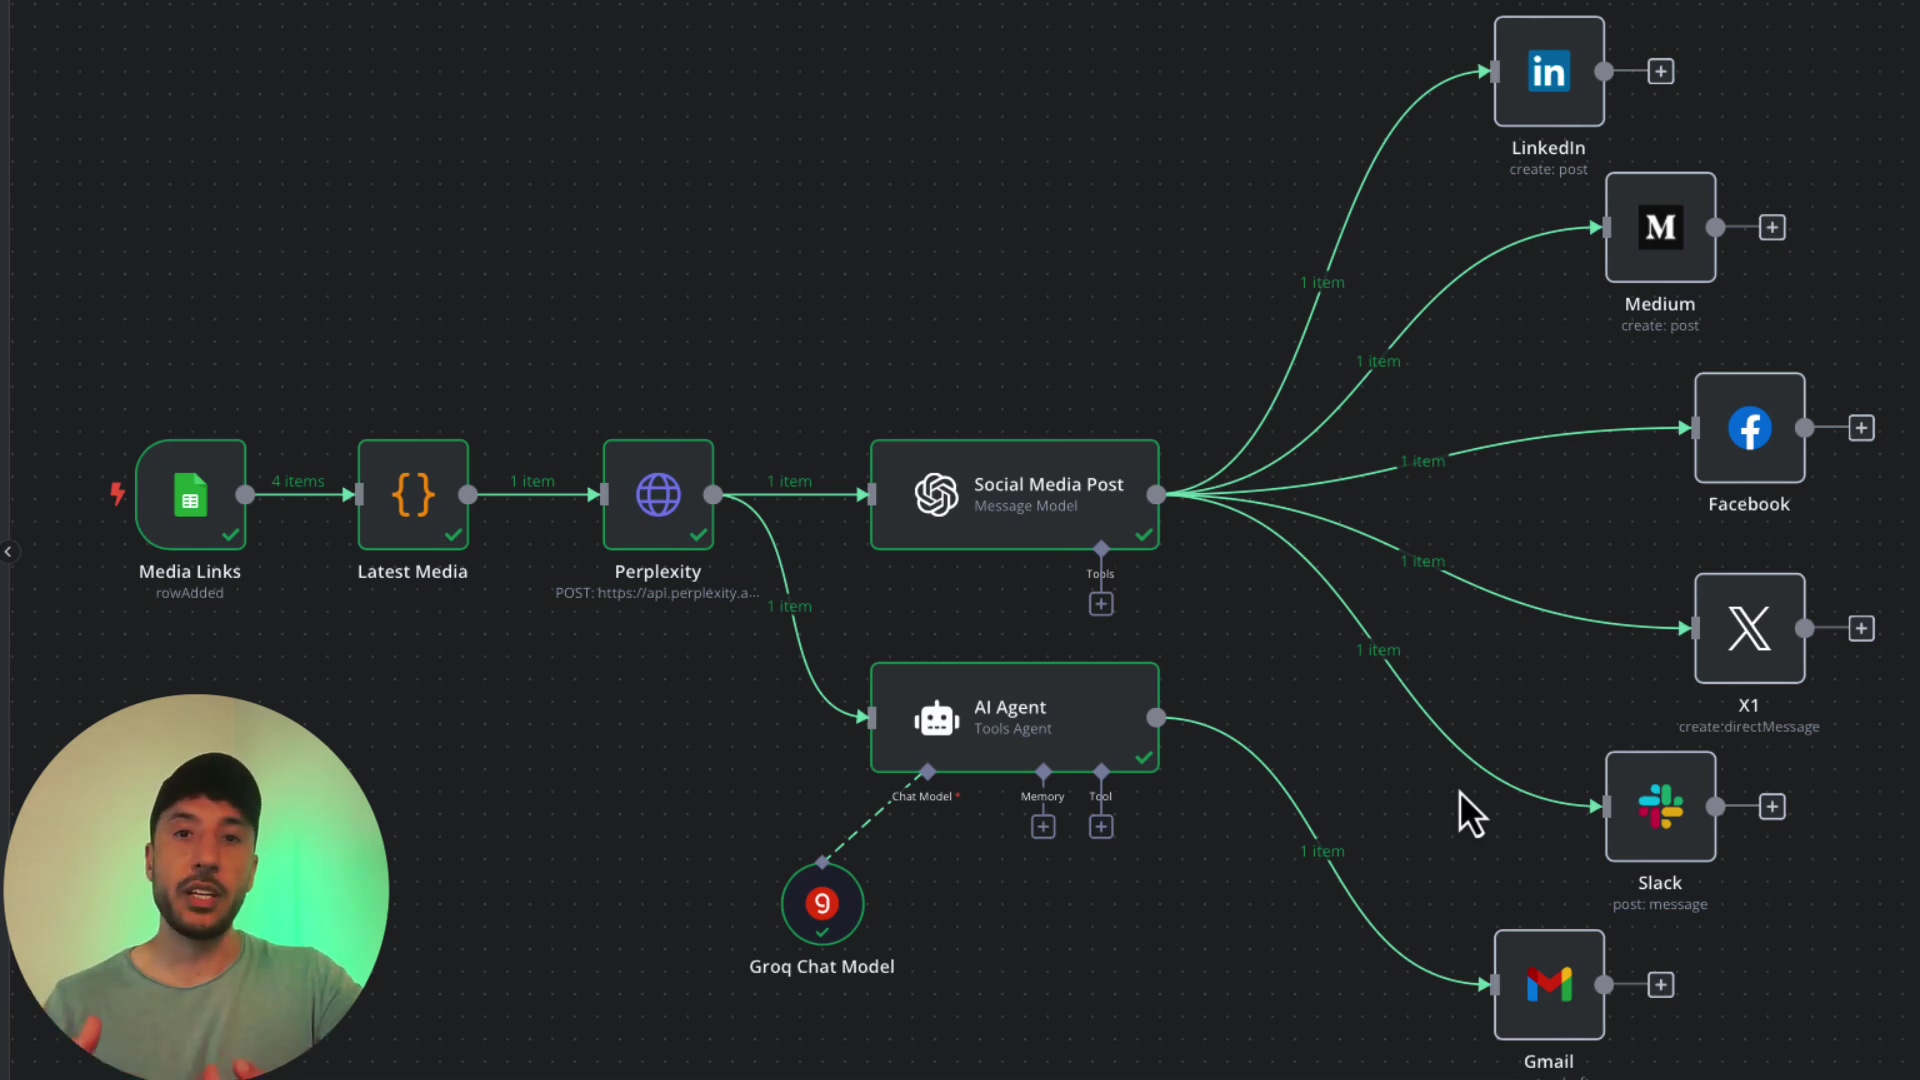
Workflows that perform flawlessly in development can often stumble in production due to unforeseen circumstances: API outages, rate limits, unexpected data formats, and more. Without proper error handling, these issues can halt your workflows, leading to data loss, missed deadlines, and frustrated users. Implementing robust n8n error handling best practices is essential for building resilient automations.
Think of it like this: you’re building a robot to make your morning coffee. Everything works great in your kitchen (development), but what happens when the robot encounters a power outage (API outage) or runs out of coffee beans (unexpected data)? Without error handling, your robot just freezes, and you don’t get your coffee! That’s why we need these best practices.
1. Proactive Error Prevention: Security and Validation
The best way to handle errors is to prevent them in the first place. This starts with secure workflow design and rigorous data validation. It’s like building a house – a strong foundation prevents problems down the road.
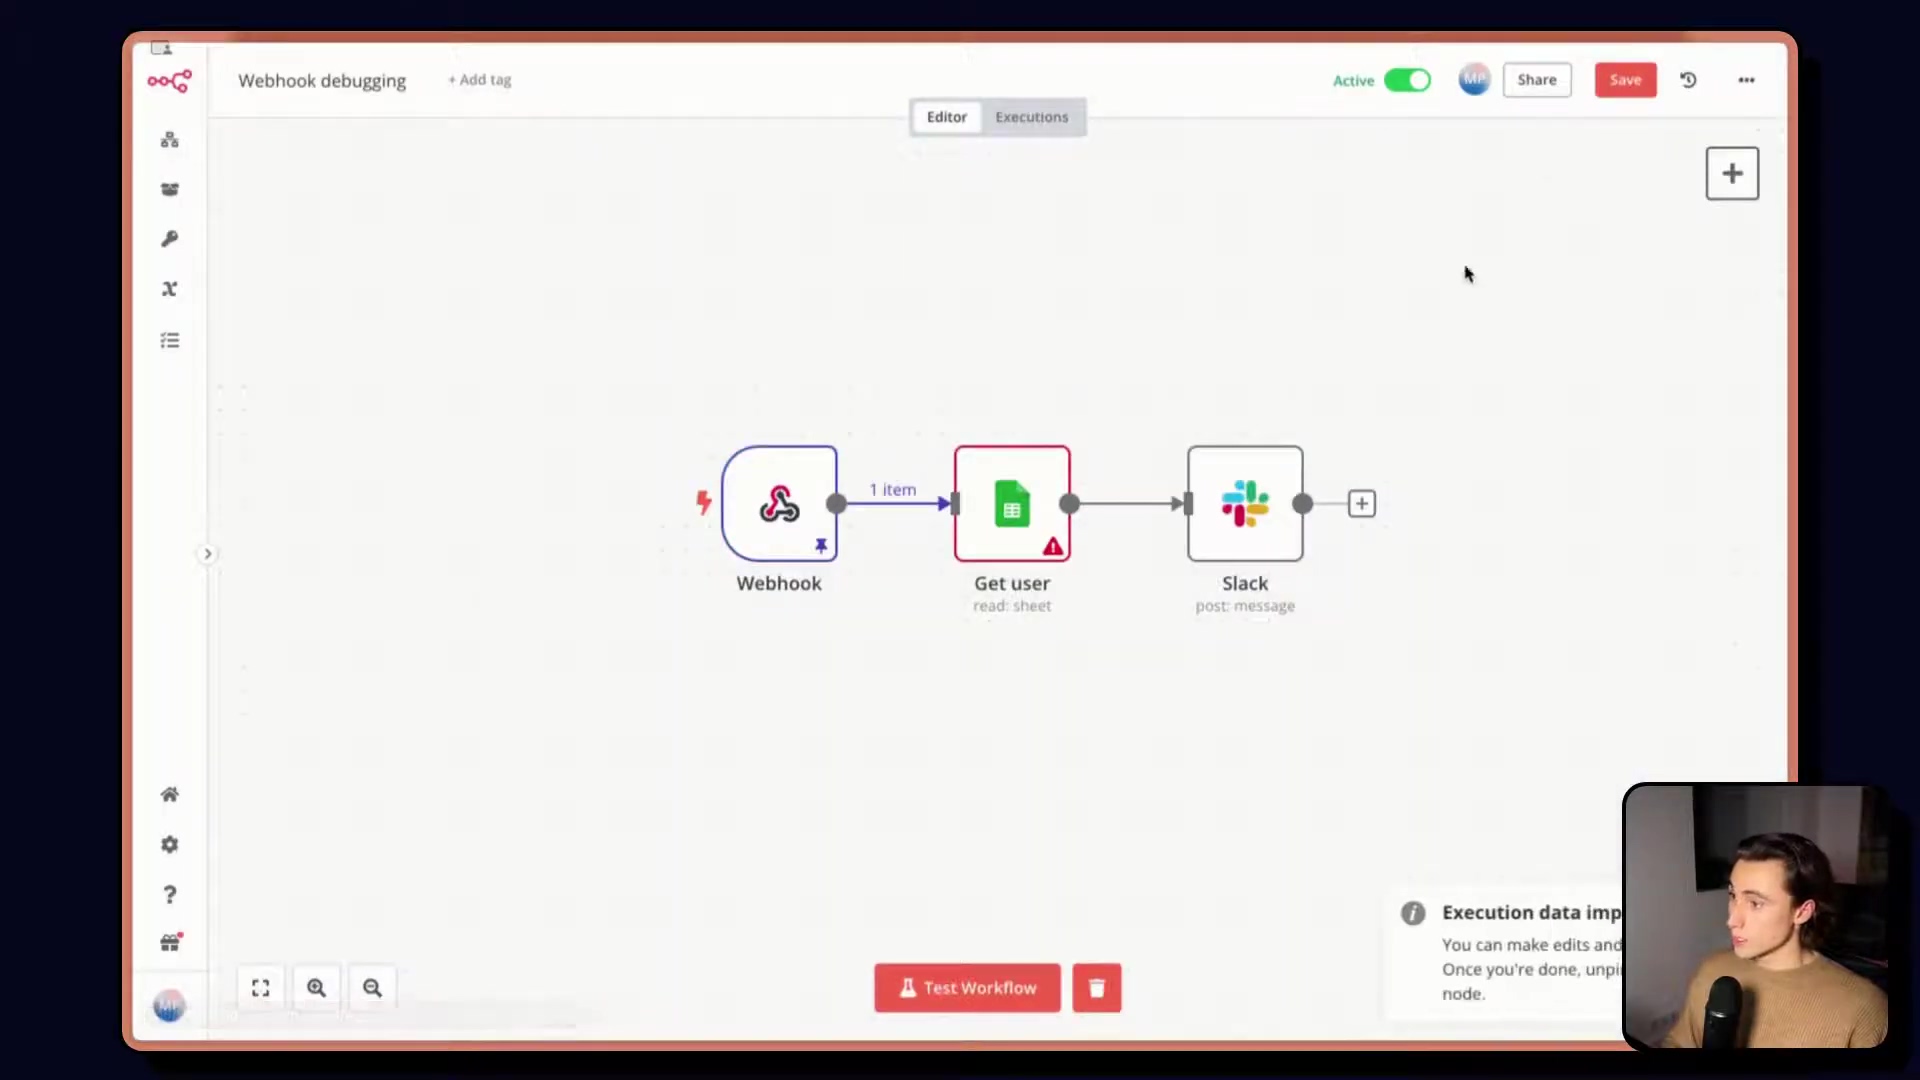
Securing Webhooks
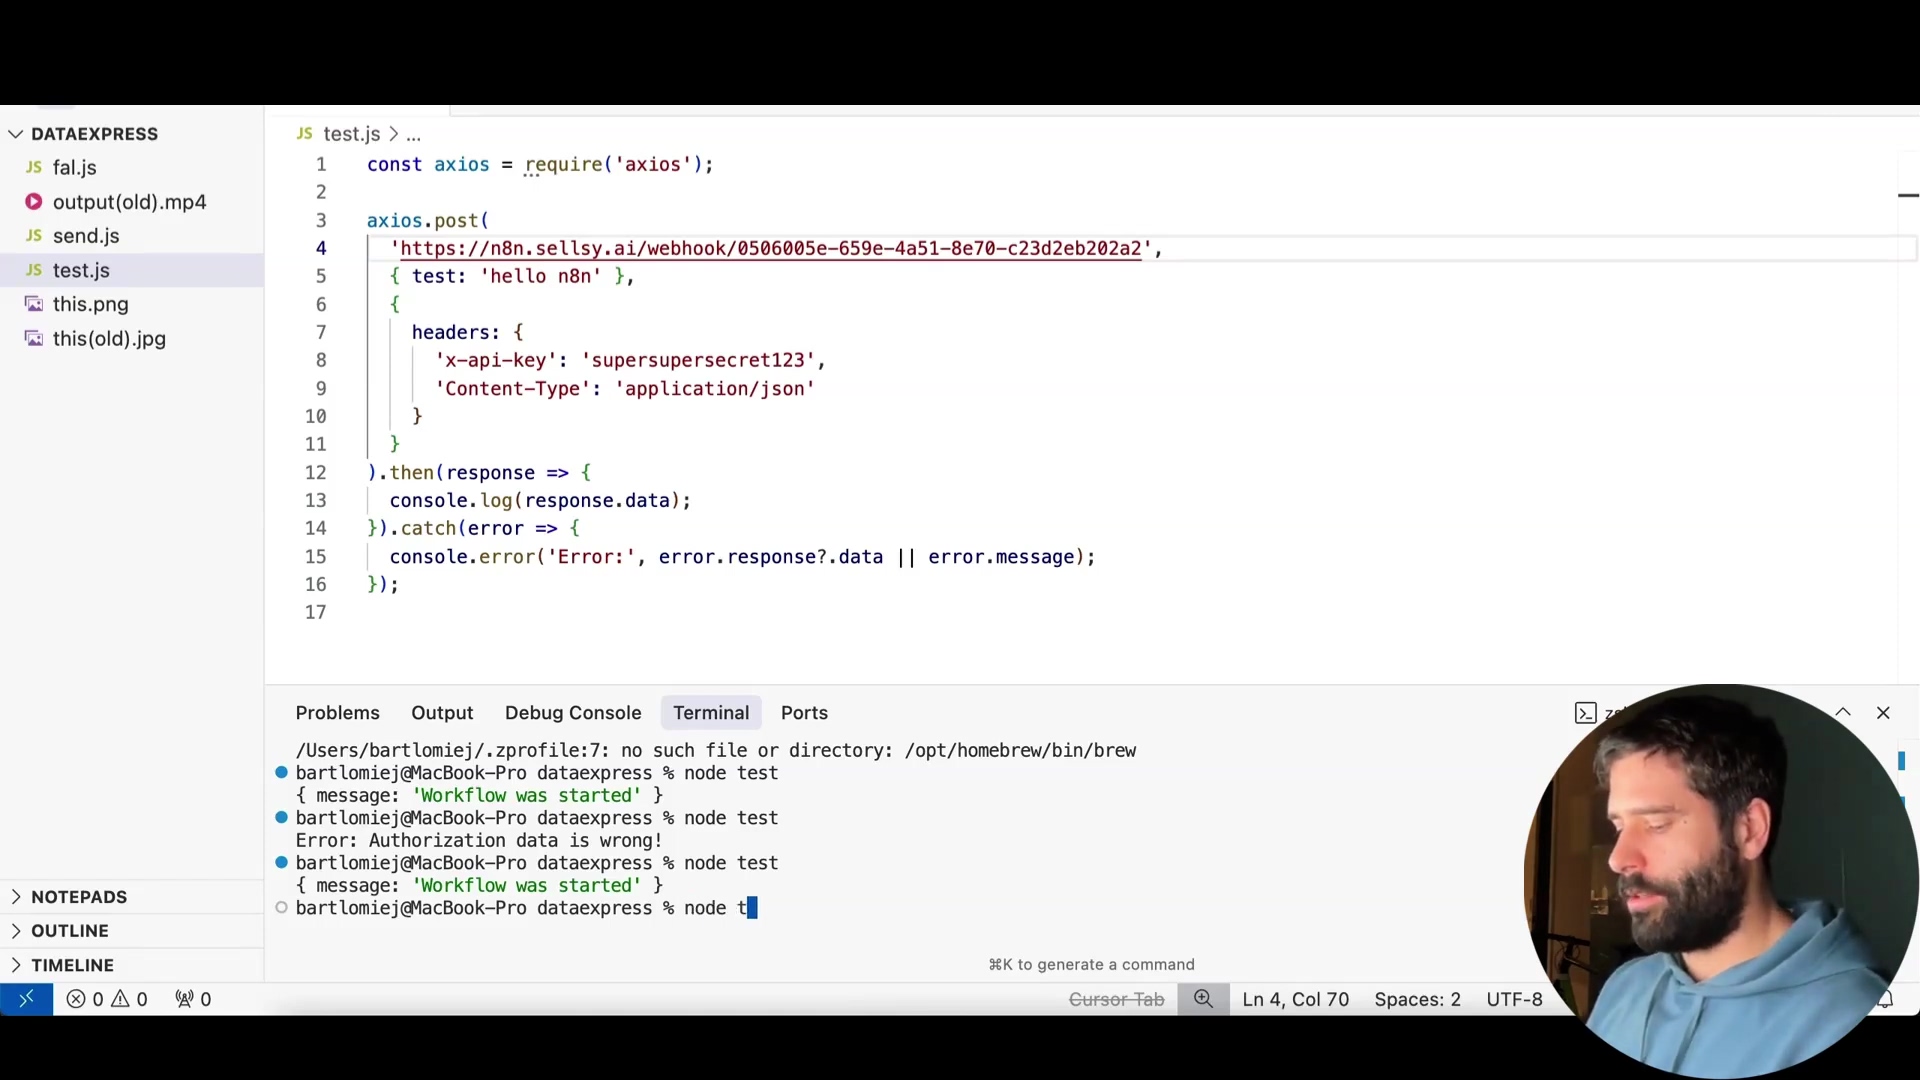
Webhooks are a common trigger for n8n workflows, but they can also be a security vulnerability if not properly secured. Anyone who discovers your webhook URL can potentially trigger your workflow. Imagine leaving your front door wide open – anyone could walk in!
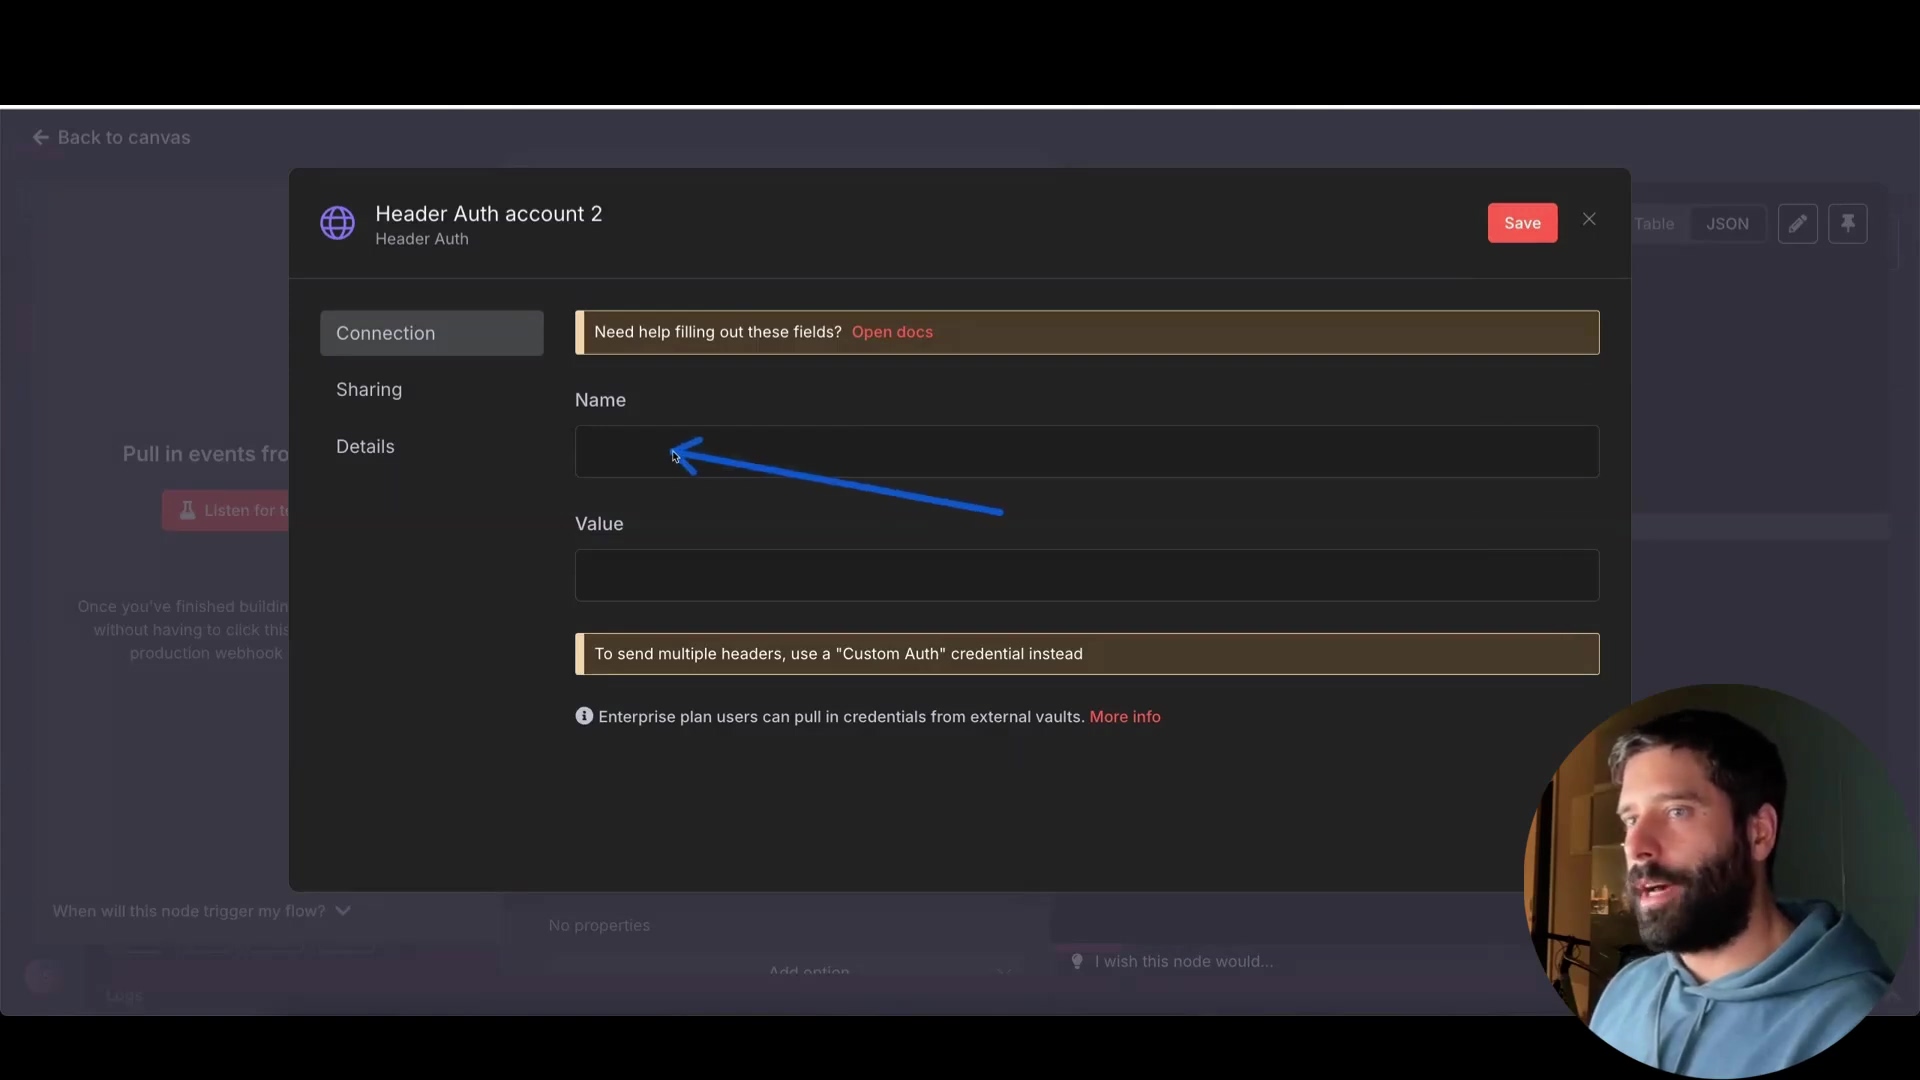
Best Practice: Implement header authentication. Add a custom header with a secret API key to your webhook trigger. Only requests containing the correct header and value will be processed. This is like adding a security guard who checks everyone’s ID before letting them in.
So, how do we do this? In your n8n workflow, when setting up your webhook trigger, you’ll want to add a custom header. Let’s call it X-API-KEY. You’ll generate a strong, random value for this key (think of it as your secret password). Then, any request that hits your webhook needs to include this header with the correct value. If it doesn’t match, n8n will reject the request. This prevents unauthorized access and keeps your workflow safe.
Securely Handling API Credentials
Never hardcode API keys directly into your HTTP Request nodes. This is a major security risk. It’s like writing your bank PIN on a sticky note and attaching it to your ATM card – a big no-no! n8n provides secure ways to manage credentials:
-
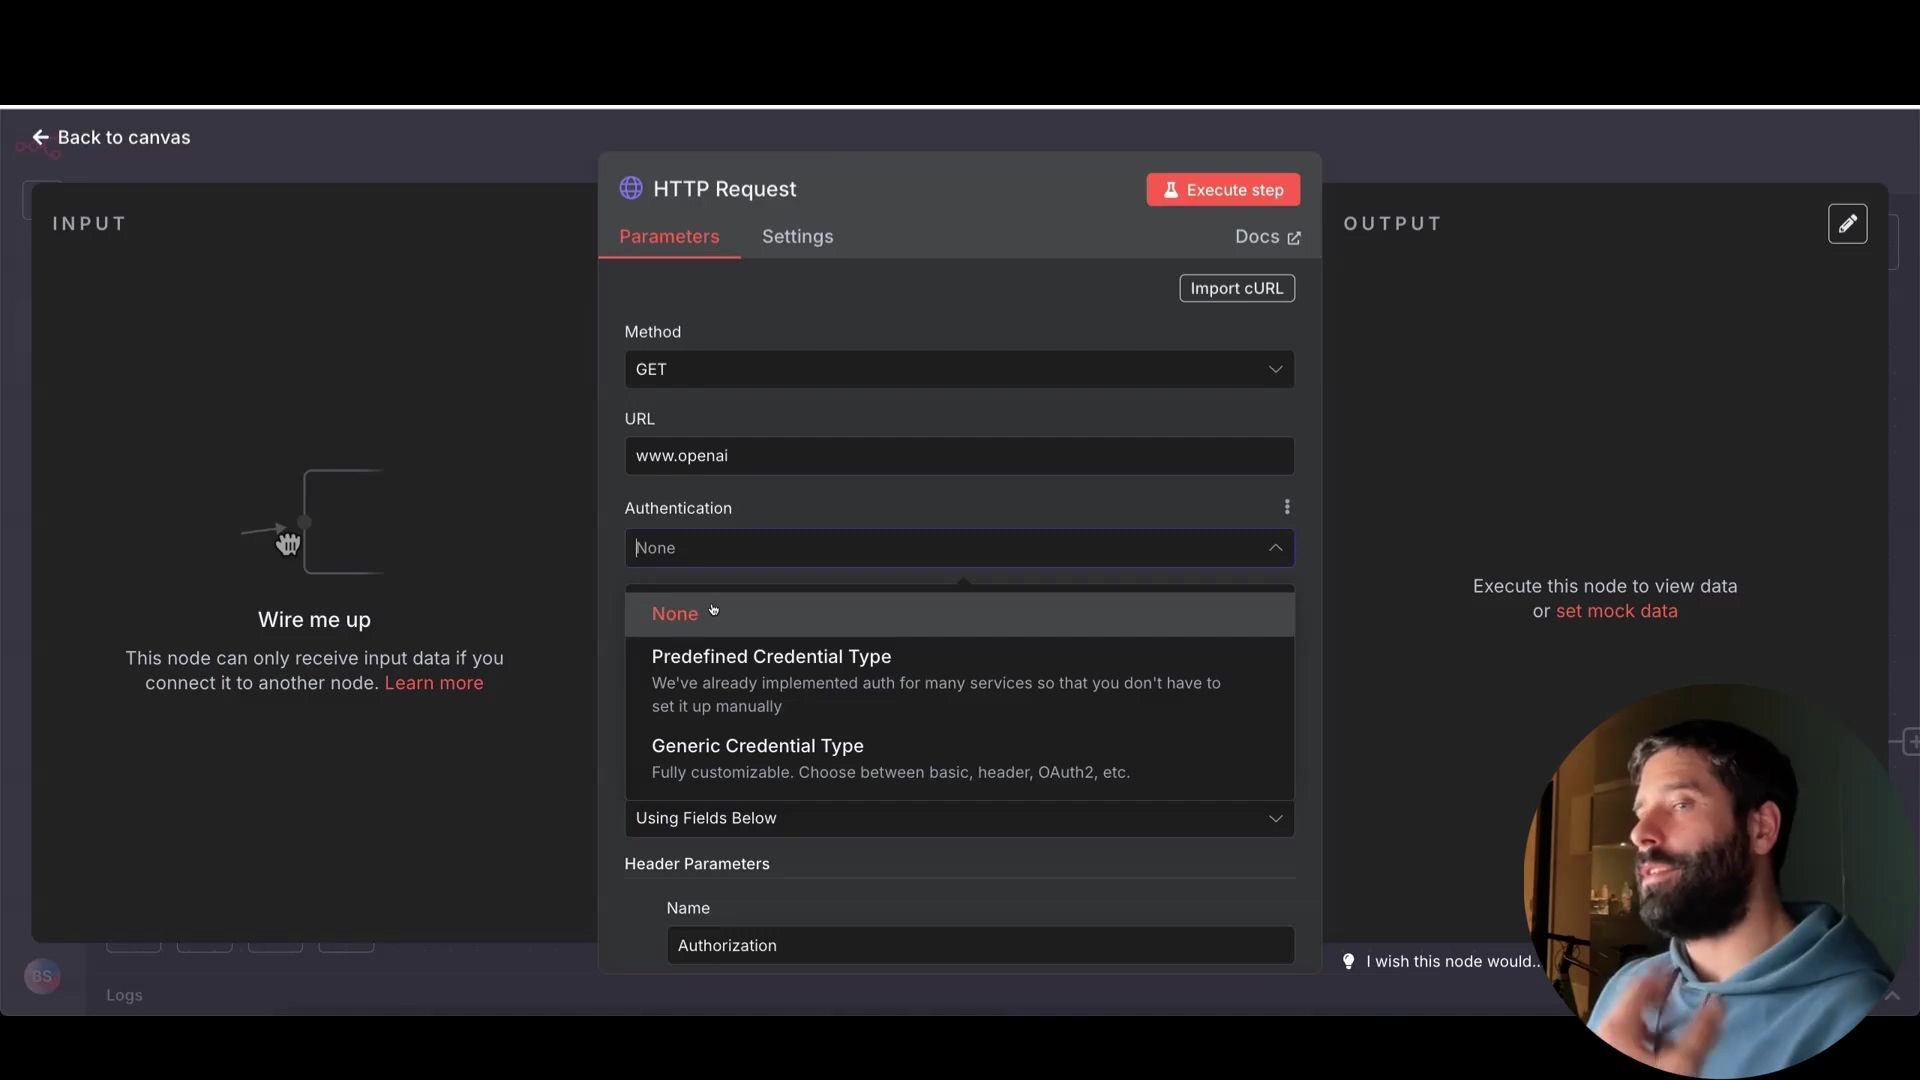
Predefined Credential Types: Use predefined credential types for popular services like OpenAI. n8n handles the secure injection of your API key. This is super handy because n8n knows exactly how to talk to these services and keeps your credentials safe behind the scenes.
-
Variable Mapping: For custom APIs, use a ‘Set’ node to map your API key to a variable and then reference that variable in your HTTP Request node. Think of it as storing your API key in a secure vault (the variable) and only accessing it when you need it. This way, your key isn’t exposed directly in your request.
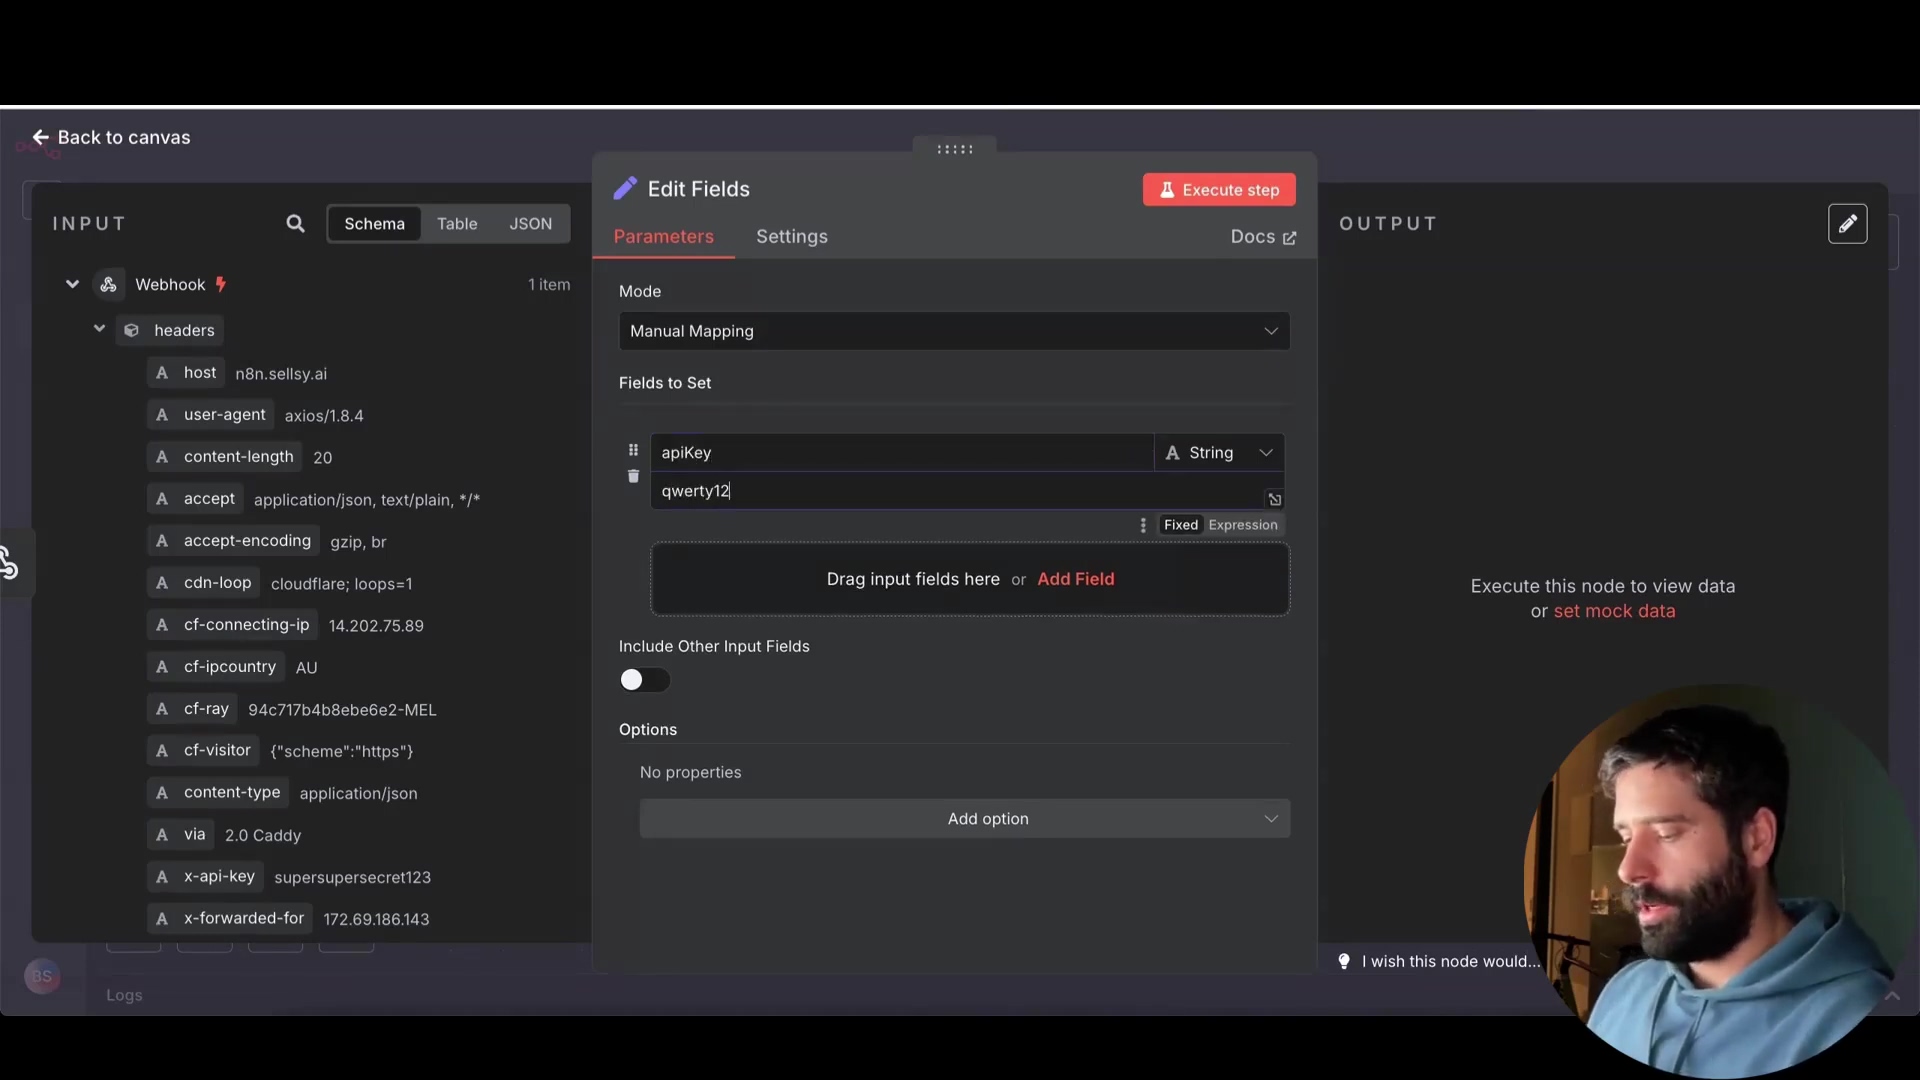
Here’s how you’d do it:
- Add a ‘Set’ node to your workflow.
- In the ‘Set’ node, create a new variable (e.g.,
apiKey). - Set the value of this variable to your API key (use the expression editor for extra security!).
- In your HTTP Request node, instead of hardcoding the API key, reference the variable using an expression like
{{$node["Set"].json["apiKey"]}}. This tells n8n to grab the value from the ‘Set’ node.
Expected Feedback: When you run your workflow, the HTTP Request node will use the API key stored in the ‘Set’ node without ever exposing the actual key in the node’s configuration.
2. Implementing Retry Mechanisms
External API calls are susceptible to temporary failures. APIs can be down, networks can hiccup, and sometimes servers are just overloaded. Implement retry mechanisms to handle these transient issues. It’s like giving your robot a second (or third) chance to make that coffee if it spills the first time.
Configuring Retries
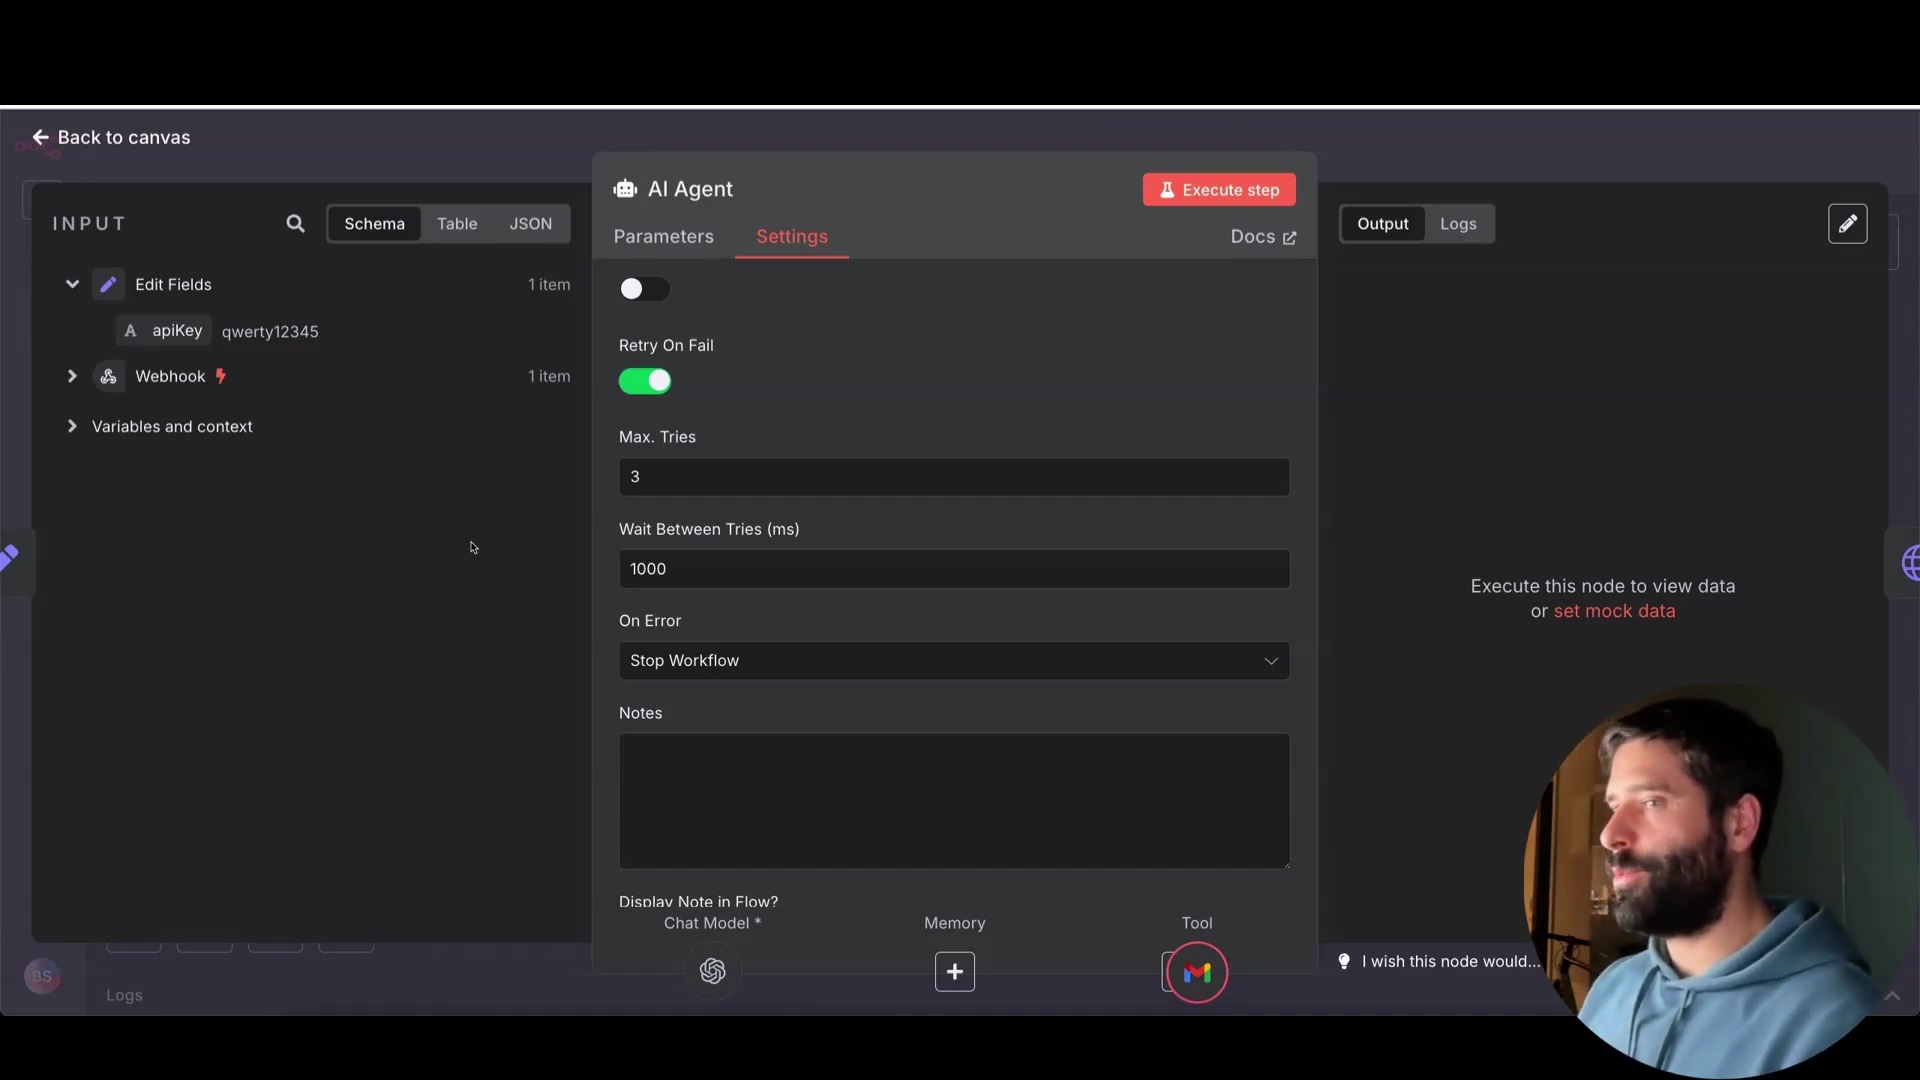
Most n8n nodes offer a “Retry On Fail” setting. Enable this setting and configure the following:
-
Max. Tries: Set the maximum number of retry attempts (typically 3-5). This is how many times your robot will try again before giving up.
-
Wait Between Tries: Add a delay between retries (e.g., 5 seconds) to avoid overwhelming the external service. Give the API some breathing room! We don’t want to bombard it if it’s already having trouble.
Expected Feedback: If an API call fails, you’ll see n8n pause and then automatically retry the request. You’ll see this in the execution log.
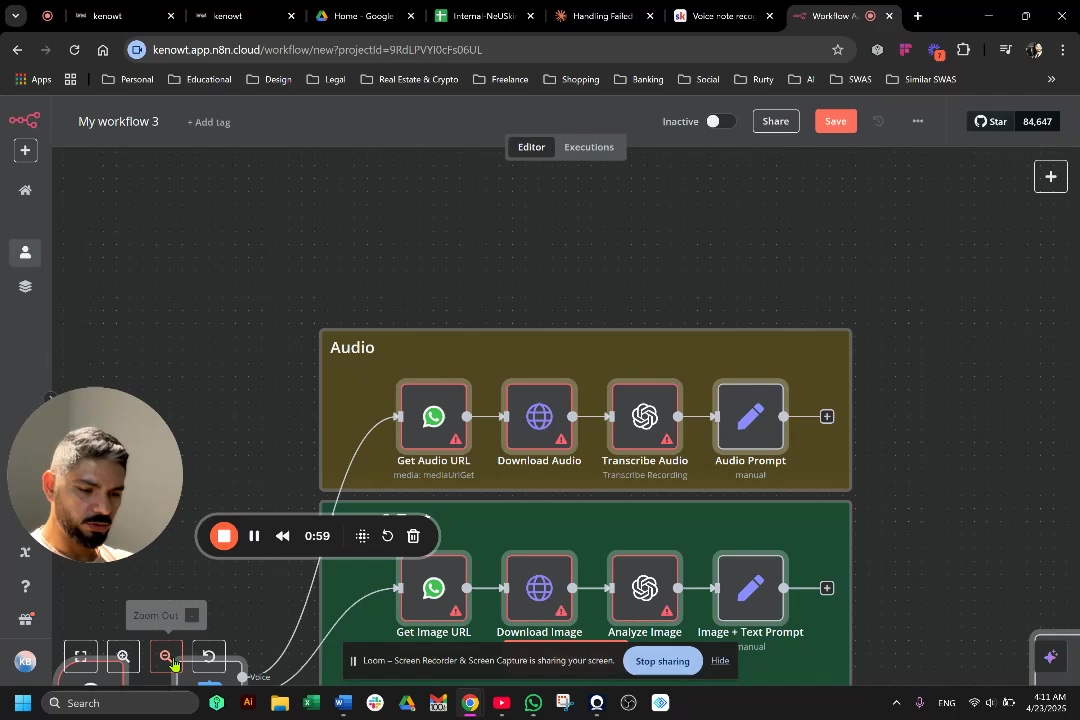
Fallback Mechanisms
For critical failures, use the “Continue using error output” option to route the workflow to an alternative path. This allows you to try a different service or log the error for manual intervention. It’s like having a backup plan in case your primary coffee machine breaks down – maybe you switch to tea, or at least log the problem so you can fix it later.
To use this, enable “Continue using error output” in the node that might fail. Then, create a separate branch in your workflow that starts from the error output of that node. In this branch, you can add nodes to handle the error, such as sending a notification, logging the error to a database, or trying a different API.
3. Centralized Error Logging and Monitoring
Effective error handling requires centralized logging and monitoring. This allows you to quickly identify and diagnose issues. Think of it as having a central dashboard that shows you all the problems in your coffee-making operation – are the beans running low? Is the water filter clogged? Are there too many failed attempts?
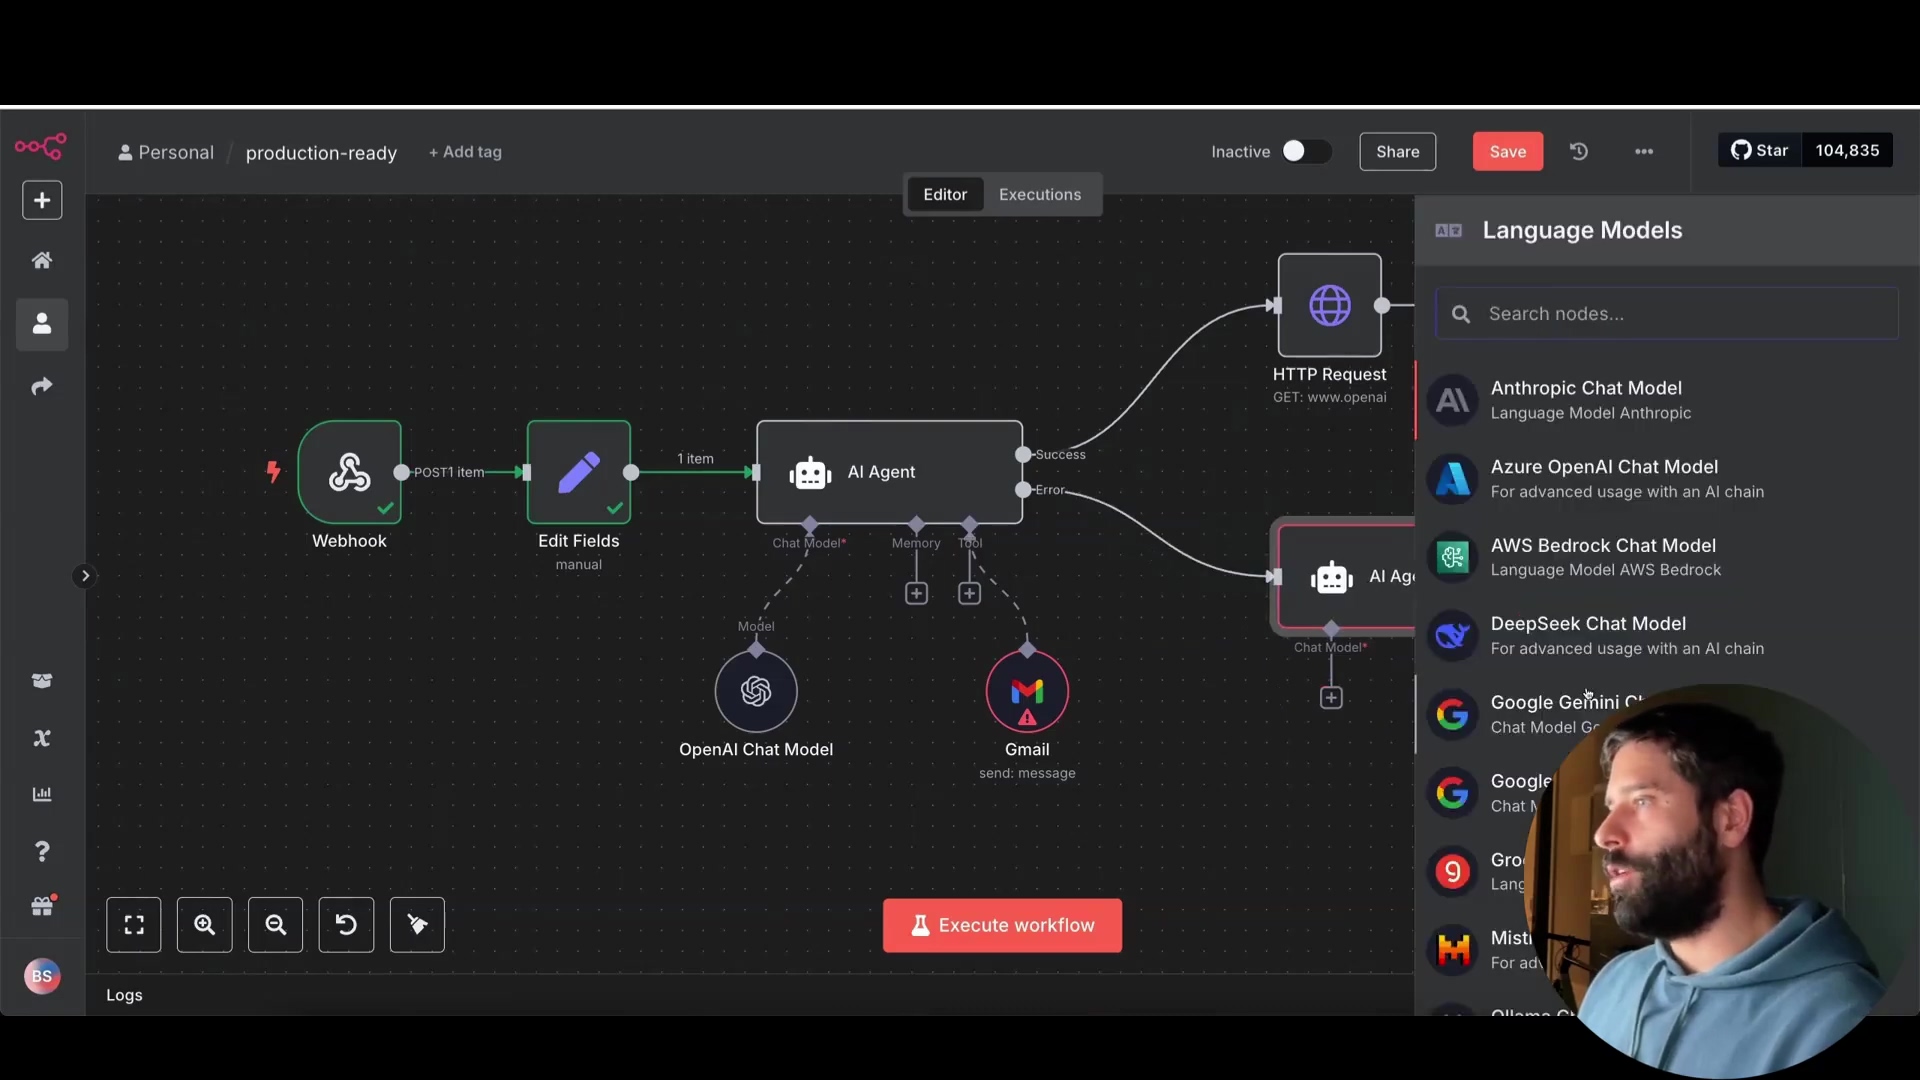
n8n’s Error Handling Nodes
n8n provides dedicated nodes for error management:
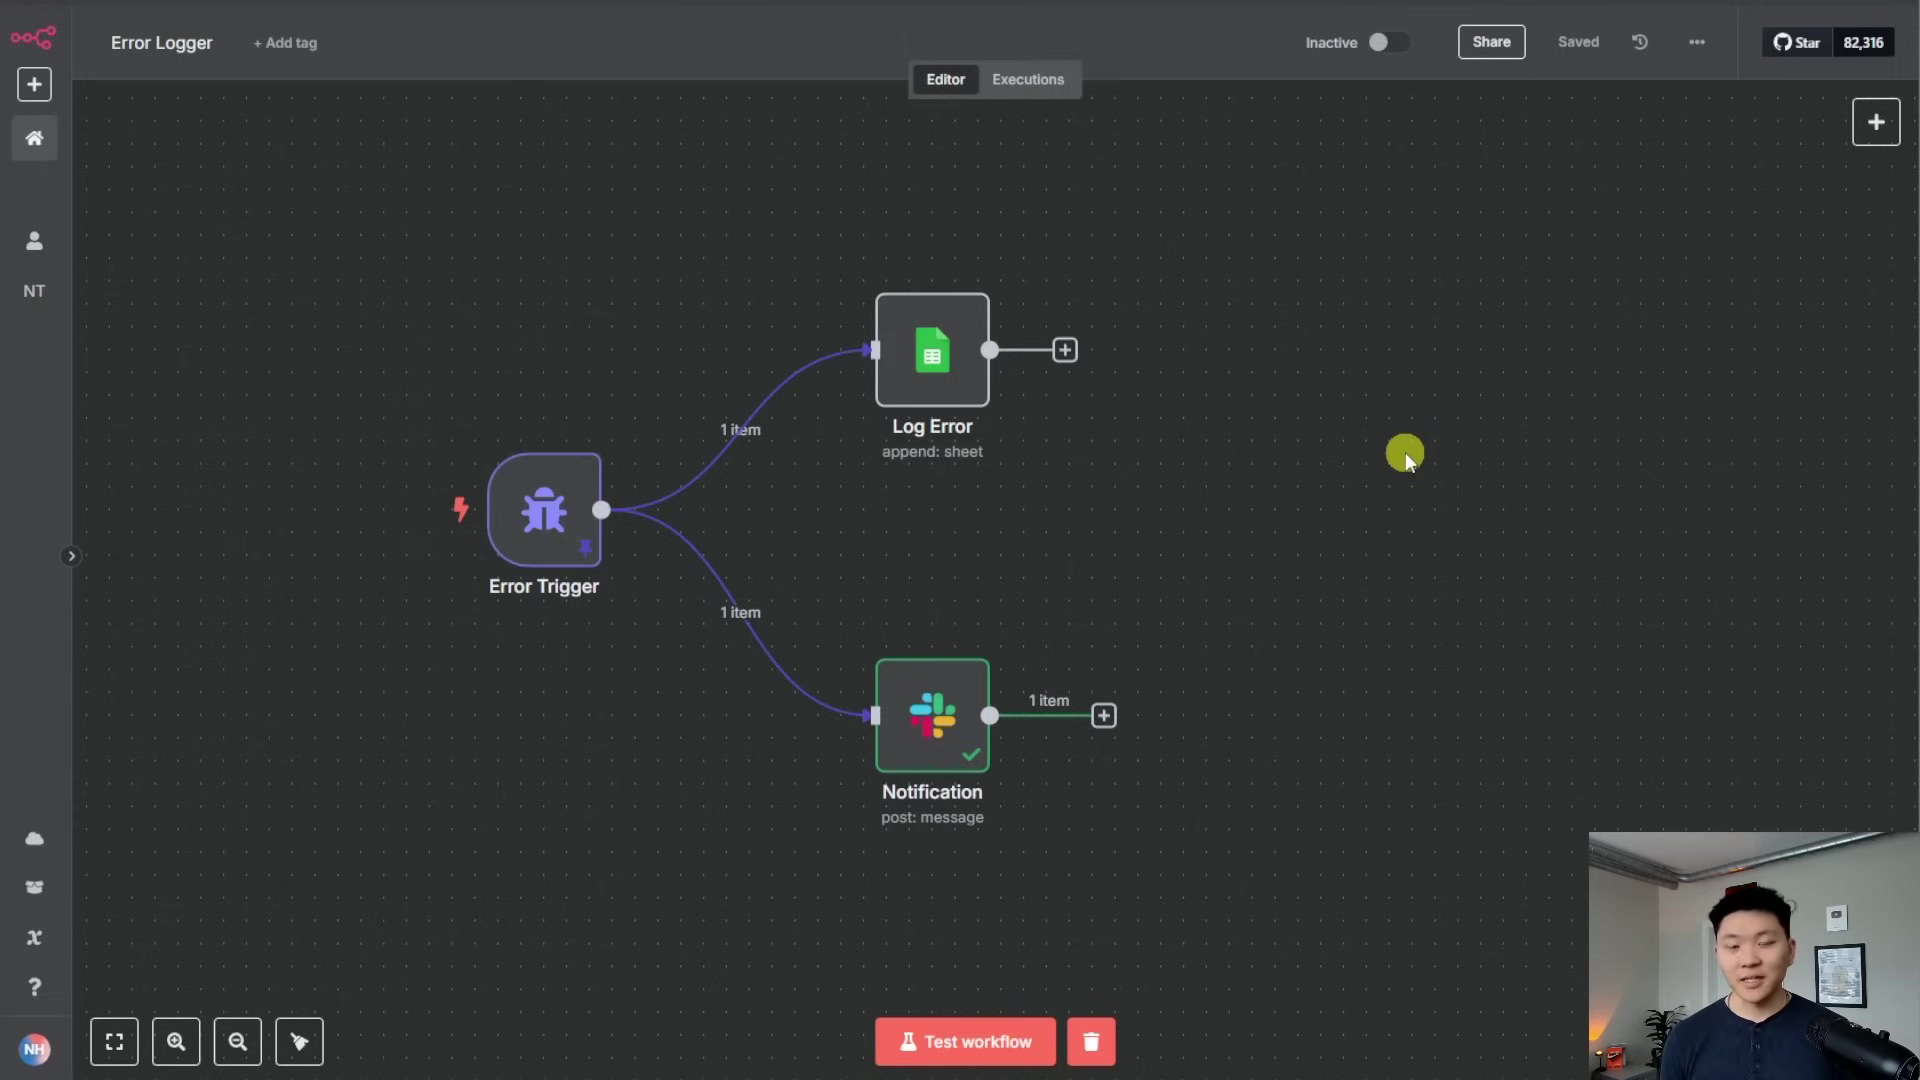
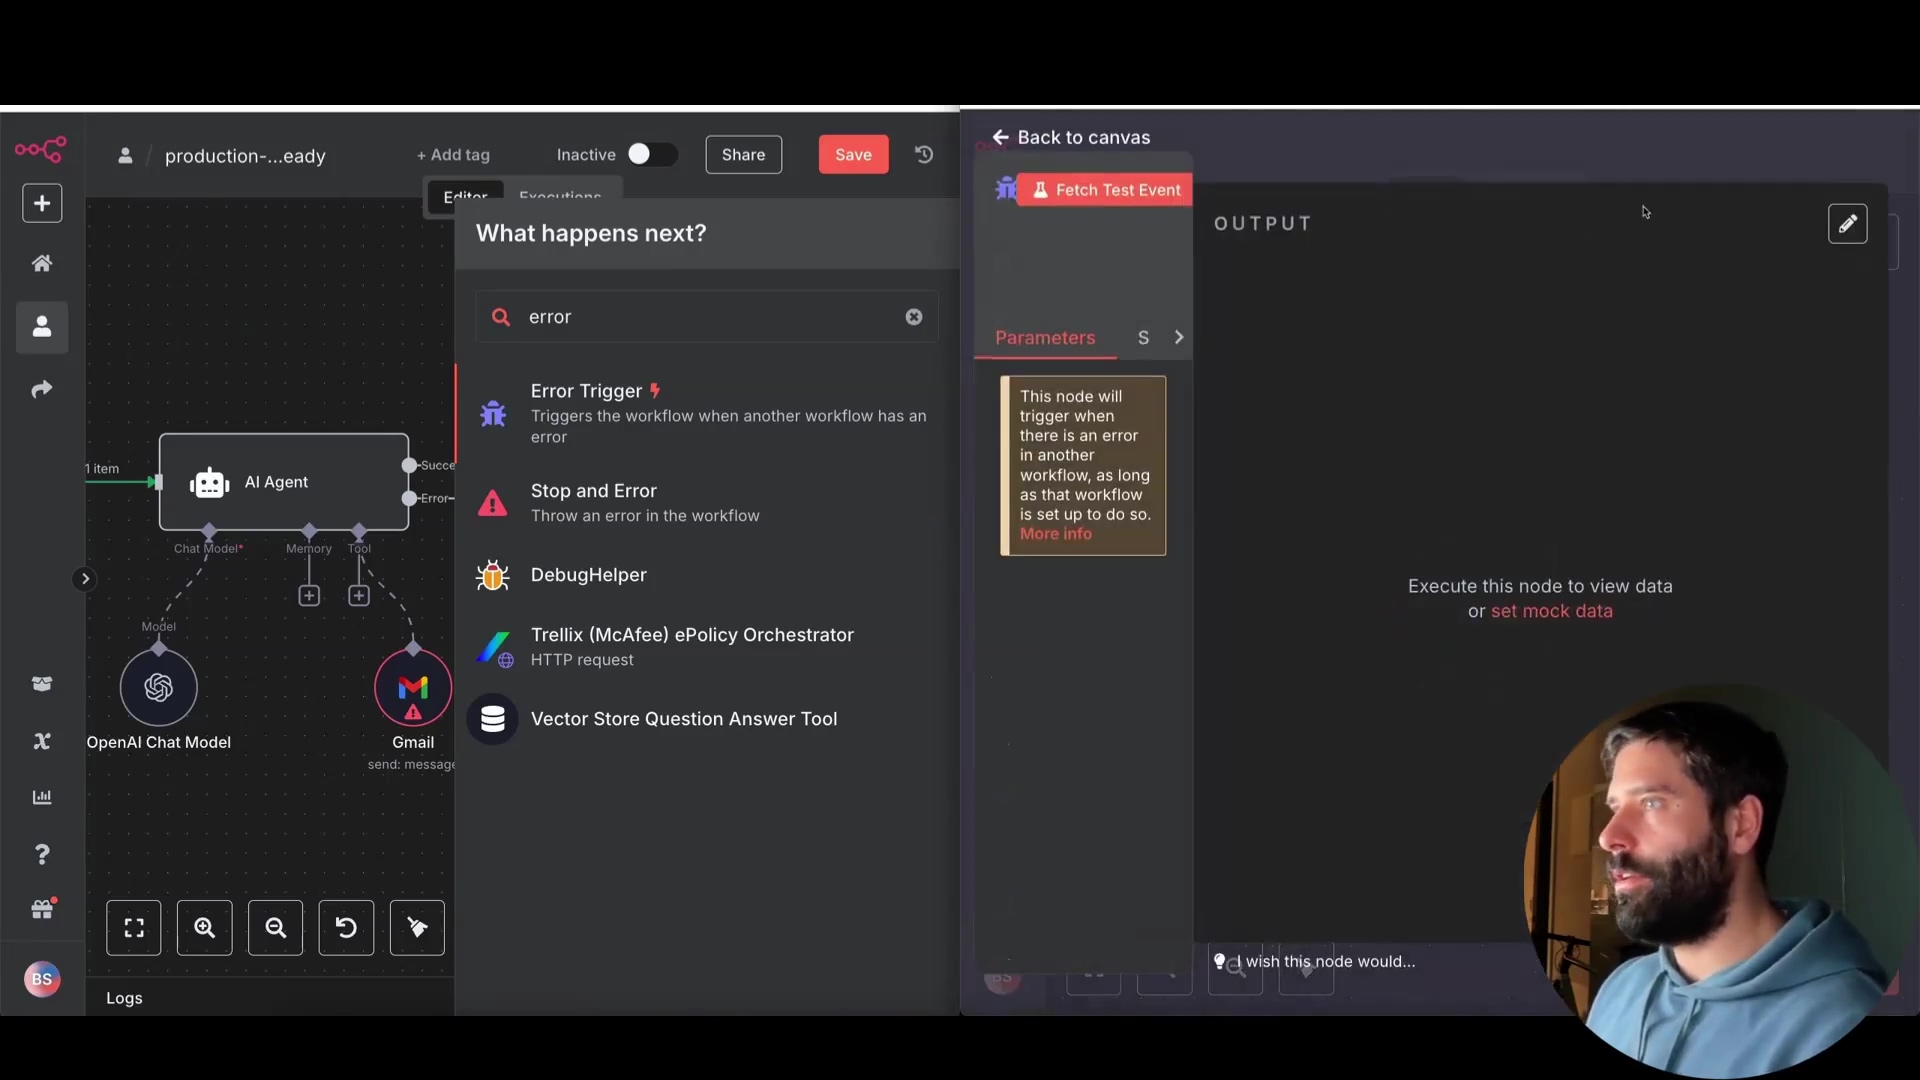
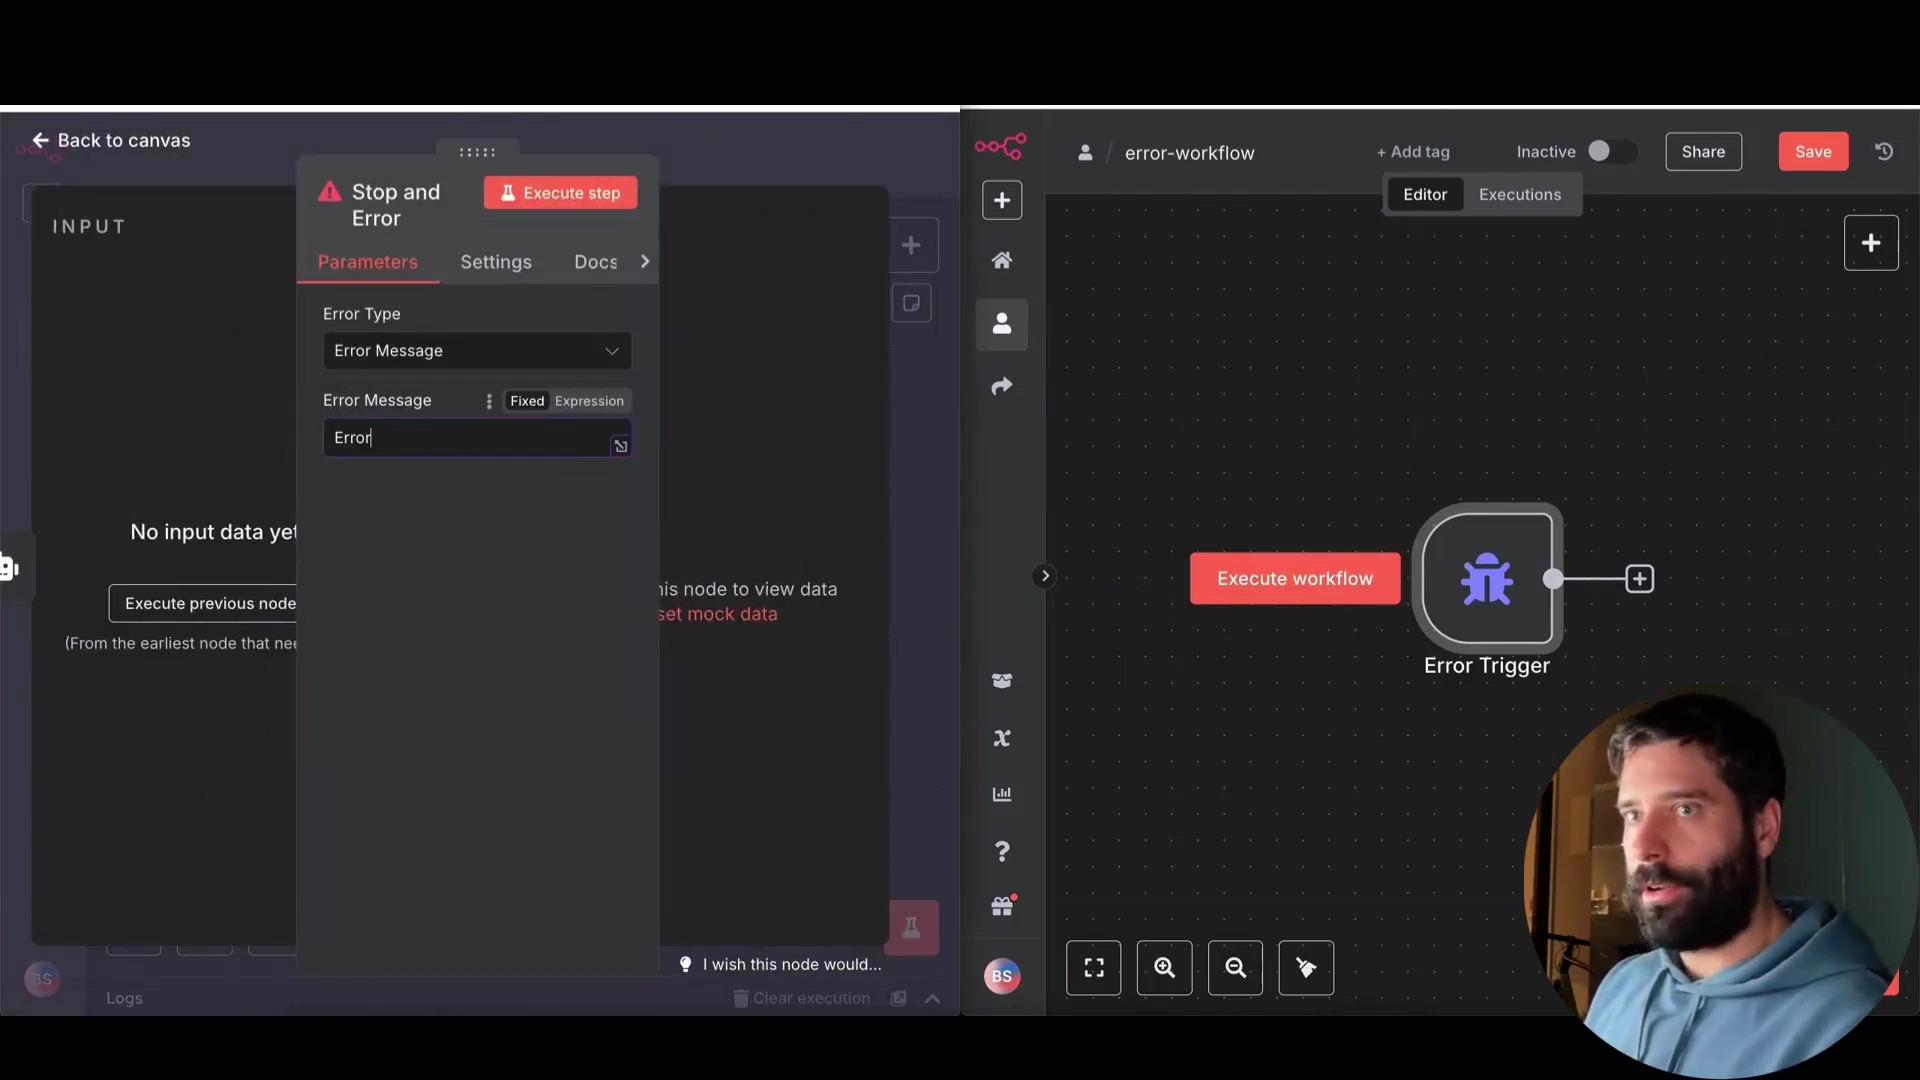
- Error Trigger: Starts a separate “error workflow” when an error occurs. This is like setting off an alarm when something goes wrong.
- Stop and Error: Stops the main workflow and sends a custom error message to the error workflow. This is like hitting the emergency stop button and sending a detailed report to the maintenance team.
Link your main workflow to an error workflow via the workflow settings. This tells n8n where to send errors when they happen. Go to your workflow settings (the gear icon) and look for the “Error Workflow” option. Select the workflow you want to use for handling errors.
Centralized Logging with Google Sheets
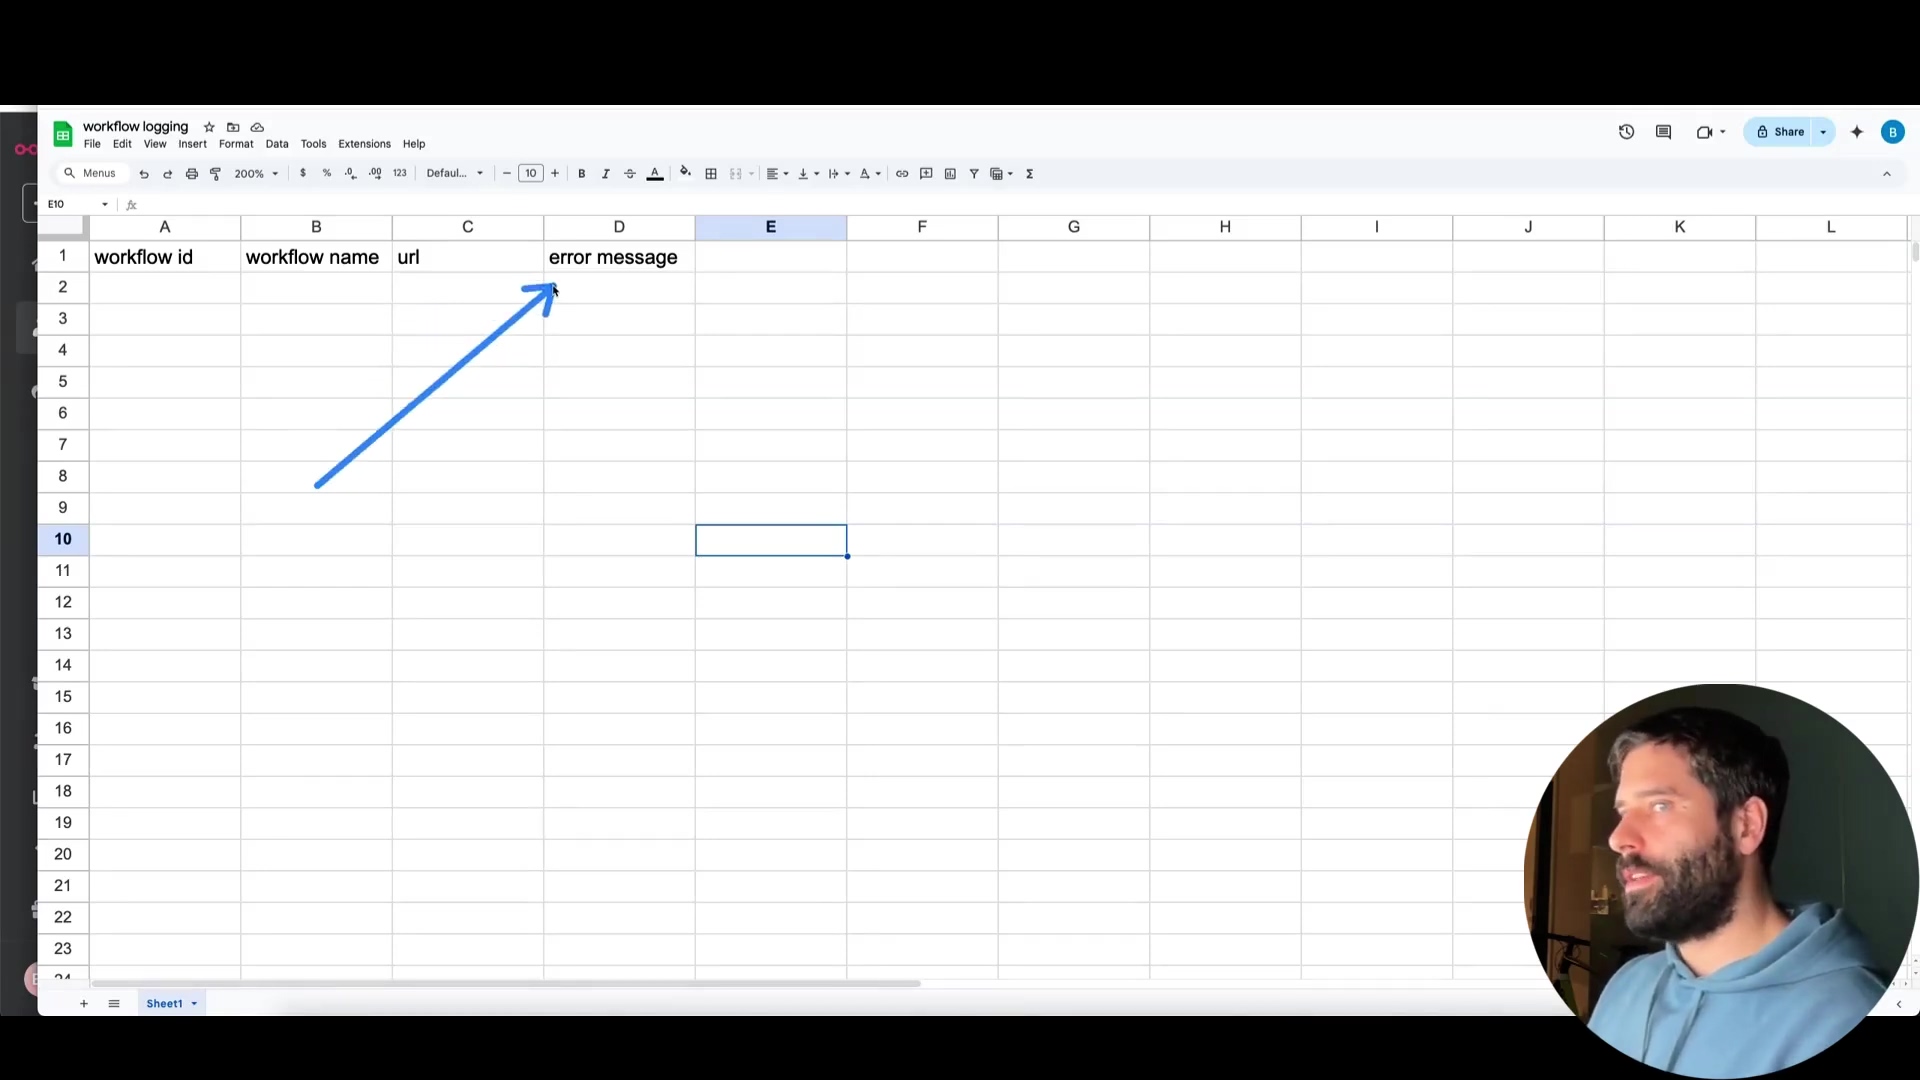
Log all workflow failures to a centralized location like Google Sheets. Include the following information:
- Workflow ID
- Workflow Name
- Execution URL
- Error Message
This gives you a clear overview of all errors happening in your n8n workflows. You can then analyze this data to identify patterns and fix the root causes of the errors. It’s like having a detailed logbook of every coffee-making failure, so you can figure out what’s going wrong and prevent it from happening again.
To do this, you’ll need to create a Google Sheet with the columns mentioned above. Then, in your error workflow, add a Google Sheets node. Configure the node to connect to your Google Sheet and append a new row with the error information. You can use expressions to extract the workflow ID, name, execution URL, and error message from the error object.
4. Version Control for Workflow Stability
Version control is crucial for maintaining stable production workflows. It allows you to track changes and revert to previous versions. Imagine if you accidentally deleted a crucial part of your coffee-making robot’s code – version control lets you rewind time and get it back!
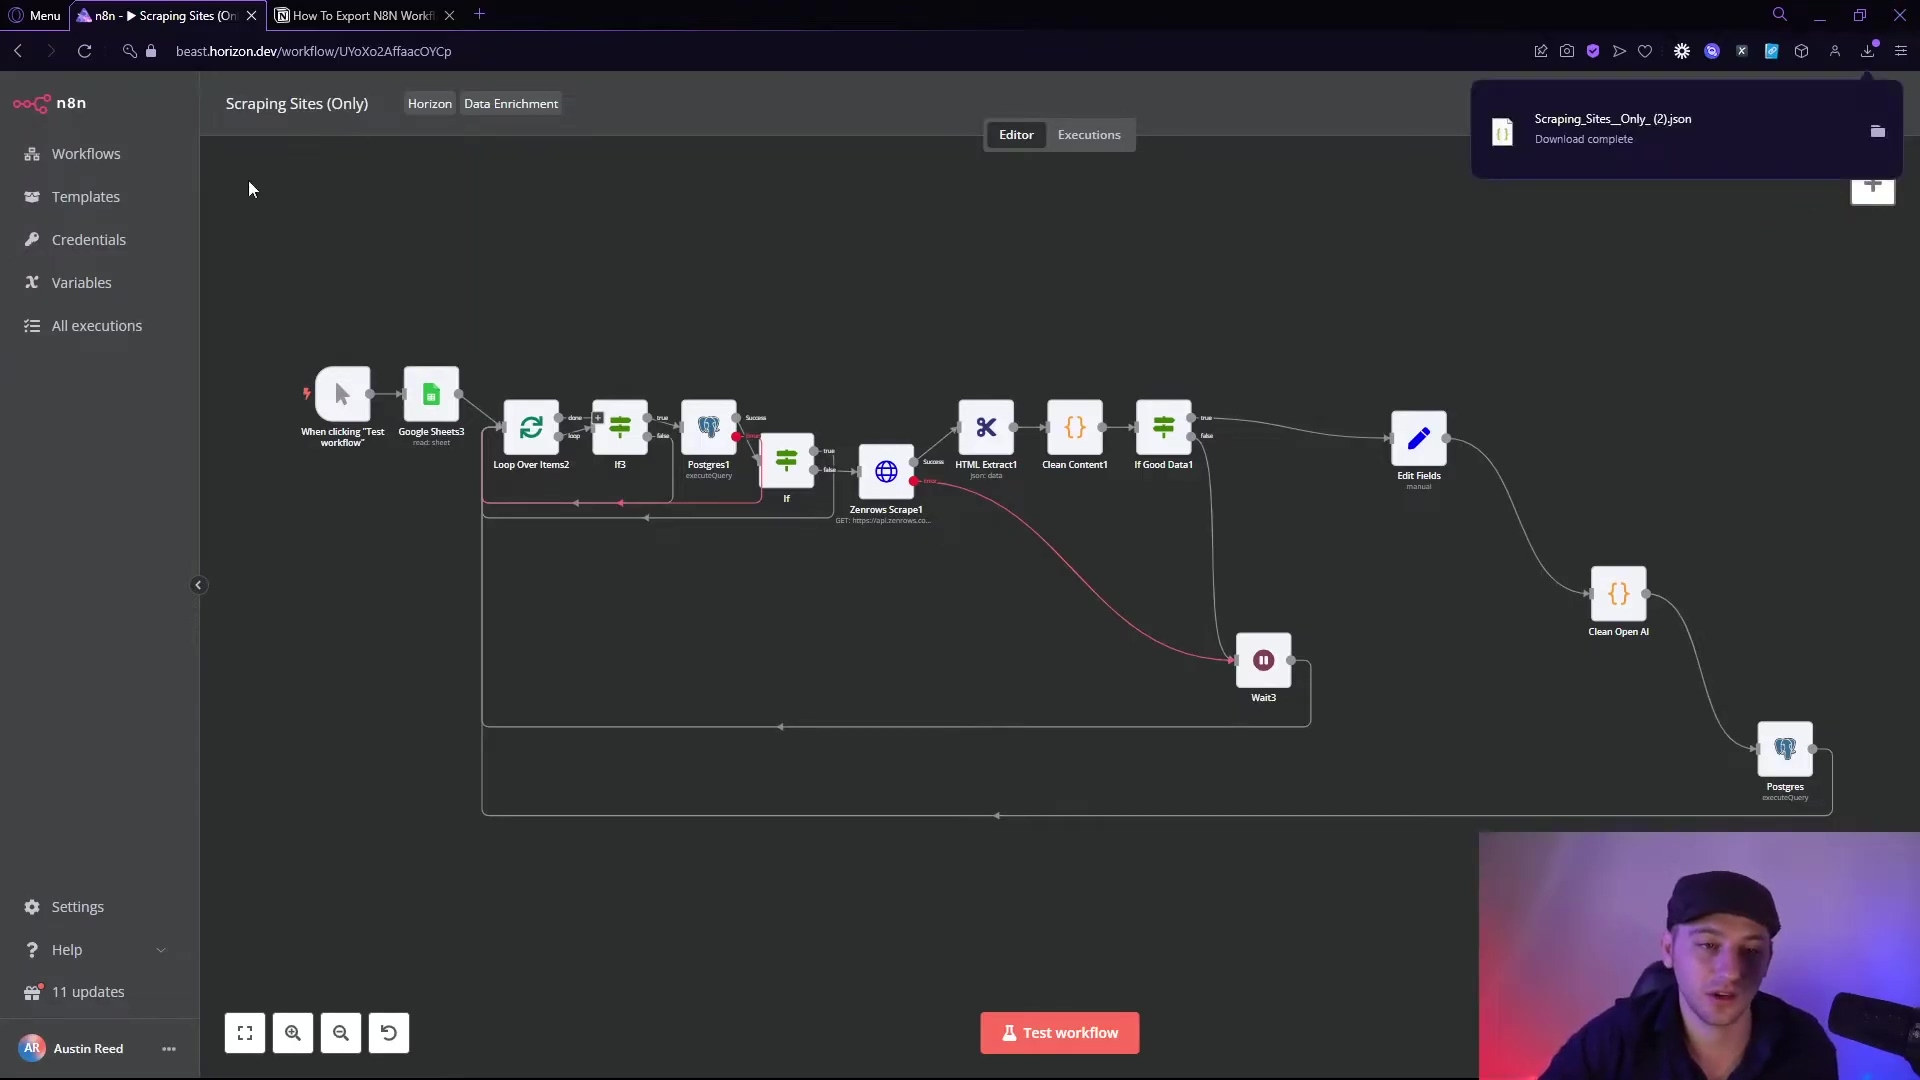
Naming Conventions and External Storage
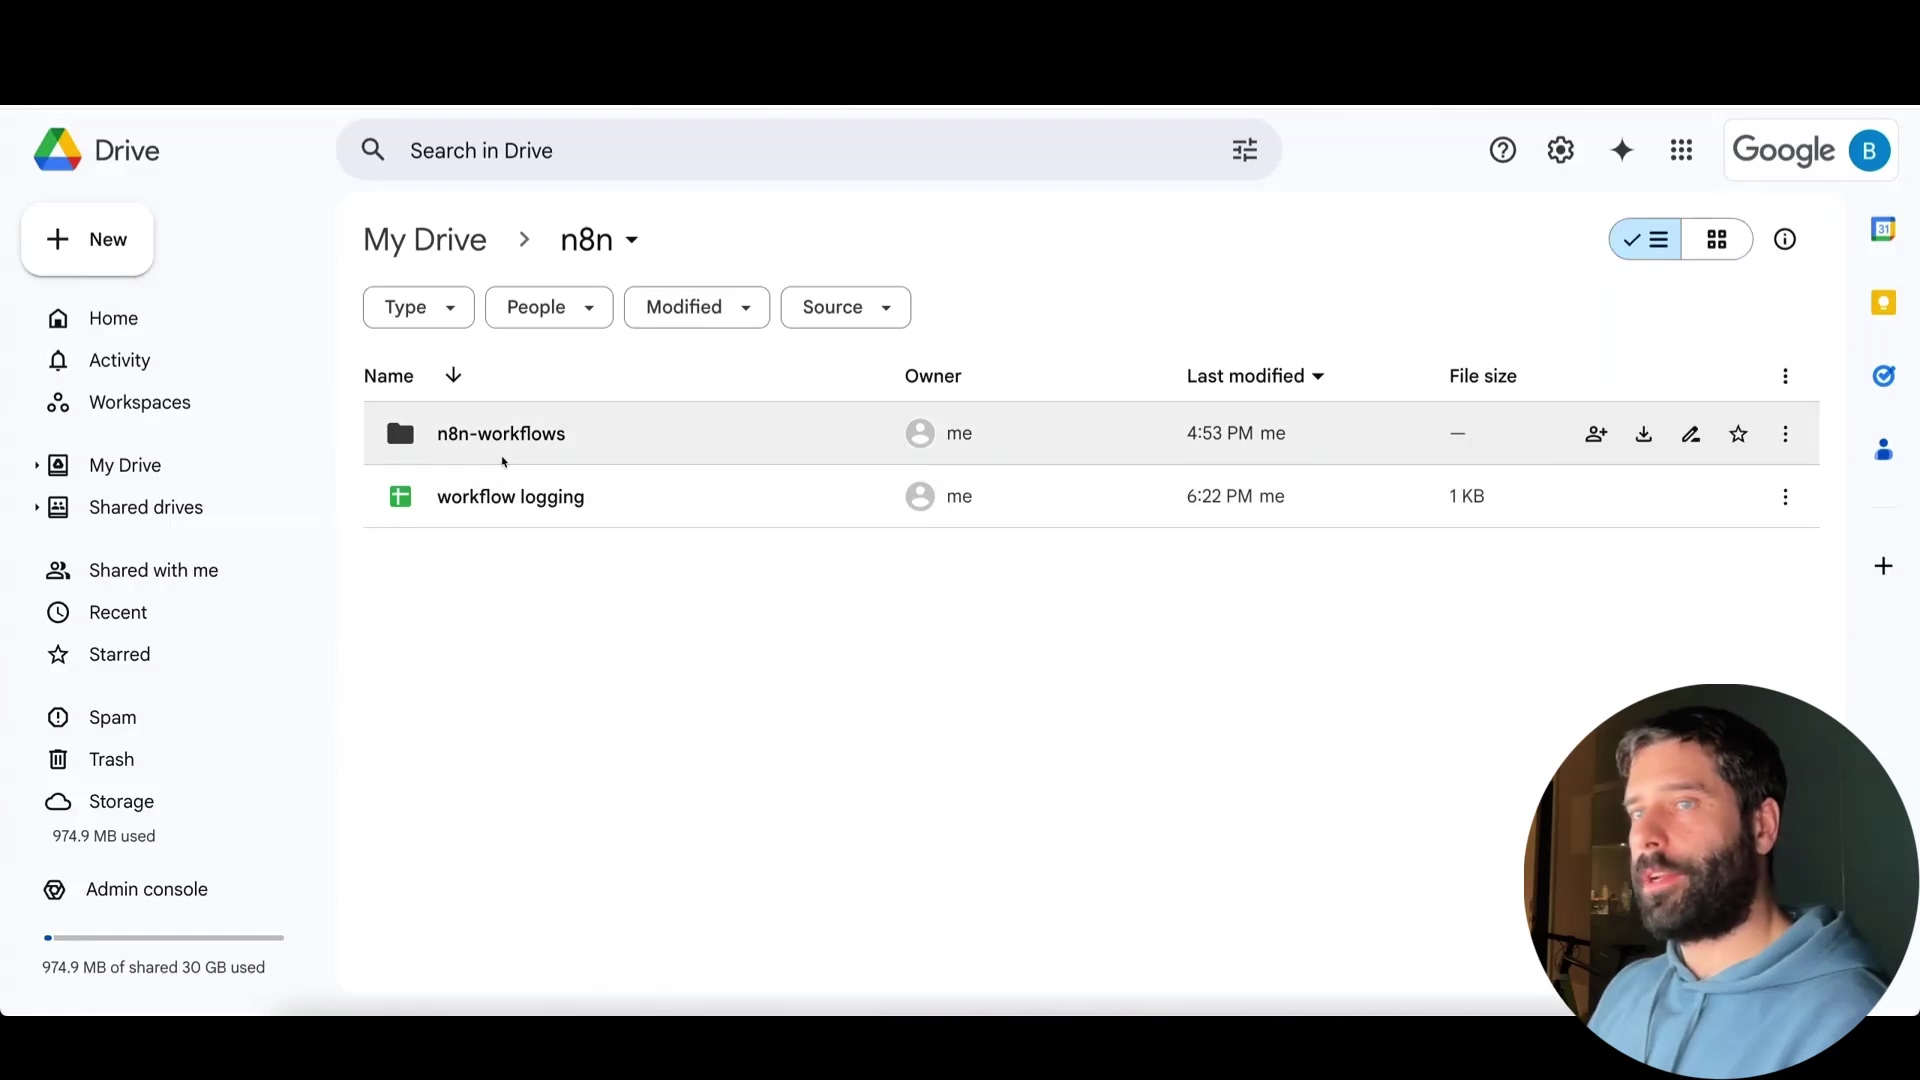
Rename stable workflows with version numbers (e.g., production-workflow-v1). Download the workflow as a JSON file and store it in a version-controlled location like Google Drive or a Git repository.
This way, you always have a backup of your working workflows. If something goes wrong, you can easily revert to a previous version. Using version control systems like Git allows you to track changes, collaborate with others, and easily deploy updates to your production environment.
Conclusion: Mastering n8n Error Handling
By implementing these n8n error handling best practices, you can build robust, reliable, and production-ready workflows. Secure your workflows, implement retry mechanisms, centralize error logging, and use version control to ensure your automations run smoothly and recover gracefully from unexpected issues. This will save you time, reduce frustration, and ensure the success of your automation projects. Think of it as becoming a master coffee-making robot engineer – you’ll be able to handle any challenge that comes your way!
Frequently Asked Questions (FAQ)
Q: What’s the difference between the Error Trigger and the Stop and Error nodes?
A: The Error Trigger starts a separate workflow to handle the error, allowing you to perform actions like logging or sending notifications. The Stop and Error node, on the other hand, stops the current workflow and passes an error message to the linked error workflow.
Q: How do I find the Execution URL for logging?
A: The Execution URL is available in the error object that’s passed to your error workflow. You can access it using an expression like {{$execution.url}} in your Google Sheets node.
Q: What if I don’t want to use Google Sheets for logging?
A: No problem! You can use any other database or logging service that n8n supports, such as PostgreSQL, MongoDB, or Elasticsearch. Just configure the appropriate node in your error workflow.
Q: How often should I retry failed API calls?
A: It depends on the API and the nature of the failure. A good starting point is 3-5 retries with a delay of 5-10 seconds between each attempt. Adjust these values based on your specific needs and the API’s rate limits.
Q: Is header authentication the only way to secure webhooks?
A: While header authentication is a common and effective method, you can also use other techniques like OAuth 2.0 or API key authentication to secure your webhooks. Choose the method that best suits your security requirements and the capabilities of the service sending the webhook.
Q: What are the benefits of using predefined credential types?
A: Predefined credential types offer several advantages, including secure storage of your API keys, simplified configuration of nodes, and automatic handling of authentication protocols. They also make it easier to manage and update your credentials in a central location.