Watch the Video Tutorial
💡 Pro Tip: After watching the video, continue reading below for detailed step-by-step instructions, code examples, and additional tips that will help you implement this successfully.
Debugging n8n workflows is crucial for ensuring your automation runs smoothly and reliably. This guide provides intermediate-level techniques for identifying, analyzing, and resolving errors within your n8n workflows. We’ll explore essential debugging tools and strategies to help you master how to debug n8n workflows effectively.
Table of Contents
Open Table of Contents
- Understanding the Importance of Debugging n8n Workflows
- Essential Tools and Techniques for Debugging n8n Workflows
- Practical Example: Debugging Webhook Data Validation in n8n
- Best Practices for Debugging n8n Workflows
- Key Takeaways for Effective n8n Workflow Debugging
- Conclusion
- Frequently Asked Questions (FAQ)
- Q: What is the best way to handle errors caused by temporary service unavailability?
- Q: How can I prevent my workflow from halting when a node doesn’t find any data?
- Q: Is it possible to debug a workflow that is already running in production?
- Q: How do I use version control effectively when debugging?
- Q: What should I do if I’m getting an “undefined” error in my workflow?
- Q: How can I simulate different webhook payloads for testing purposes?
Understanding the Importance of Debugging n8n Workflows
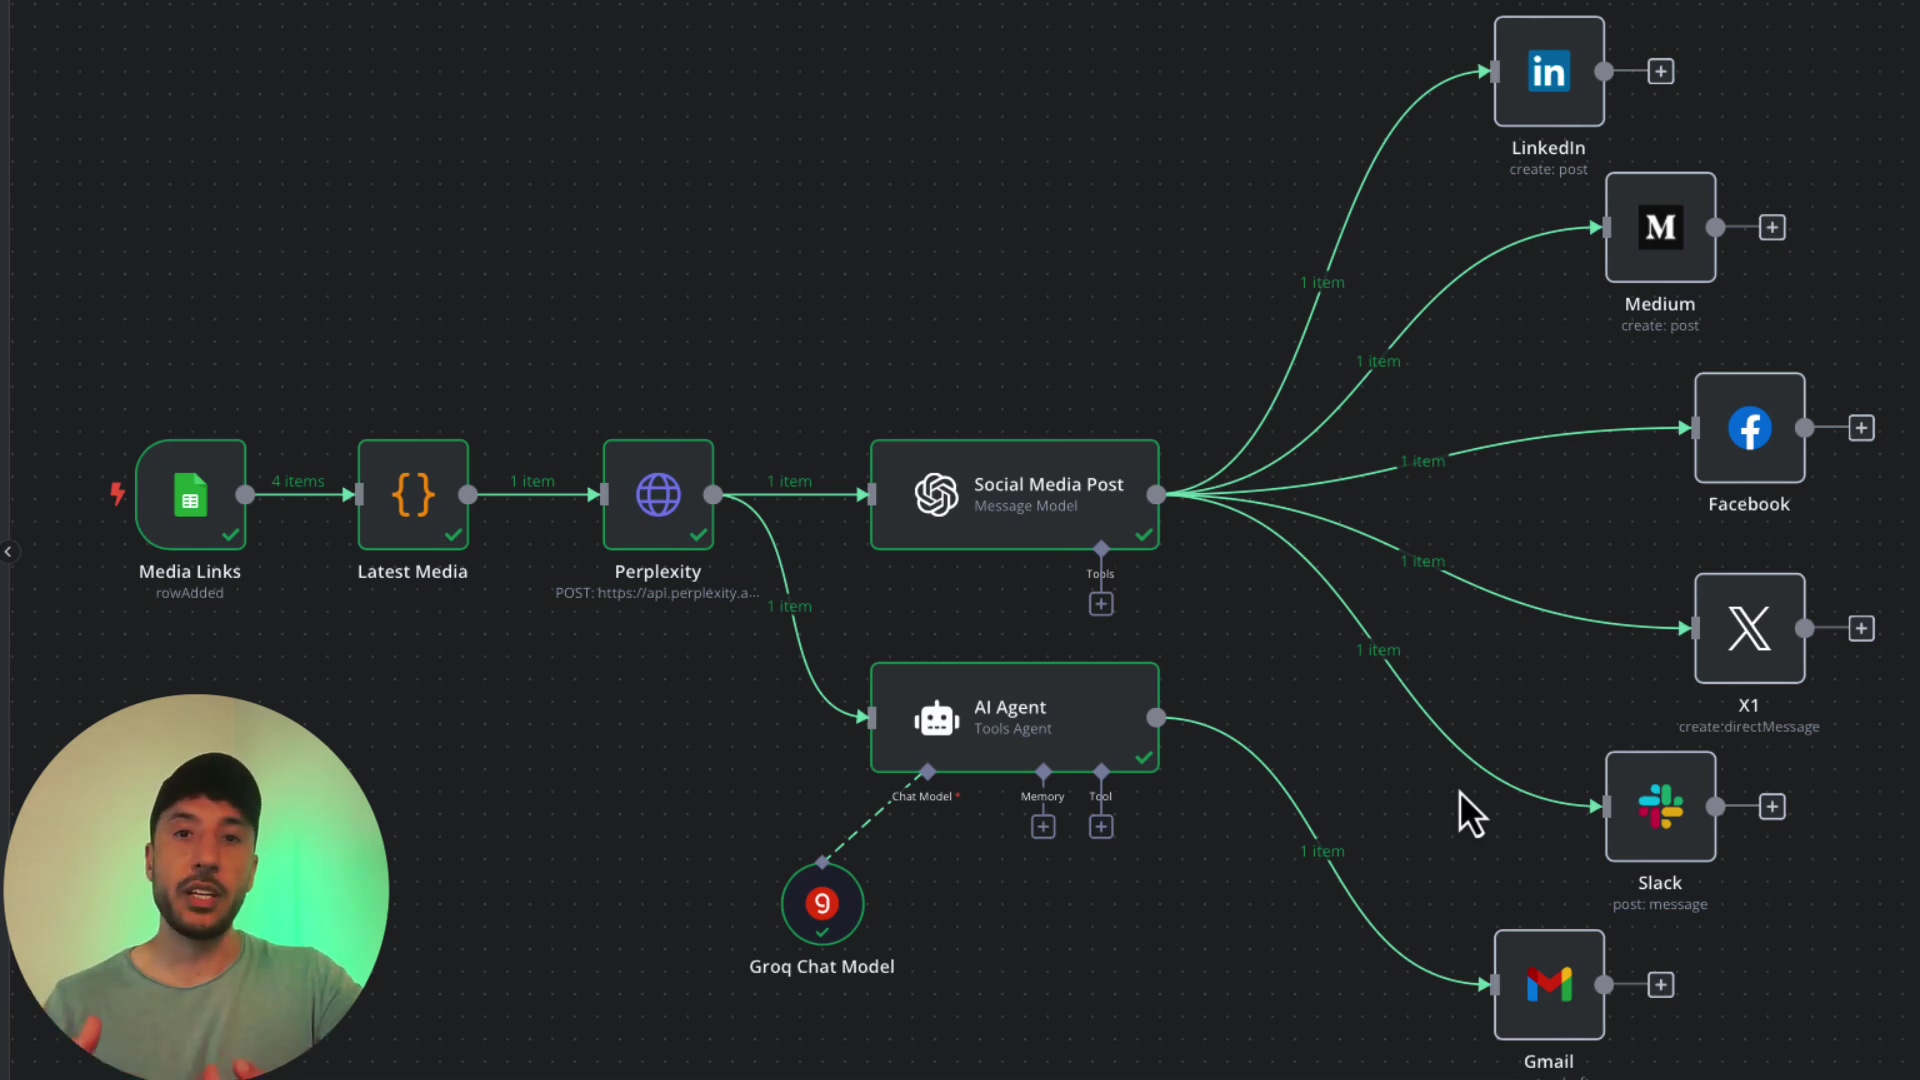
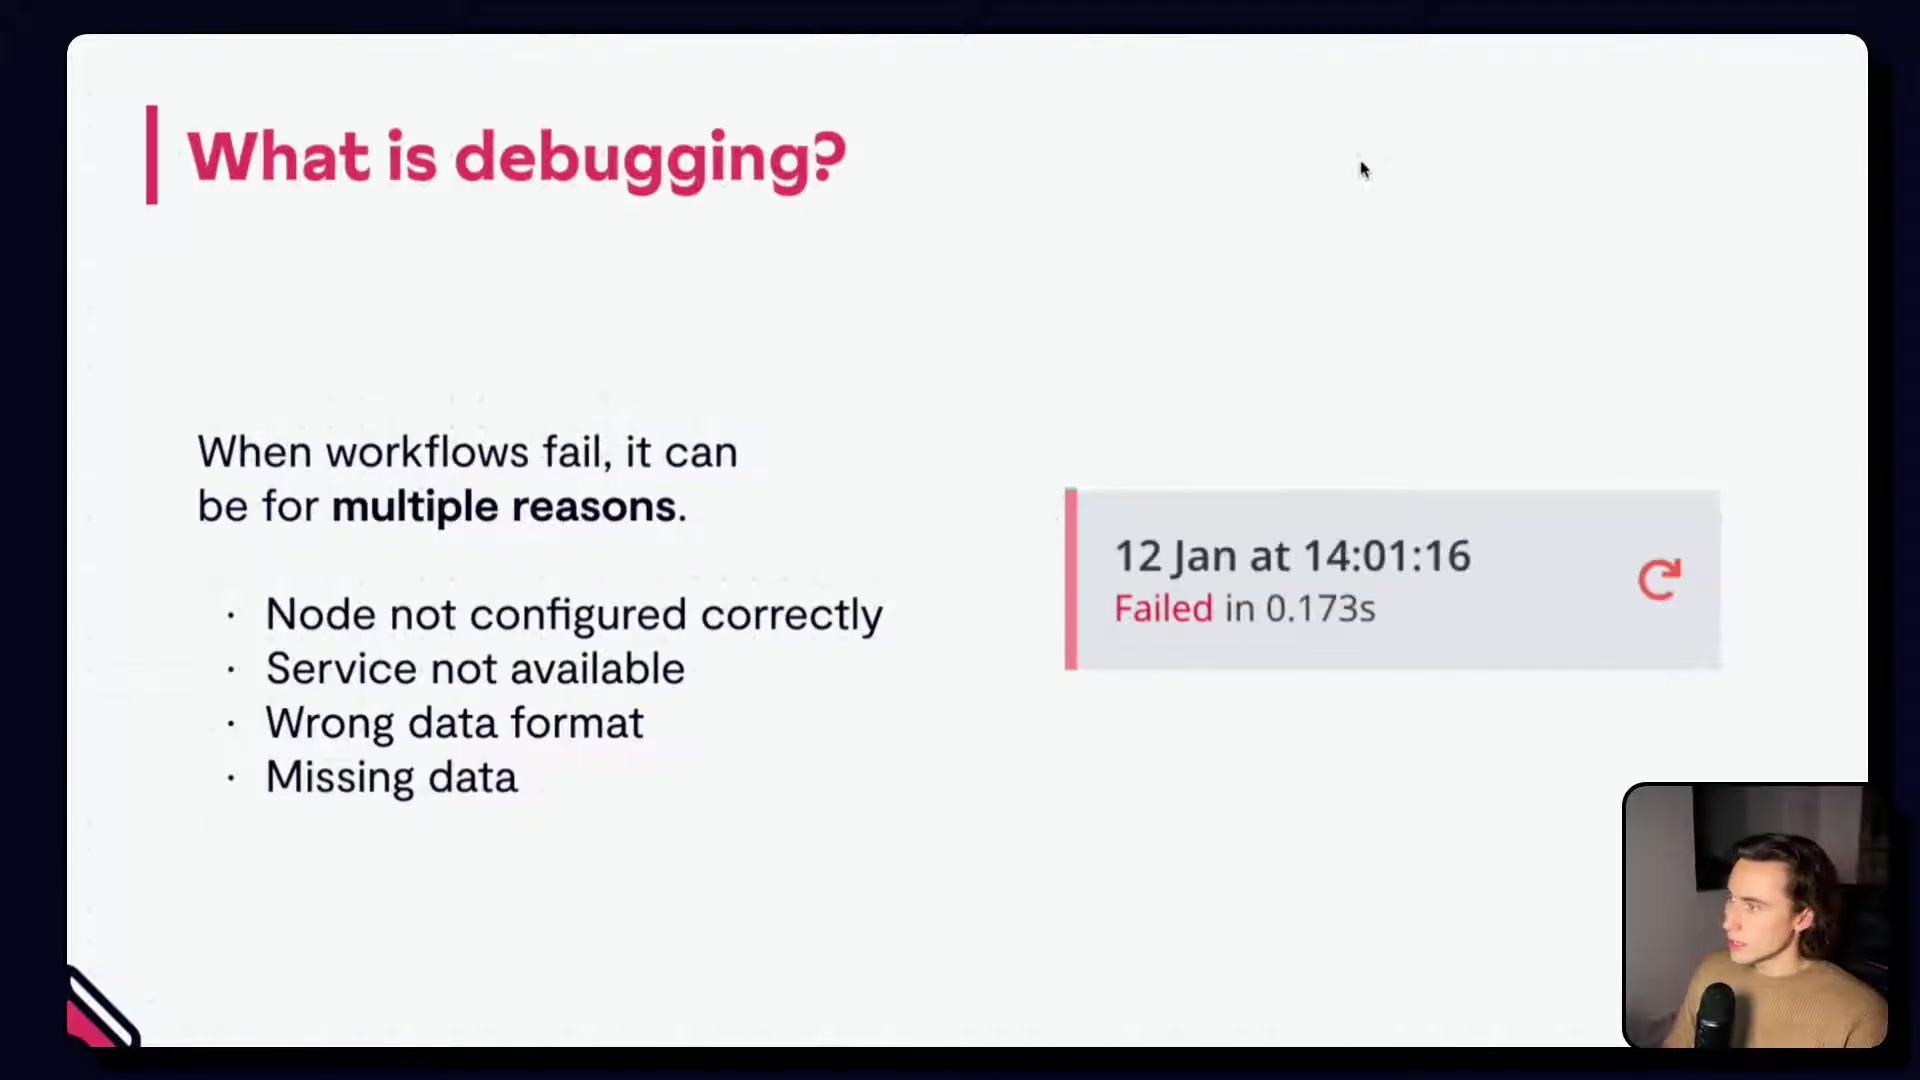
When an n8n workflow encounters an issue, it can halt execution, leading to failed runs and missed automation opportunities. Think of it like a spaceship encountering an asteroid field – if you don’t have the right tools to navigate, you’re going to crash! Common causes of workflow failures include:
- Incorrect Node Configuration: Nodes may be misconfigured with incorrect parameters or settings. It’s like setting the wrong ingredients in a recipe – the final dish won’t taste right.
- Service Unavailability: External services (e.g., APIs, databases) might be temporarily unavailable, resulting in errors. Imagine trying to call a friend, but their phone is off – you can’t reach them!
- Invalid Input Data: Webhooks or other data sources may provide incomplete or incorrectly formatted data. This is like receiving a package with missing parts – you can’t assemble the final product.
Effective debugging helps you identify these issues quickly and implement robust error handling to prevent future failures. It’s like having a diagnostic tool for your spaceship, allowing you to quickly identify and fix any problems before they cause a major disaster.
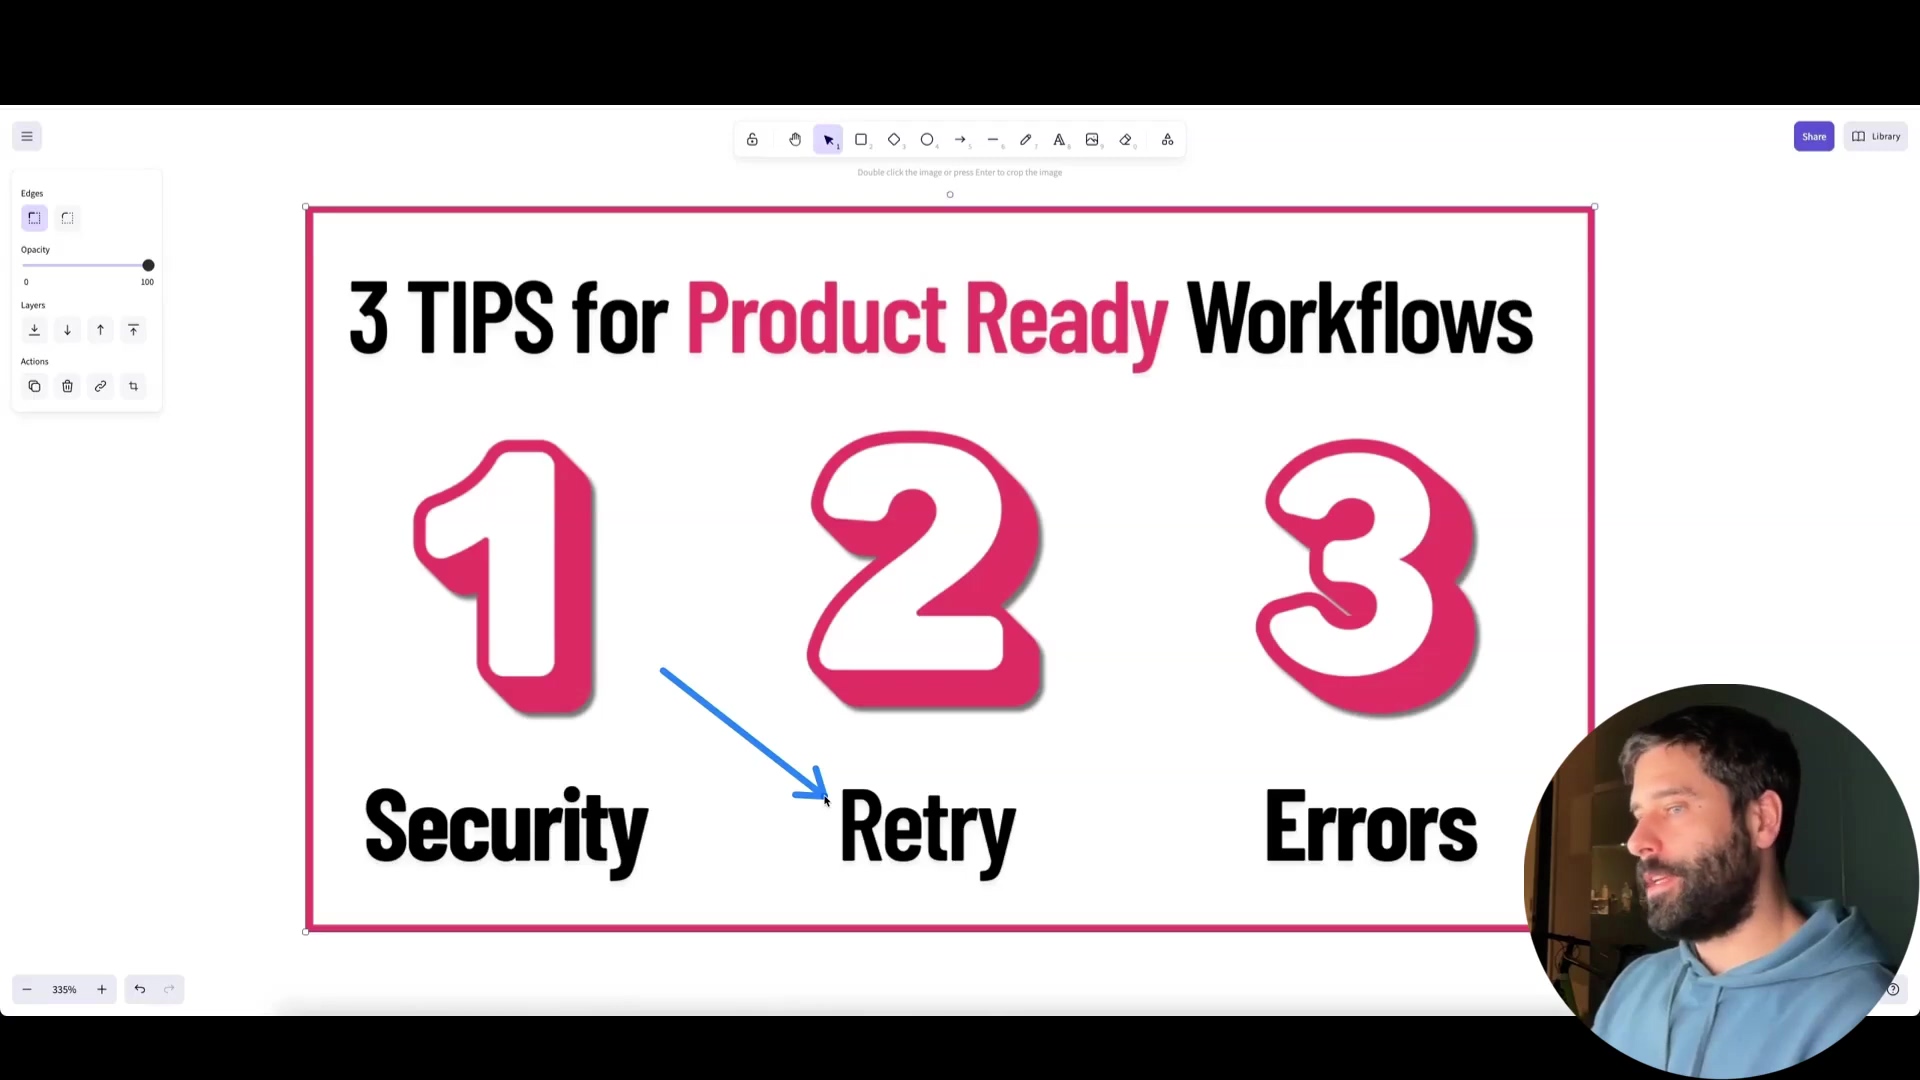
Essential Tools and Techniques for Debugging n8n Workflows
n8n offers a range of powerful tools to streamline the debugging process. Let’s explore some key features:
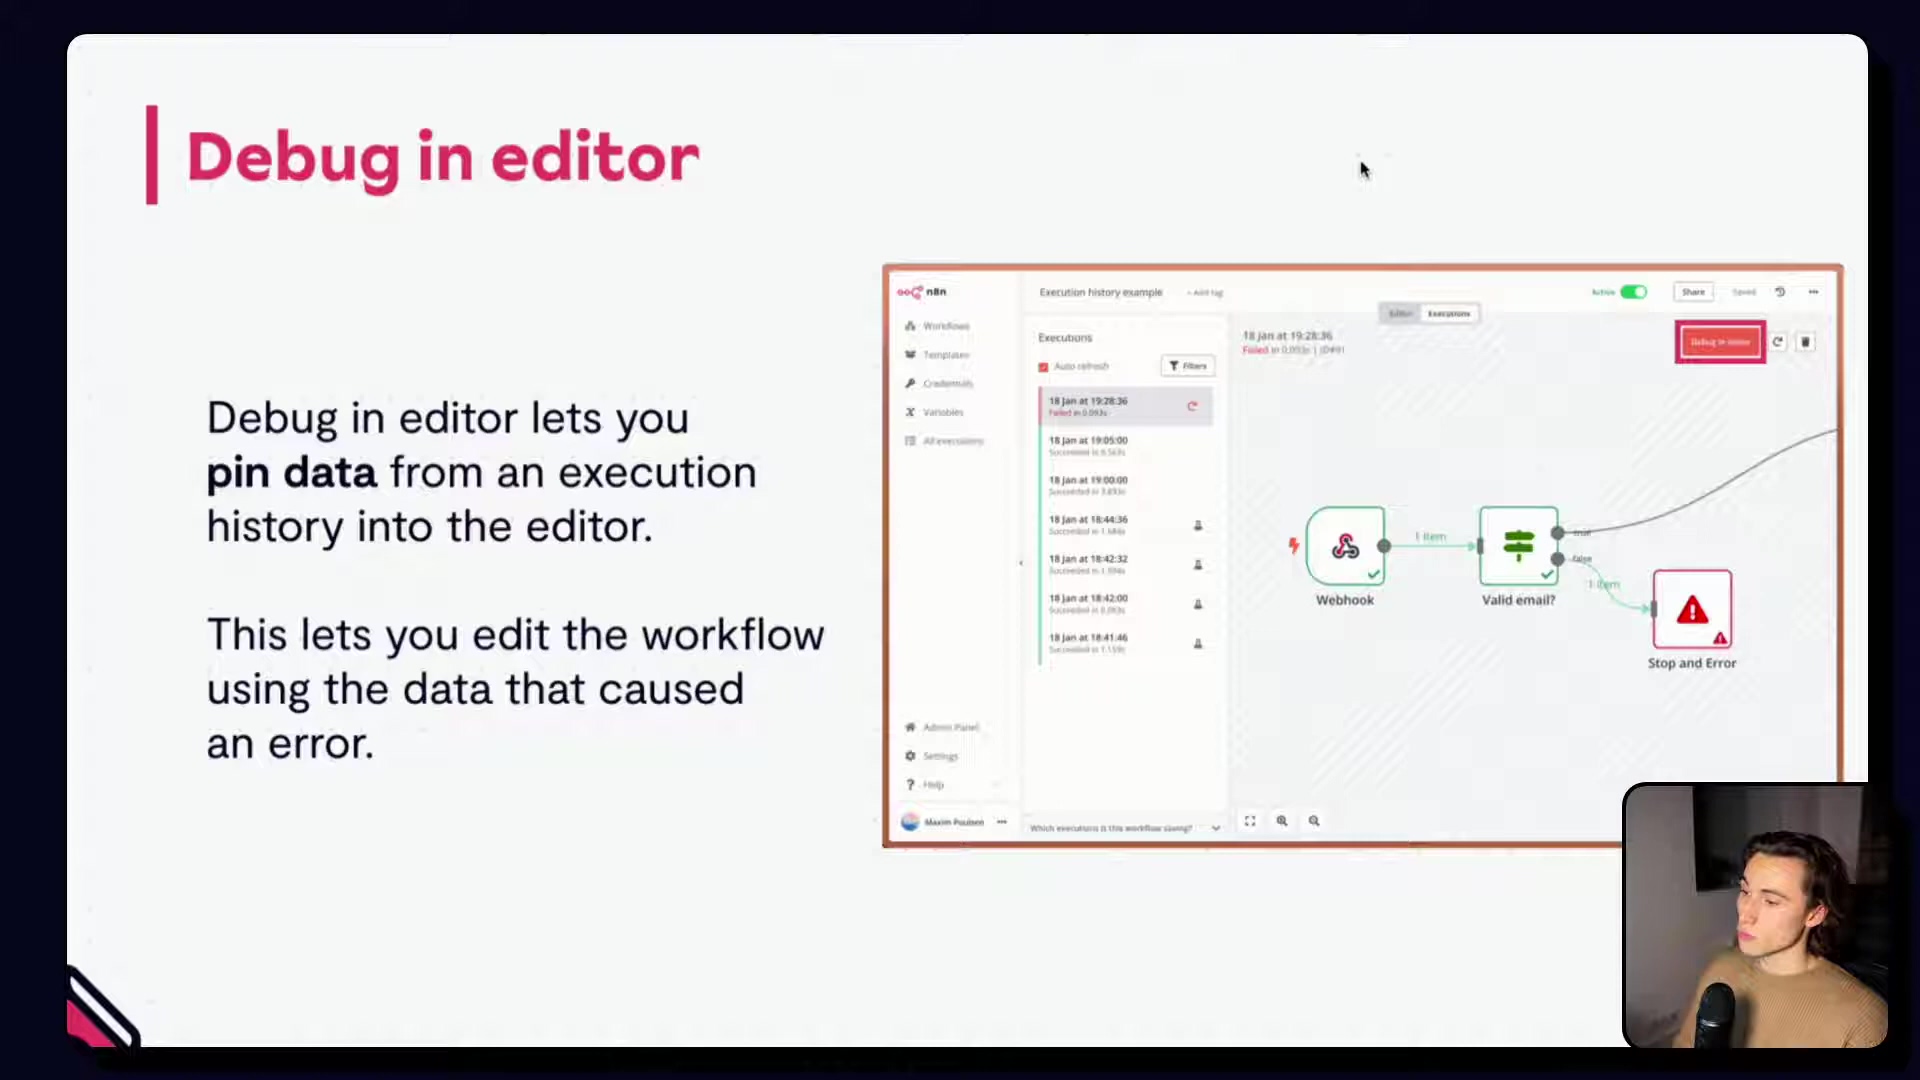
1. Debug in Editor
The ‘Debug in editor’ feature is invaluable for pinpointing the source of errors. It allows you to pin data from a failed execution directly into your workflow editor. This effectively replicates the problematic input data, enabling you to test and modify your workflow using the exact data that caused the error. It’s similar to pinning webhook data for testing but specifically tailored for error scenarios. Think of it as replaying the exact moment of failure in a controlled environment.
When data is pinned, a blue or purple symbol appears in the bottom right corner of the node. Remember that only one set of pinned data can be active at a time, so address bugs sequentially to avoid introducing new issues. It’s like fixing one LEGO brick at a time – don’t try to fix everything at once!
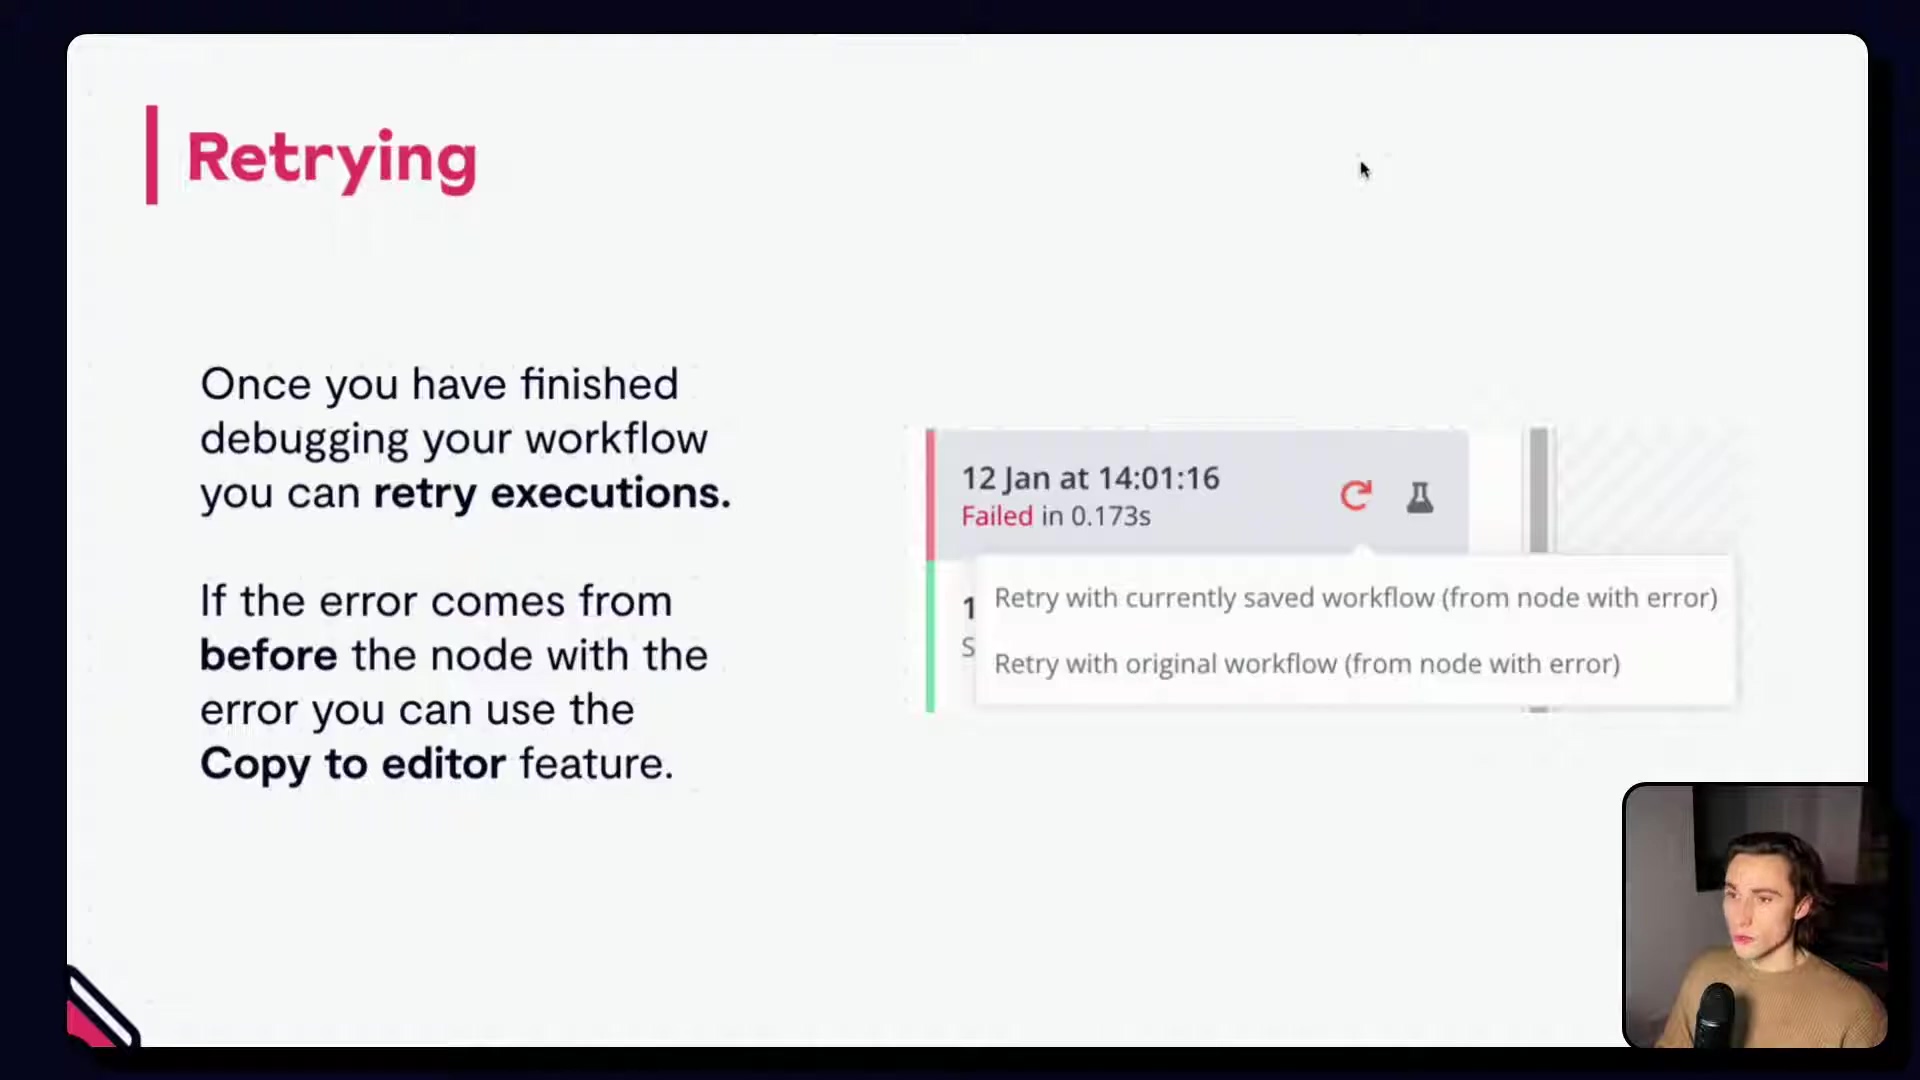
2. Retrying Failed Executions
Once you’ve identified and fixed an error, the ‘Retry’ feature allows you to re-run failed workflow executions. This is especially useful when multiple executions have failed due to the same underlying problem. From the execution log, you can retry with the currently saved workflow (incorporating your fixes) or with the original workflow version from the time of the error.
The retry process starts from the node where the error occurred. If the root cause lies in a node before the failing one, use the ‘Copy to editor’ feature to re-execute the entire sequence from an earlier point. It’s like rewinding a movie to the point where things went wrong and then replaying it from there. Super handy, right?
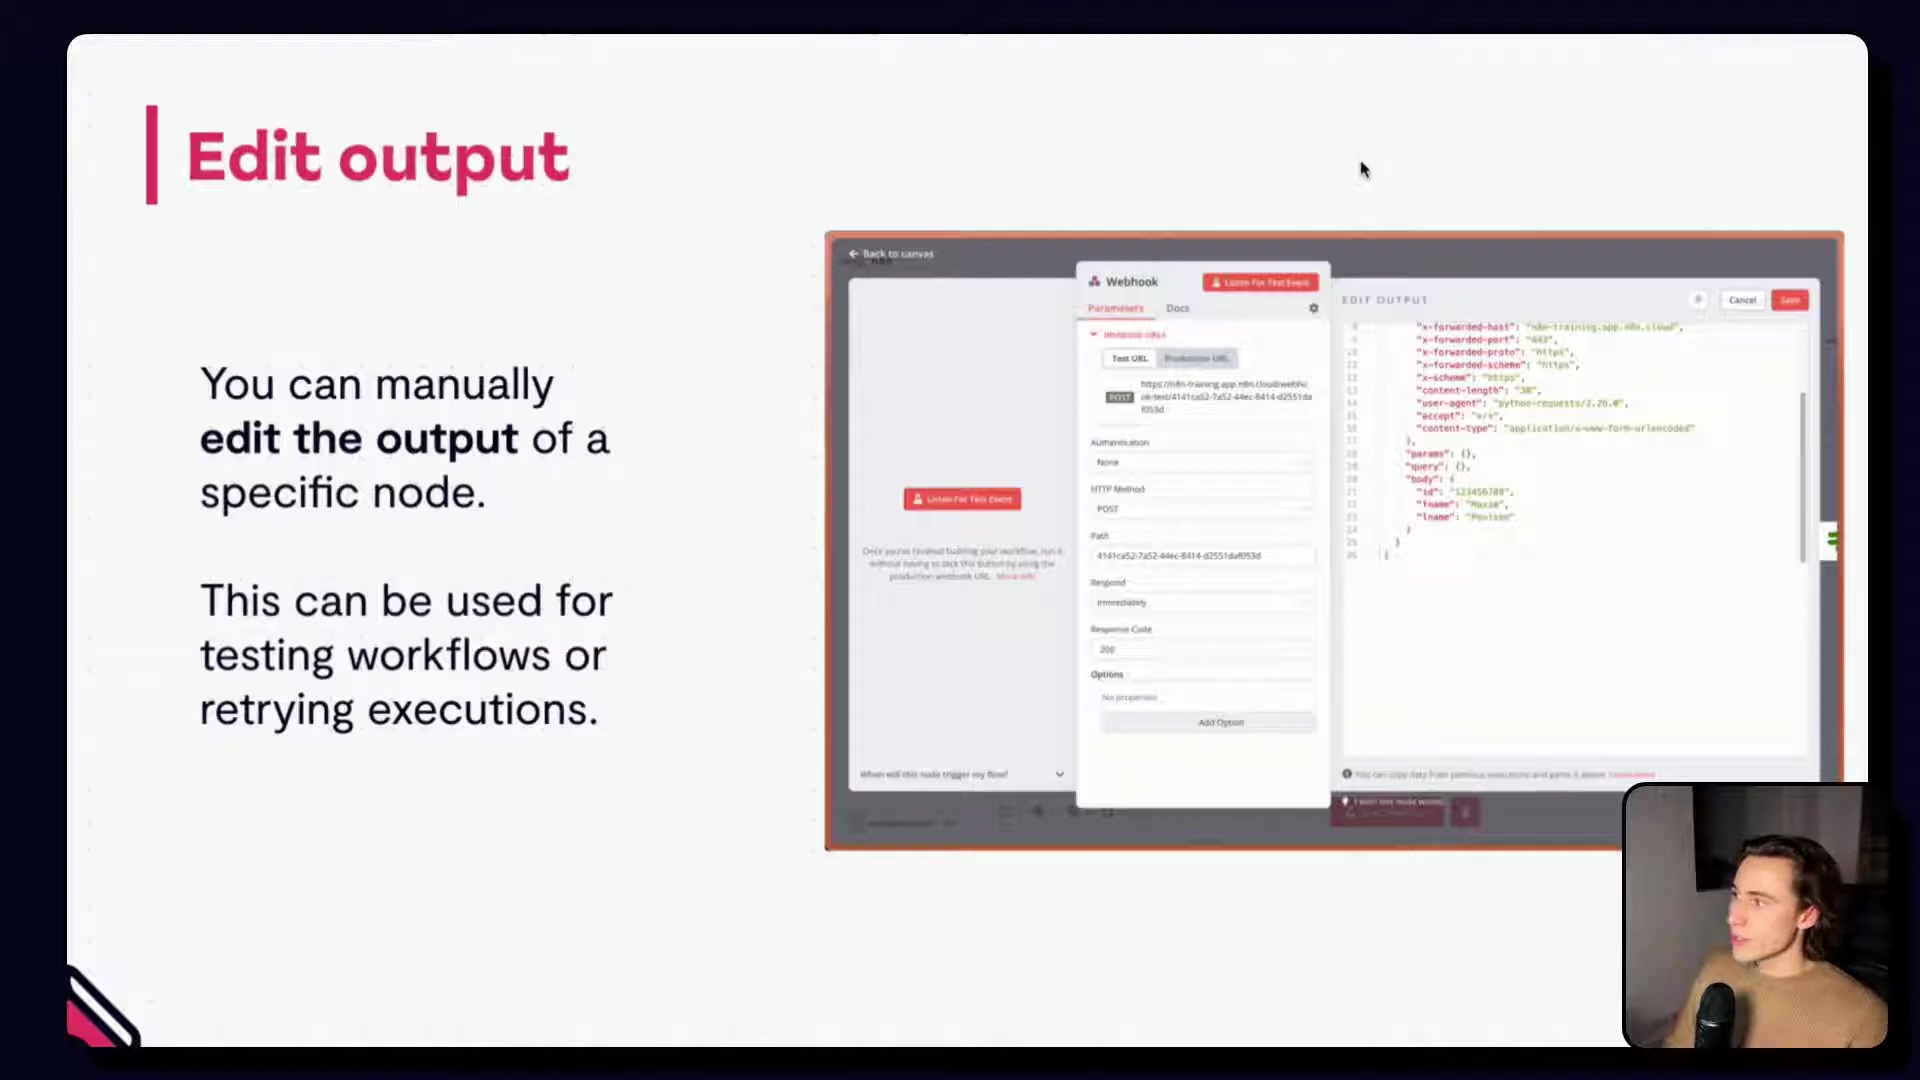
3. Manually Editing Node Output
The ‘Edit output’ feature lets you manually modify the output of a specific node. While not a scalable solution for all debugging scenarios, it’s incredibly useful for testing and isolating issues, particularly with webhooks. Instead of sending numerous test events, you can simulate different data outputs to observe how downstream nodes react. This bypasses the need to execute all preceding nodes and data transformations, offering a quick way to test specific scenarios. Think of it as a ‘what-if’ simulator for your data.
Use this method sparingly due to its manual nature. It’s best suited for situations where retrying is not feasible or when you need to quickly test a particular data permutation. It’s like manually adjusting the settings on a machine to see how it affects the output – useful for quick tests, but not a long-term solution.
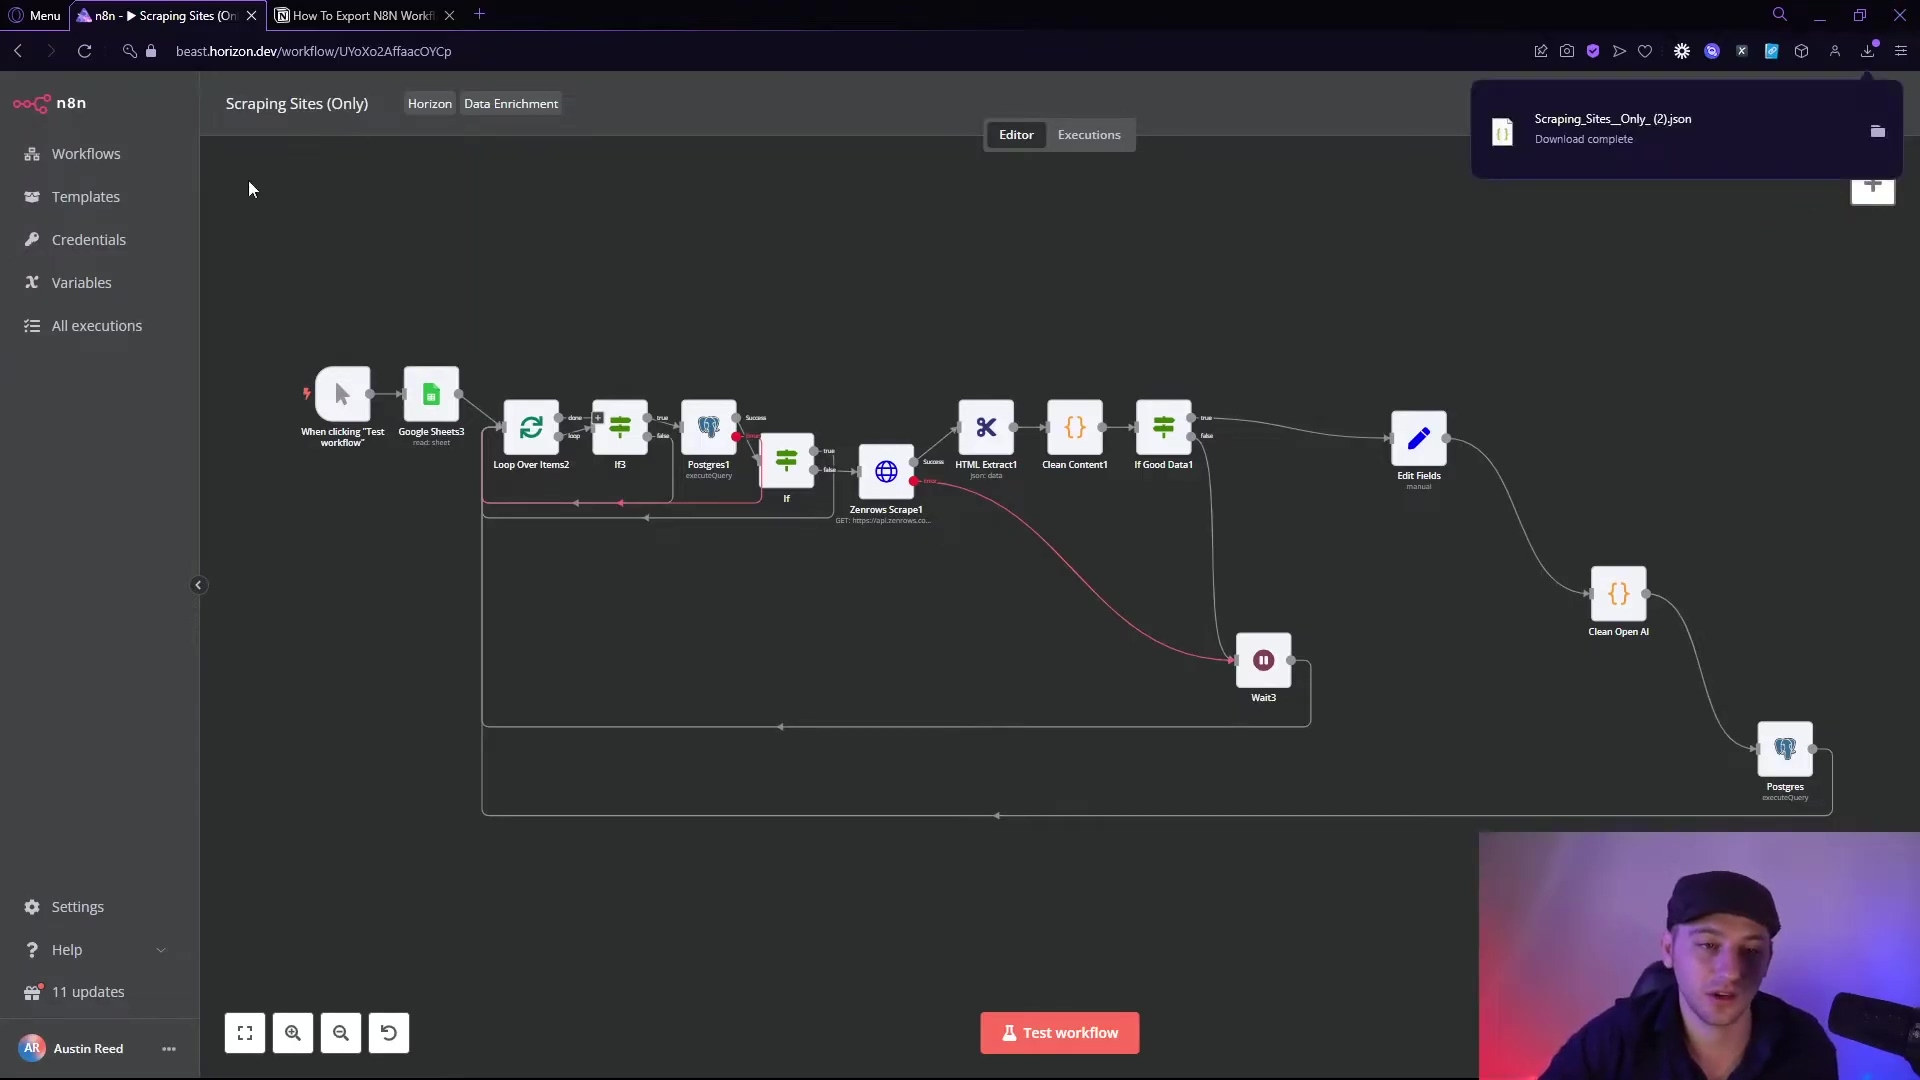
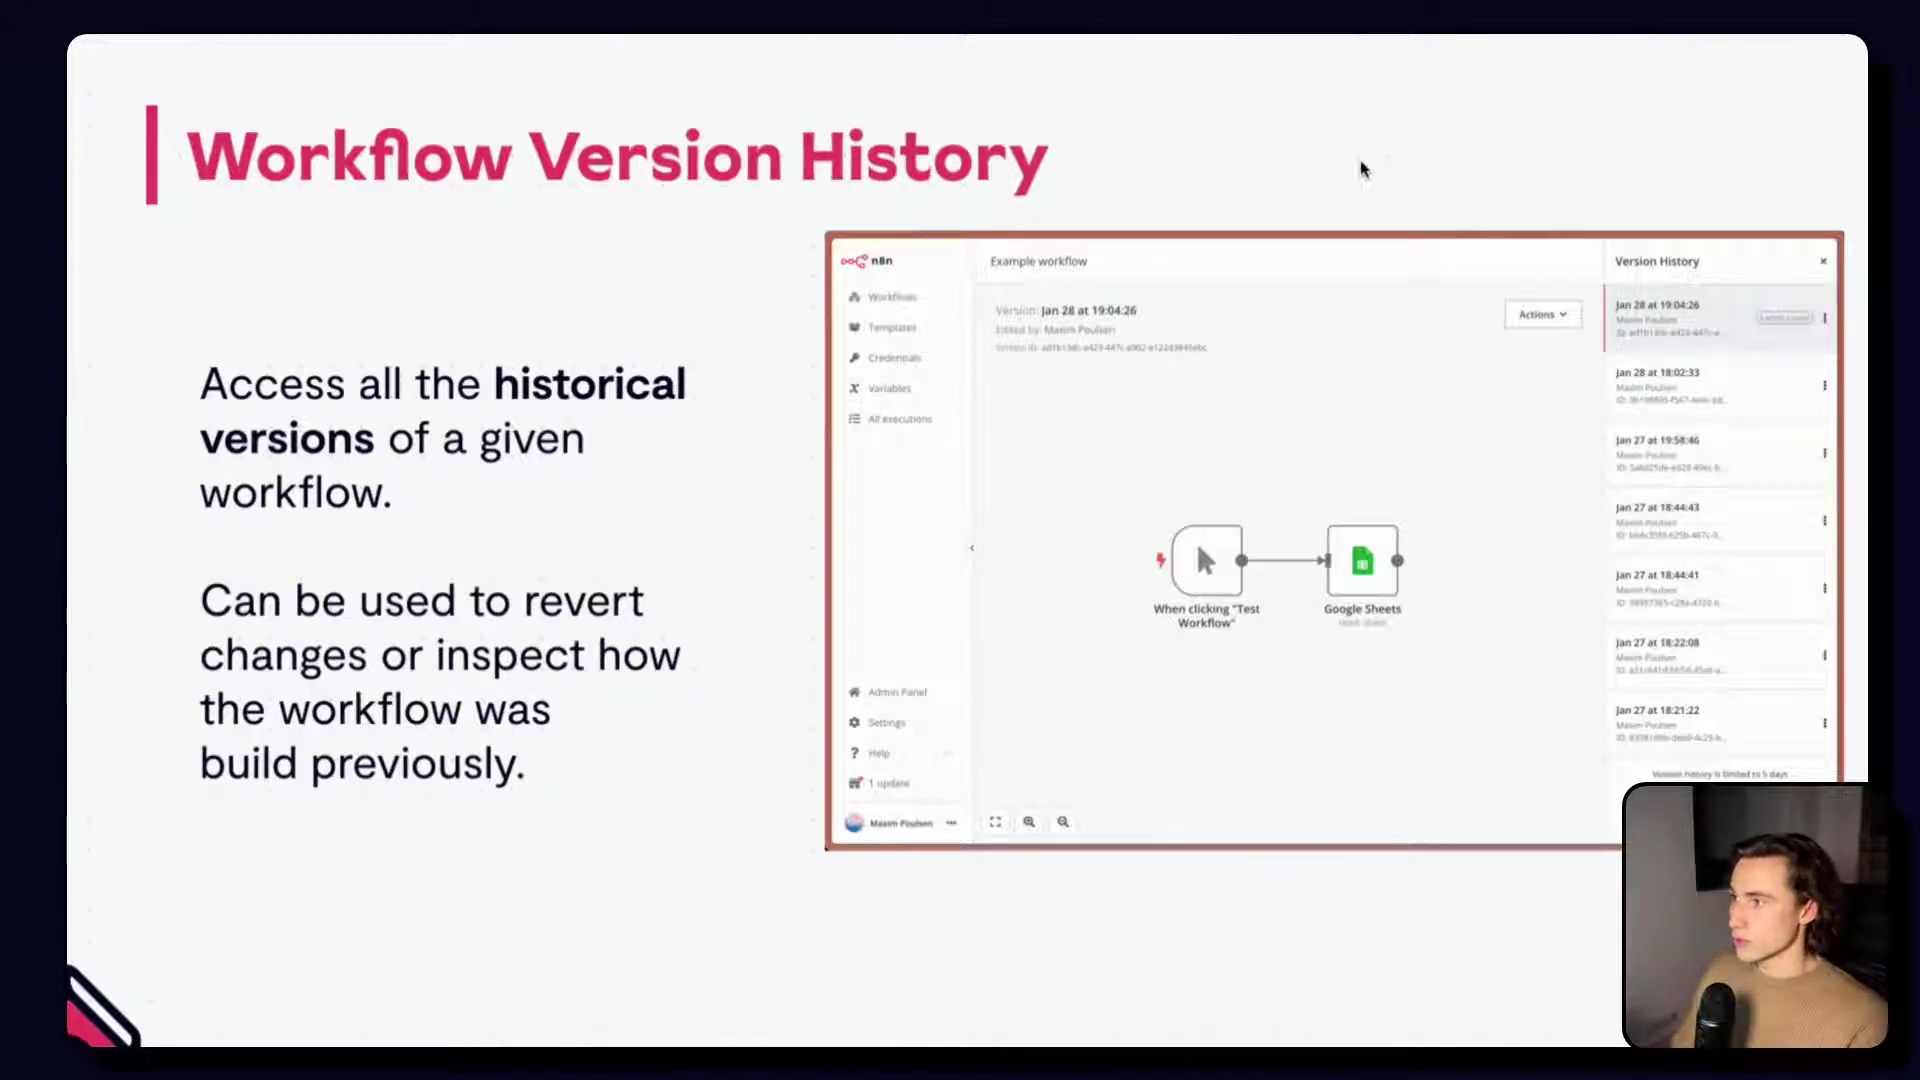
4. Leveraging Workflow Version History
Workflow version history is a lifesaver when debugging n8n workflows. It provides access to all previously saved versions of a workflow, which is crucial for:
- Reverting Changes: Easily revert to a stable previous version if a recent modification introduced a bug. It’s like having a ‘undo’ button for your workflow – phew!
- Inspecting Past Structures: Examine how a workflow was configured at different points in time to pinpoint when an error might have been introduced or to understand its evolution. Think of it as an archeological dig, uncovering the history of your workflow to understand how it evolved.
Combine version history with the retry feature to revert to a working version and then retry failed executions with that specific workflow state.
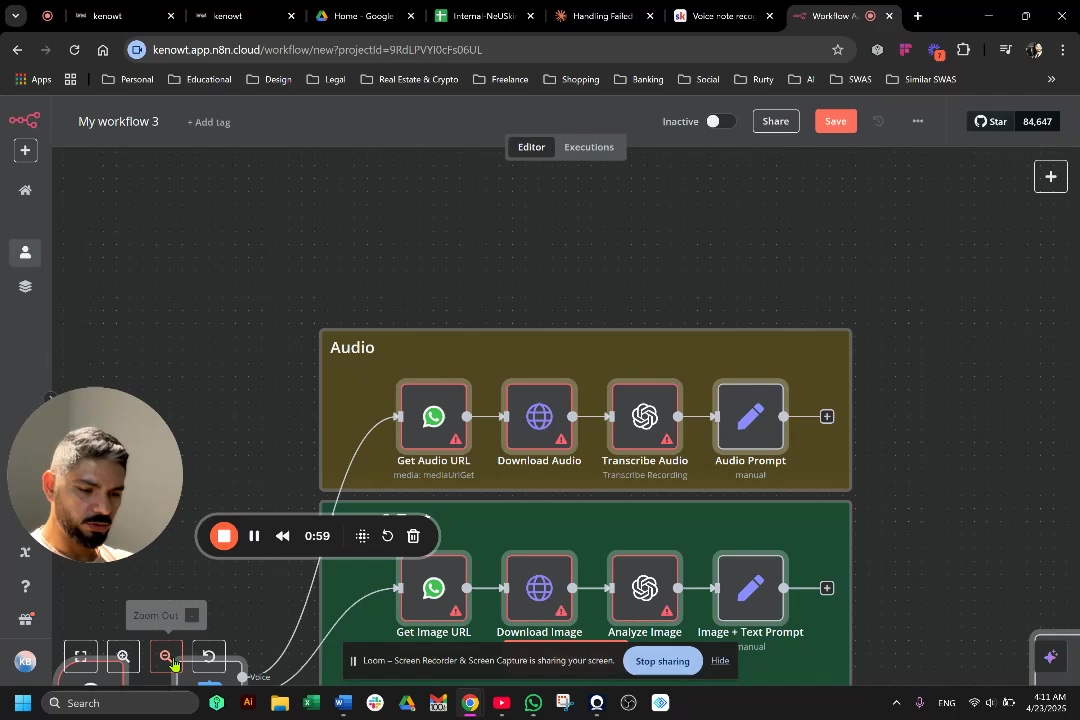
Practical Example: Debugging Webhook Data Validation in n8n
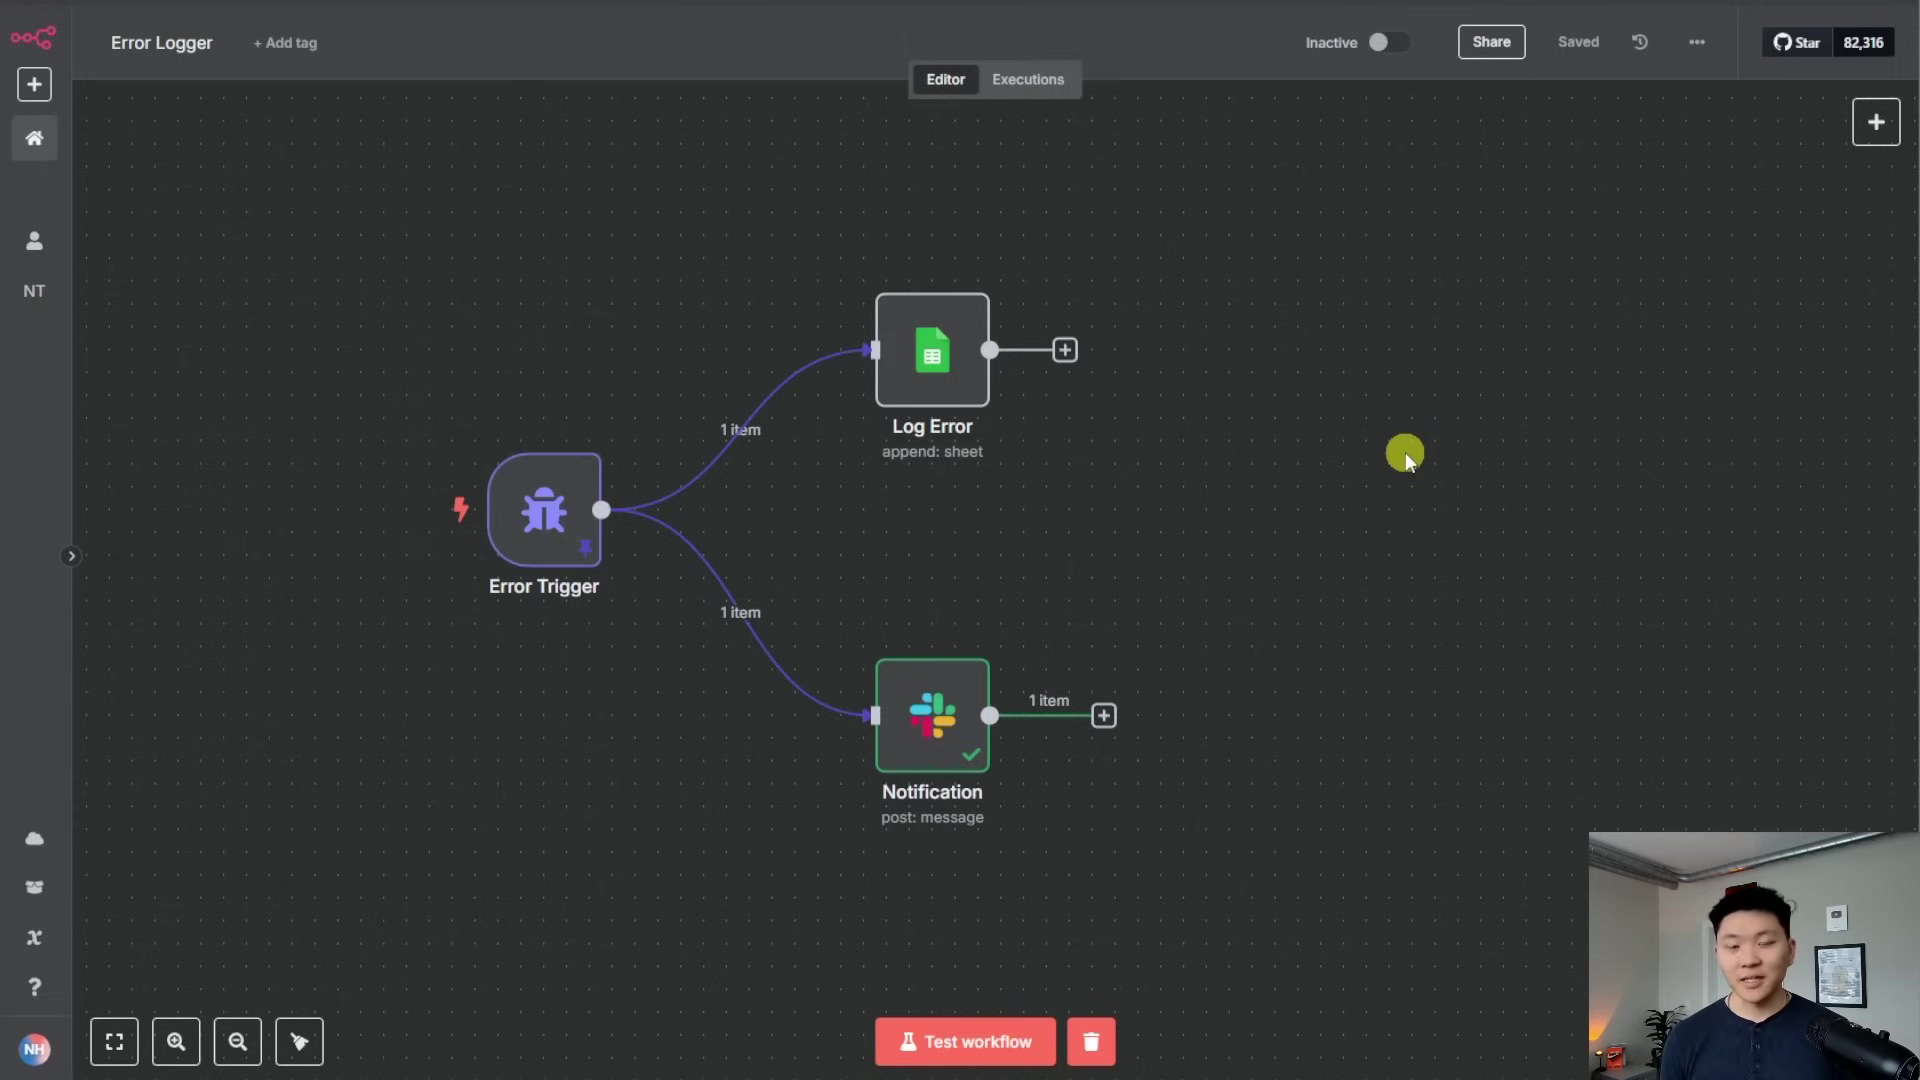
Let’s walk through a common debugging scenario involving a webhook that expects specific data, such as an ID or email, to retrieve user information from Google Sheets and then send a Slack message.
Initial Workflow Setup
Imagine a workflow that starts with a ‘Webhook’ node, followed by a ‘Get user’ node (Google Sheets) to fetch user details based on an ID received from the webhook, and finally a ‘Slack’ node to post a message with the user’s information. A successful execution would involve the webhook receiving an ID, the Google Sheet retrieving the corresponding user, and Slack sending the message. It’s like a Rube Goldberg machine – each step depends on the previous one working correctly.
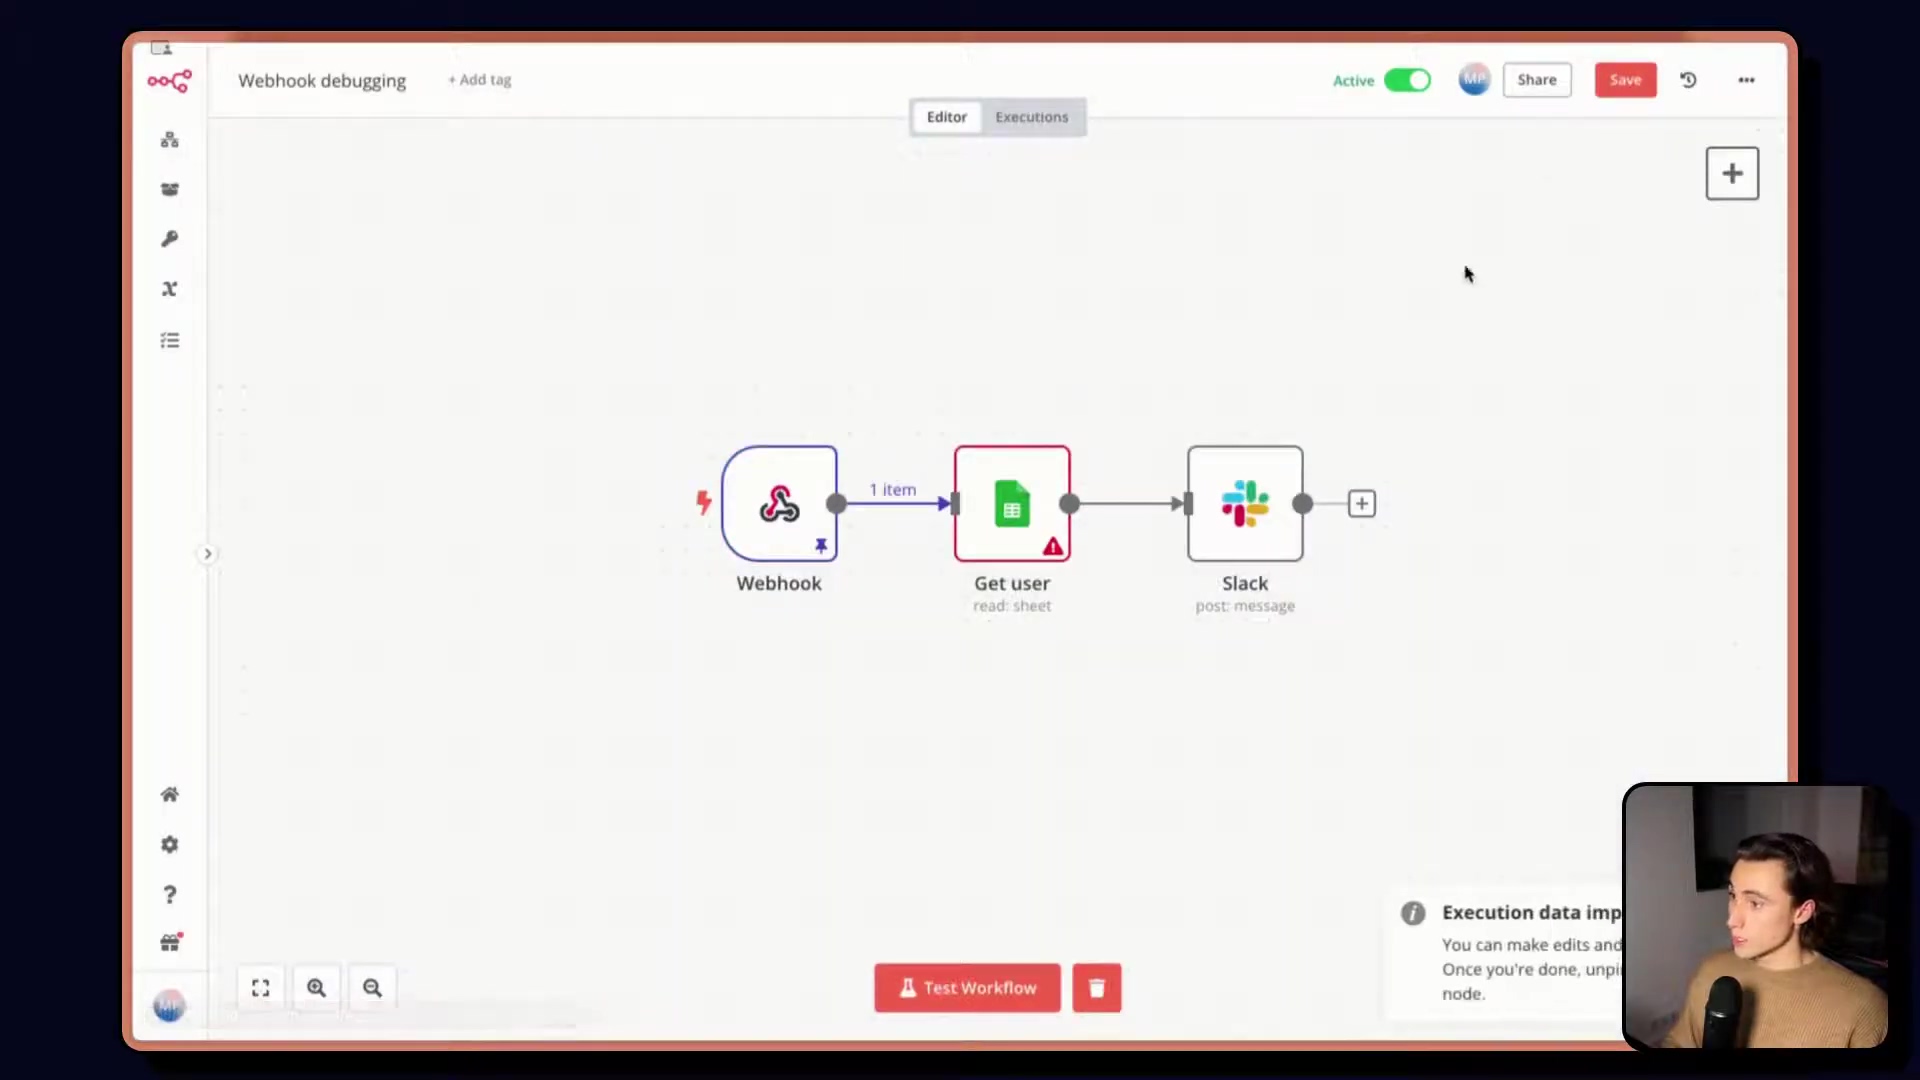
Diagnosing a Failed Execution
If a webhook is received without an expected ‘ID’ in its body, the ‘Get user’ node might fail with an error like “Cannot read properties of undefined reading to string”. This indicates that the workflow attempted to access body.ID but ID was not present in the webhook’s payload. To fix this, use ‘Debug in editor’ to load the data from the failed execution and then modify the workflow to handle cases where the ID is missing. It’s like a detective finding a missing piece of evidence at a crime scene.
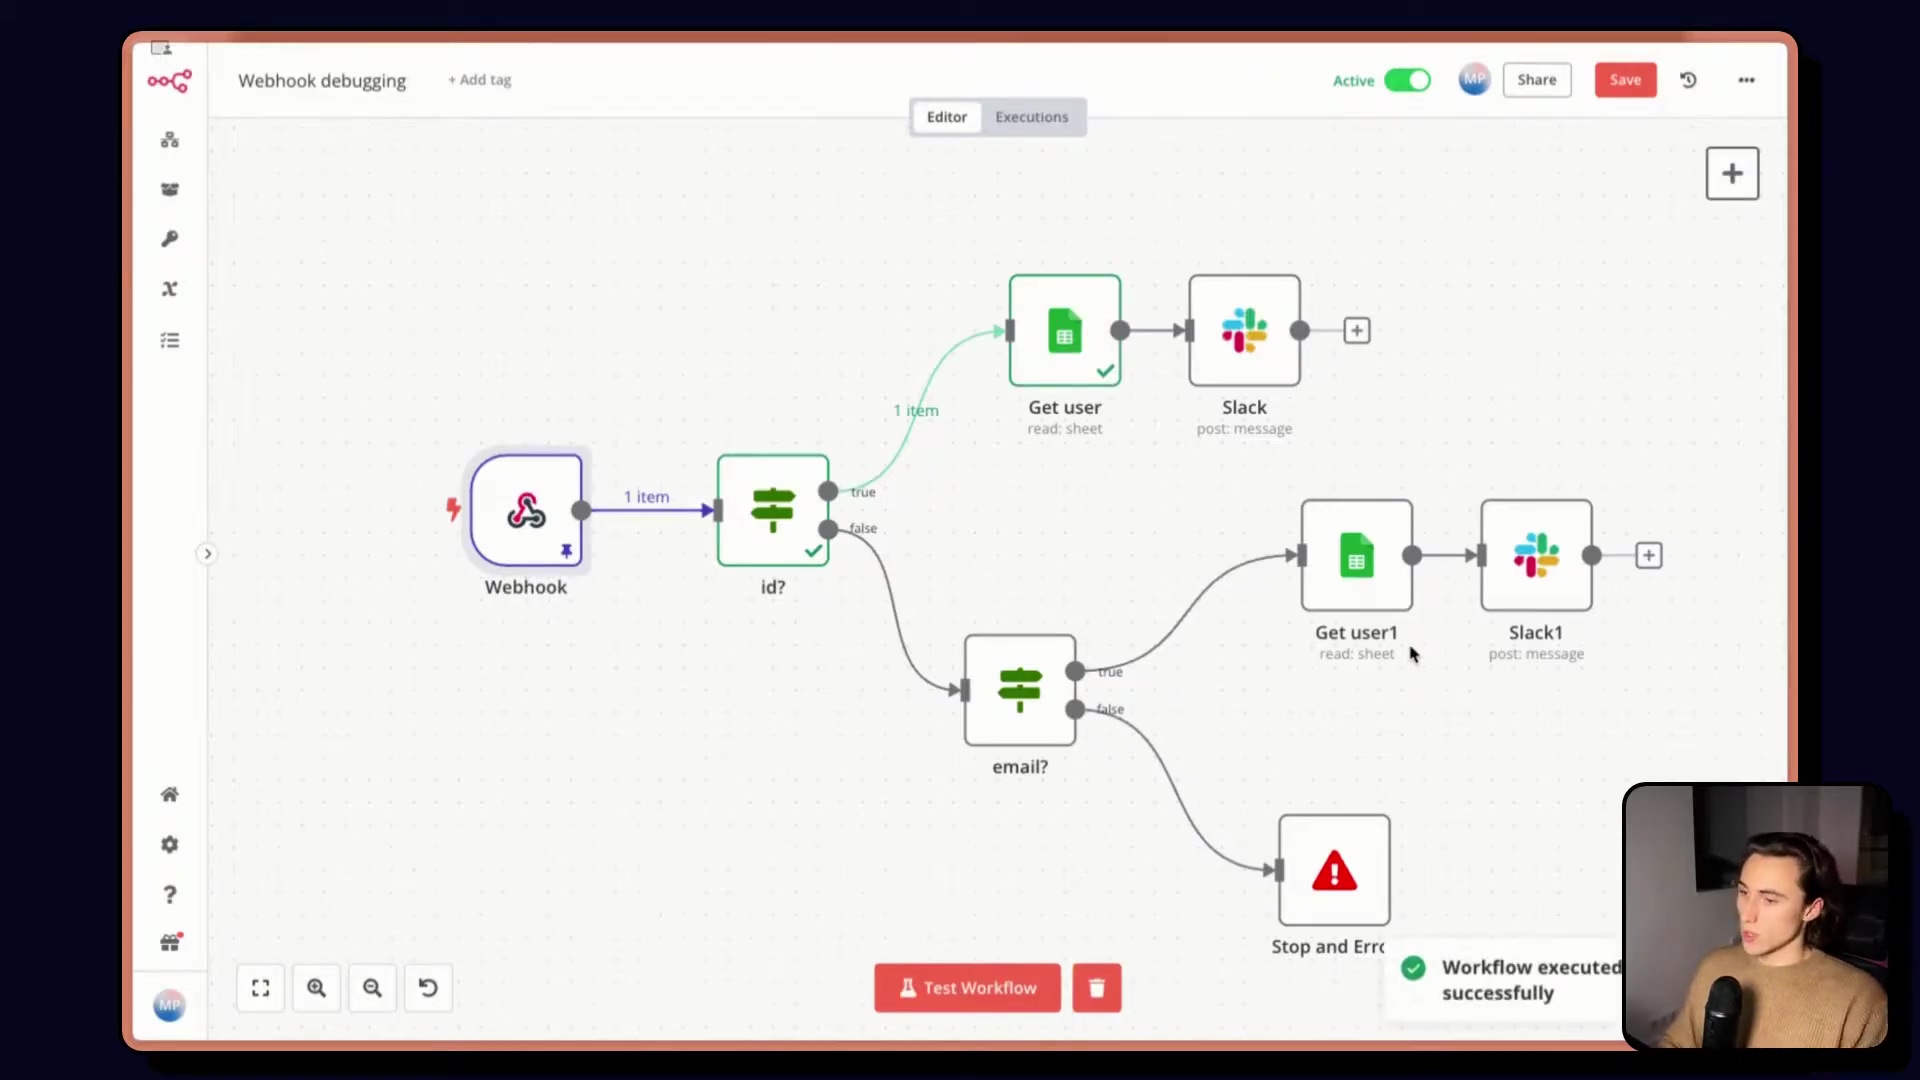
Implementing Robust Error Handling
To prevent future failures, enhance the workflow with conditional logic. Instead of solely relying on an ‘ID’, introduce ‘If’ nodes to check for the presence of either an ‘ID’ or an ‘email’ in the webhook data. If an ID is present, the workflow proceeds to retrieve the user by ID. If not, it checks for an email and attempts to retrieve the user by email. If neither is found, a ‘Stop and throw error’ node can be used to explicitly flag the issue, preventing silent failures. Think of it as building multiple pathways in your workflow, so it can handle different scenarios gracefully.
Furthermore, configure the ‘Get user’ node to ‘Always output data’ even if no contact is found. This ensures that subsequent nodes receive an empty item rather than causing a complete workflow halt. Add another ‘If’ node before the ‘Slack’ message to check if a valid email (and thus a user) was successfully retrieved. If no contact is found, trigger another ‘Stop and throw error’, indicating “Contact not found in database.”
This refined workflow ensures that all possible data scenarios are handled, providing clear error messages when necessary and maintaining the workflow’s robustness. Nailed it!
Best Practices for Debugging n8n Workflows
- Version Control: Always save new versions of your workflow before making significant changes, especially when debugging complex issues. This allows for easy rollback if new problems arise. It’s like creating a save point in a video game – you can always go back if you mess up.
- Logging and Alerts: Implement comprehensive logging at critical points in your workflow and configure alerts for ‘Stop and throw error’ nodes. This ensures you are immediately notified of issues and have sufficient context to diagnose them. Think of it as setting up alarms in your spaceship to warn you of any potential dangers.
- Thorough Testing: After implementing a fix, always test the workflow with the exact data that caused the original error, as well as with valid data, to confirm the fix and prevent regressions. It’s like testing a new medicine to make sure it cures the disease and doesn’t have any nasty side effects.
Key Takeaways for Effective n8n Workflow Debugging
- Proactive Debugging: Don’t wait for workflows to fail in production. Understand common failure points and build in error handling from the start. It’s like preparing for a journey by packing the right tools and supplies – be prepared for anything!
- Leverage n8n Tools: Features like ‘Debug in editor’, ‘Retry’, ‘Edit output’, and ‘Workflow Version History’ are designed to make your debugging process more efficient. These tools are your best friends in the debugging process, so get to know them well!
- Handle Edge Cases: Anticipate scenarios where data might be missing or malformed, and build conditional logic to gracefully handle these situations. It’s like planning for unexpected weather conditions on a hike – be prepared for anything!
- Iterative Refinement: Debugging is an iterative process. Be prepared to make small changes, test, and refine your workflow until it’s robust. It’s like sculpting a statue – you start with a rough shape and gradually refine it until it’s perfect.
Conclusion
Mastering how to debug n8n workflows is essential for building resilient and reliable automation systems. By leveraging the tools and techniques discussed, you can transform frustrating failures into valuable learning opportunities, ensuring your workflows consistently deliver their intended results. The ability to quickly diagnose and resolve issues is a hallmark of a skilled automation developer, directly contributing to operational efficiency and peace of mind. Implement proactive error handling and regularly review workflow execution logs to identify recurring patterns or subtle issues. Armed with these strategies, review your existing workflows, identify potential weak points, and fortify your automation against unforeseen challenges.
Frequently Asked Questions (FAQ)
Q: What is the best way to handle errors caused by temporary service unavailability?
A: Implement retry mechanisms with exponential backoff. This means that if a service is unavailable, the workflow will retry the request after a short delay, and if it fails again, the delay will increase. This gives the service time to recover without overwhelming it with repeated requests. You can also add alerts to notify you when a service is consistently unavailable.
Q: How can I prevent my workflow from halting when a node doesn’t find any data?
A: Configure the node to ‘Always output data’ even if no data is found. This ensures that subsequent nodes receive an empty item rather than causing a complete workflow halt. You can then use ‘If’ nodes to check for the presence of data and handle the case where no data is found gracefully.
Q: Is it possible to debug a workflow that is already running in production?
A: Yes, you can use the ‘Debug in editor’ feature to pin data from a failed execution in production and then replicate the issue in your development environment. However, be careful when making changes to a workflow that is running in production, as this could affect its behavior. It’s always best to test any changes thoroughly in a development environment before deploying them to production.
Q: How do I use version control effectively when debugging?
A: Always save a new version of your workflow before making any significant changes, especially when debugging complex issues. This allows you to easily revert to a previous version if you introduce a bug. Use descriptive names for your workflow versions so you can easily identify the version you want to revert to.
Q: What should I do if I’m getting an “undefined” error in my workflow?
A: An “undefined” error typically indicates that you are trying to access a property of an object that doesn’t exist. Use the ‘Debug in editor’ feature to inspect the data that is being passed to the node where the error is occurring. Check that the property you are trying to access exists and that it is spelled correctly. You may also need to add conditional logic to handle cases where the property is missing.
Q: How can I simulate different webhook payloads for testing purposes?
A: The ‘Edit output’ feature allows you to manually modify the output of a specific node, including the ‘Webhook’ node. This is incredibly useful for testing and isolating issues, particularly with webhooks. Instead of sending numerous test events, you can simulate different data outputs to observe how downstream nodes react.