Watch the Video Tutorial
💡 Pro Tip: After watching the video, continue reading below for detailed step-by-step instructions, code examples, and additional tips that will help you implement this successfully.
Table of Contents
Open Table of Contents
- Introduction: Unleash the Power of Custom Nodes in n8n
- Why Create Custom Nodes in n8n?
- Declarative vs. Programmatic Nodes
- Step-by-Step Guide: How to Create and Testing n8n Custom Node
- Testing Your Custom Node
- Best Practices and Additional Tips
- Resources and Cost-Benefit Analysis
- Safety and Best Practices
- FAQ
- Key Takeaways
- Conclusion
- Frequently Asked Questions (FAQ)
- Q: What are the main differences between declarative and programmatic nodes?
- Q: How can I debug my custom node if it’s not working as expected?
- Q: Can I use environment variables in my custom node?
- Q: How do I share my custom node with the n8n community?
- Q: What kind of testing should I perform on my custom node?
- Q: Is it possible to create a custom node that triggers automatically based on an event?
Introduction: Unleash the Power of Custom Nodes in n8n
Are you looking to extend the capabilities of n8n? Do you need a specific integration that isn’t available out-of-the-box? Learning how to create and testing n8n custom node is the perfect solution. This guide will walk you through the process, step-by-step, making it easy even if you’re a beginner. Think of it like building your own LEGO set for automation!
This guide provides a beginner-friendly approach to how to create and testing n8n custom node, empowering you to tailor the platform to your exact needs. We’ll focus on declarative nodes, which are the most common and easiest to manage. Trust me, you’ll be surprised how quickly you pick it up!
Why Create Custom Nodes in n8n?
When you need functionality that isn’t readily available, you have a few options:
- HTTP Request Node: For simple API calls. Think of this as your basic Swiss Army knife for grabbing data from the web.
- Code Node: For running JavaScript or Python code. This is where you can get fancy and write custom logic.
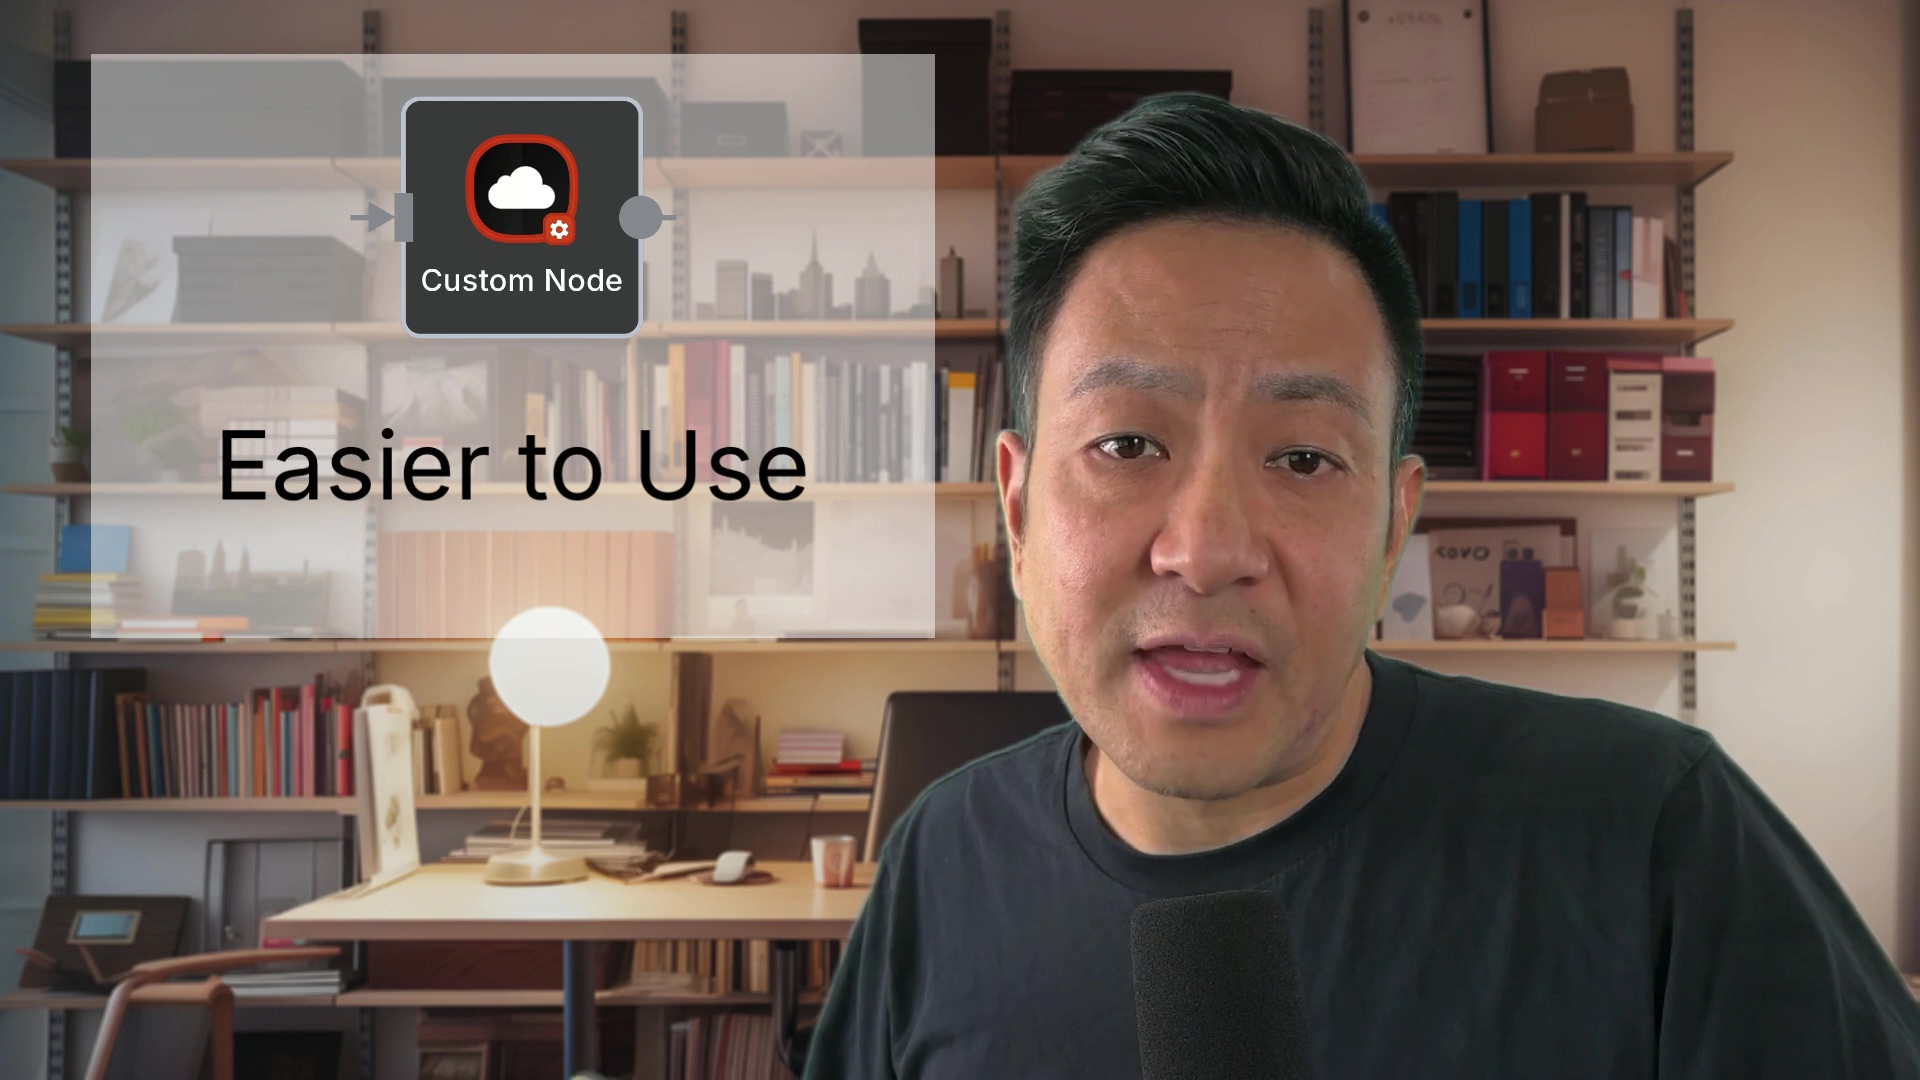
- Custom n8n Node: For reusable, integrated solutions. This is the ultimate power move – creating your own building block for n8n!
While the first two options are useful, creating a custom node offers several advantages:
- Simplified Integration: Makes the node easy to use within n8n workflows. It’s like having a perfectly fitted puzzle piece.
- Community Sharing: Allows you to share your node with others. Imagine contributing your own creation to the n8n ecosystem!
- Credential Management: Enables secure storage and use of API keys. This is super important for keeping your sensitive info safe. Think of it as a secure vault for your API keys.
- User-Friendly Interface: Provides a clean and intuitive interface for users. Nobody wants a clunky, confusing node, right?
Custom nodes are especially helpful when you want to give clients a simplified interface, preventing accidental changes to critical settings. It’s like giving them a remote control with only the essential buttons.
Important: Custom nodes are only supported on self-hosted n8n instances due to security considerations. So, you’ll need to have your own n8n server running. If you don’t have one yet, check out the n8n installation guide.
Declarative vs. Programmatic Nodes
n8n offers two styles for custom nodes: declarative and programmatic. We’ll focus on declarative nodes, which are suitable for most use cases. Declarative nodes are like following a recipe – you define what you want, and n8n takes care of the how. Programmatic nodes, on the other hand, give you more control but require more coding.
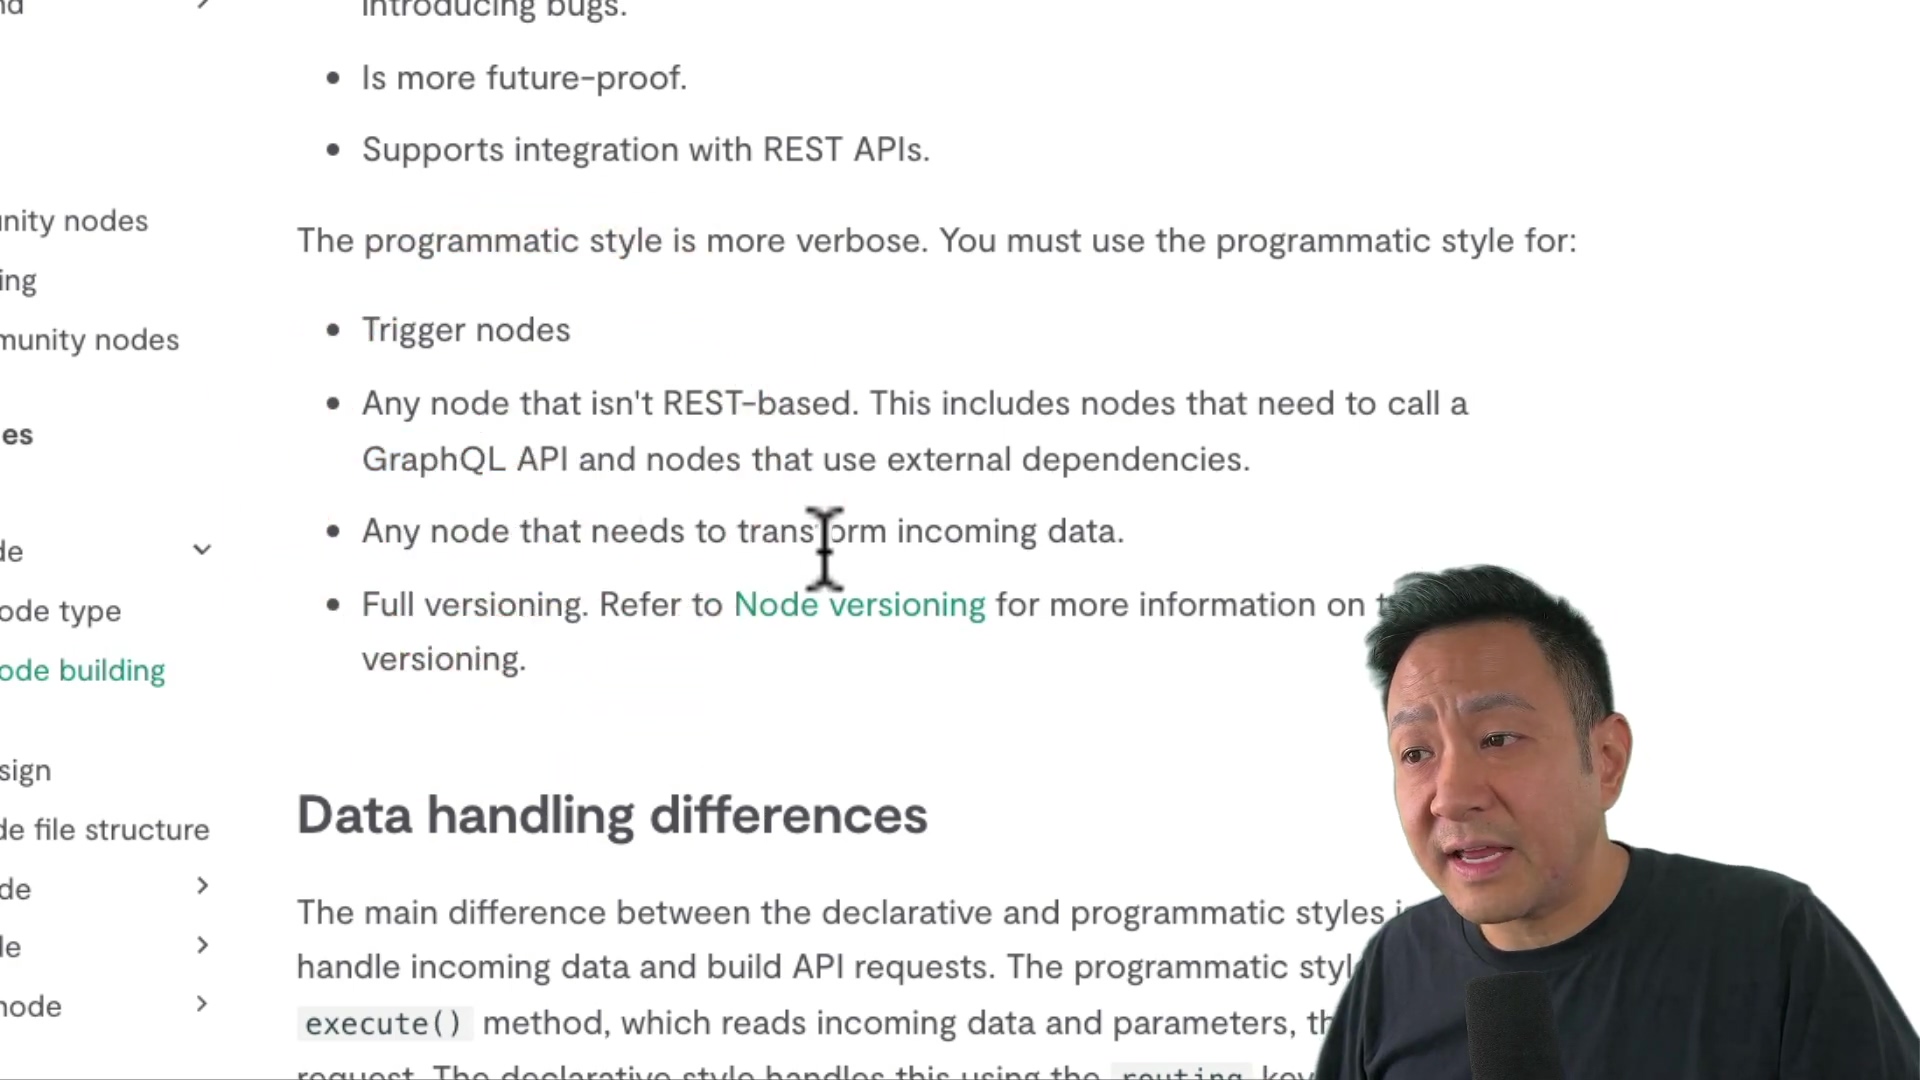
Programmatic nodes are better for:
- Trigger nodes.
- Non-REST-based APIs (e.g., GraphQL).
- Complex data transformations.
- Full version control.
Step-by-Step Guide: How to Create and Testing n8n Custom Node
This tutorial will guide you through creating a custom node that fetches weather data from the OpenWeatherMap API. It’s a classic example, and you’ll learn a ton! Let’s get started!
Step 1: Download the Starter Template
Start by downloading the declarative style template from GitHub:
github.com/n8n-io/n8n-nodes-starter
This template is your launchpad! It provides the basic structure and files you need to get started. Think of it as the chassis of your custom node.
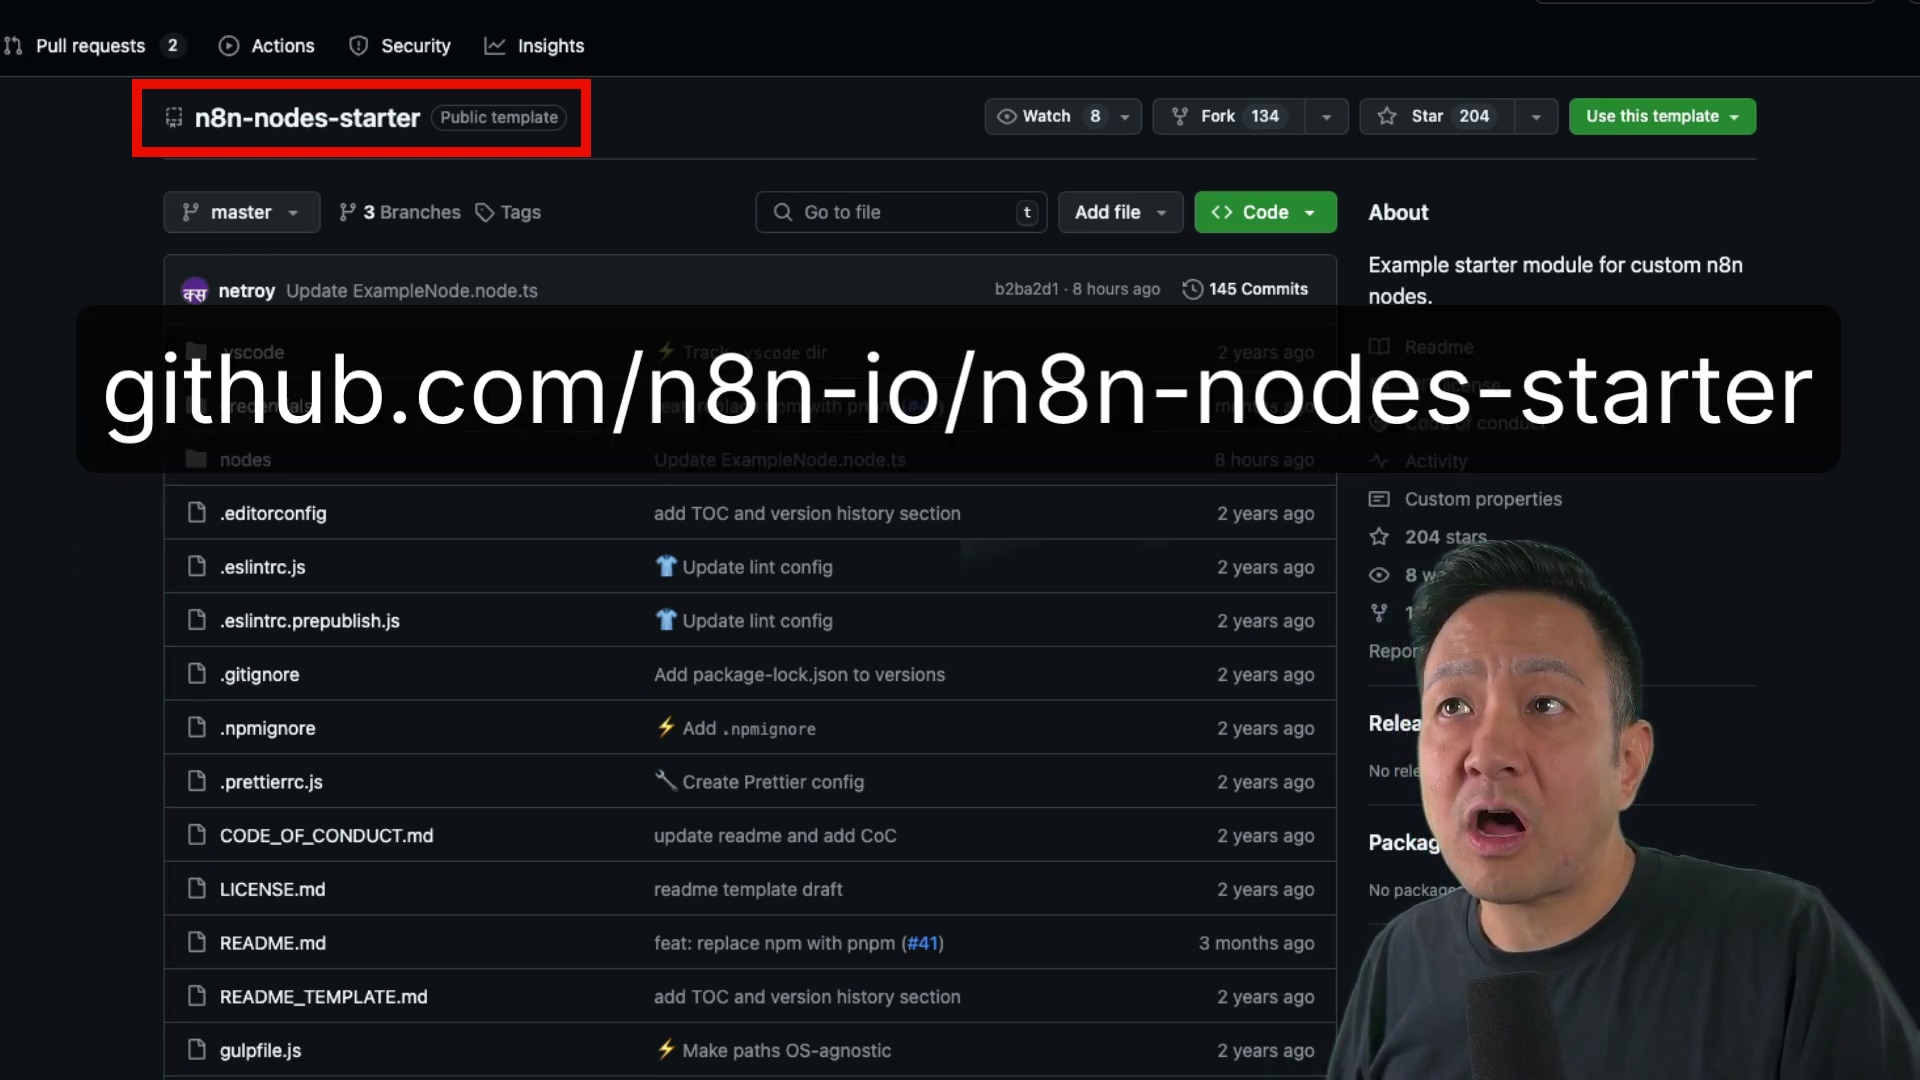
Clone the repository or download the ZIP file. Rename the folder to something descriptive, like n8n-nodes-cityweather. This will help you keep things organized. I recommend using a name that reflects the purpose of your node.
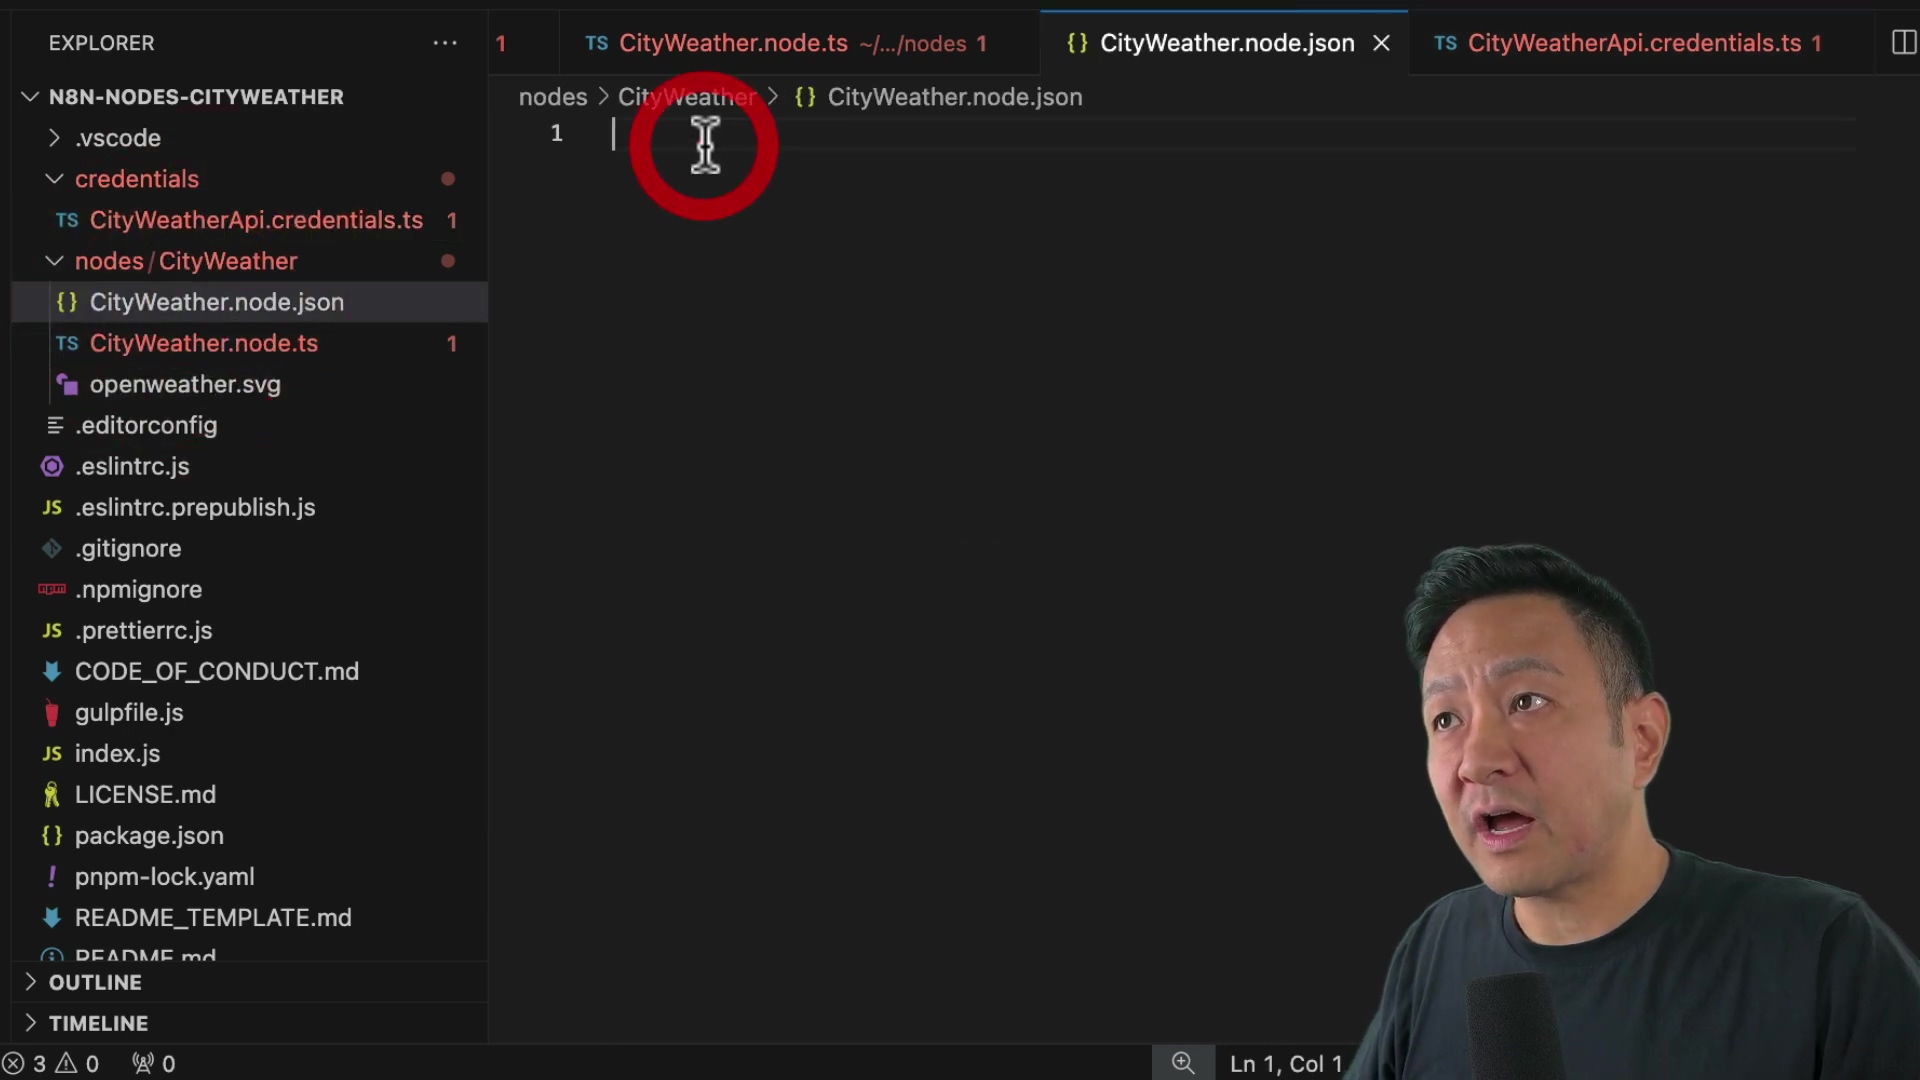
Step 2: Organize the File Structure
Open the project in Visual Studio Code. You’ll see nodes and credentials folders. Delete the example files in these folders. We’re starting fresh!
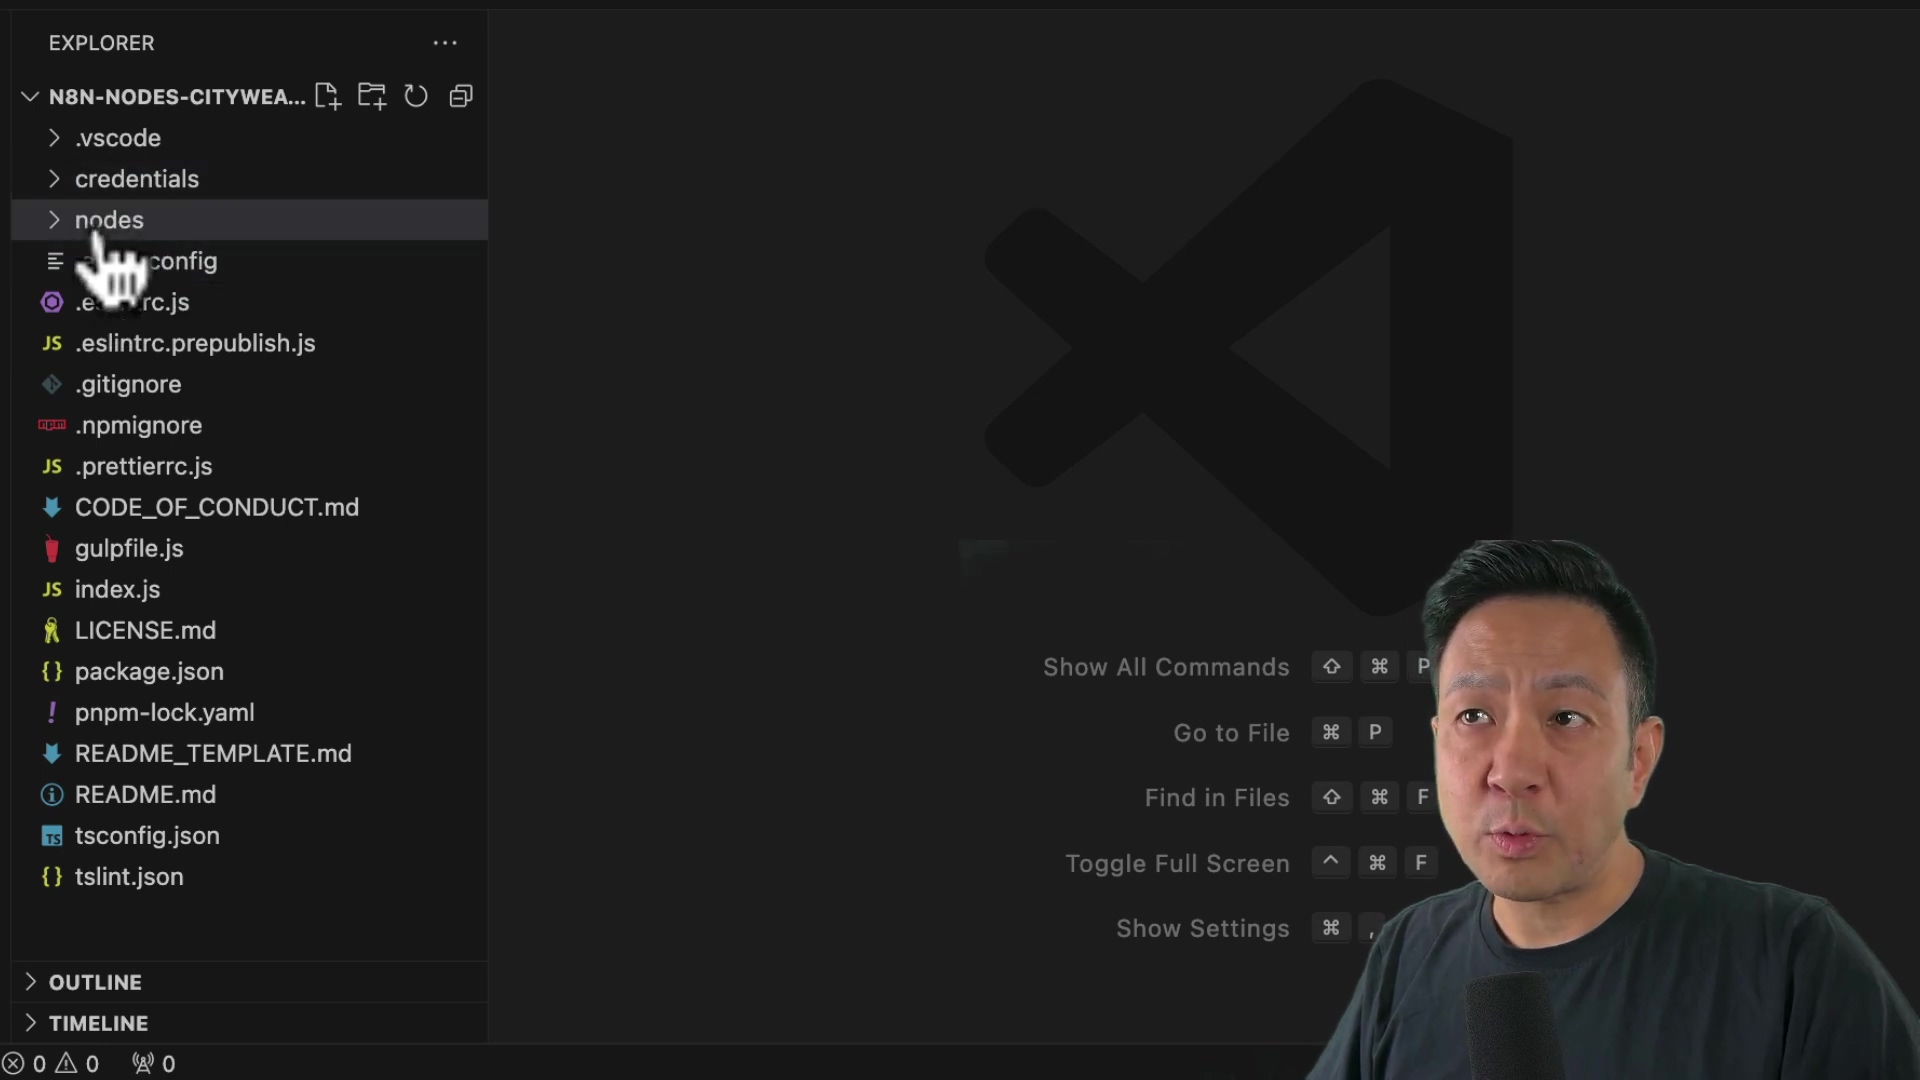
Create the following files:
nodes/cityweather/cityweather.node.tsnodes/cityweather/cityweather.node.jsoncredentials/cityweatherapi.credentials.tsnodes/cityweather/openweather.svg(for the node icon)
These files are the blueprints for your node. The .ts files contain the code, the .json file contains the metadata, and the .svg file is the icon that will appear in the n8n interface.
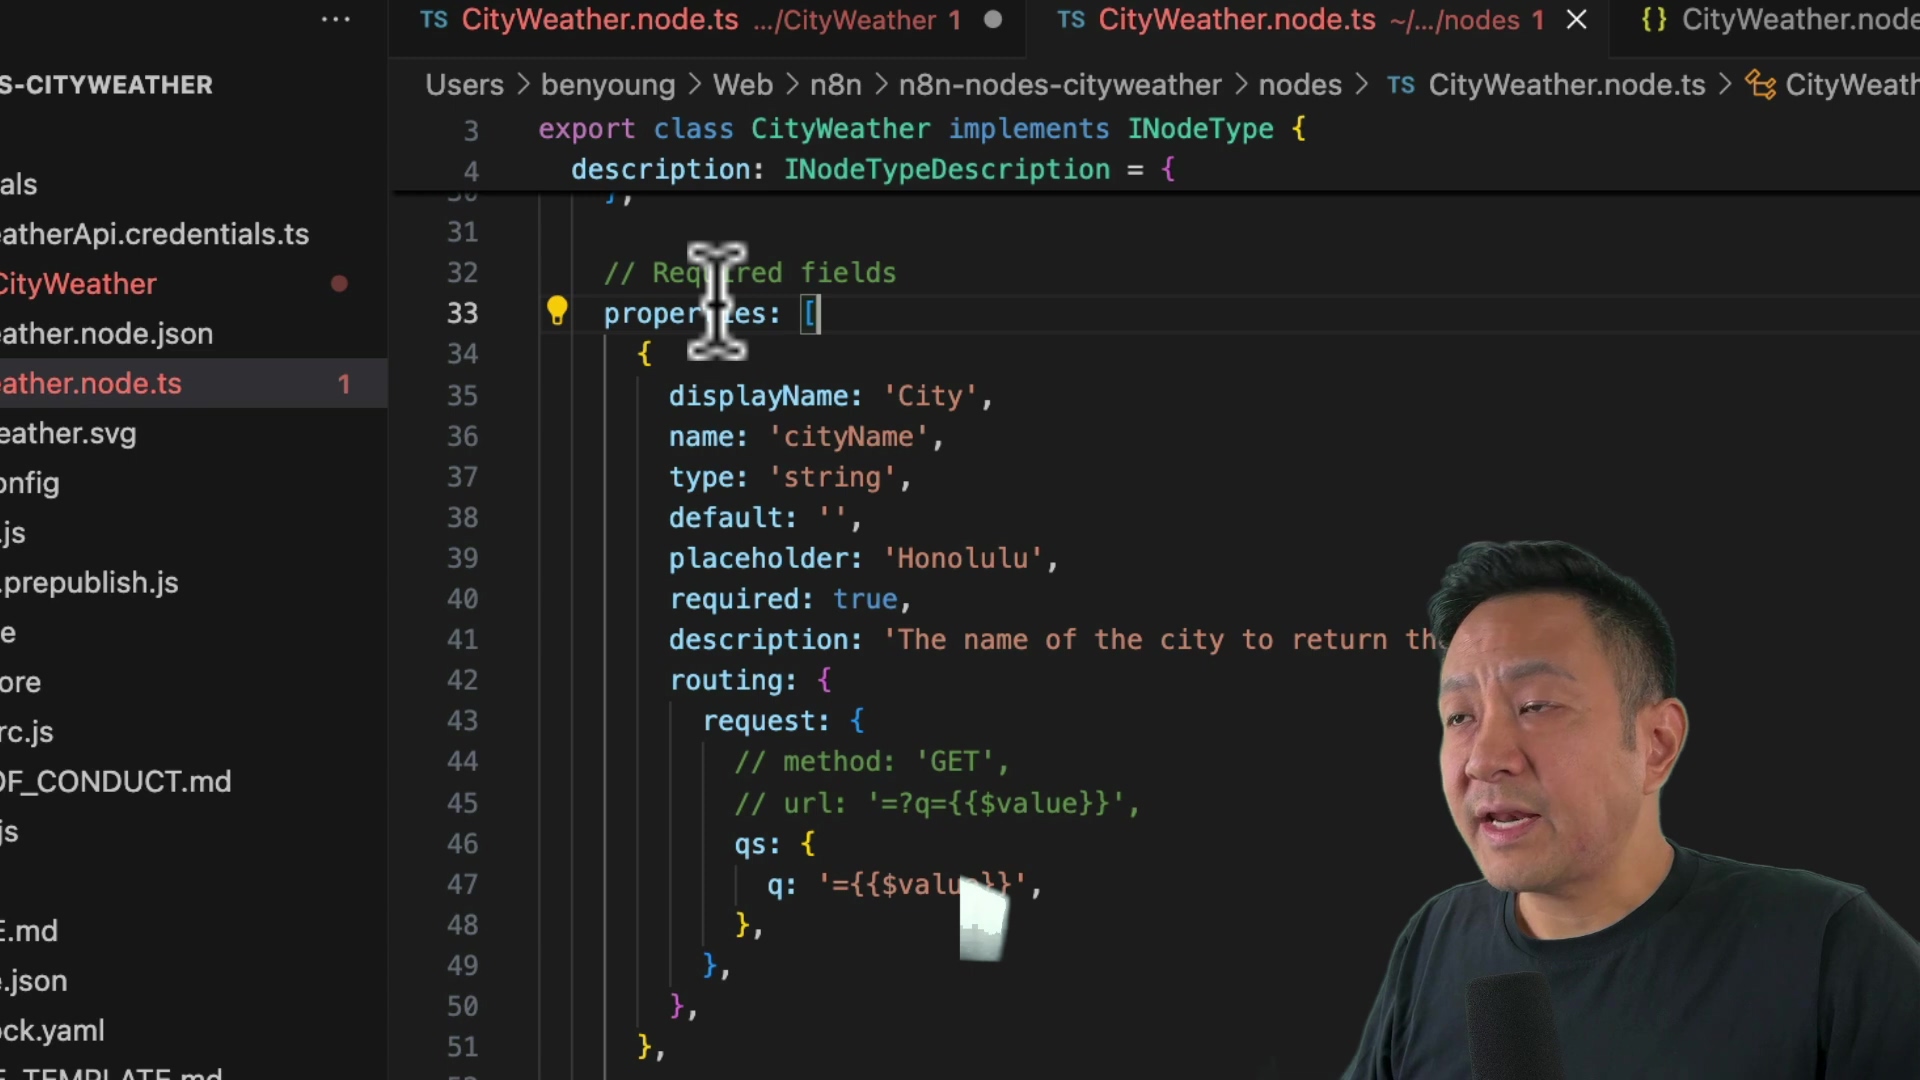
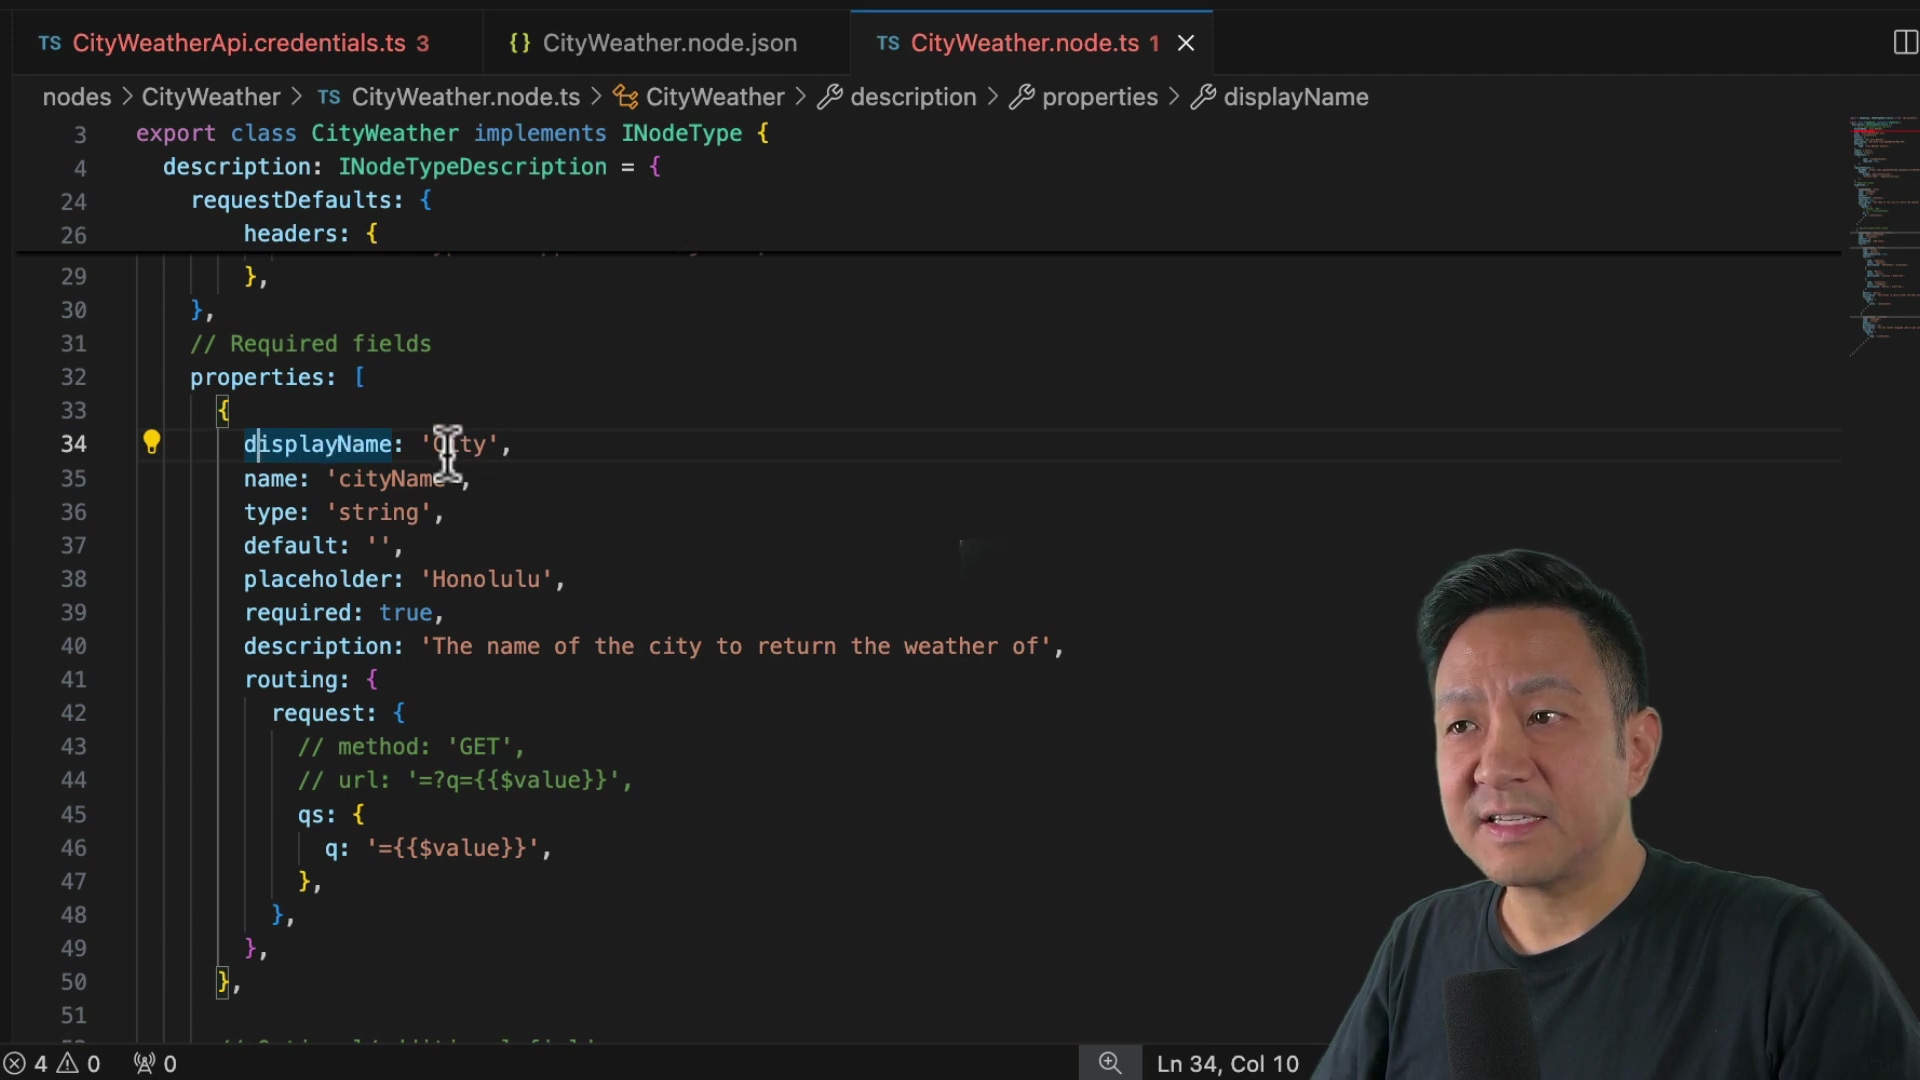
Step 3: Populate cityweather.node.ts
Add the necessary import statements and the main class definition to cityweather.node.ts. Remember to replace nasapics with cityweather. This is where the magic happens! You’ll be defining the logic of your node.
Next, add the node details, including the base URL for the Open Weather Map API. This tells n8n where to fetch the weather data from.
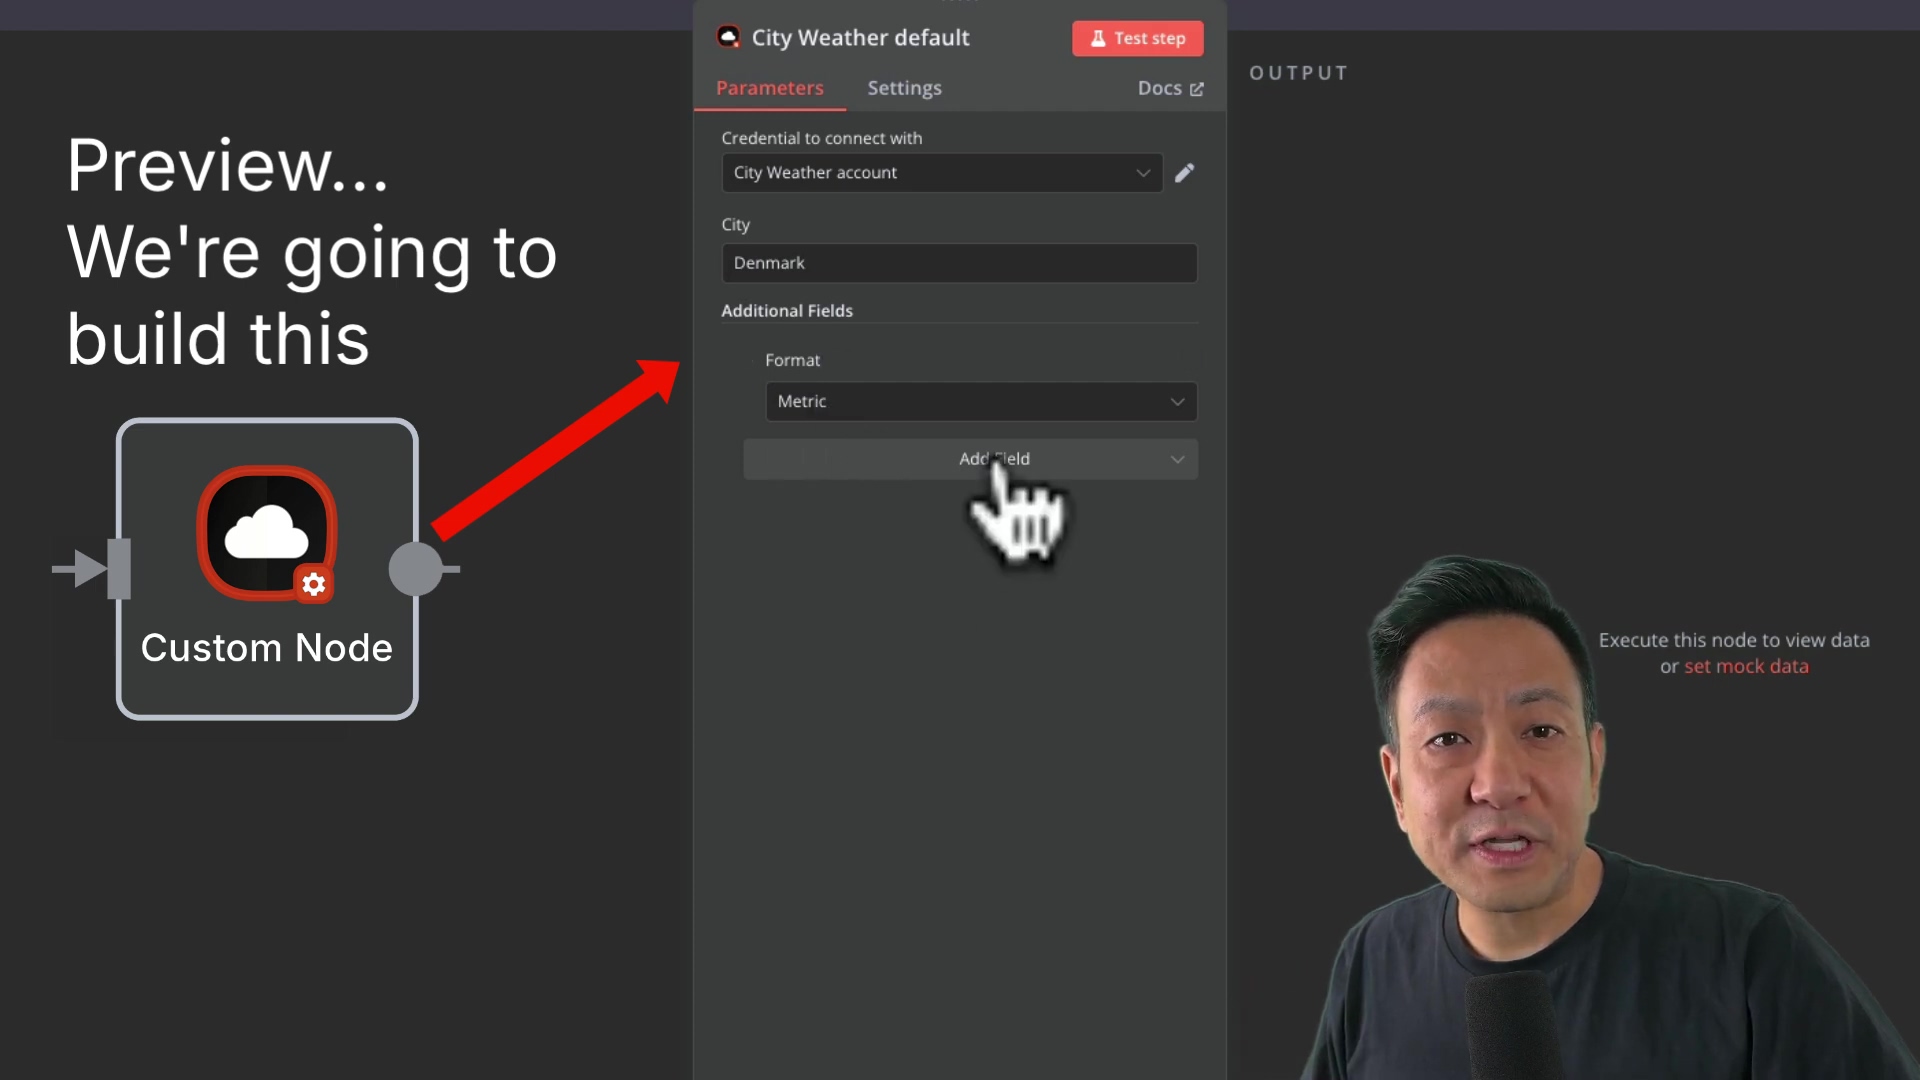
Finally, define the resources that will be displayed in the n8n user interface. This includes required fields (e.g., city name) and optional fields (e.g., format, language). These are the settings that users will see when they use your node.
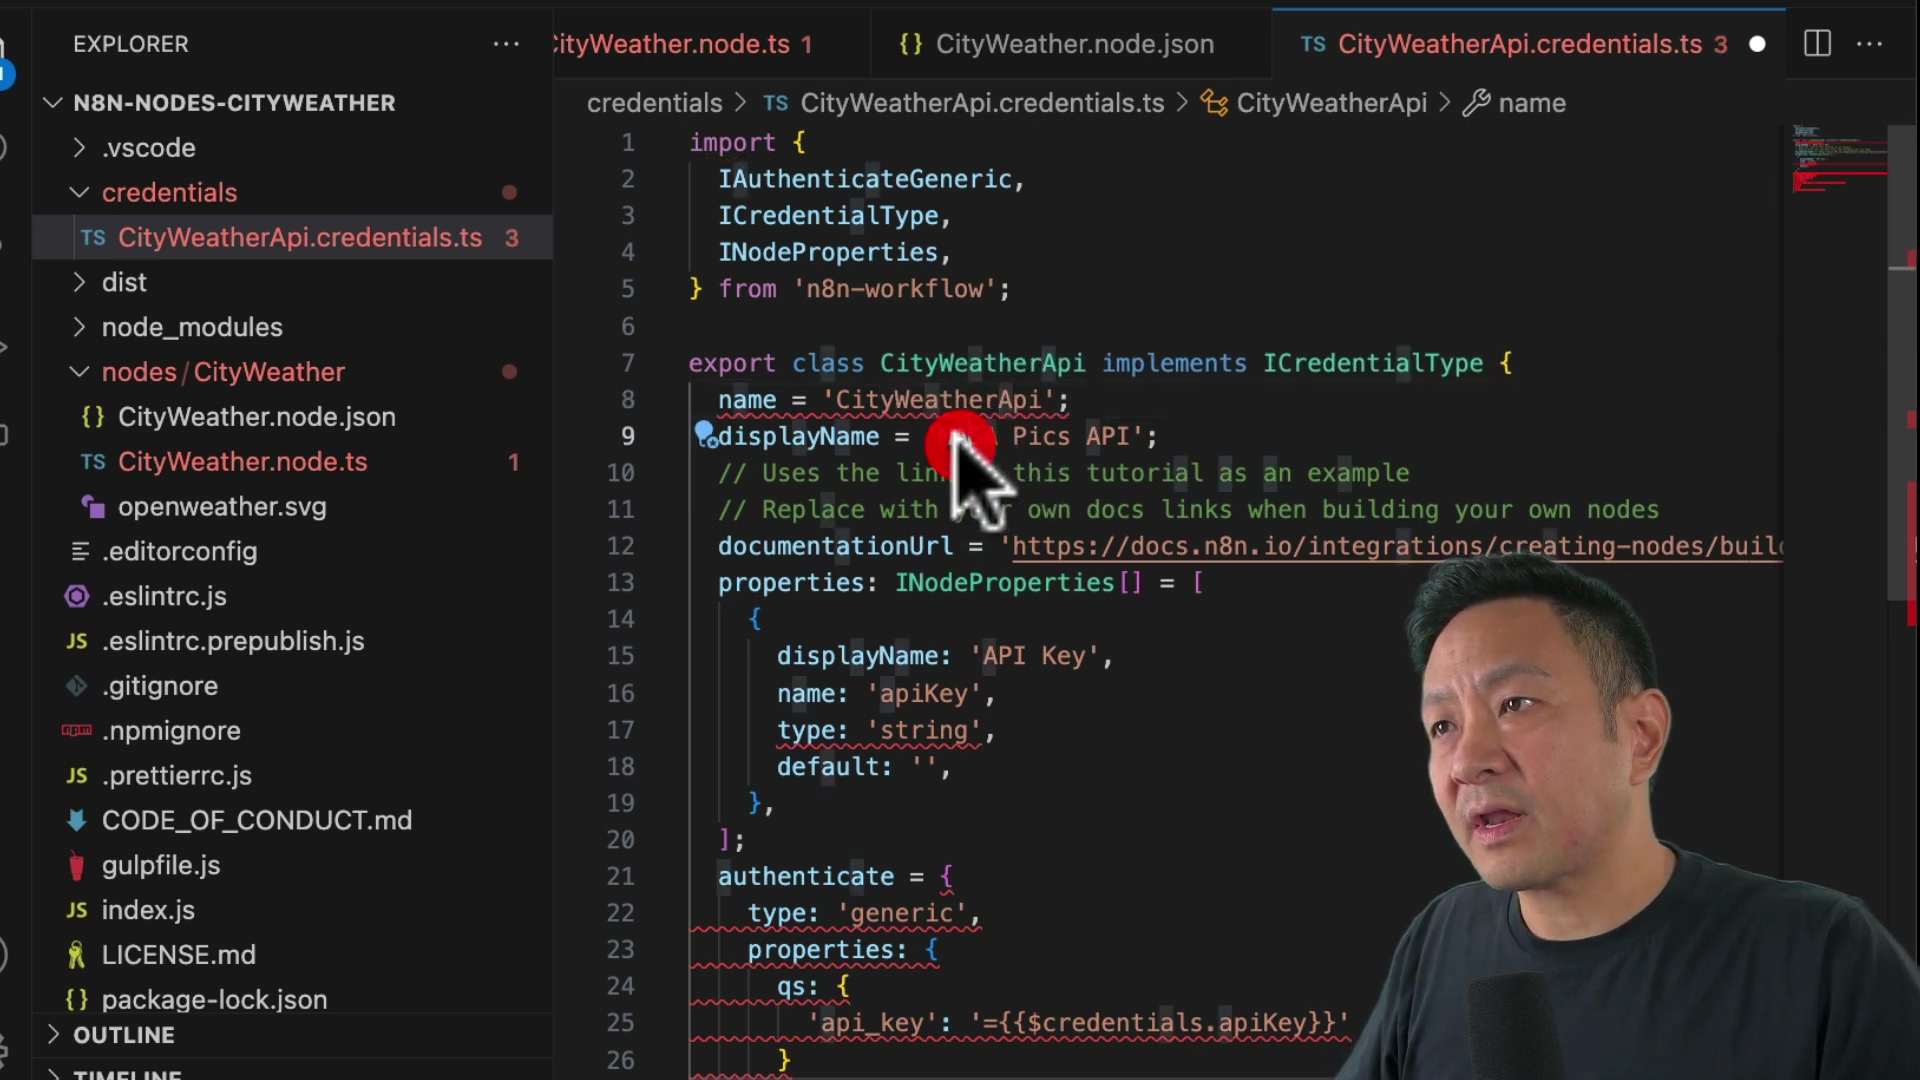
Step 4: Set Up Authentication in cityweatherapi.credentials.ts
Edit the cityweatherapi.credentials.ts file to configure authentication. Copy the code from the tutorial and modify the name and display name to City Weather API. Make sure the API key title matches the Open Weather Map API documentation. The API key is called app ID. This is how your node will securely access the OpenWeatherMap API. Without it, you won’t be able to get any weather data!
Step 5: Add Node Metadata in cityweather.node.json
Populate the cityweather.node.json file with node metadata, such as the name and version. Remember to change NASA pics to city weather. This file tells n8n about your node – its name, version, and other important details.
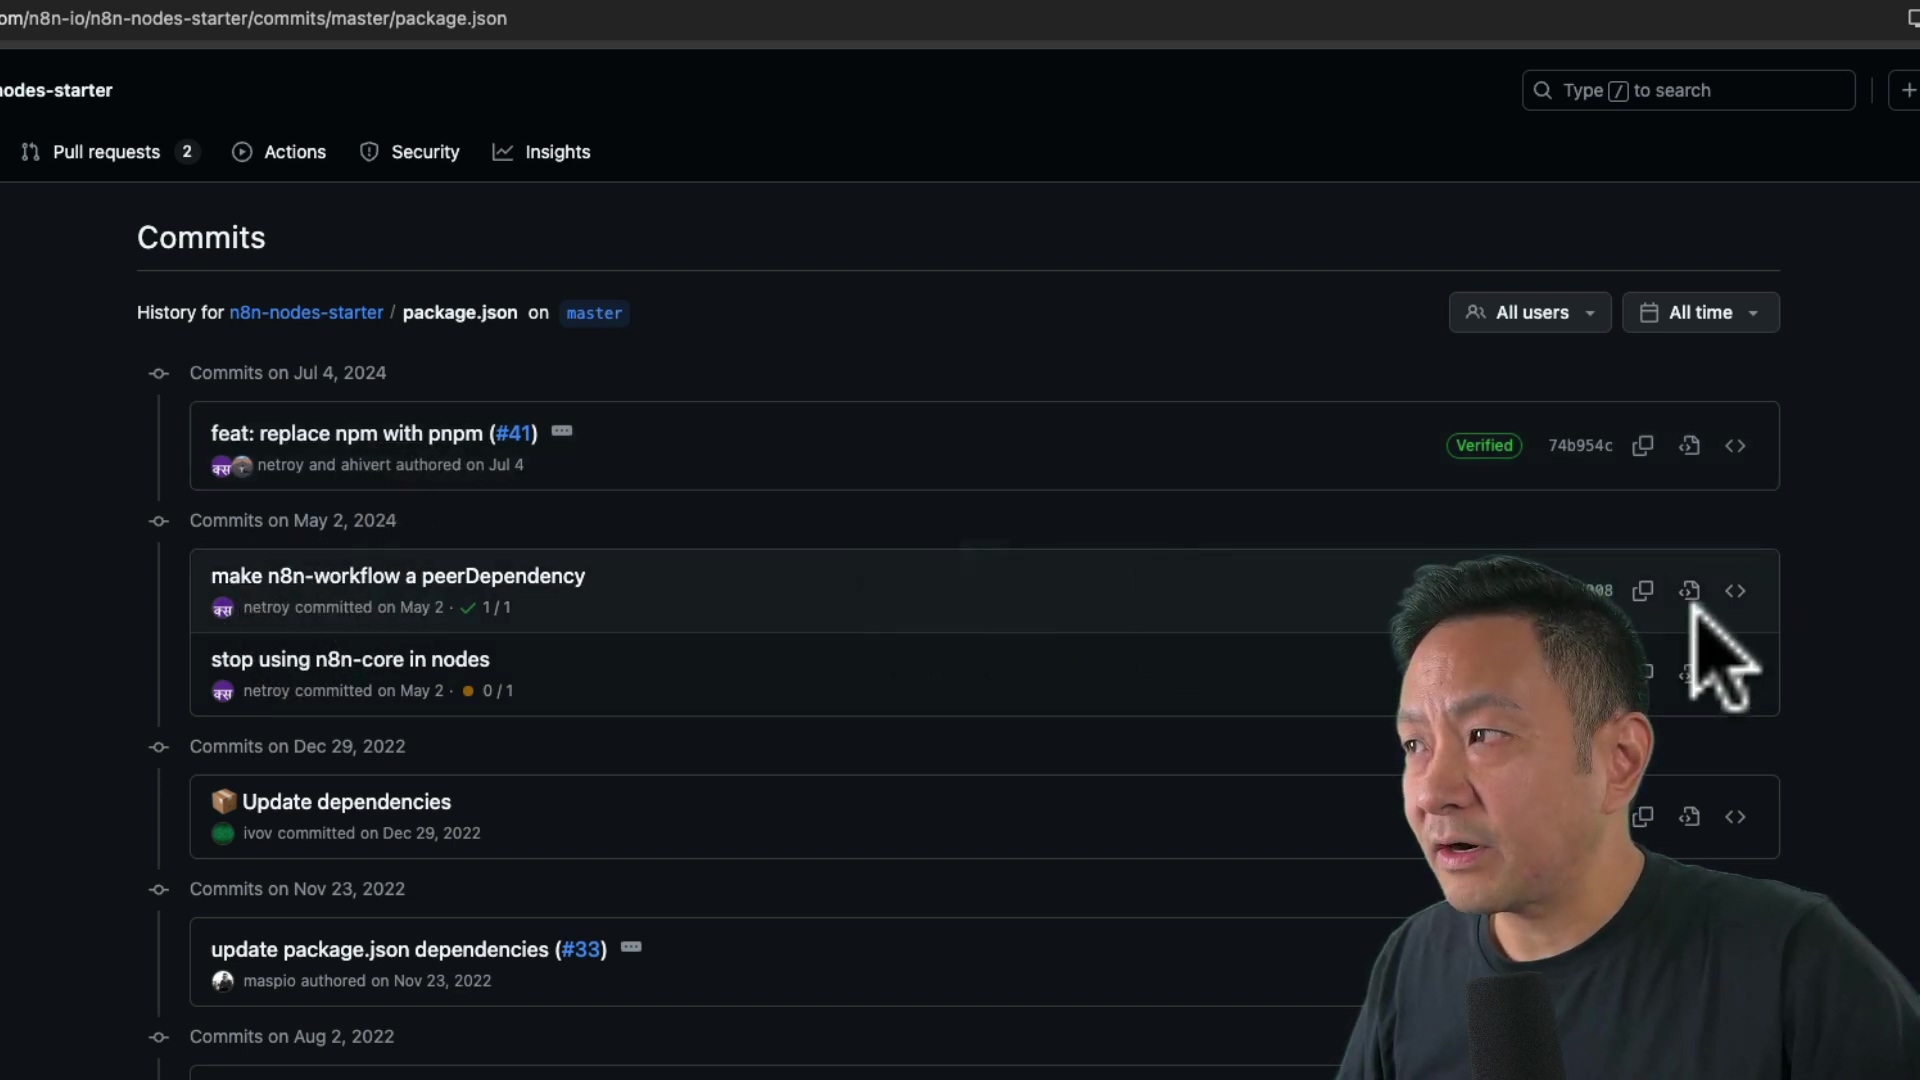
Step 6: Update NPM Package Details (Important!)
This step is crucial. The starter template may use pnpm instead of npm. To ensure compatibility, revert to a previous version of the package.json file (before July 2024) to use NPM.
- Go to the
package.jsonfile in the n8n node starter template on GitHub. - View the history and select the version from May 2nd, 2024.
- Copy the code from that version and paste it into your local
package.jsonfile. - Change the names to reflect your project (e.g.,
city weather). - Delete the
pnpm-lock.yamlfile.
Why are we doing this? Because npm and pnpm are different package managers, and we want to make sure everything works smoothly. This is a bit of a technical detail, but it’s important to get right!
Testing Your Custom Node
Now that you’ve created your custom node, it’s time to test it! This is where you see if all your hard work has paid off.
-
Ensure n8n is installed (
npm install n8n -g). This installs n8n globally on your system, so you can run it from anywhere. After running this command, you should see a message confirming that n8n has been installed. -
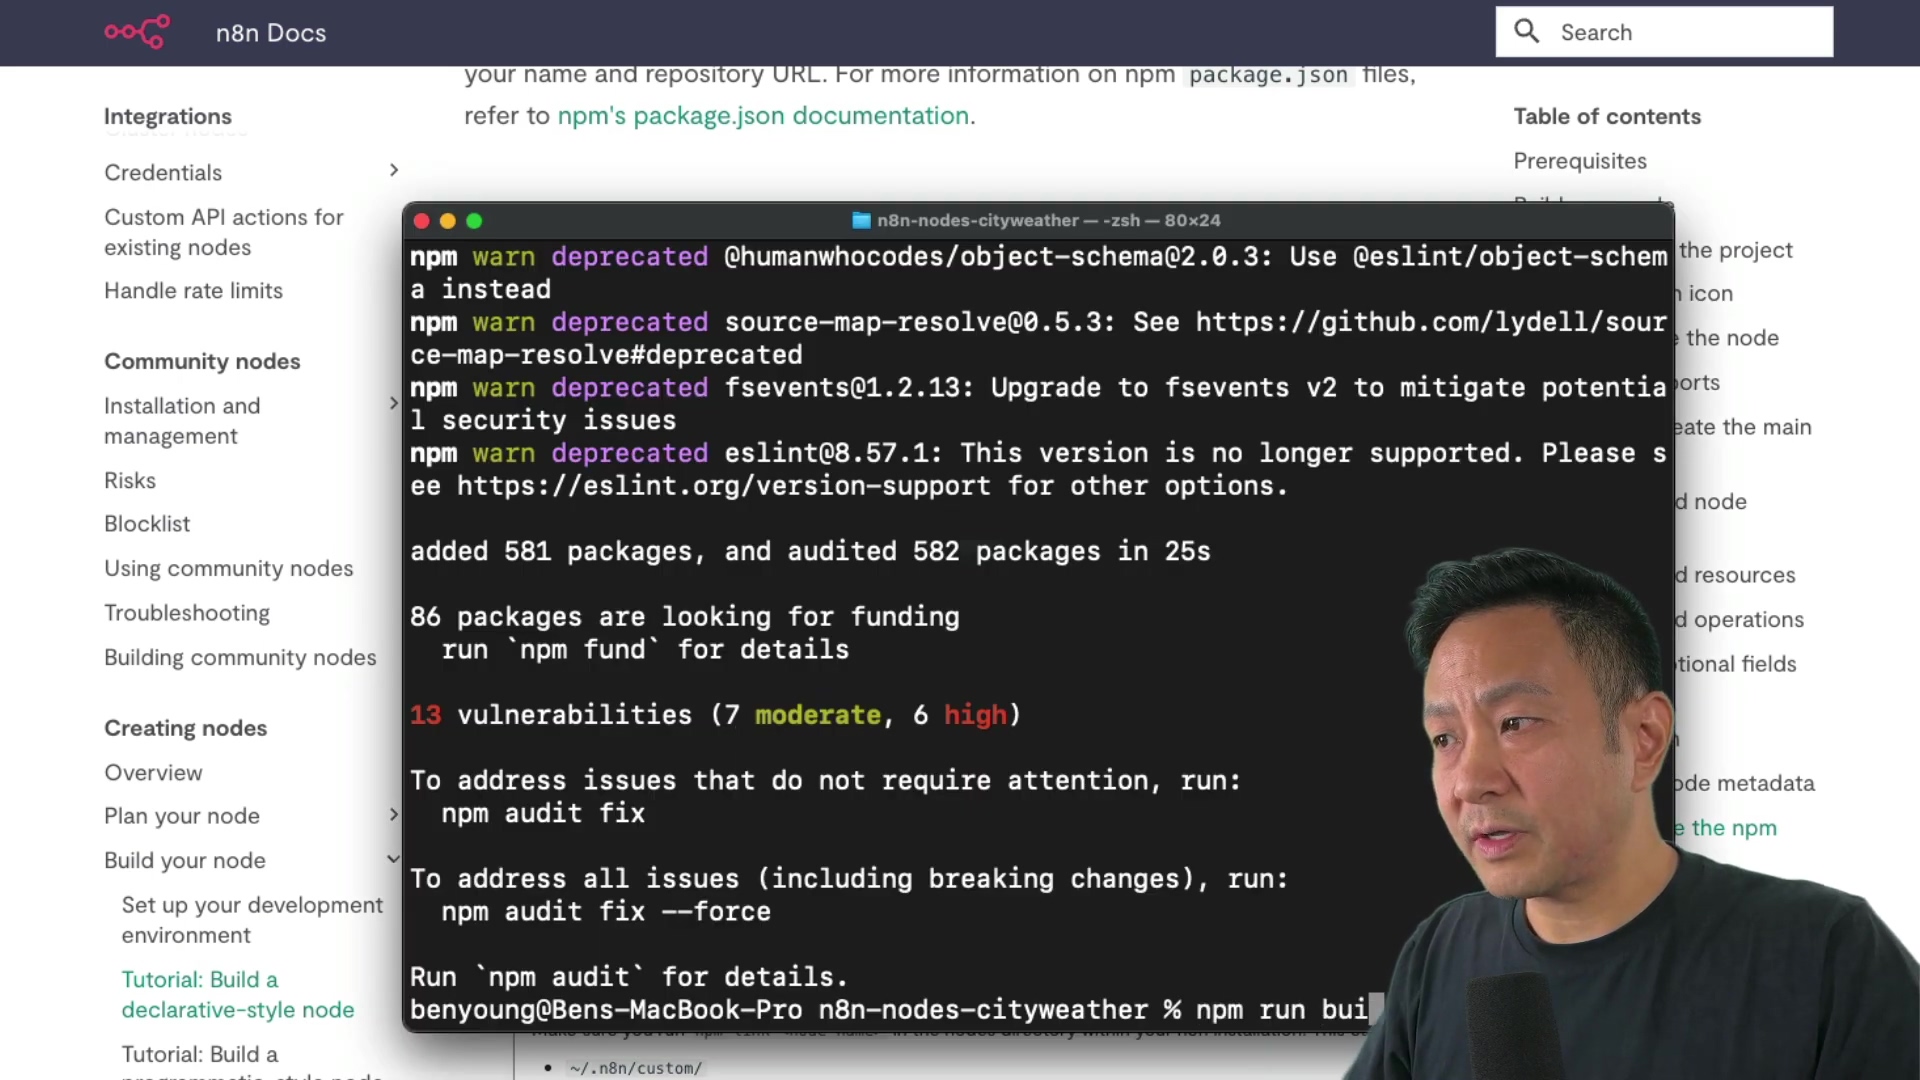
In your
n8n-nodes-cityweatherdirectory, runnpm install,npm run build, andnpm link. Let’s break this down:npm install: Installs all the dependencies required by your node.npm run build: Compiles your TypeScript code into JavaScript.npm link: Creates a symbolic link to your node, so n8n can find it.
You should see messages indicating that the dependencies have been installed, the code has been compiled, and the node has been linked.
-
Navigate to your local n8n instance directory (e.g.,
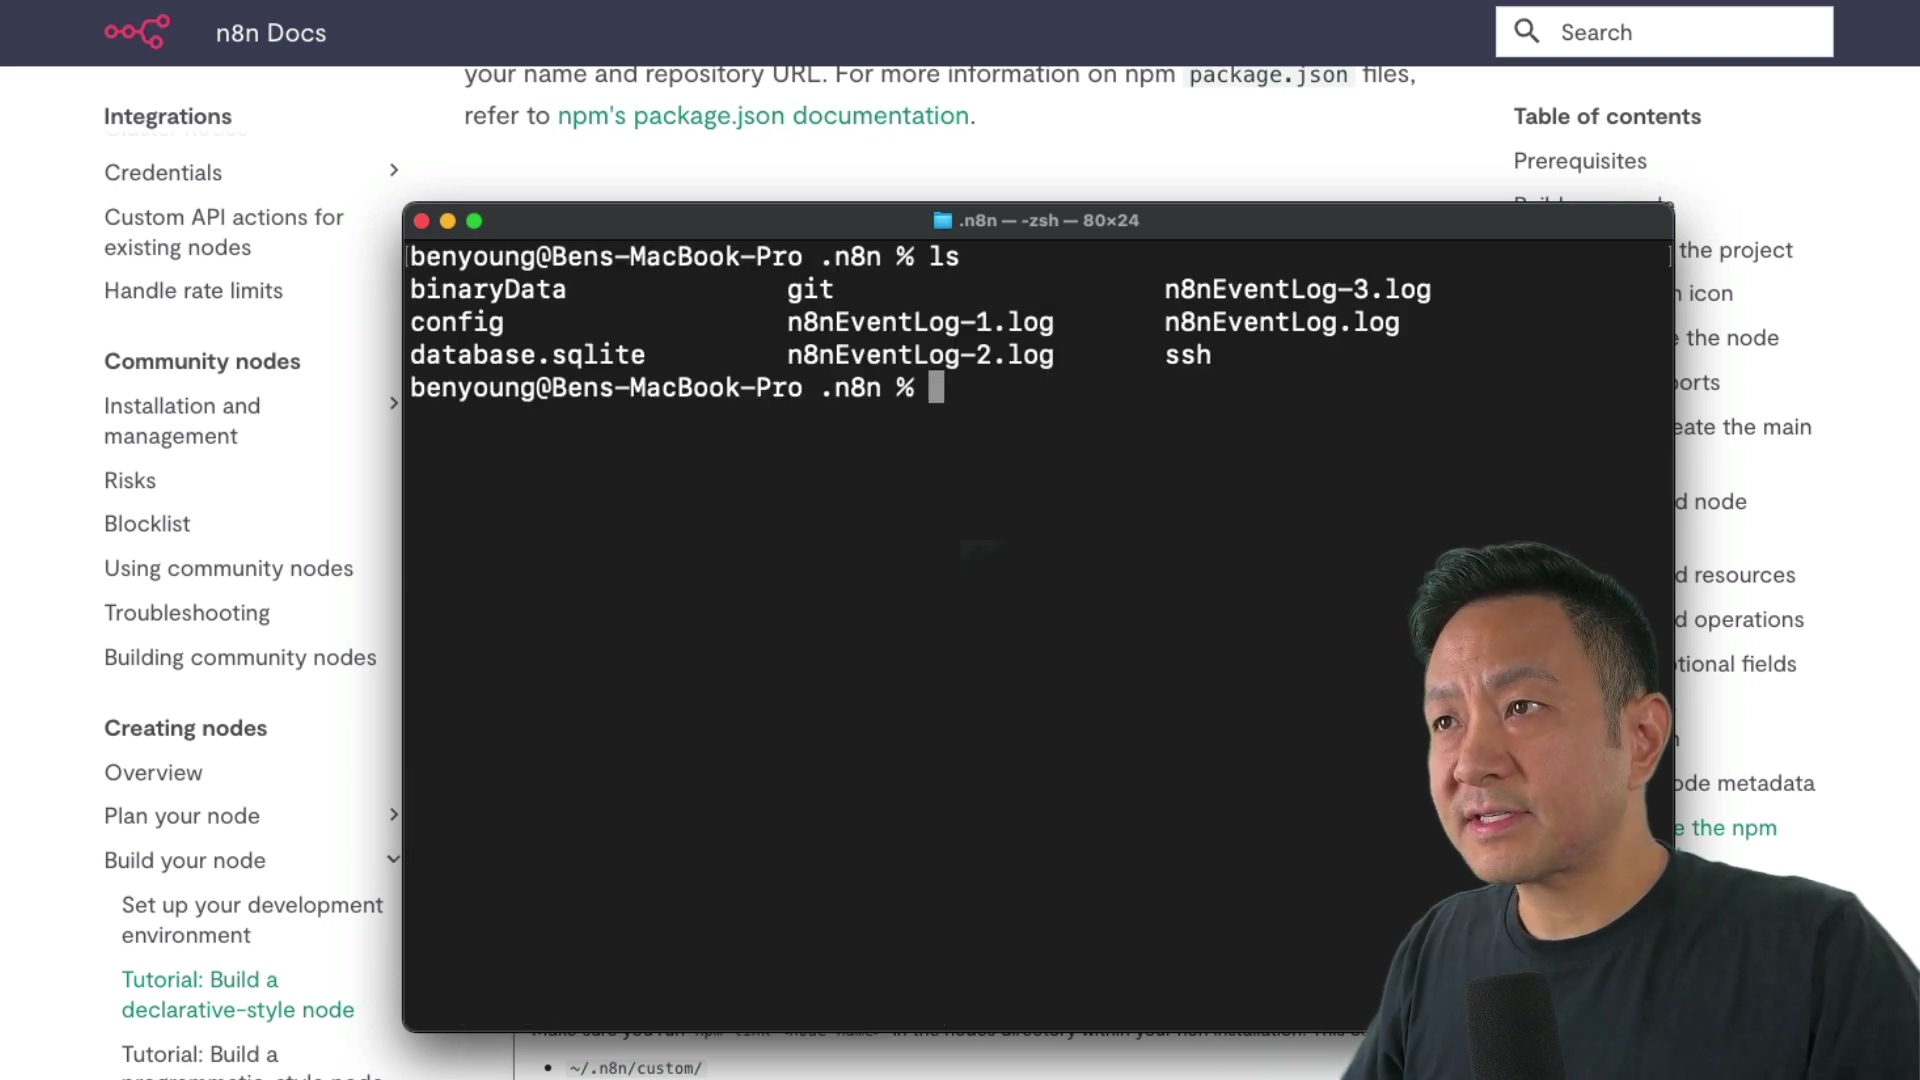
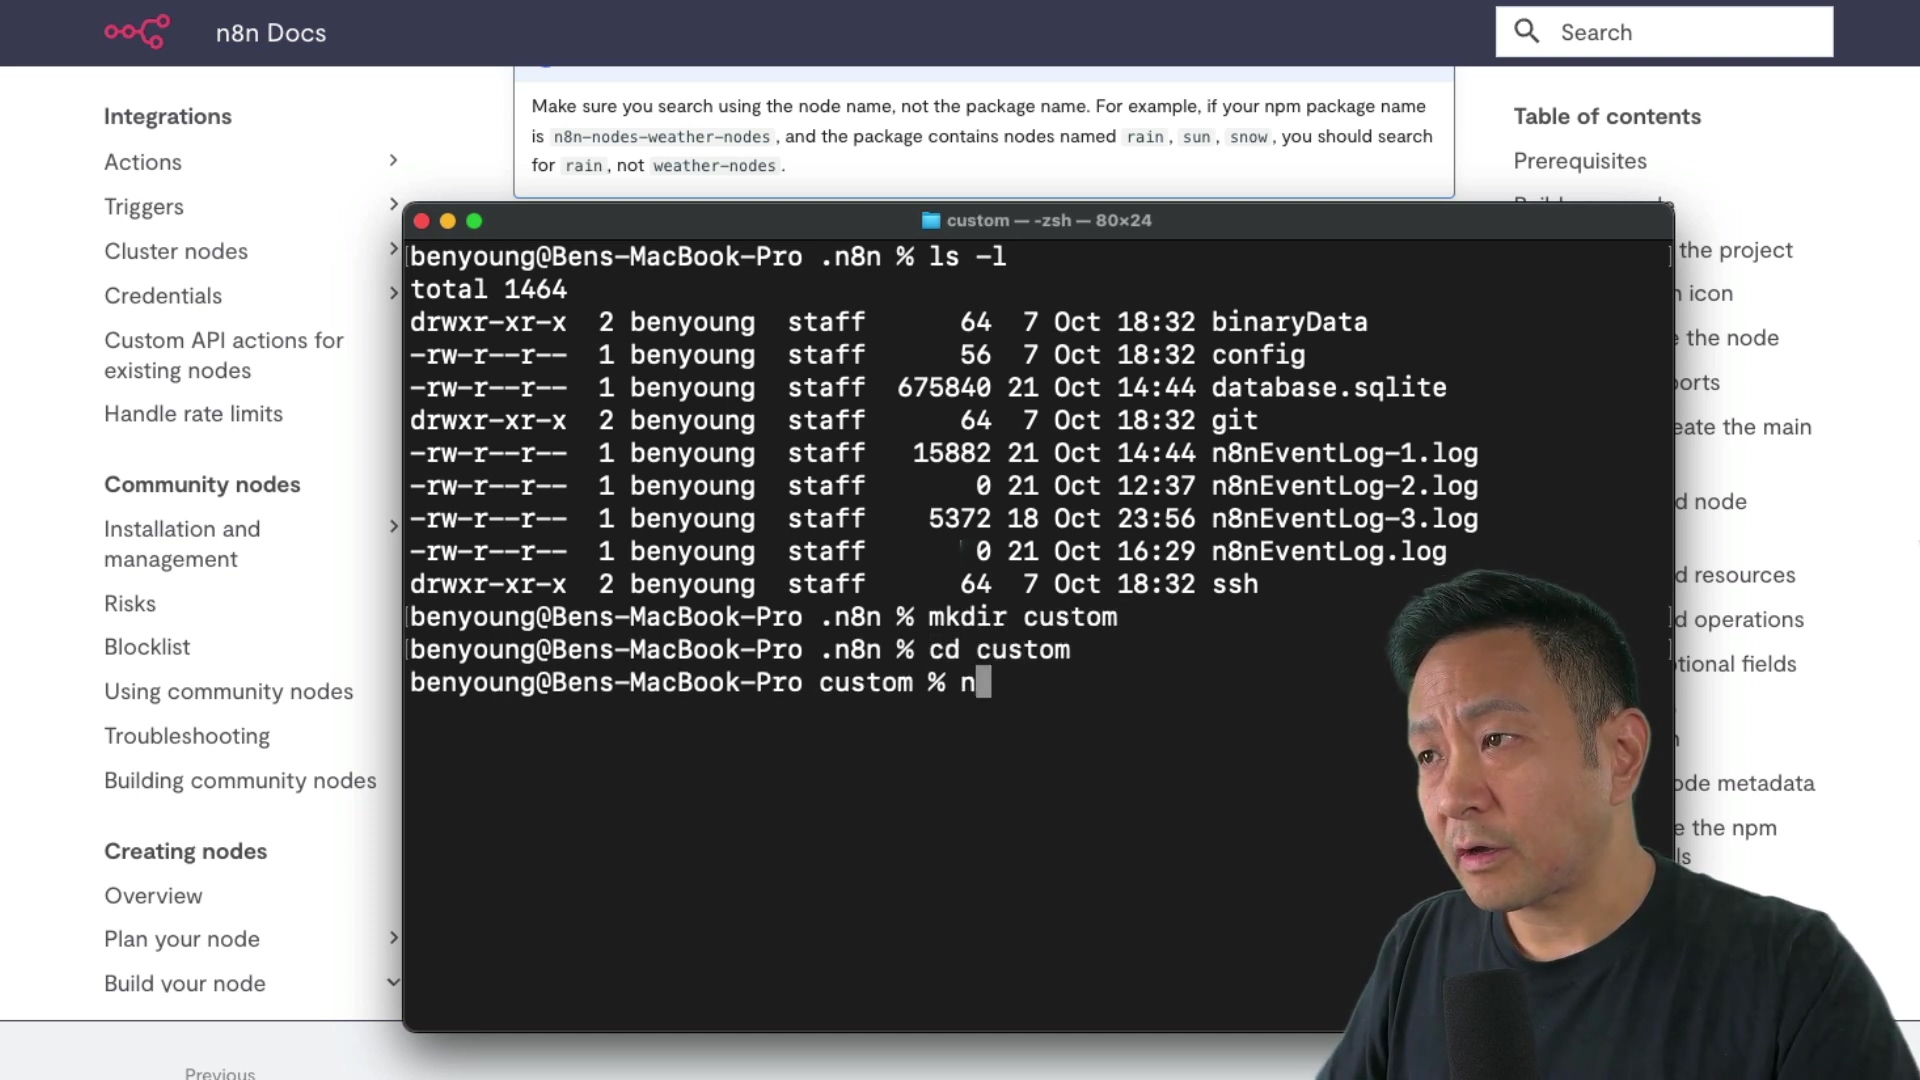
cd ~/.n8non macOS/Linux). This is where n8n stores its data and configuration files. -
If a
customdirectory doesn’t exist, create one (mkdir custom) and initialize it withnpm init. Thecustomdirectory is where n8n looks for custom nodes. Thenpm initcommand creates apackage.jsonfile in the directory, which is required fornpm linkto work. -
Link your node:
npm link n8n-nodes-cityweather. This creates a symbolic link from your node’s directory to thecustomdirectory, so n8n can find it. You should see a message confirming that the node has been linked. -
Run n8n. You can do this by running the
n8ncommand in your terminal. This will start the n8n server. You should see a message indicating that n8n is running and listening on a specific port (usually 5678).
npm install n8n -gnpm install
npm run build
npm linkmkdir custom
cd custom
npm init -ynpm link n8n-nodes-cityweather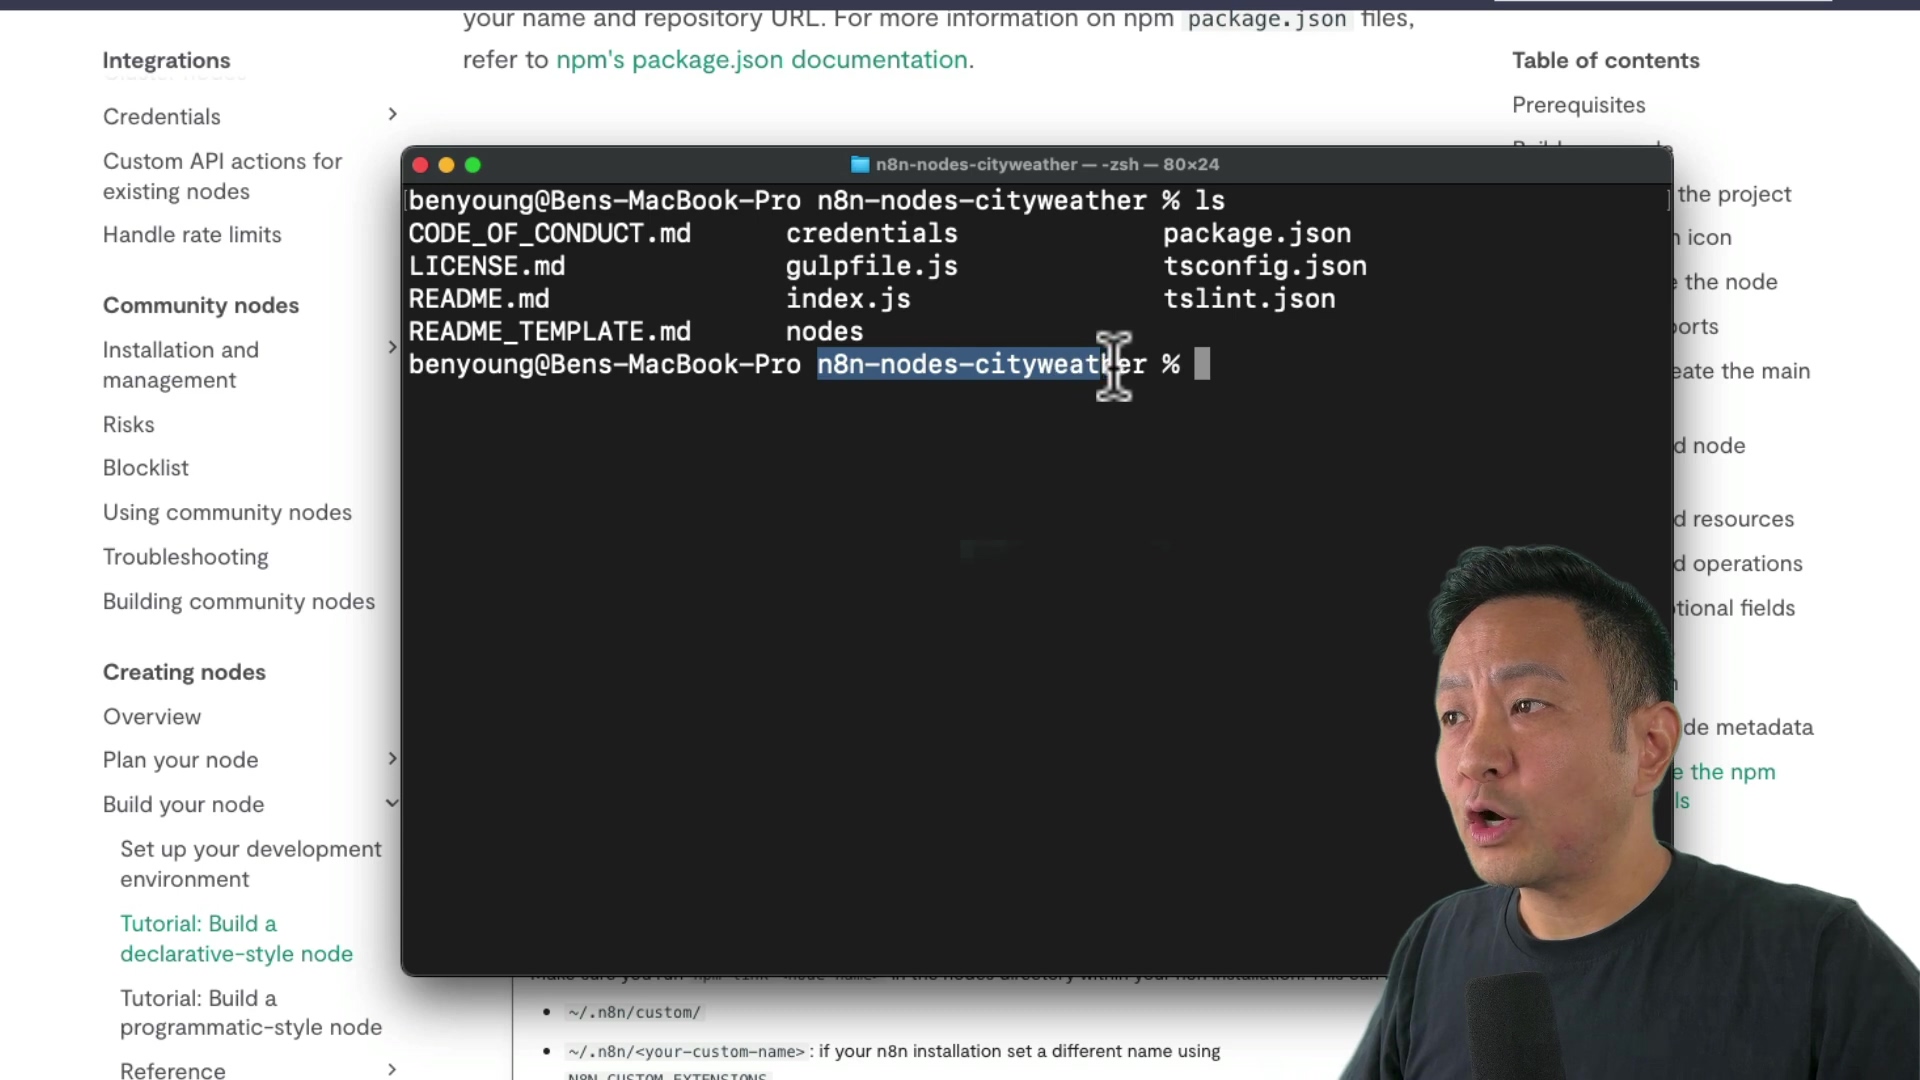
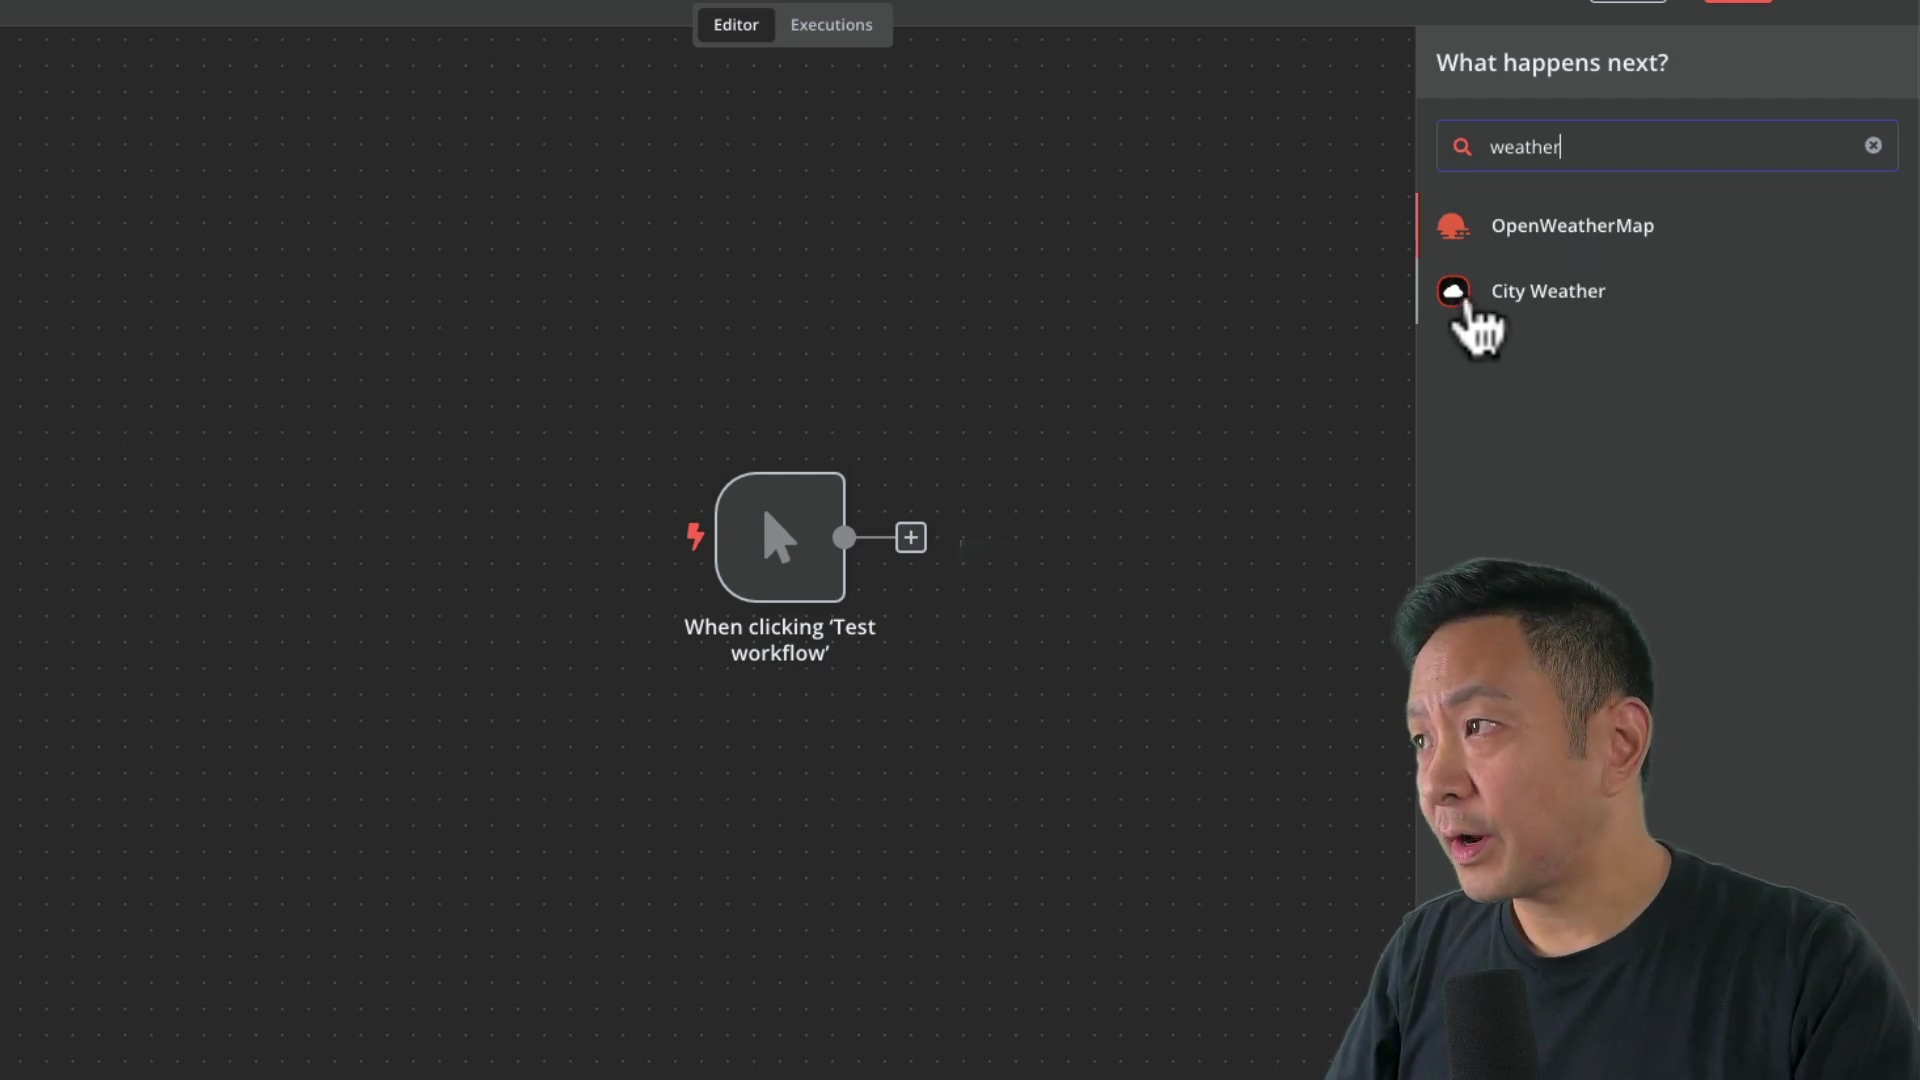
Open your n8n instance in a browser and refresh. Add a workflow and search for your new node (e.g., City Weather). If you’ve done everything correctly, you should see your new node in the list!
Making Changes to Your Custom Node
To implement changes, rerun npm run build in your n8n-nodes-cityweather directory, followed by npm link and the package name in your n8n instance. This is how you update your node after making changes to the code.
For instance, to make the format field mandatory, move its code block from the optional fields section to the required fields section in cityweather.node.ts. Then, rebuild and relink the node. This will ensure that users always have to specify the format of the weather data.

Best Practices and Additional Tips
- Learn from Existing Nodes: Explore n8n’s open-source code on GitHub to understand how existing nodes are built. This is a great way to learn from the pros!
- Examine Existing Nodes: Examine the source code of existing nodes (e.g., the Open Weather Map node) to learn how the UI is constructed. Pay attention to how they handle inputs, outputs, and error handling.
- JavaScript Flexibility: Custom nodes can incorporate JavaScript for greater flexibility. This allows you to perform complex data transformations and logic.
Resources and Cost-Benefit Analysis
Resources List
| Resource | Description | Cost |
|---|---|---|
| n8n | Workflow automation platform | Free/Paid |
| Node.js | JavaScript runtime environment | Free |
| npm/pnpm | Package manager for Node.js | Free |
| Visual Studio Code | Code editor | Free |
| Open Weather Map API Key | Required for accessing weather data. | Free/Paid |
| n8n-nodes-starter repo | Starter template for creating custom nodes | Free |
Cost-Benefit Analysis
| Feature | DIY Custom Node | Commercial Node Development Service |
|---|---|---|
| Initial Cost | Time investment (learning, development, debugging) | Monetary investment (hiring a developer) |
| Time to Implement | Longer (days/weeks depending on complexity) | Shorter (days/weeks depending on complexity) |
| Customization | Fully customizable to specific needs | Limited to service offerings |
| Maintenance | Requires ongoing maintenance and updates by you | Maintenance typically included in service agreement |
| Long-Term Cost | Lower monetary cost, higher time investment | Higher monetary cost, lower time investment |
| Skill Development | Enhances coding and problem-solving skills | No skill development |
| Control | Full control over the node’s functionality and security | Less control; reliance on the service provider |
Safety and Best Practices
- Secure API Keys: Never hardcode API keys. Use n8n’s credential management. This is crucial for protecting your API keys from being exposed.
- Input Validation: Always validate user inputs to prevent errors and security vulnerabilities. This helps prevent malicious users from injecting code into your node.
- Thorough Testing: Test your custom node thoroughly with various inputs and scenarios. This ensures that your node works correctly in all situations.
FAQ
Q: Can I use a custom node created by someone else?
A: Yes, if it’s a community node or installed via npm run build.
Q: Are custom nodes supported on n8n Cloud? A: No, only on self-hosted instances. This is due to security considerations.
Q: What if I encounter errors? A: Double-check your code, API keys, and consult the n8n documentation or community forums. The n8n community is very helpful!
Key Takeaways
- Revert to a
package.jsonversion before July 2024 to avoidpnpmissues. This is a common pitfall, so make sure you don’t skip this step! - Utilize n8n’s GitHub repository for learning. There’s a wealth of information there.
- Validate user inputs. This is a crucial security measure.
- Use n8n’s credential management for API keys. Never hardcode your API keys!
Conclusion
This guide has shown you how to create and testing n8n custom node, tailoring the platform to your needs. Explore n8n’s GitHub repository and stay updated with best practices to ensure your nodes are secure and efficient.
Share your custom node creations and insights below!
Frequently Asked Questions (FAQ)
Q: What are the main differences between declarative and programmatic nodes?
A: Declarative nodes are easier to create and maintain, suitable for most use cases. Programmatic nodes offer more flexibility and control but require more coding.
Q: How can I debug my custom node if it’s not working as expected?
A: Use console.log statements in your code to track the flow of data and identify any errors. You can also use a debugger in Visual Studio Code to step through your code.
Q: Can I use environment variables in my custom node?
A: Yes, you can access environment variables using process.env in your code. This is useful for storing sensitive information such as API keys.
Q: How do I share my custom node with the n8n community?
A: You can publish your node to the npm registry and then submit it to the n8n community nodes repository on GitHub.
Q: What kind of testing should I perform on my custom node?
A: You should perform unit tests to verify that each function in your code works correctly. You should also perform integration tests to ensure that your node works correctly with n8n.
Q: Is it possible to create a custom node that triggers automatically based on an event?
A: Yes, you can create a trigger node using the programmatic node style. Trigger nodes can listen for events from external services and automatically start a workflow.