Watch the Video Tutorial
💡 Pro Tip: After watching the video, continue reading below for detailed step-by-step instructions, code examples, and additional tips that will help you implement this successfully.
Integrating Gmail with n8n opens up a world of automation possibilities. This guide will walk you through how to setup n8n Gmail credential, allowing you to automate email sending, processing, and more. We’ll cover everything from creating a Google Cloud project to configuring the necessary credentials within n8n.
Table of Contents
Open Table of Contents
Why Integrate Gmail with n8n?
n8n’s node-based system allows you to connect various services and automate complex workflows. Integrating Gmail lets you:
- Send automated emails based on triggers.
- Process incoming emails and extract data.
- Create email-based notifications.
- Archive emails to other services.
Think of n8n as your personal robot army, and Gmail integration is like giving them the ability to communicate with the outside world! Pretty cool, right?
Prerequisites
Before we begin with how to setup n8n Gmail credential, make sure you have the following:
- An n8n instance (self-hosted or cloud). If you don’t have one yet, you can check out n8n’s official website for setup options. I personally prefer the self-hosted version for maximum control.
- A Google Account. You probably already have one of these!
- A Google Cloud Account (for creating credentials). Don’t worry, Google Cloud offers a free tier, so you likely won’t have to pay anything to get started.
Step-by-Step Guide: How to Setup n8n Gmail Credential
Alright, let’s dive into the fun part! Follow these steps to successfully connect n8n with your Gmail account:
1. Initiate Credential Setup in n8n
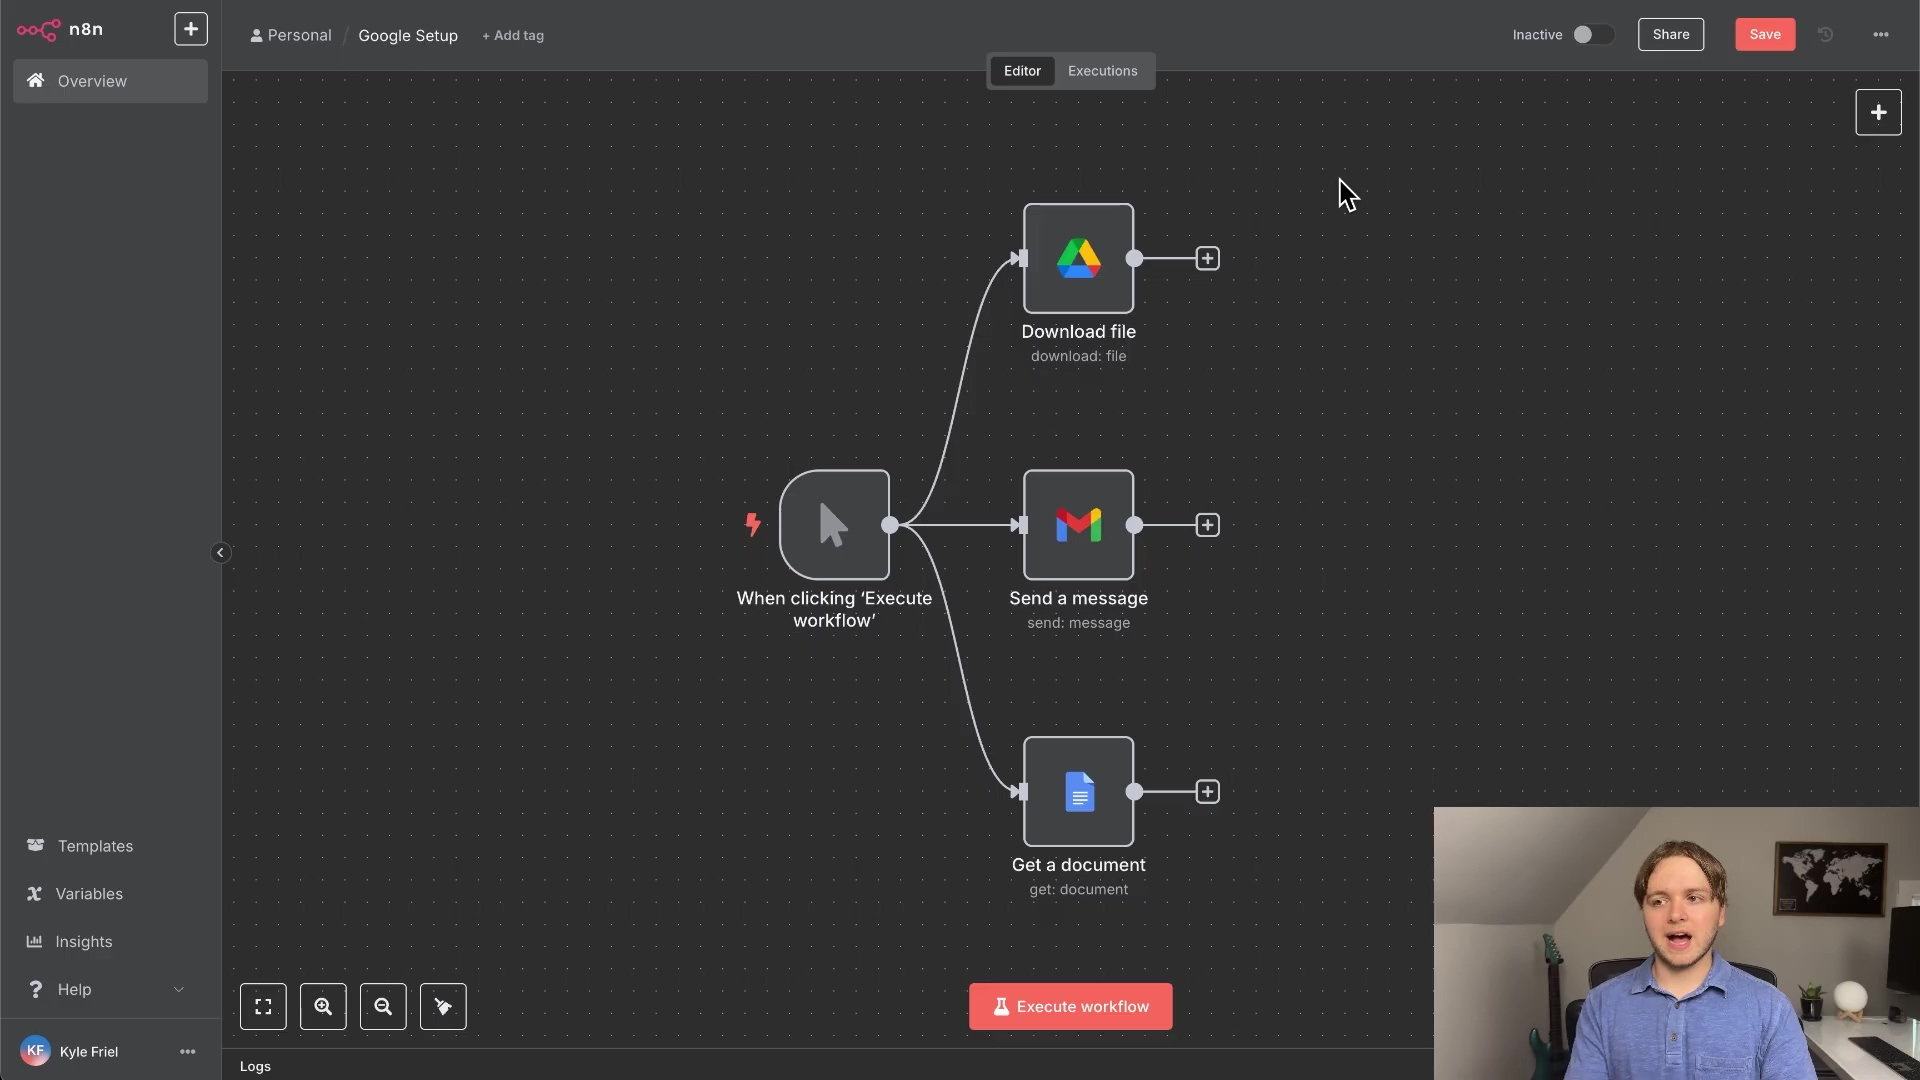
- In your n8n workflow, add a Gmail node. Nodes are the building blocks of your automation in n8n. Think of them like LEGO bricks.
- Double-click the Gmail node to open its settings.
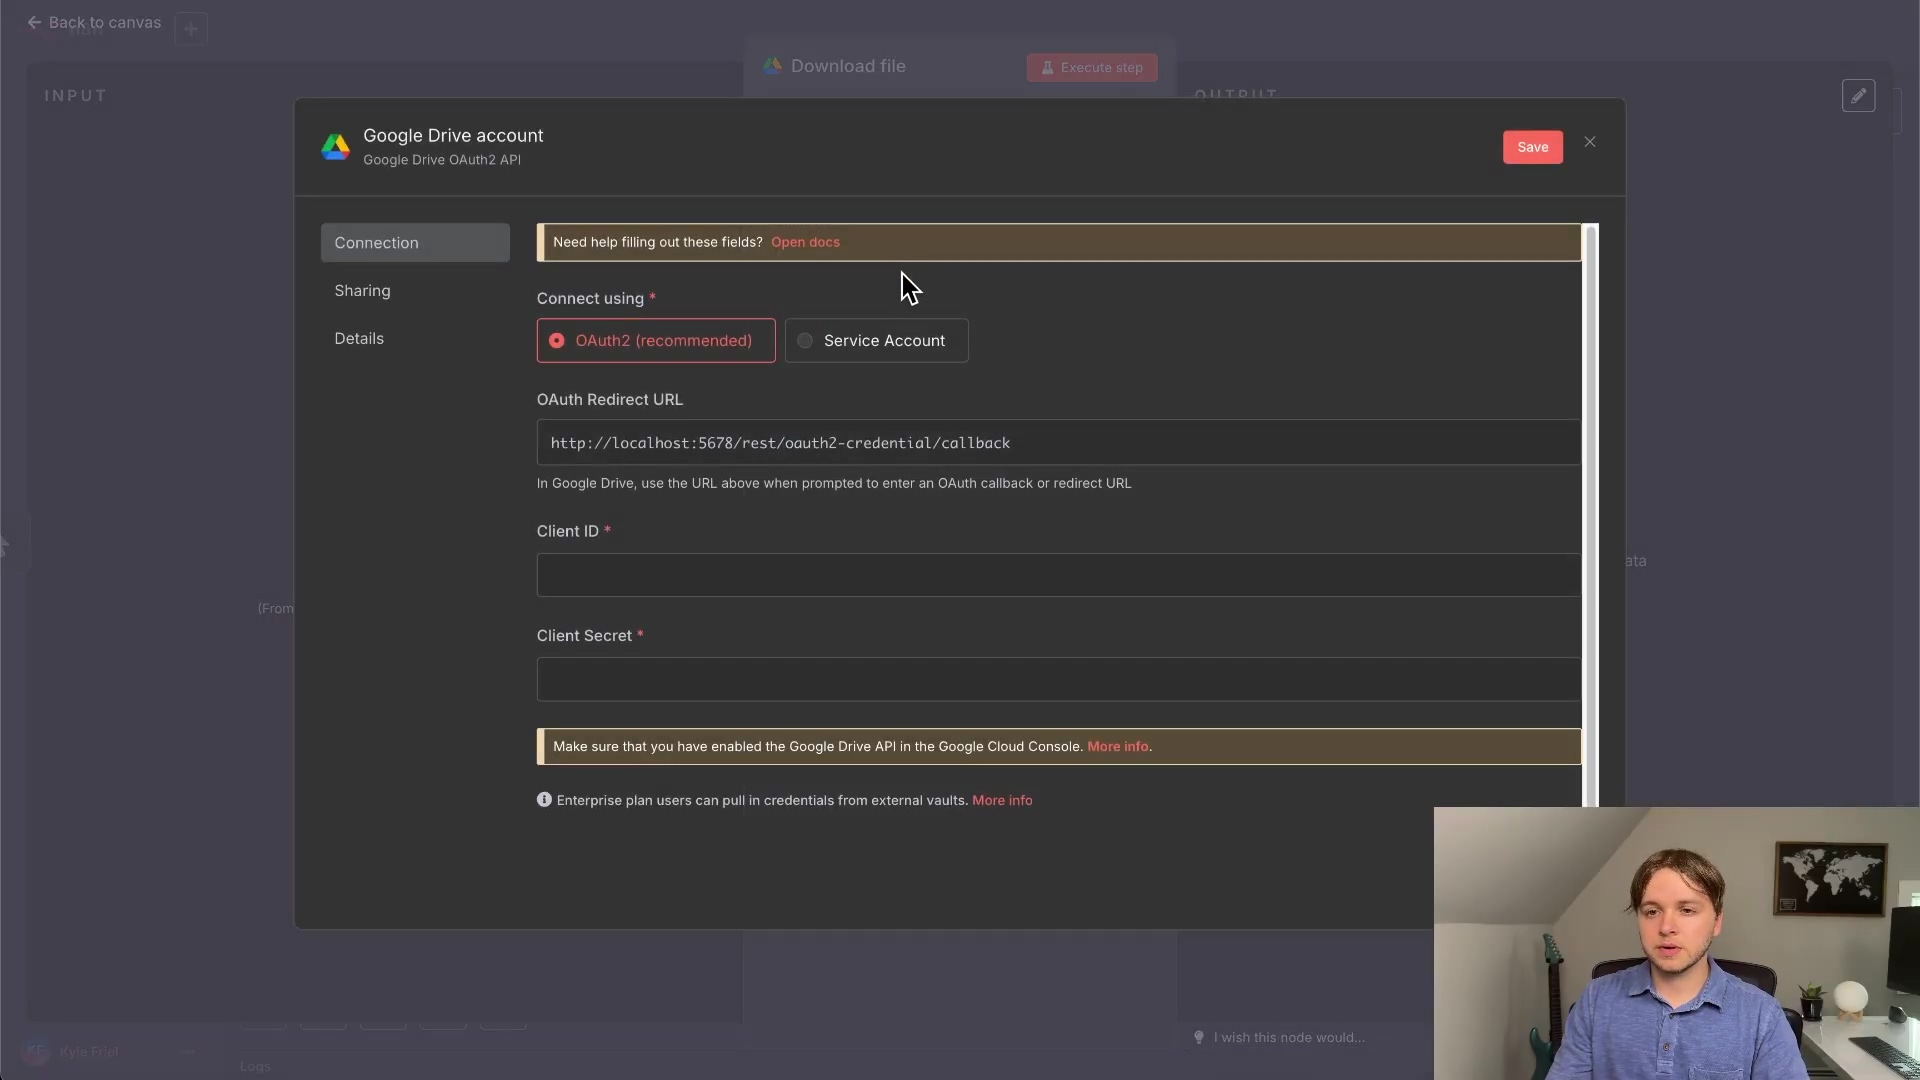
- You’ll see a ‘Credential’ field. Click it and select ‘Create new credential’. This is where we’ll store the connection details for Gmail.
- A modal window will appear, asking for Client ID and Client Secret. These are like the username and password for your n8n app to access Gmail.
2. Create a Google Cloud Project
- Go to the Google Cloud Console. This is where you’ll manage all things Google Cloud.
- If you don’t have a project, create a new one by clicking ‘Create Project’. A project is like a container for all your Google Cloud resources.
- Give your project a name (e.g., “n8n-gmail-integration”) and click ‘Create’. I recommend using a descriptive name so you can easily identify it later.

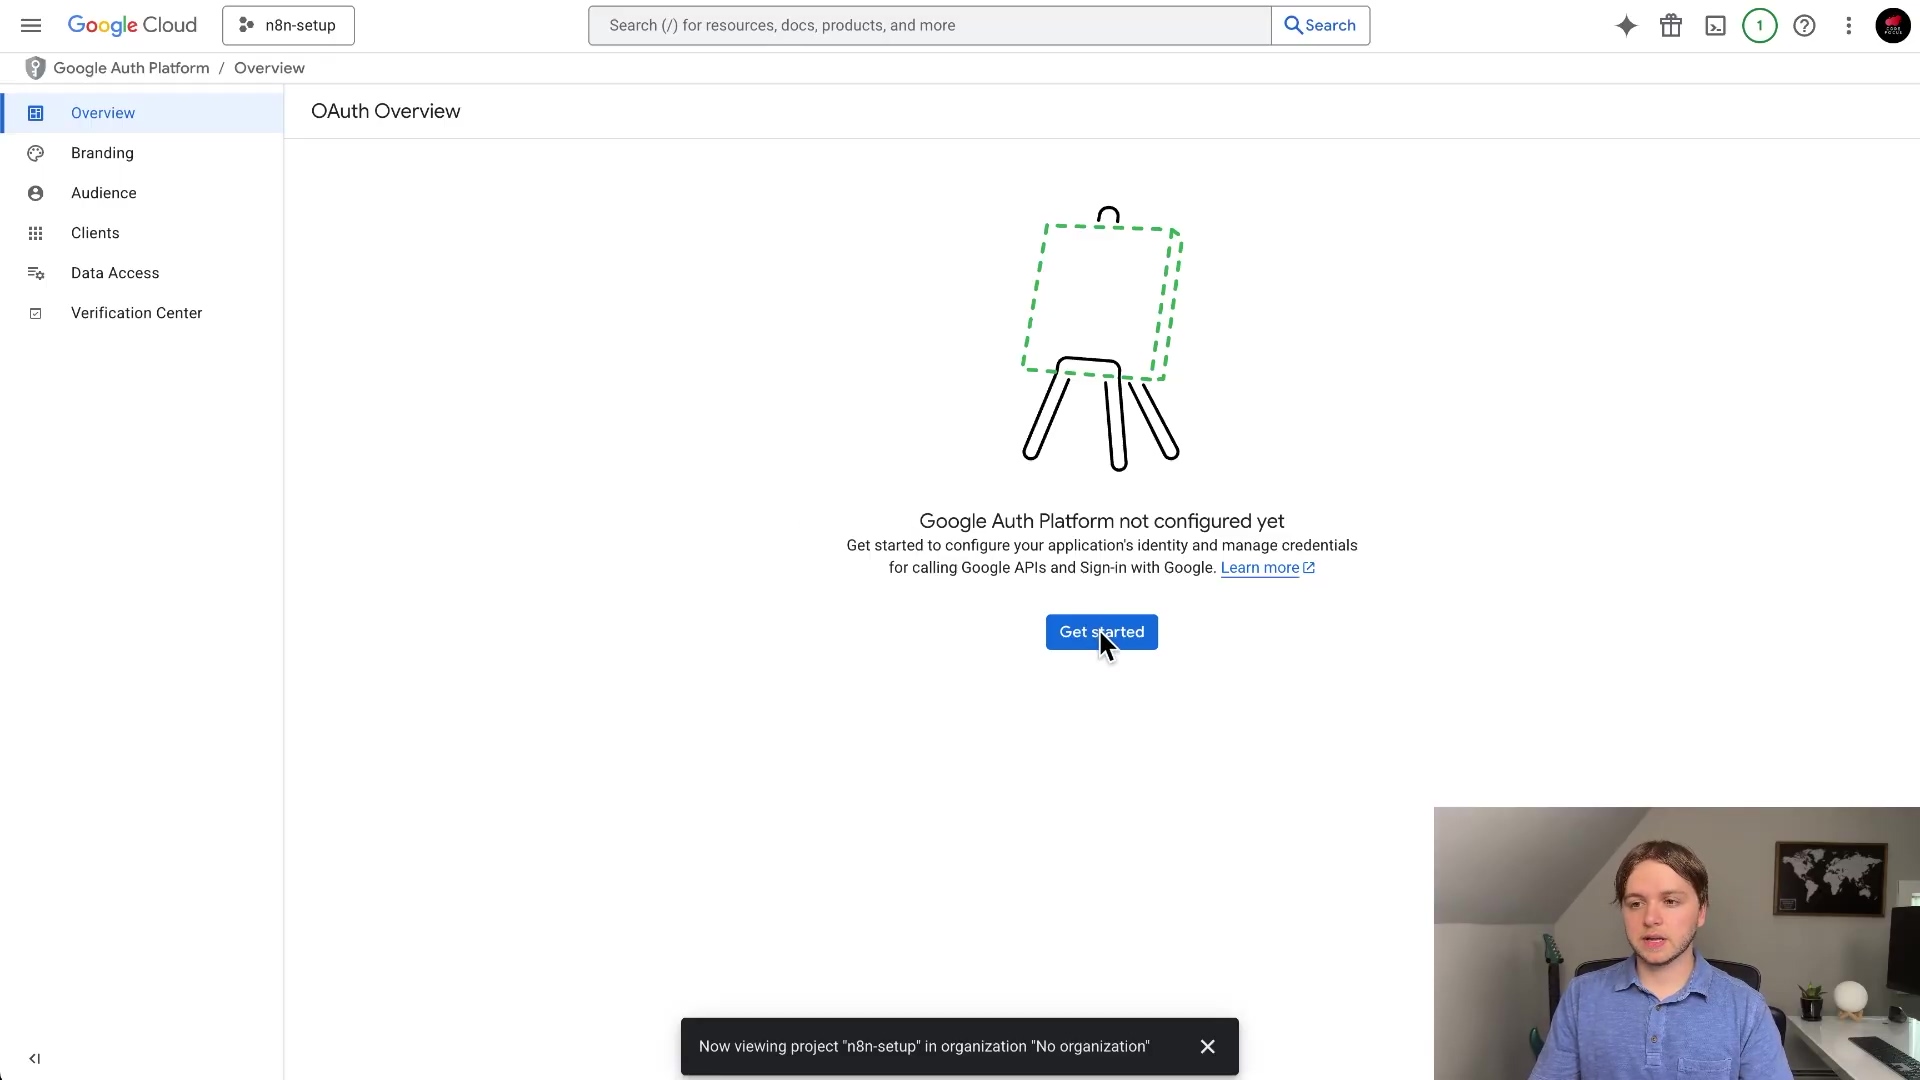
3. Configure the OAuth Consent Screen
Okay, this part can be a little tricky, but stick with me! We need to tell Google that our n8n app is allowed to access Gmail.
- In the Google Cloud Console, navigate to ‘APIs & Services’ > ‘OAuth consent screen’. OAuth is a standard protocol for granting access to resources without sharing your password. You can read more about it here.
- Select ‘External’ as the User type and click ‘Create’. We’re choosing ‘External’ because we’re building an app that will be used by users outside of a Google Workspace organization.
- Fill in the required information:
- App name: (e.g., “n8n Gmail Integration”)
- User support email: Your email address.
- Developer contact information: Your email address.
- Click ‘Save and Continue’.
- On the ‘Scopes’ screen, you can leave it as is and click ‘Save and Continue’. Scopes define what your app can access. We’ll configure the specific Gmail scopes later.
- On the ‘Test users’ screen, add the email address of the Google account you’ll be using to test the integration. This is crucial for granting permissions. Make sure you add the email address you’ll be using with n8n!
- Click ‘Save and Continue’ and then ‘Back to Dashboard’.
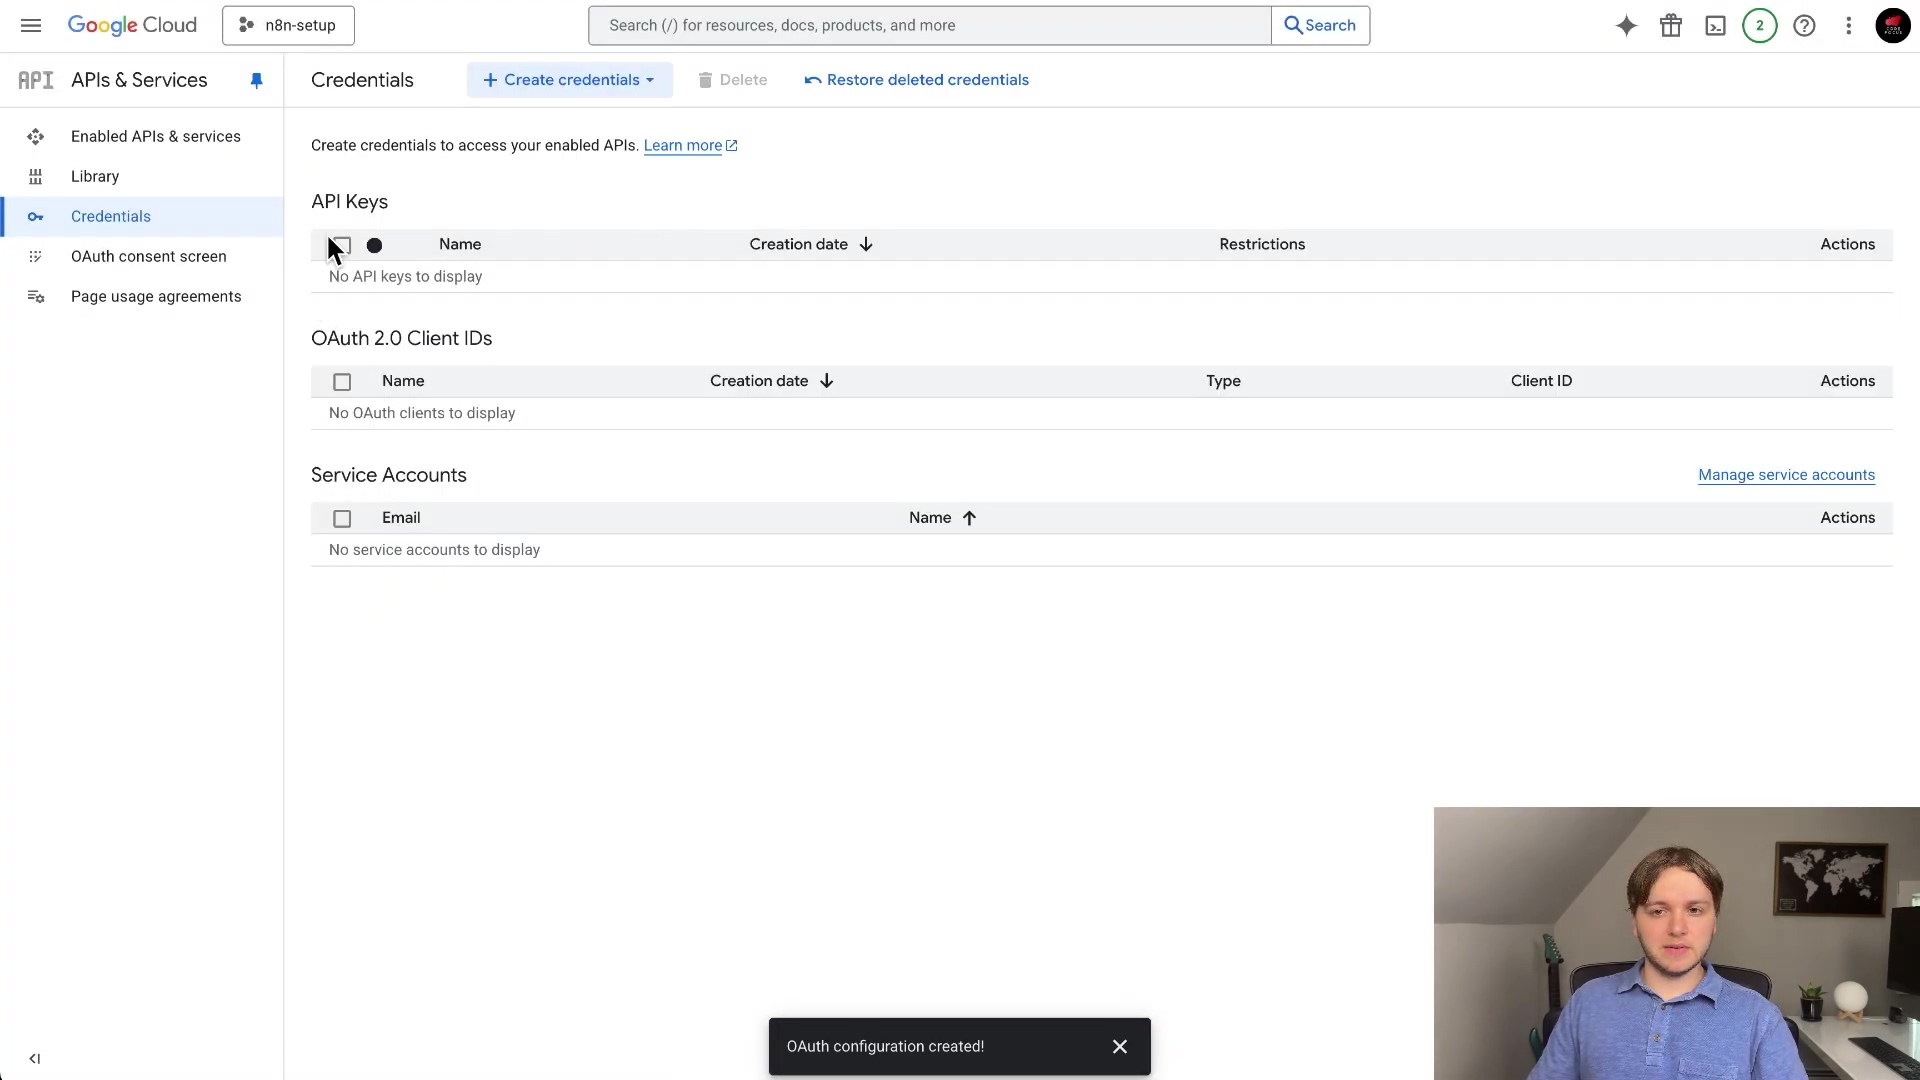
4. Create OAuth Client ID Credentials
Almost there! Now we need to create the actual credentials that n8n will use to connect to Gmail.
- Go to ‘APIs & Services’ > ‘Credentials’.
- Click ’+ Create Credentials’ and select ‘OAuth client ID’.
- Choose ‘Web application’ as the Application type. We’re choosing ‘Web application’ because n8n is essentially acting like a web app in this scenario.
- Give it a name (e.g., “n8n Gmail Client”).
- In the ‘Authorized redirect URIs’ field, enter the OAuth redirect URL provided by n8n. You can find this URL in the n8n credential setup modal (from Step 1). This is super important! Google needs to know where to send the user after they authorize the connection. Make sure you copy and paste the exact URL from n8n.
- Click ‘Create’.
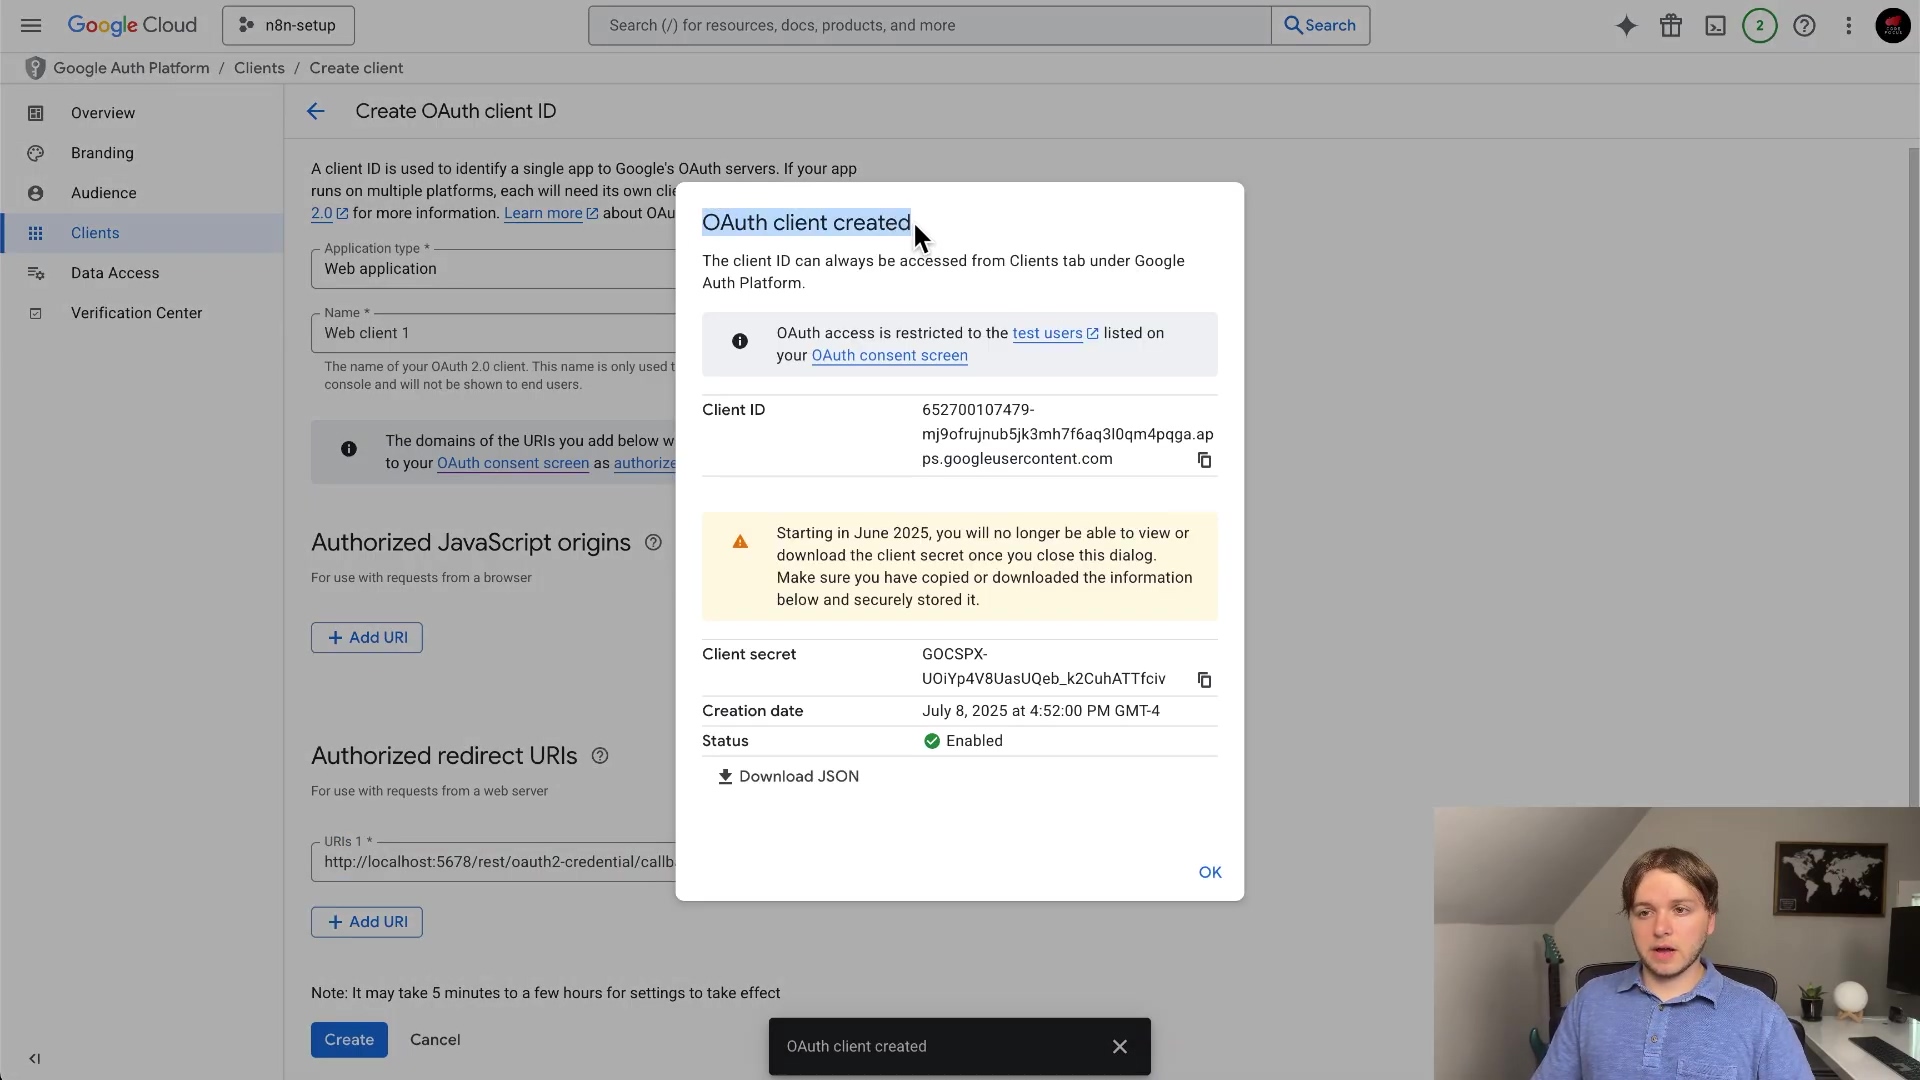
5. Obtain Client ID and Client Secret
Jackpot! We’ve got the keys to the kingdom (well, to your Gmail account, at least).
- A modal will appear with your Client ID and Client Secret.
- Copy both values and store them securely. The Client Secret will not be visible again after you close the modal. Seriously, treat this like a password! I recommend using a password manager like LastPass or 1Password to store it.
6. Connect n8n with Google Credentials
Time to put those credentials to work!
- Return to your n8n instance and paste the Client ID and Client Secret into the corresponding fields in the Gmail credential modal.
- Click ‘Save’ and then ‘Connect Account’.
- You’ll be redirected to Google to authorize the connection. Use the test account you added earlier. This is where you’ll grant n8n permission to access your Gmail account.
- Grant n8n the necessary permissions to access your Gmail account. Google will ask you to confirm that you trust n8n with access to your Gmail. Make sure you understand the permissions you’re granting!
- A ‘Connection successful’ message should appear in n8n. Woohoo! You’re almost there!
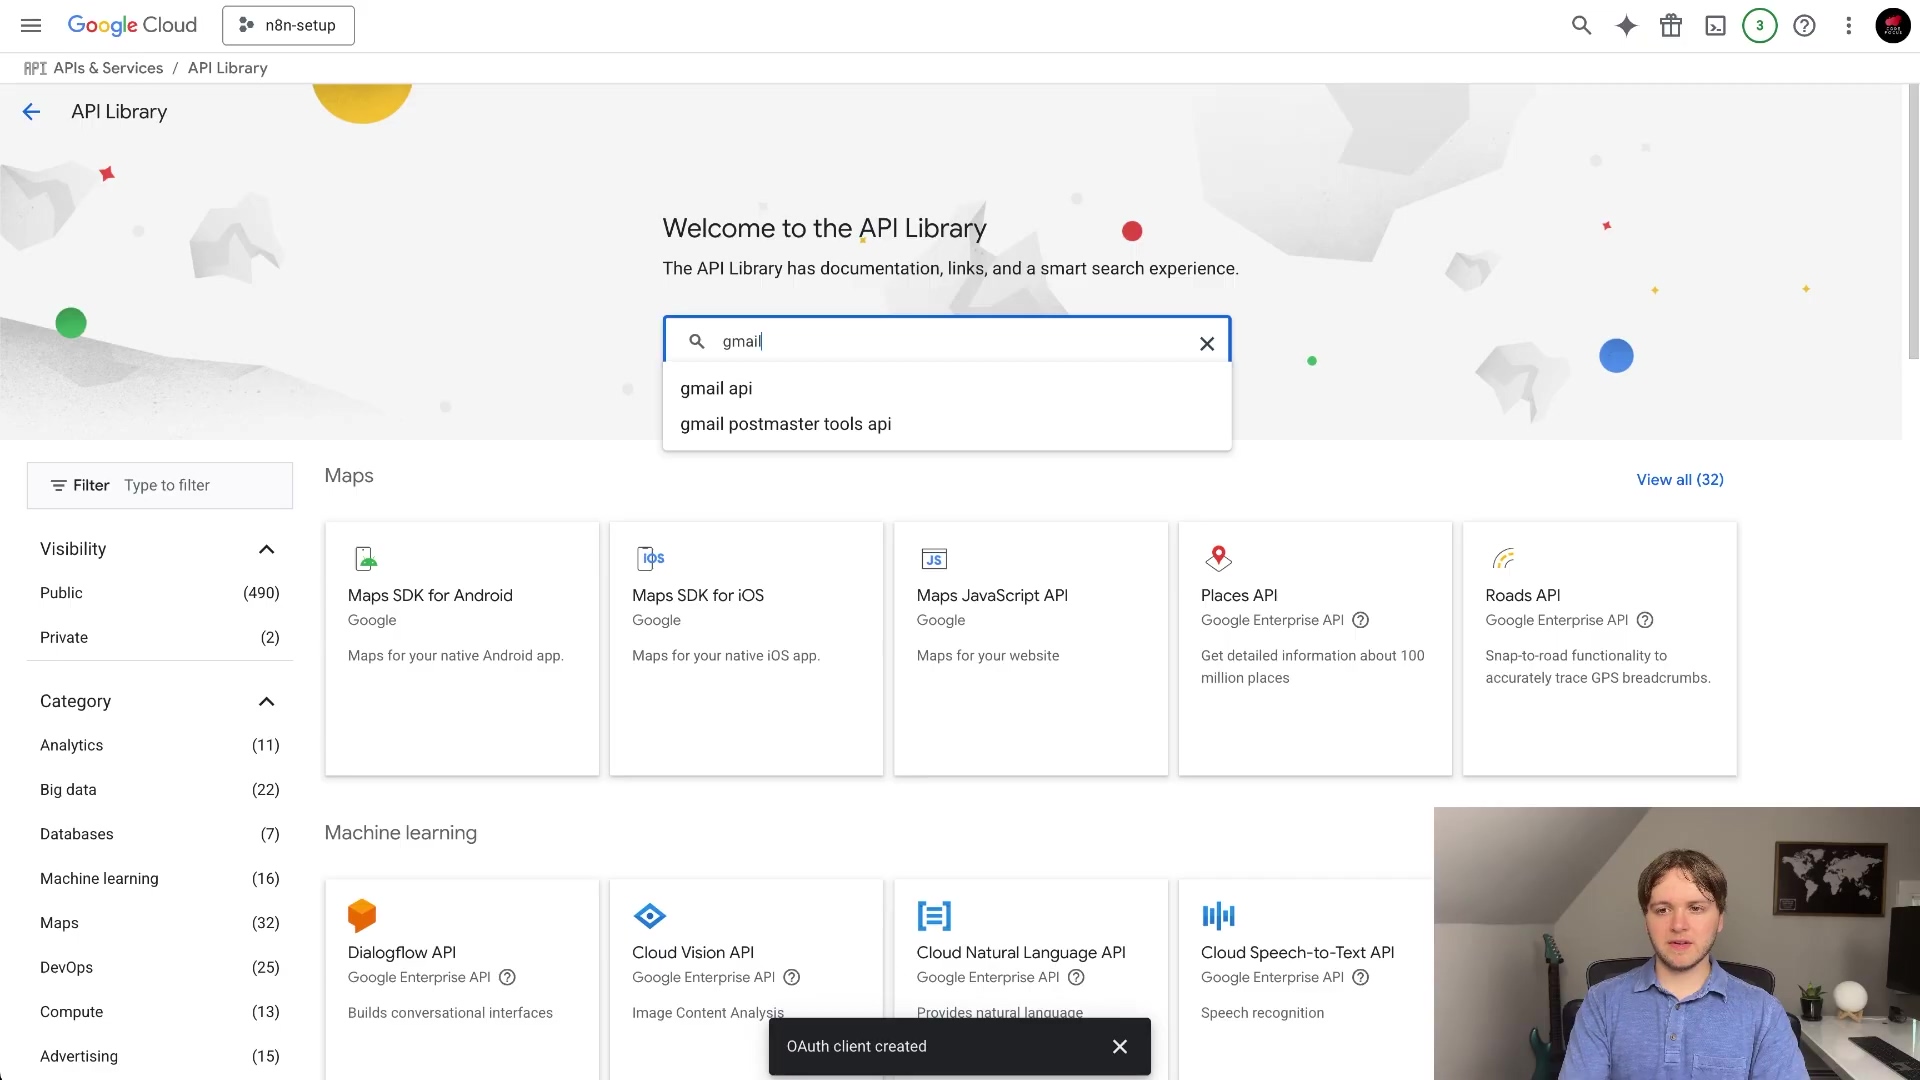
7. Enable the Gmail API
One last thing! We need to tell Google Cloud that we want to use the Gmail API.
- Go back to the Google Cloud Console.
- Navigate to ‘APIs & Services’ > ‘Library’.
- Search for “Gmail API”.
- Click on the Gmail API and then click ‘Enable’. Enabling the API is like flipping a switch to turn on the Gmail functionality.
8. Test Your Connection
Let’s make sure everything is working as expected.
- In your n8n workflow, configure the Gmail node to perform a simple action, such as sending a test email. Keep it simple for the test. Just send an email to yourself.
- Execute the workflow. Click the “Execute Workflow” button in n8n.
- If everything is configured correctly, you should receive the test email in your Gmail inbox. Check your inbox (and spam folder, just in case!). If you see the email, congratulations! You’ve successfully connected n8n to Gmail.
Best Practices for n8n Gmail Integration
- Secure Your Credentials: Protect your Client Secret. Never commit it to version control or share it publicly. I can’t stress this enough! Treat your Client Secret like gold.
- Use Environment Variables: Store your Client ID and Client Secret as environment variables in n8n for enhanced security. This is a more secure way to store sensitive information. You can find instructions on how to do this in the n8n documentation.
- Limit Permissions: Only grant the Gmail API the necessary permissions for your workflows. Don’t give n8n more access than it needs.
- Monitor API Usage: Keep an eye on your Google Cloud Console to track API usage and identify potential issues. This can help you prevent unexpected charges or security breaches.
Troubleshooting Common Issues
- 403 Forbidden Error: This usually means the Gmail API is not enabled or the correct permissions haven’t been granted. Double-check the API enablement and OAuth scopes. I’ve run into this one myself more times than I’d like to admit! Usually, it’s a simple matter of forgetting to enable the Gmail API.
- Invalid Client Error: Verify that your Client ID and Client Secret are correct and that the redirect URI is properly configured in the Google Cloud Console. Double-check for typos! The redirect URI has to match exactly.
Conclusion
By following this comprehensive guide, you’ve learned how to setup n8n Gmail credential and integrate Gmail into your n8n workflows. This integration empowers you to automate various email-related tasks, saving you time and effort. Experiment with different Gmail node configurations and explore the endless possibilities of n8n automation. The sky’s the limit!
Frequently Asked Questions (FAQ)
Q: What is OAuth and why is it used?
A: OAuth (Open Authorization) is a standard protocol that allows applications to access resources on behalf of a user without requiring the user to share their password. In the context of n8n and Gmail, OAuth enables n8n to access your Gmail account to send or process emails without you having to provide your Gmail password directly to n8n. This enhances security and provides a more controlled way to grant permissions.
Q: How do I create an n8n instance?
A: You can create an n8n instance in several ways: * n8n Cloud: n8n offers a cloud-hosted service where they manage the infrastructure for you. This is the easiest option for beginners. * Self-Hosted: You can self-host n8n on your own server, using Docker, npm, or other methods. This gives you more control but requires more technical knowledge. Check out the n8n documentation for detailed instructions.
Q: Is it safe to give n8n access to my Gmail account?
A: When configured correctly using OAuth, it is generally safe to grant n8n access to your Gmail account. OAuth allows you to grant specific permissions to n8n, limiting its access to only the necessary resources. However, it’s crucial to: * Use a strong and unique password for your Google account. * Regularly review the permissions granted to n8n in your Google account settings. * Keep your n8n instance secure and up-to-date.
Q: What are the limitations of using the Gmail API with n8n?
A: While the Gmail API offers powerful automation capabilities, it also has some limitations: * Rate Limits: Google imposes rate limits on the Gmail API to prevent abuse. If you exceed these limits, your n8n workflows may be temporarily throttled. * Scope Restrictions: You can only access the Gmail resources that you have been granted permission to access through OAuth scopes. * Complexity: Setting up the Gmail API and OAuth credentials can be complex, especially for beginners.
Q: Can I use a Google Workspace account with n8n?
A: Yes, you can use a Google Workspace account with n8n. The setup process is similar to using a regular Google account, but you may need to adjust some settings in your Google Workspace admin console to allow third-party app access. Consult your Google Workspace administrator for assistance if needed.
Q: What other email services can I integrate with n8n?
A: Besides Gmail, n8n supports integration with various other email services, including: * SMTP: You can use the SMTP node to connect to any email service that supports SMTP. * IMAP: You can use the IMAP node to read emails from any email service that supports IMAP. * Microsoft Outlook: n8n has specific nodes for integrating with Microsoft Outlook. * SendGrid: A popular email marketing platform. * Mailgun: Another email marketing platform.